Want to spruce up your home with some delightful fall decor? Well, look no further! We’ve got just the thing for you: DIY farmhouse style painted pumpkins. Get ready to add a touch of charm and creativity to your space this season.
These farmhouse style pumpkins are sure to make a statement as part of your indoor or outdoor decor. Their rustic, warm hues bring out the best in fall colors while their vibrant hand-painted design will add a touch of whimsy and character to any space.
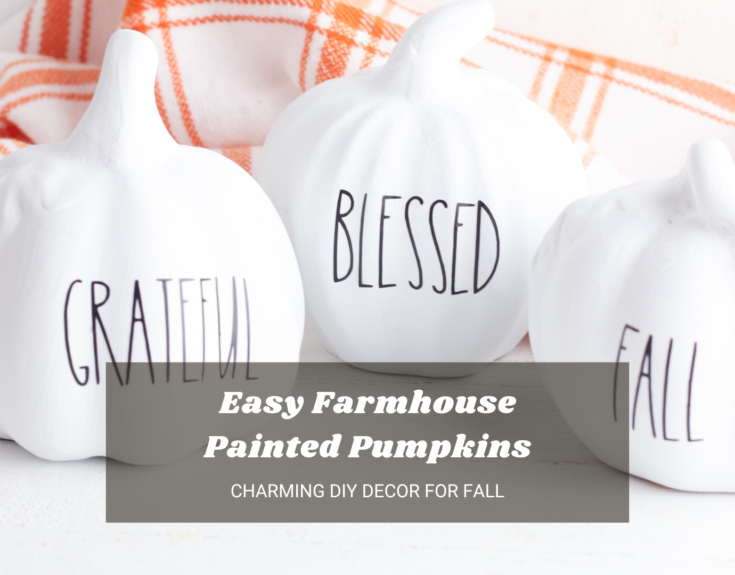
Are you a busy bee who adores a beautiful home but lacks the time and budget for extravagant projects? Fear not! This delightful autumn decor idea is a piece of cake to create and loads of fun. Let your pumpkin-painting creativity run wild with any color you fancy, but if you’re yearning for that trendy modern farmhouse vibe, white is the way to go.
To make your life even easier, I’ve already whipped up a downloadable template for your trusty cricut machine. Get ready to transform your space with a dash of autumn charm in no time at all!

All About Easy Farmhouse Painted Pumpkins Craft:
List of Materials Needed
- Glass pumpkins (purchased at the Dollar Store)
- White chalk paint
- Black vinyl
- Easy Farmhouse Painted Pumpkins SVG file
- Cricut Maker
- Cricut Standard Grip Mat
- Weeding Tool
- Scissors
Instructions
Before We Get Started
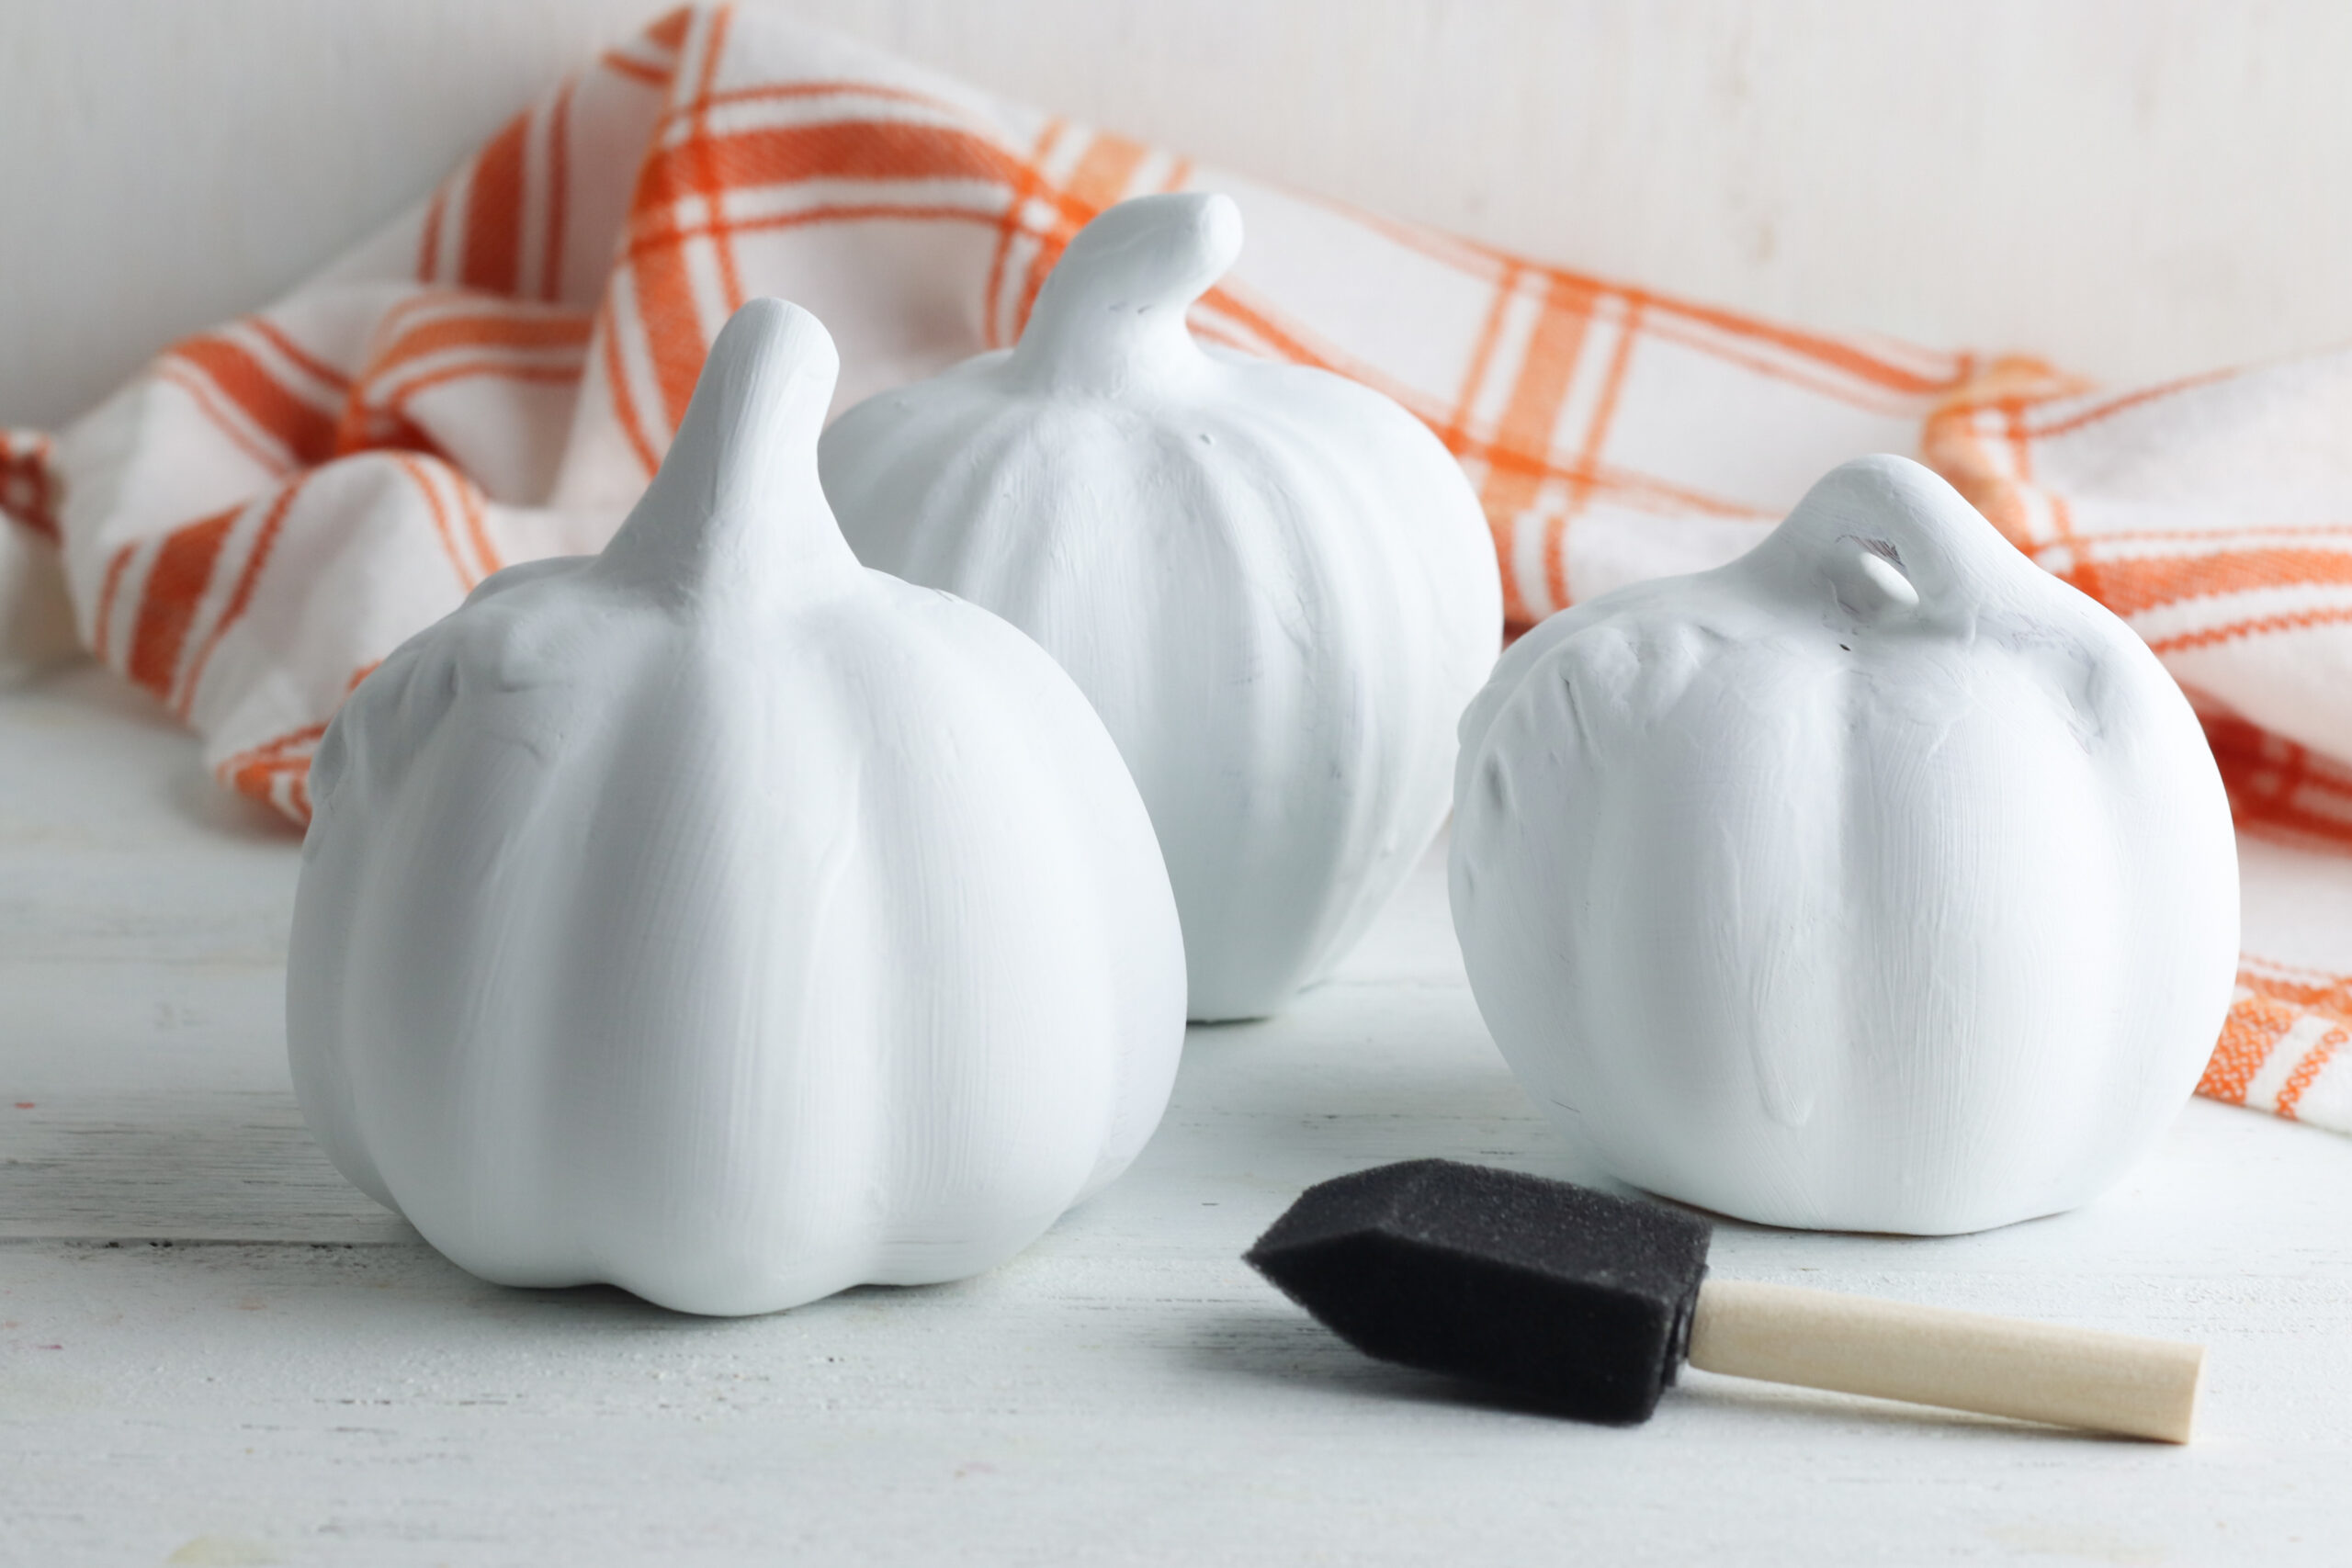
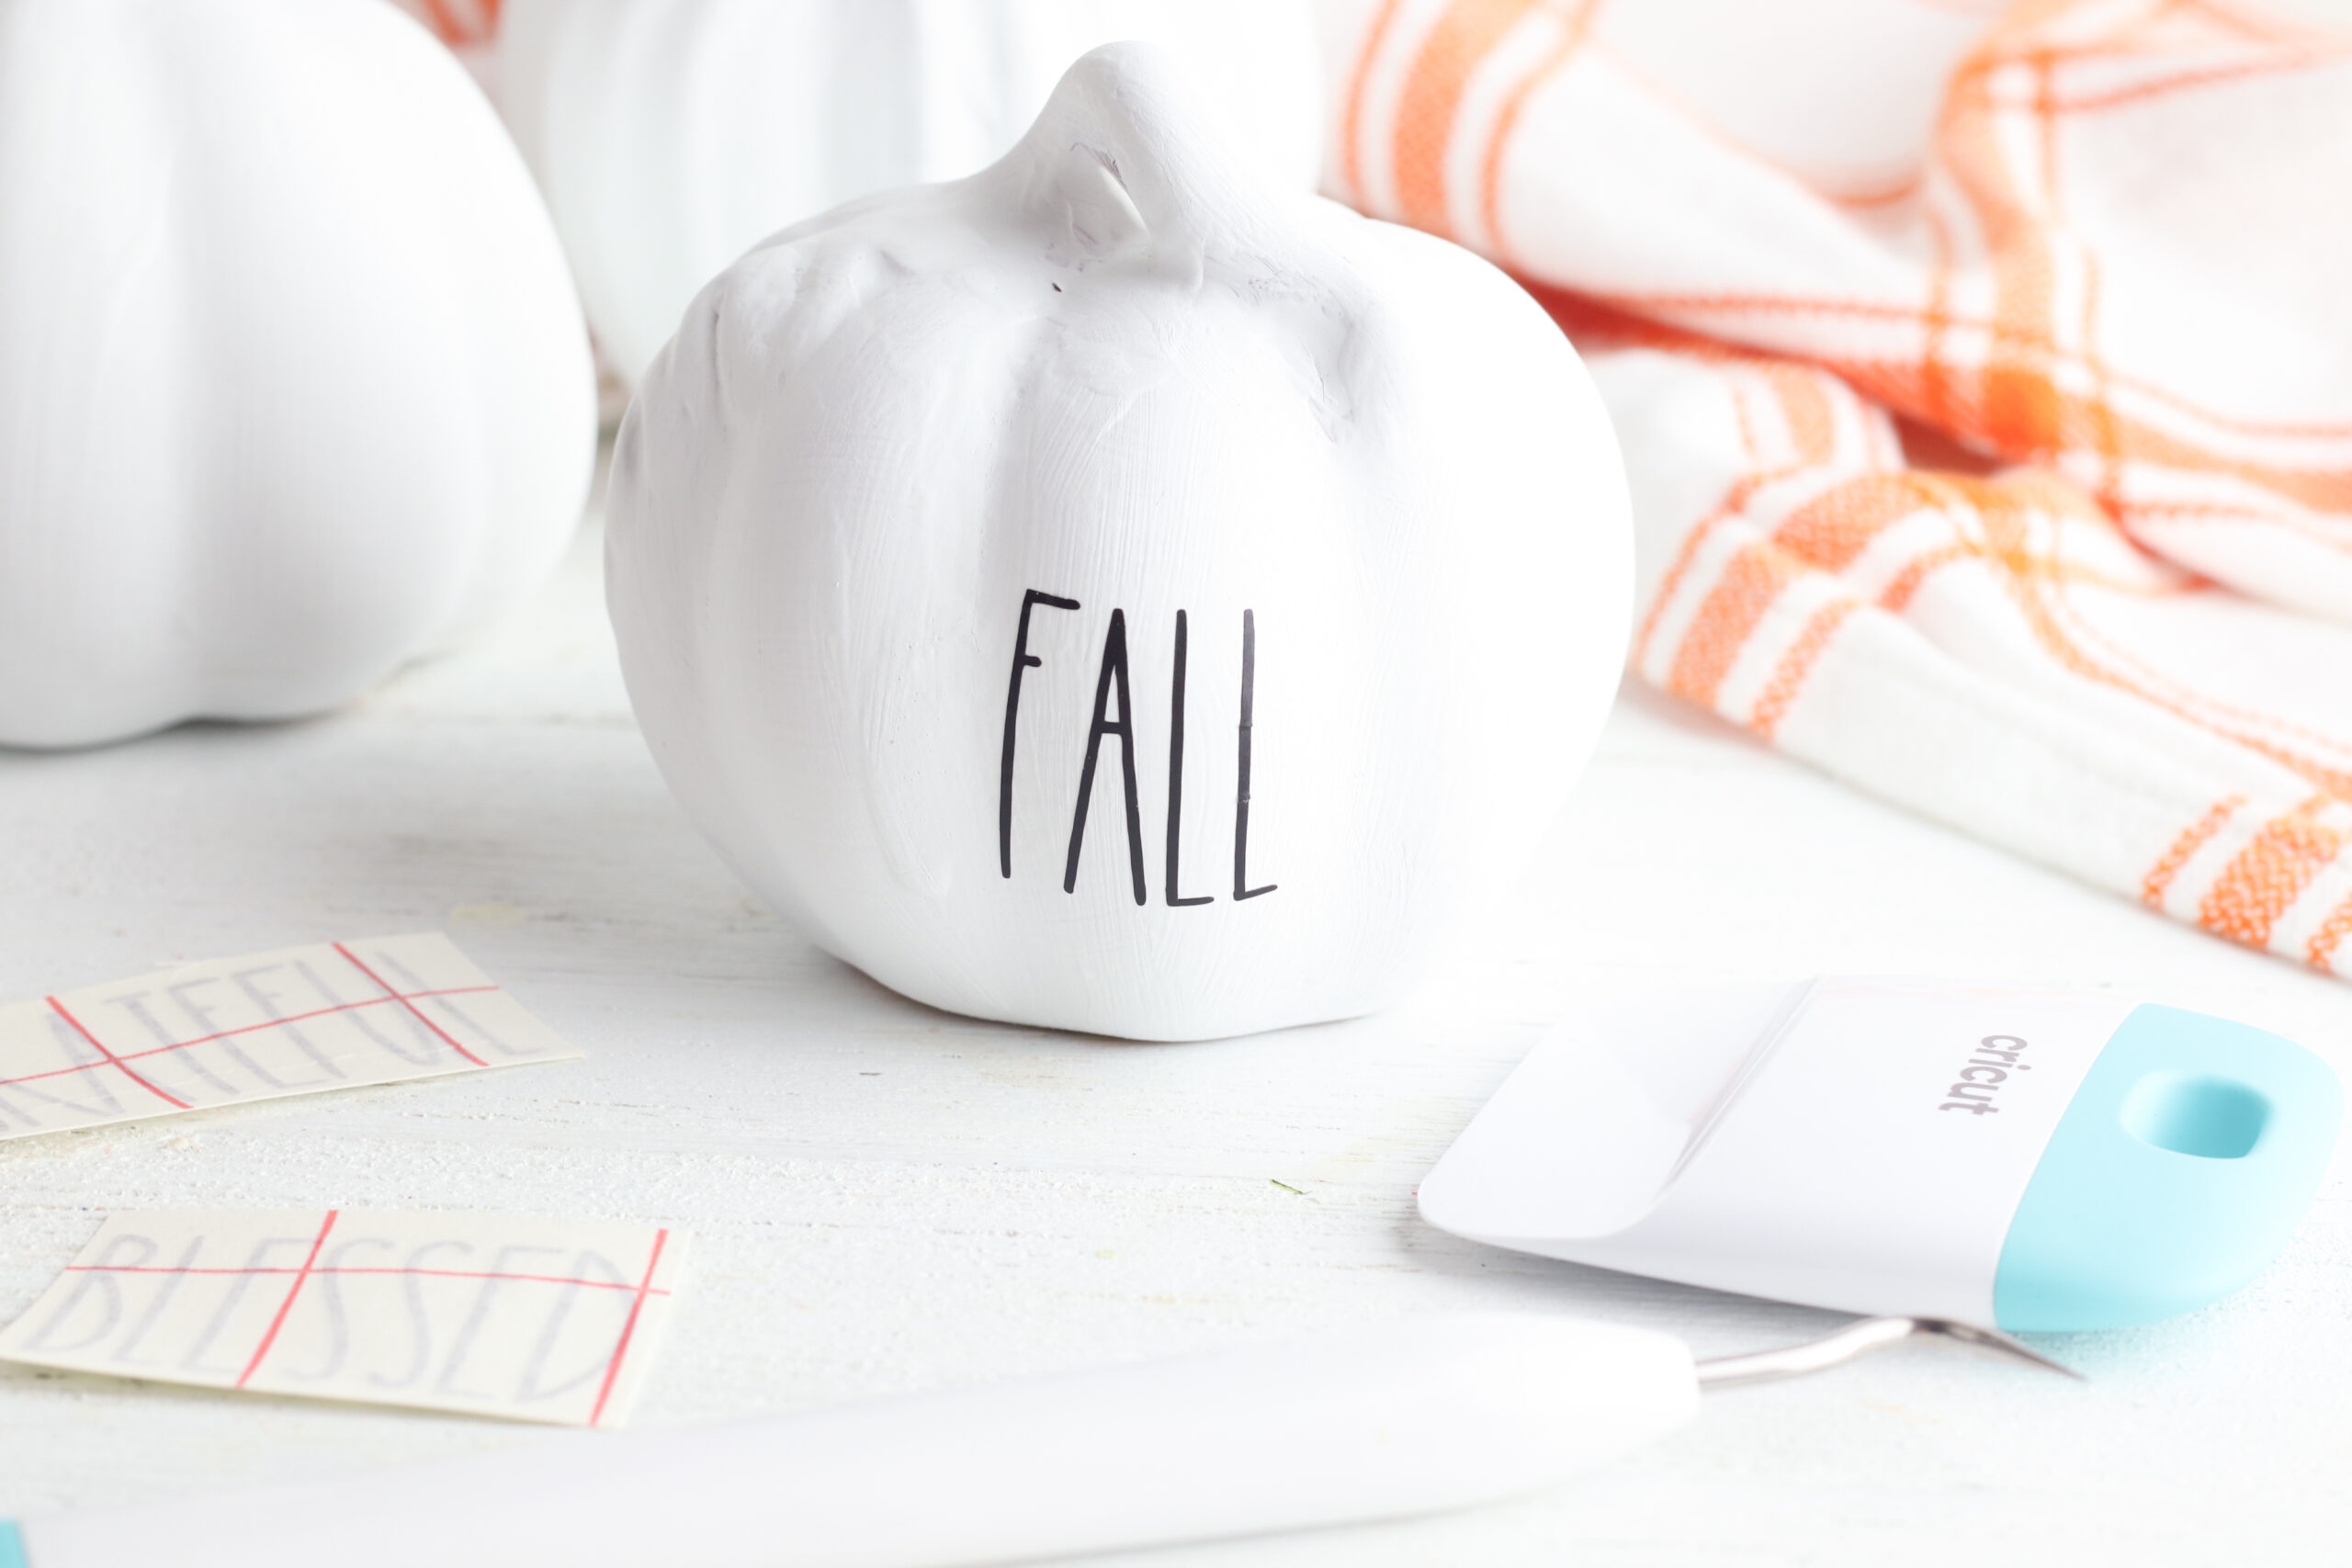
Give your dollar store pumpkins a good wipe down so that you’ve got a clean surface for the paint to stick too.
Sidenote: If you love your Cricut and you love fall, check out my Always Grateful Fall Sign with a free SVG file. Now your beautifully decorated home and your front door with thank me!
Let’s get artsy and give those pumpkins a vibrant makeover! Grab some chalk paint and give them a delightful coat. One might be all you need for a charming finish, but if you crave perfection, go ahead and splash on a second coat. Just remember to let those beauties dry before revealing their true colors!

Preparing the Image
Pop open the Cricut Design Space.
Click on the “+” sign to start a new project, opening up a blank canvas.
Click on the Upload button from the toolbar to insert the Easy Farmhouse Painted Pumpkins SVG file on to the canvas.
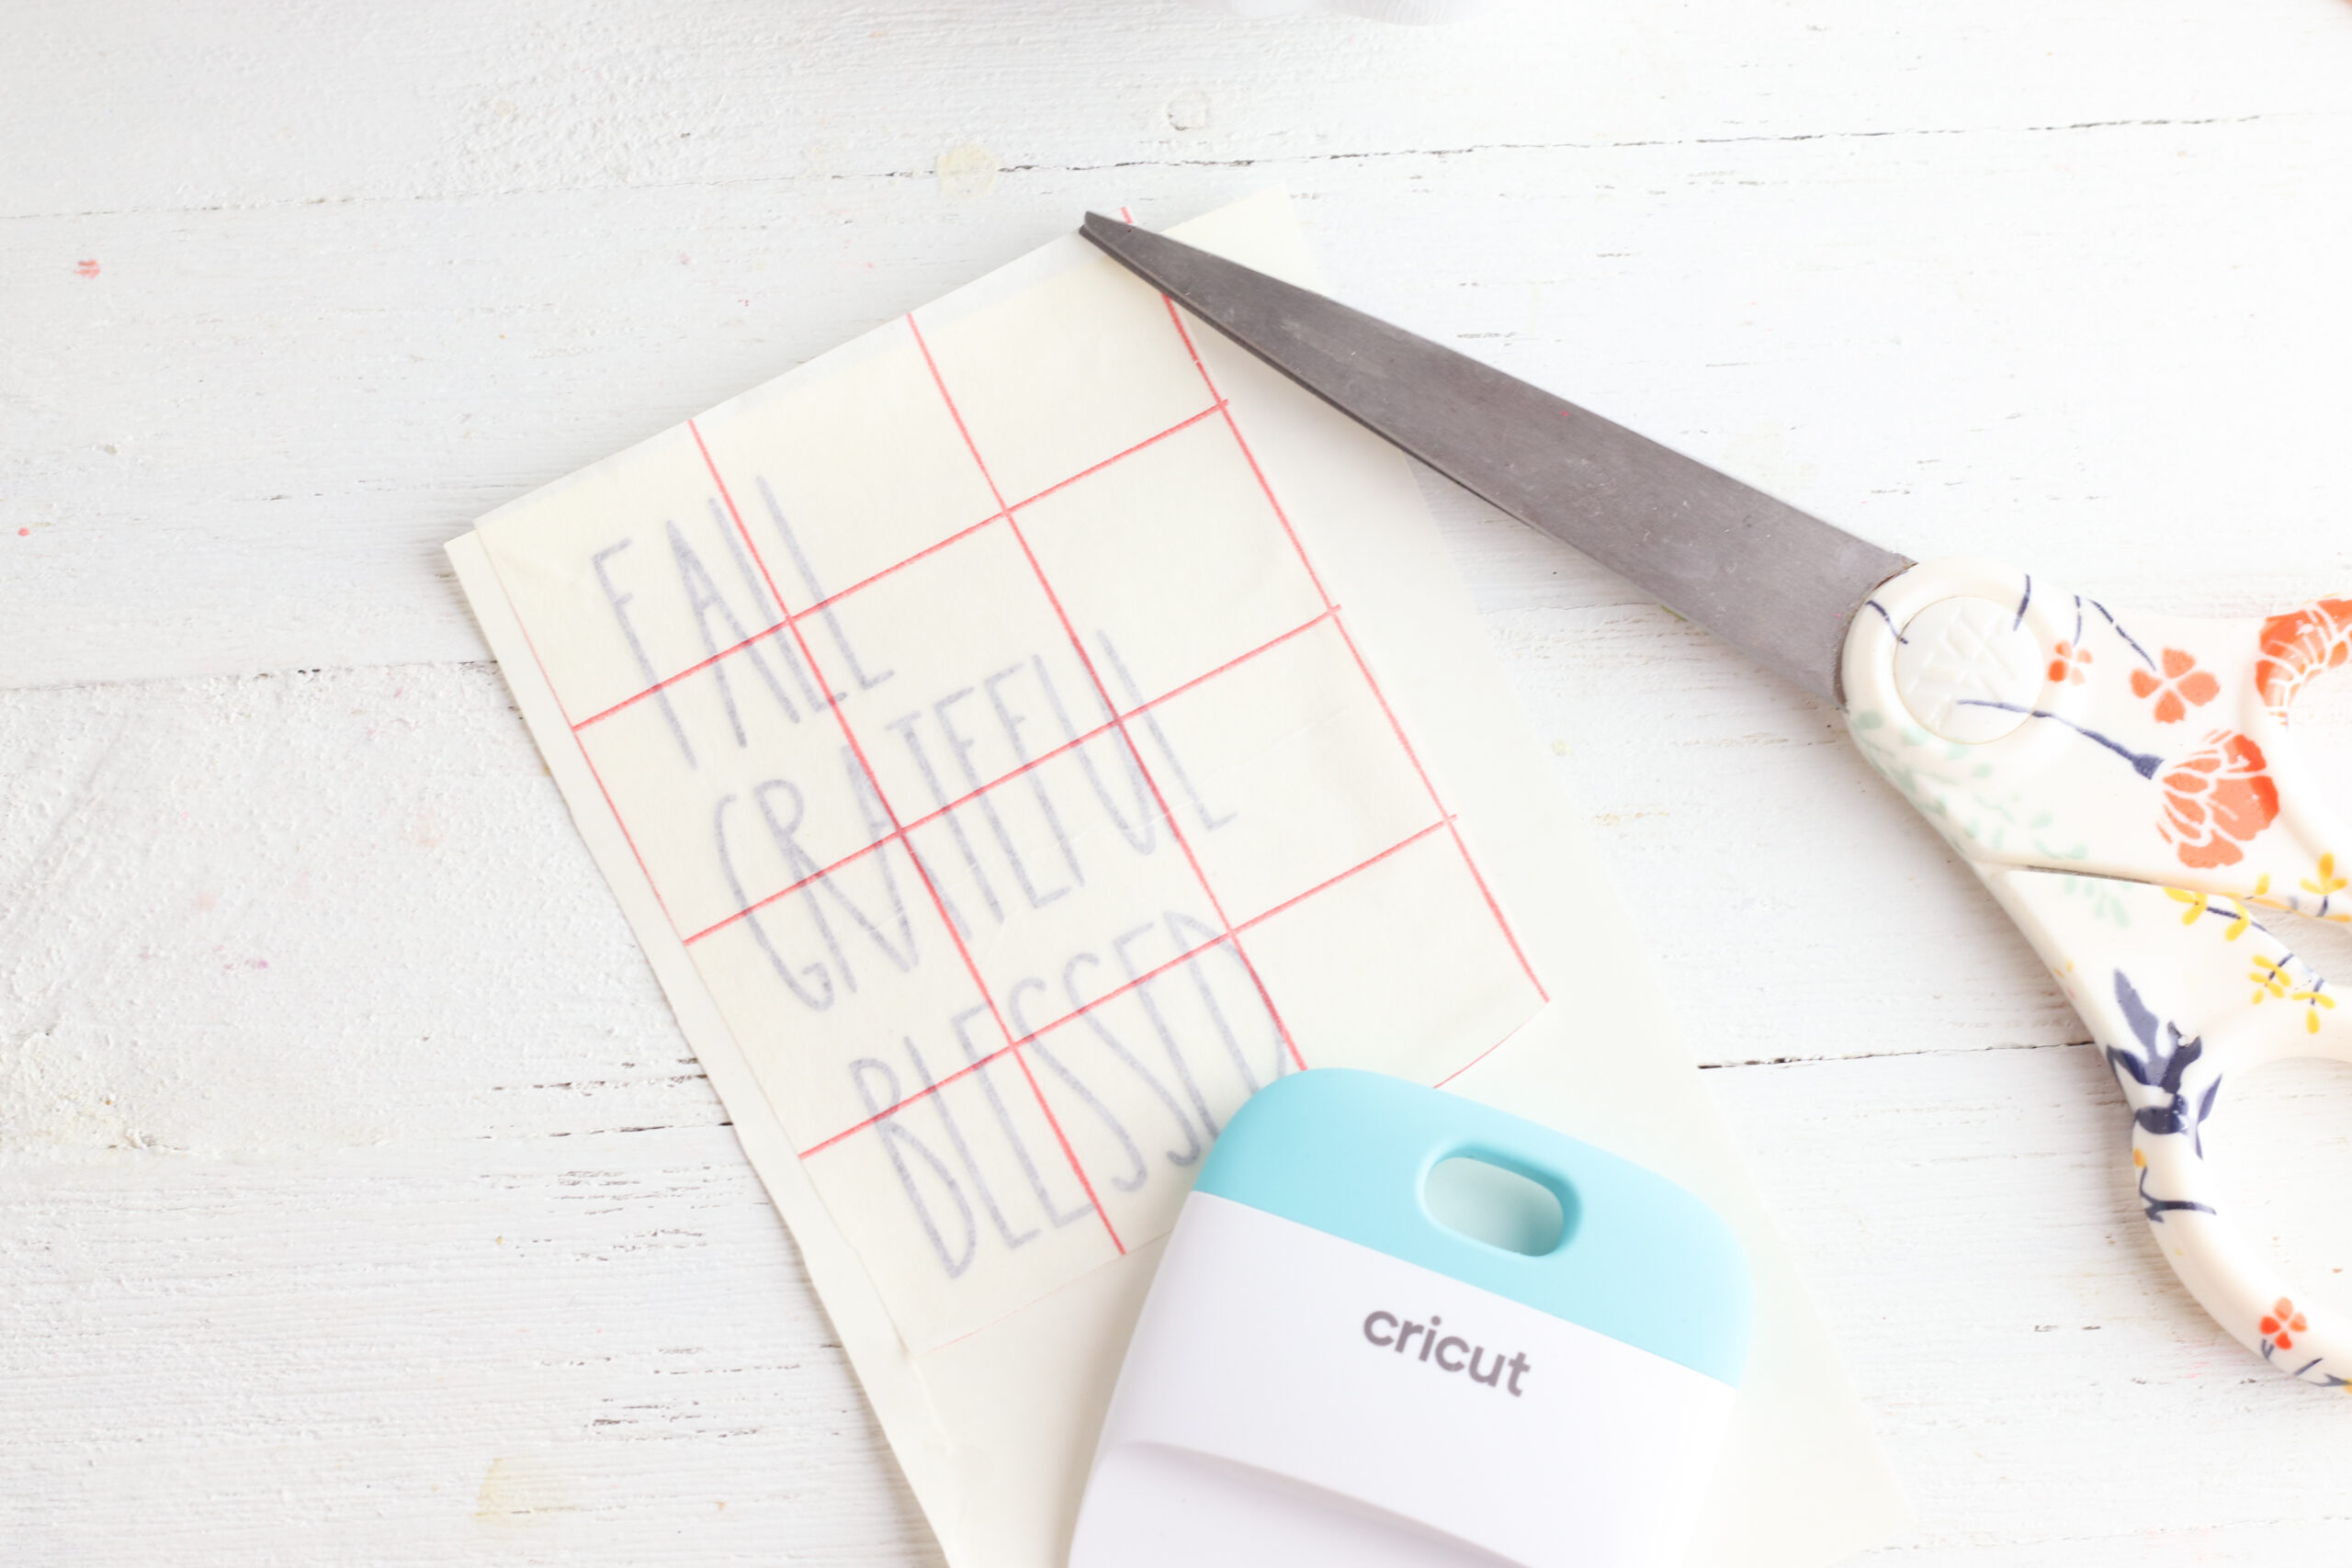
If you’re not cutting all the words, ungroup the letters, then select which words you would like to cut.

Select all the letters in the word you will be cutting, then group those letters together. Resize the word to fit on your pumpkin. Letters for the dollar store pumpkins used in this project were sized to be 1 inch tall.
Delete the remaining words, and weld the rest together.
Cut the words on the black vinyl and weed the excess vinyl from around each word.
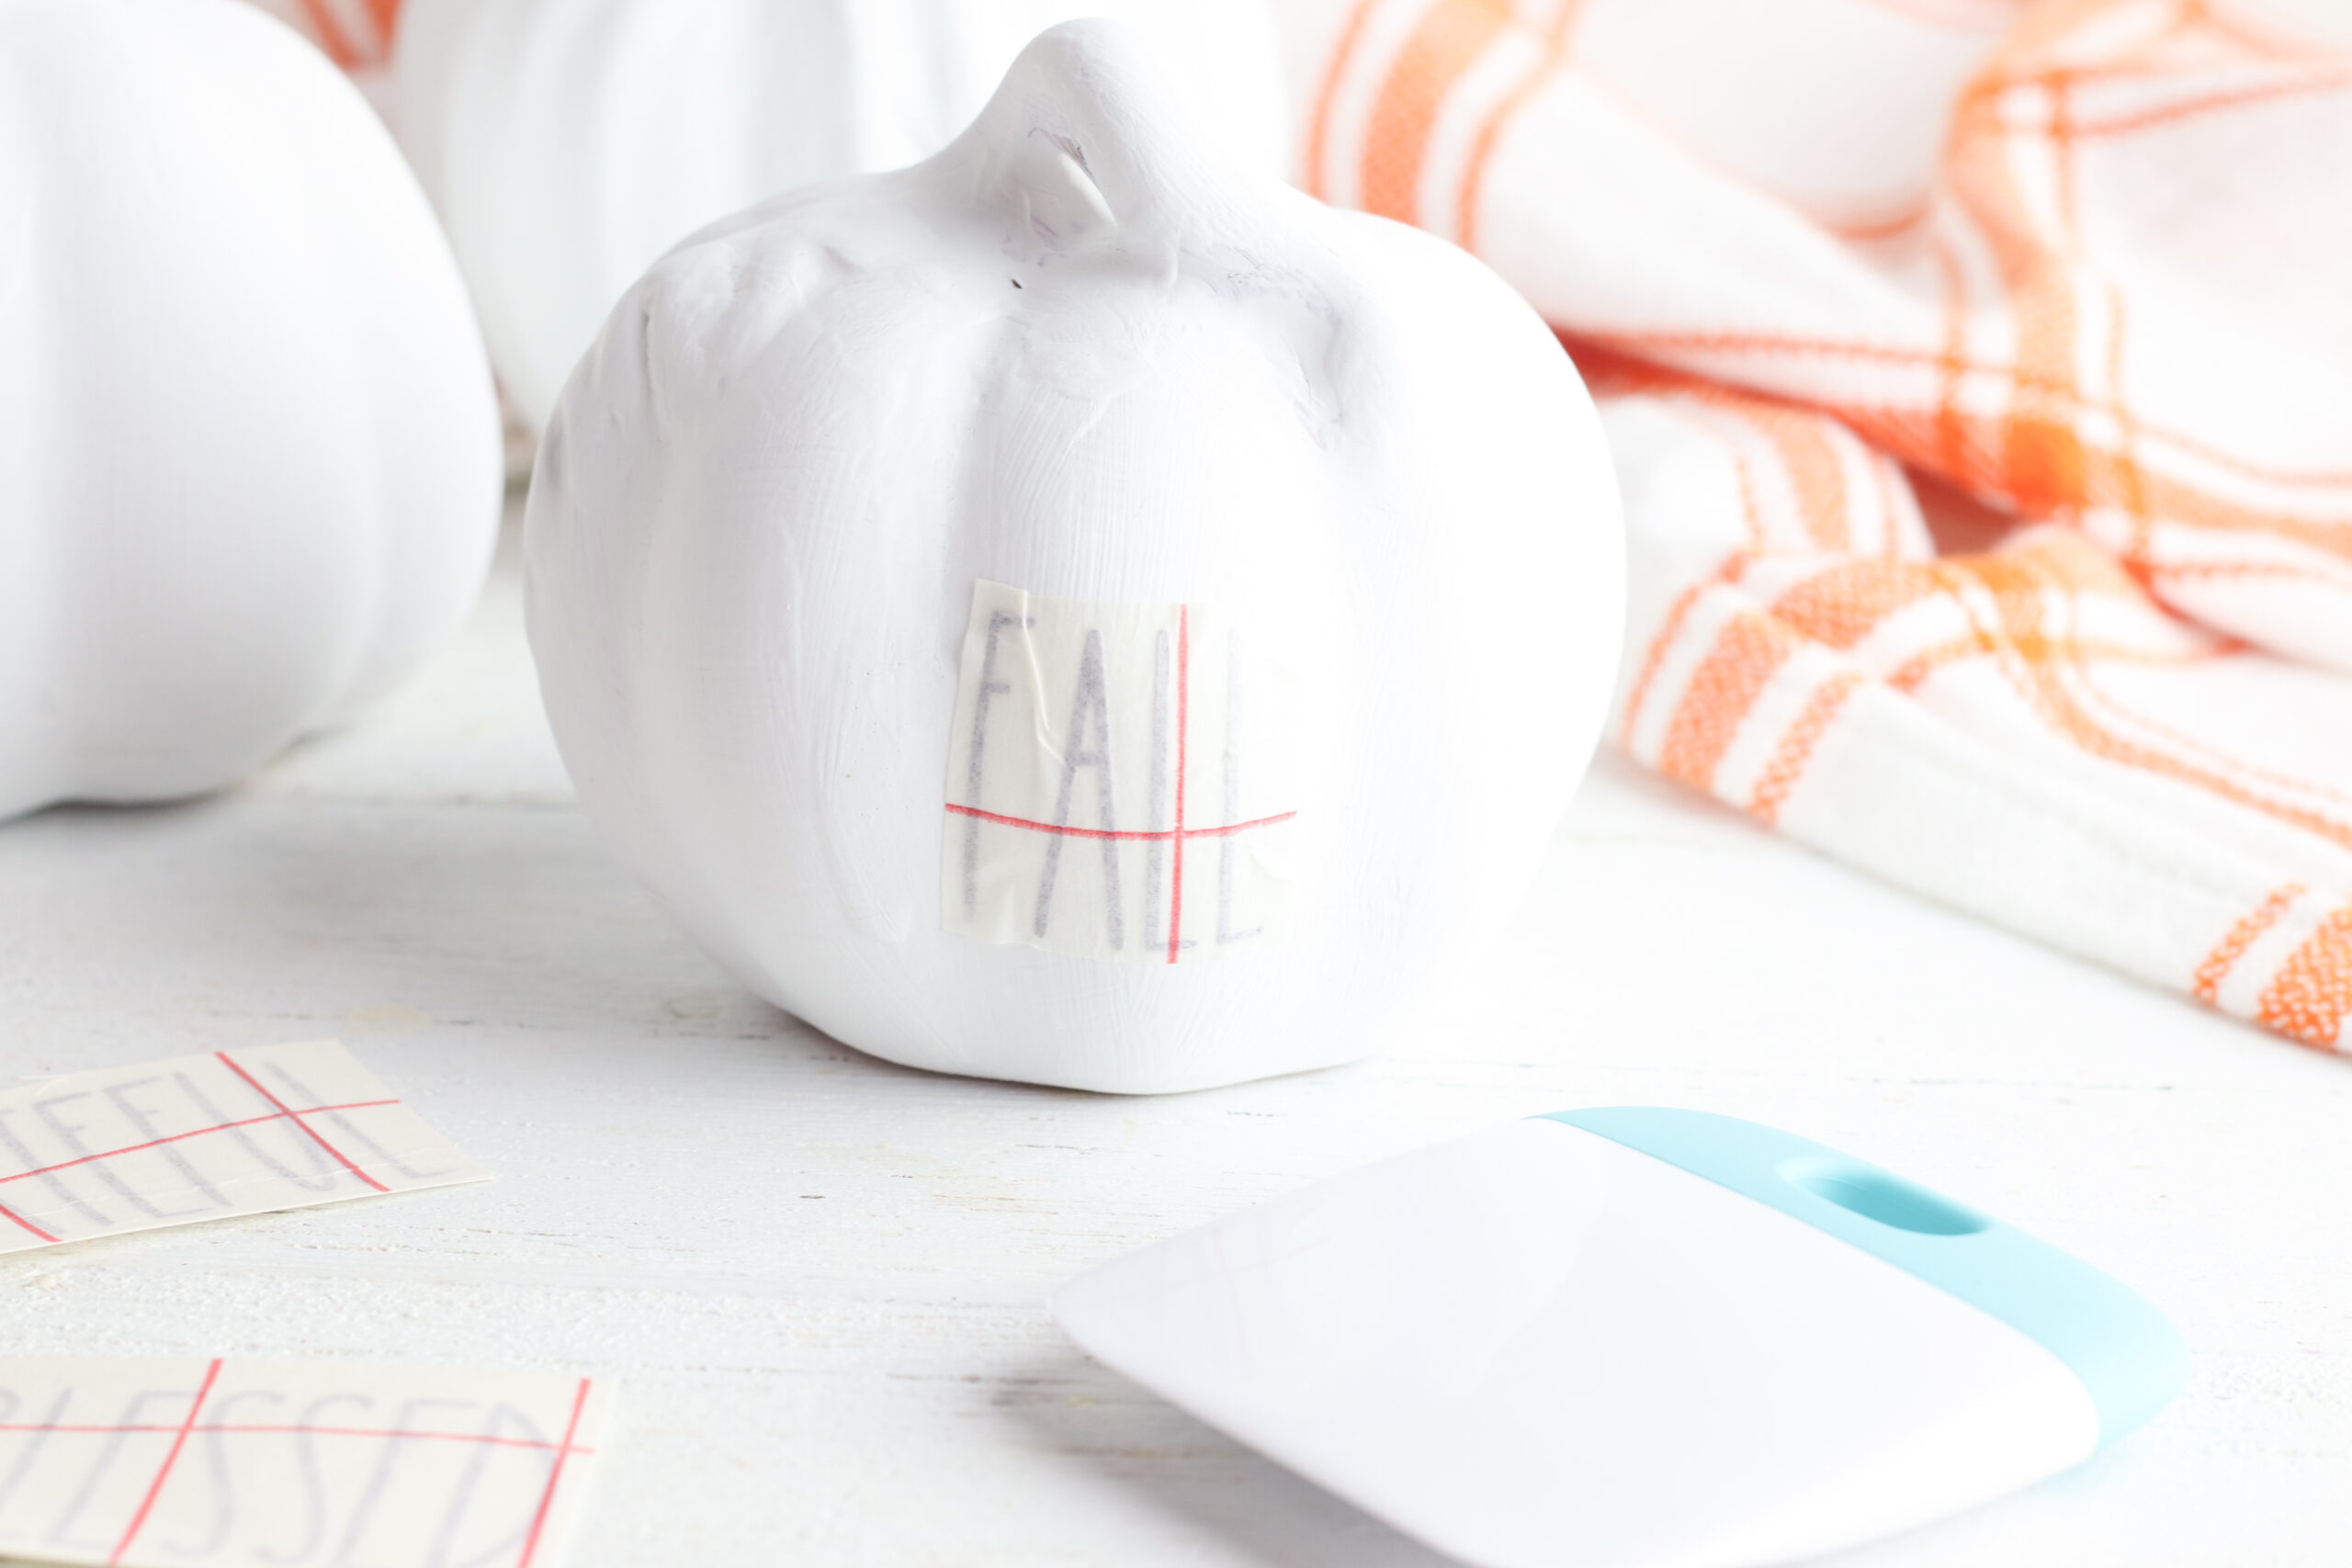
Grab your painted pumpkins and make sure they’re fully dry.
Place transfer tape over each word and transfer the vinyl to the front of each pumpkin, starting in the middle of the word and pressing outward to adhere the vinyl to the pumpkin.
Press each letter into the pumpkin firmly, then remove the transfer tape.
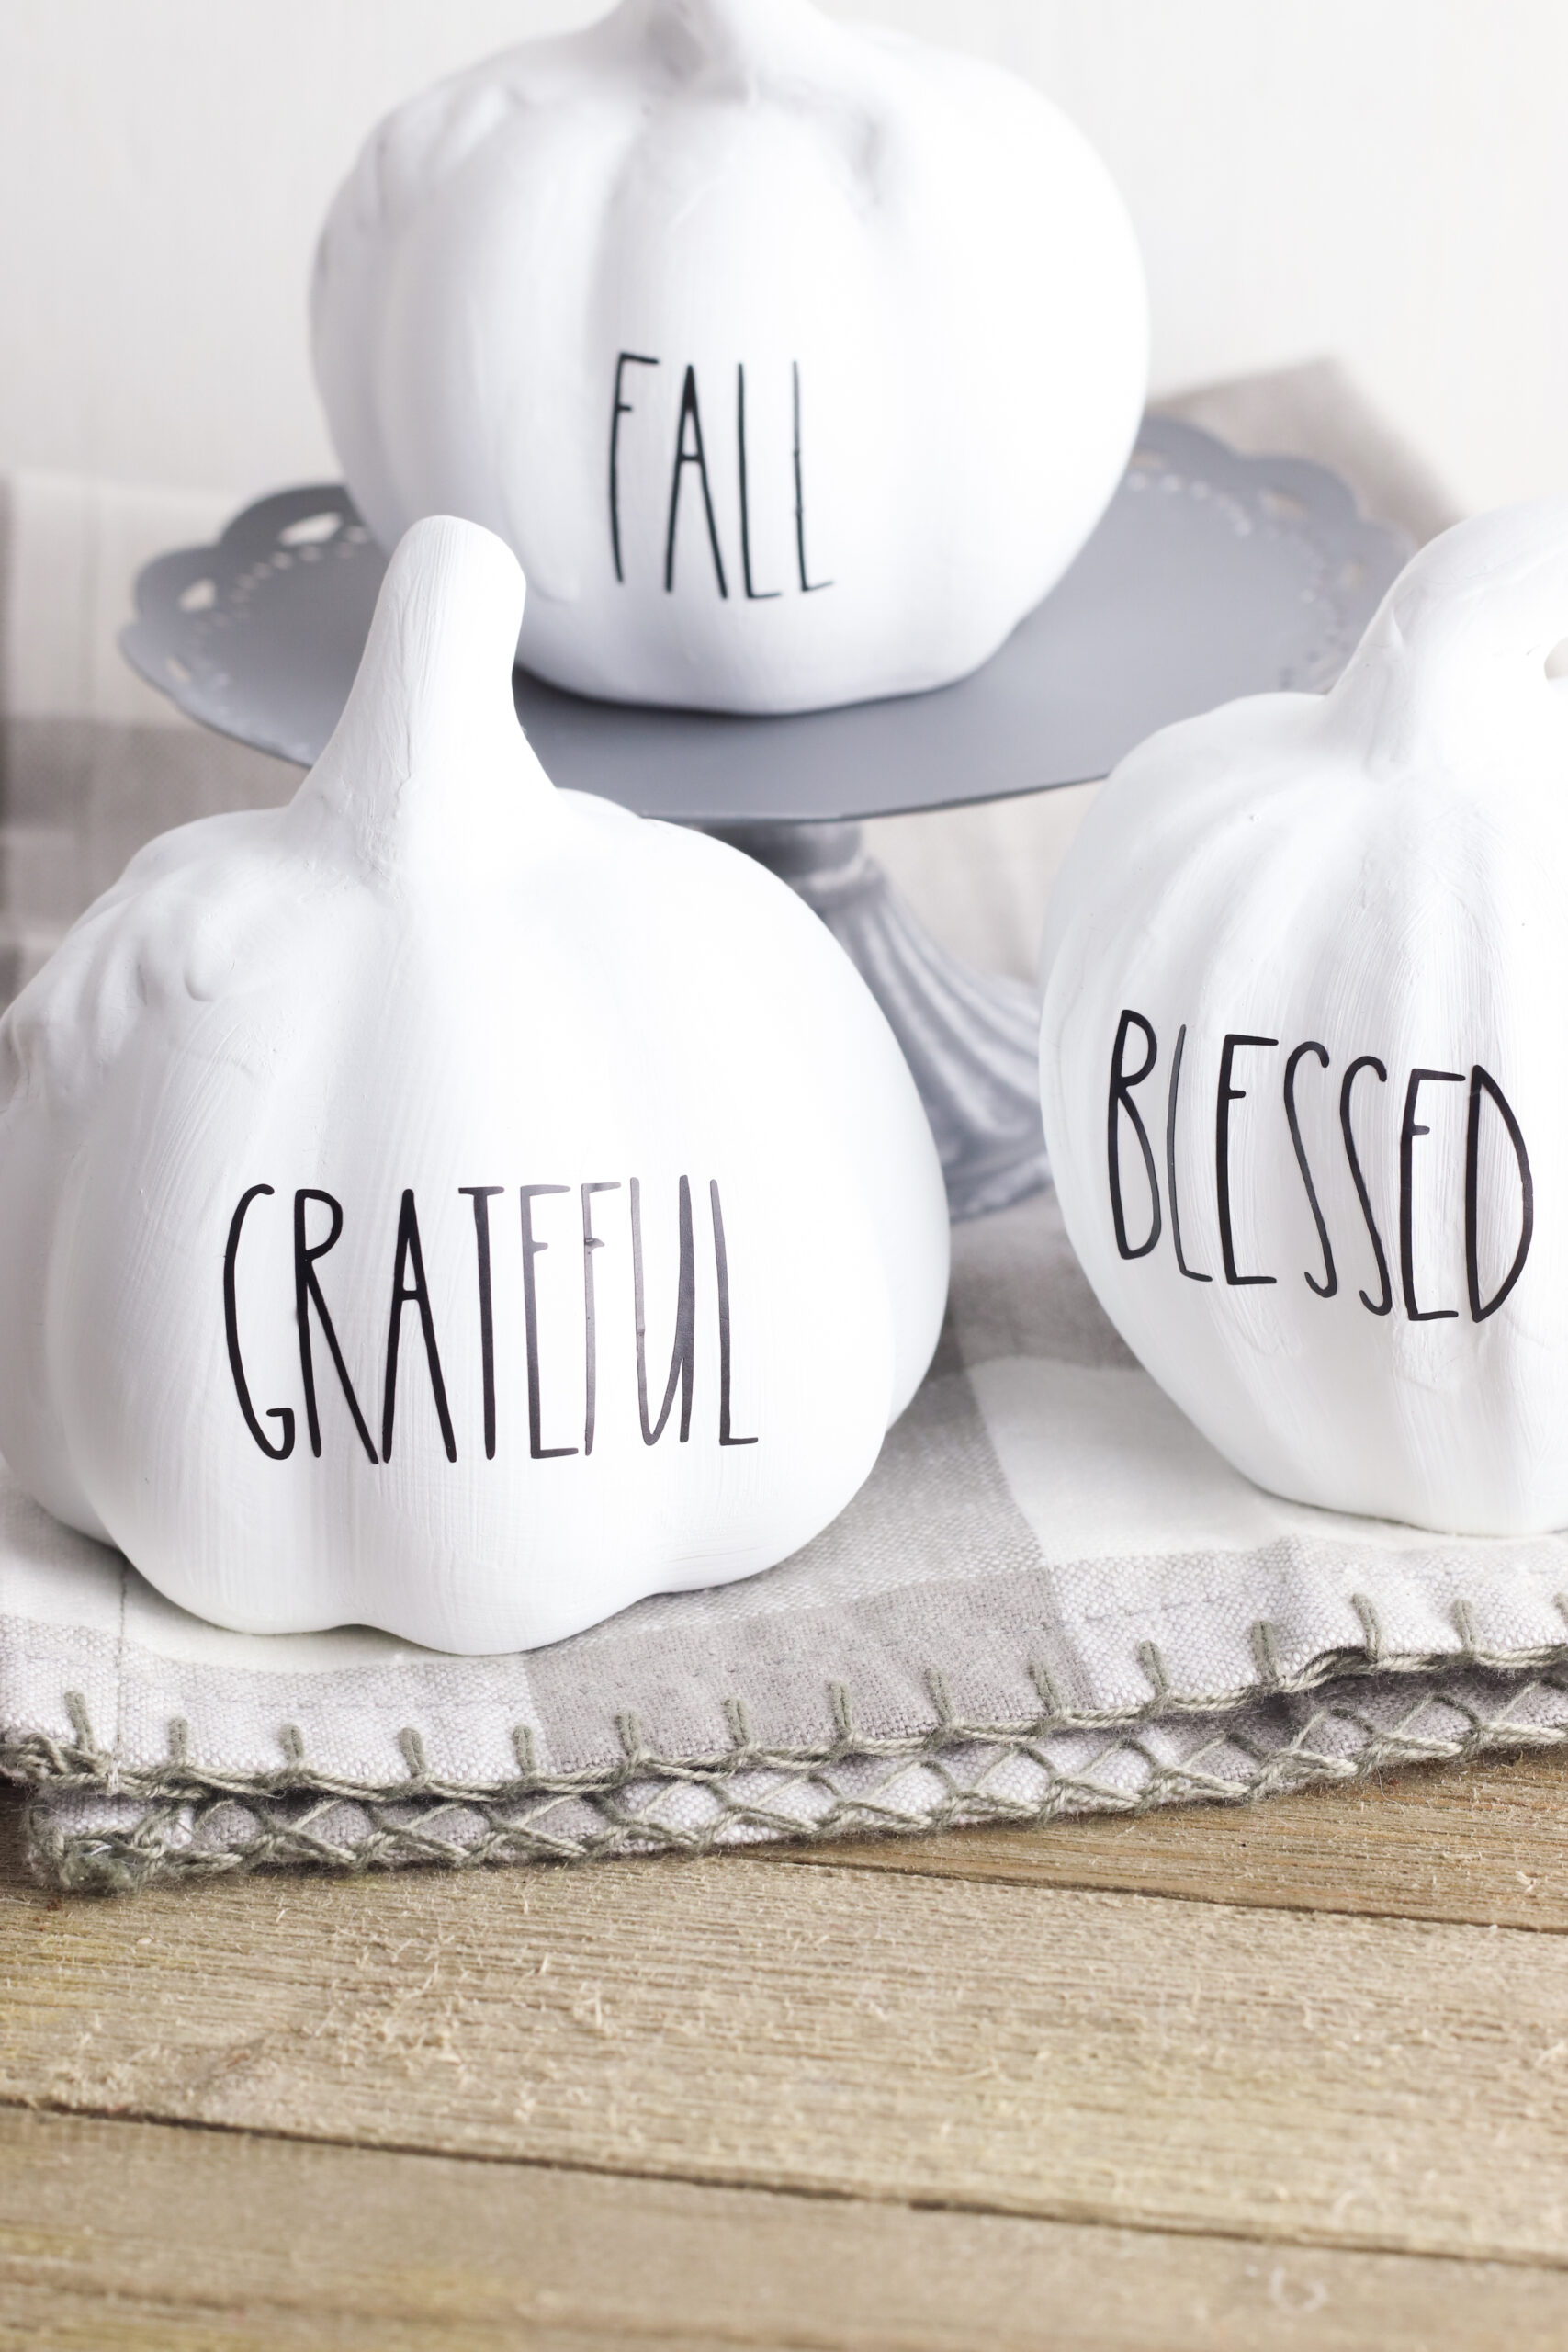
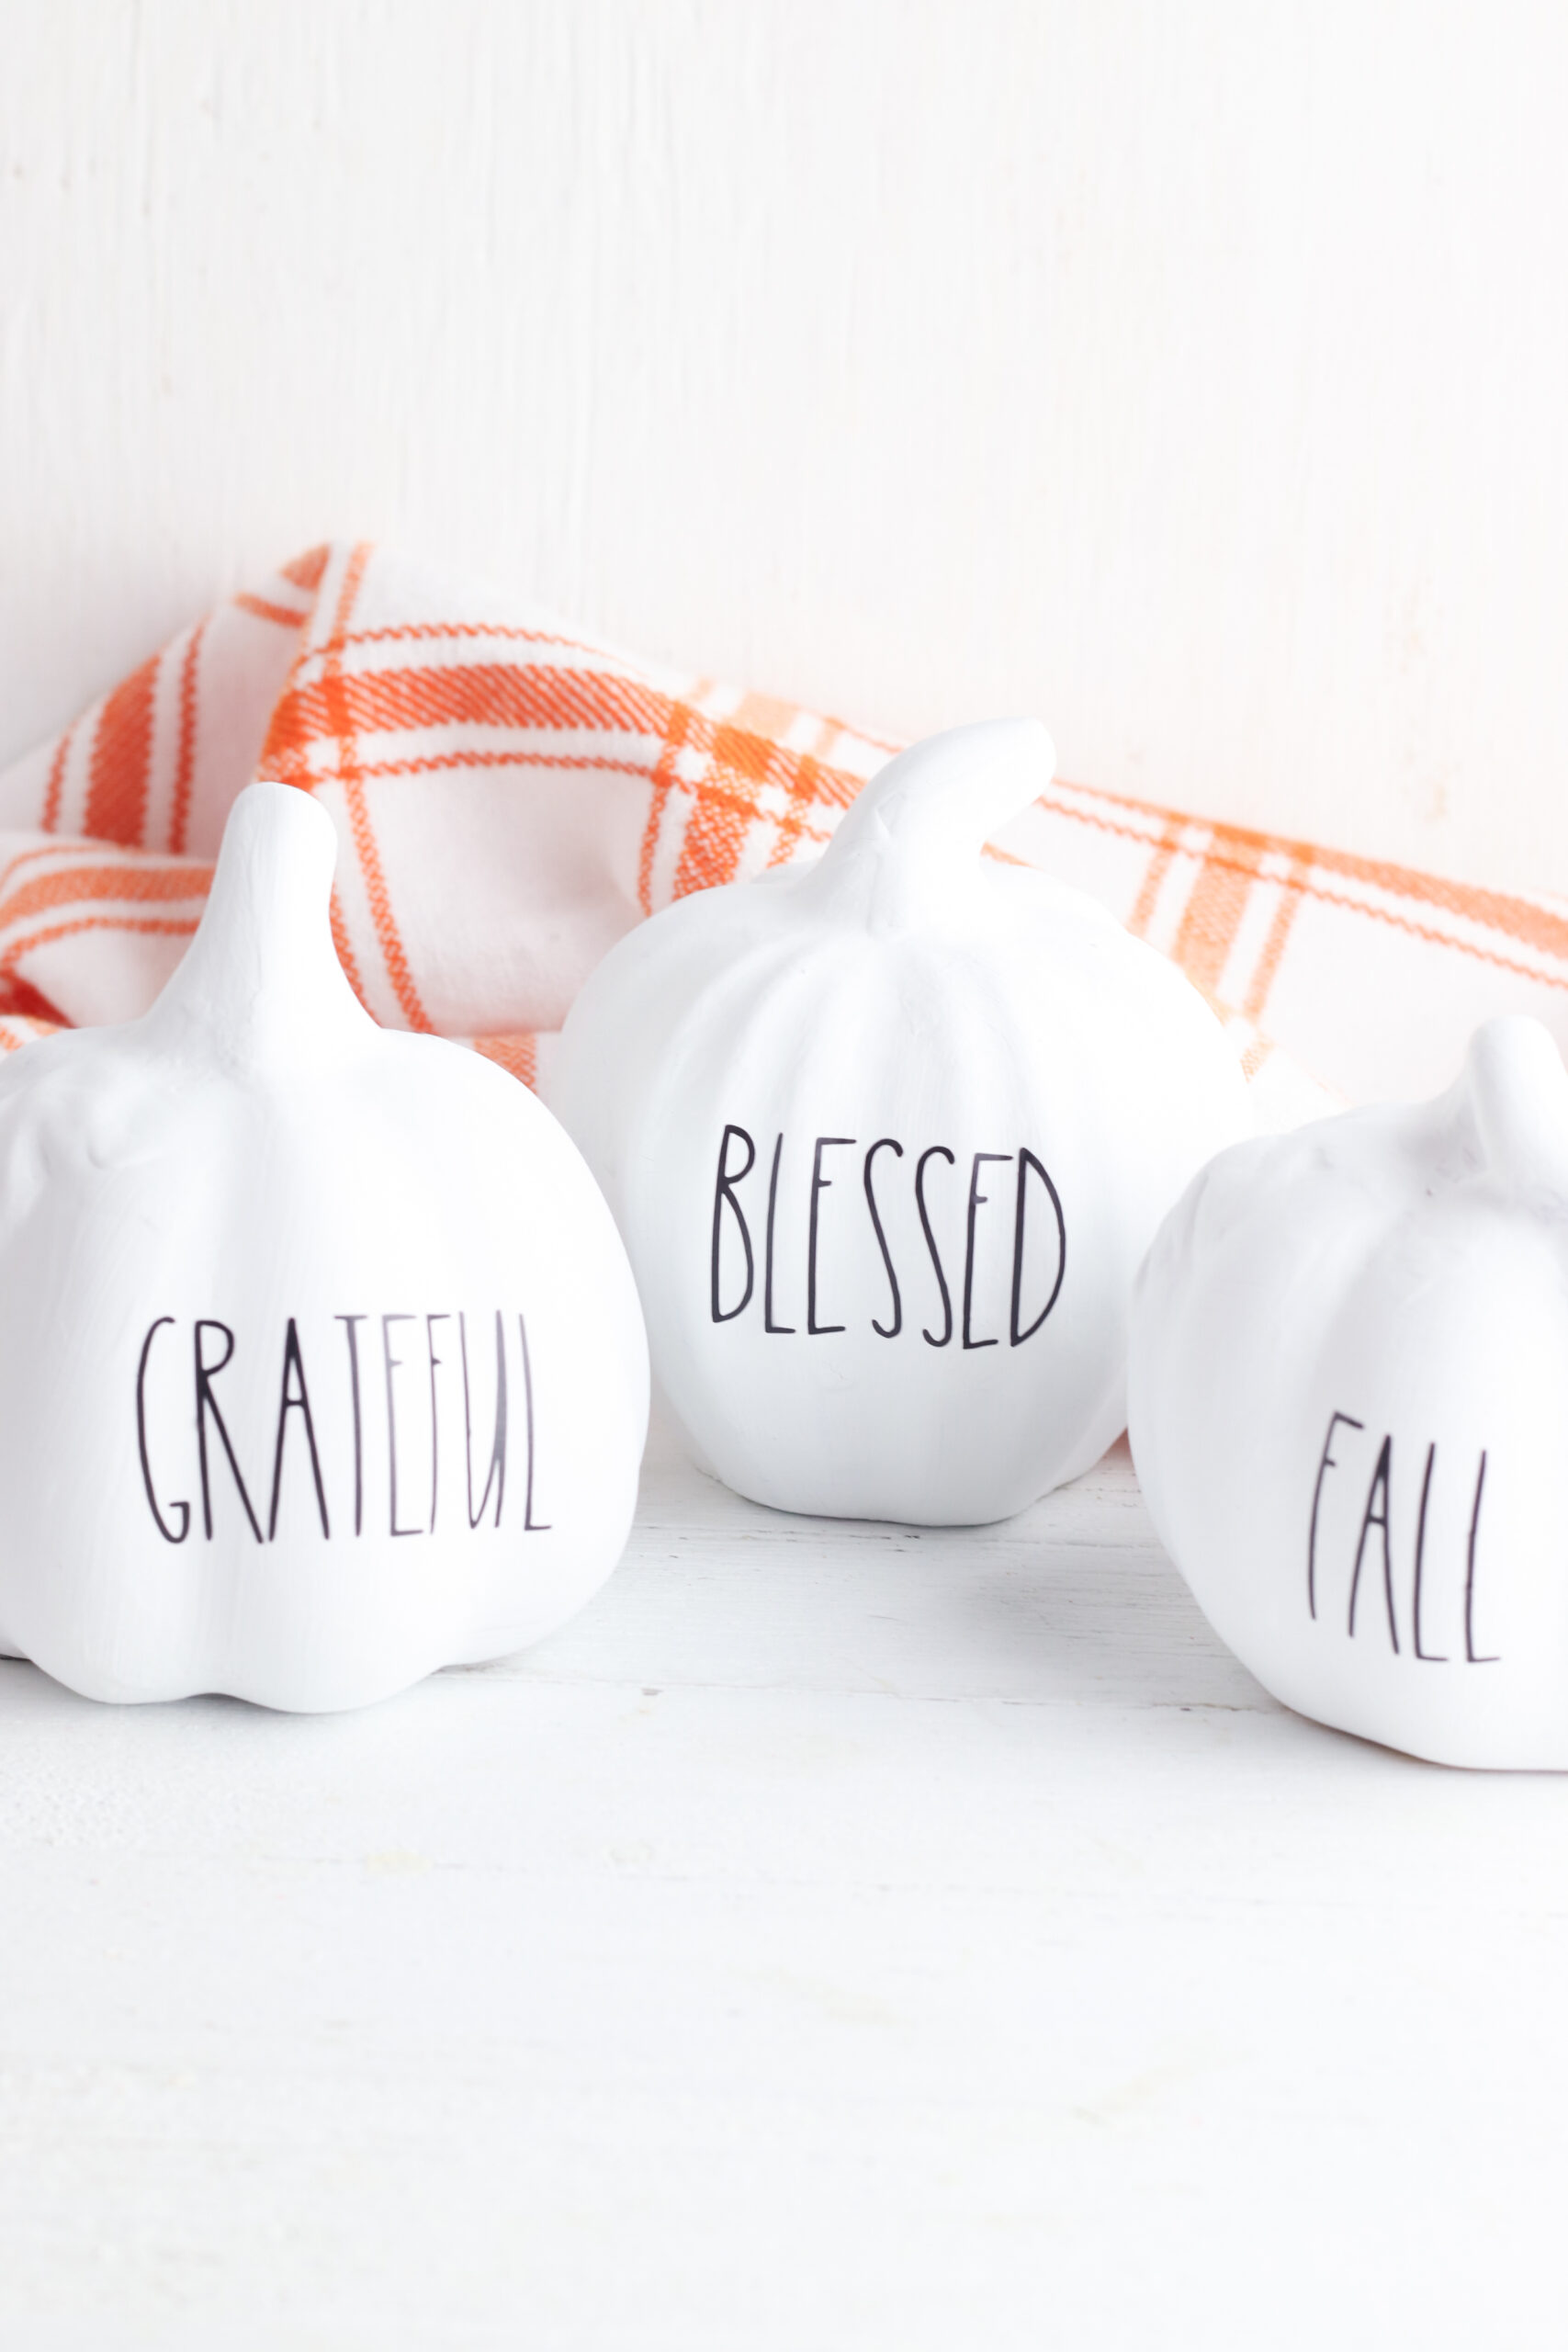
Now you’ve got the cutest little farmhouse pumpkins around!
It’s impossible to not fall in love with this effortless way to elevate your home decor! And guess what? It’s a budget-friendly project that will add a touch of style to your space. Get ready to infuse your home with charm and create a cozy atmosphere without breaking the bank!
Want to add some sparkle to your pumpkin game? Feel the need to kick things up a sparkly notch or two? Give your pumpkins a touch of glitter for that extra pop! We’re talking glittler or rhinestones here. * Chefs Kiss! *
Get ready to amp up your fall decor with this fun pumpkin craft that will give your space a whole lot of personality.
Other Fall Crafts from Jennifer
If you’re in the mood for fall crafting, check out these other fun ideas:
- Fun Fall Mason Jar Crafts
- Fun & Easy Fall Crafts & Decor Projects
- How to Make DIY Fall Gnomes
- Faux Succulent Fall Planter
- Always Grateful Fall Sign Made with Cricut
Pin this Easy Farmhouse Painted Pumpkins craft for later:
Easy Farmhouse Painted Pumpkins
Want to spruce up your home with some delightful fall decor? Well, look no further! We've got just the thing for you: DIY farmhouse style painted pumpkins. Get ready to add a touch of charm and creativity to your space this season.
Materials
- Glass pumpkins (purchased at Dollar Tree)
- White chalk paint
- Black vinyl
- Rae Dunn word SVG file
Tools
- Cricut Machine
Instructions
1. Paint each pumpkin using the chalk paint and allow to dry completely (approx 90 minutes).
2. Upload SVG into Cricut Design Space and select the file.
3. If you’re not cutting all the words, ungroup the letters, then select which words you would like to cut.
4. Select all the letters in the word you will be cutting, then group those letters together.
5. Resize the word to fit on your pumpkin. Letters for small Dollar Tree pumpkin should be 1 inch tall.
6. Delete the remaining words.
7. Weld the words together.
8. Cut the words on the black vinyl and weed the excess vinyl from around each word.
9. Place transfer tape over each word and transfer the vinyl to the front of each pumpkin, starting in the middle of the word and pressing outward to adhere the vinyl to the pumpkin.
10. Press each letter into the pumpkin firmly, then remove the transfer tape.
Leave a Reply