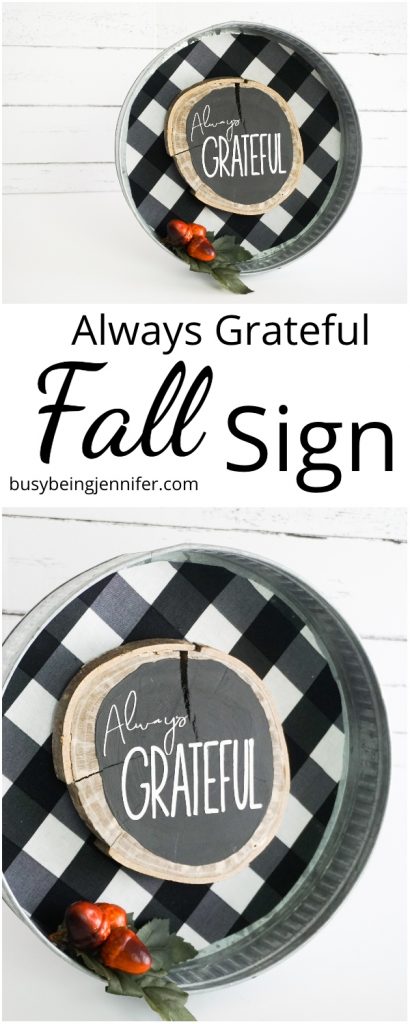
I love this Always Grateful Fall Sign I made. It’s a fun fall home decor item or you can hang it like a wreath on your front door.
The best part, though, it was super quick to come together, just a few minutes painting, cutting, then it’s just a bit of hot glue and I was done!
This easy fall art was inspired by some fall napkin rings I have (I know–how does a napkin ring inspire anyone?!) that have this beautiful black and white buffalo check fabric on a silver ring.
Then I found the metal plate/charger thing and I KNEW this sign was going to come together for me.
I plan to put mine on the entry table, but, let’s be honest, if you used E6000 glue instead of hot glue, and add a hook, you could hang this on your front door as a wreath. It’s super cute and perfect for Thanksgiving and fall season!
Now, let’s get your buffalo check out and get making!
Oh, but before we do that, if you’re looking for more awesome fall DIY ideas, be sure to check out these fun fall crafts I pulled together for some leafy-inspiration!
Now, on to this amazing Always Grateful Thanksgiving wall art.
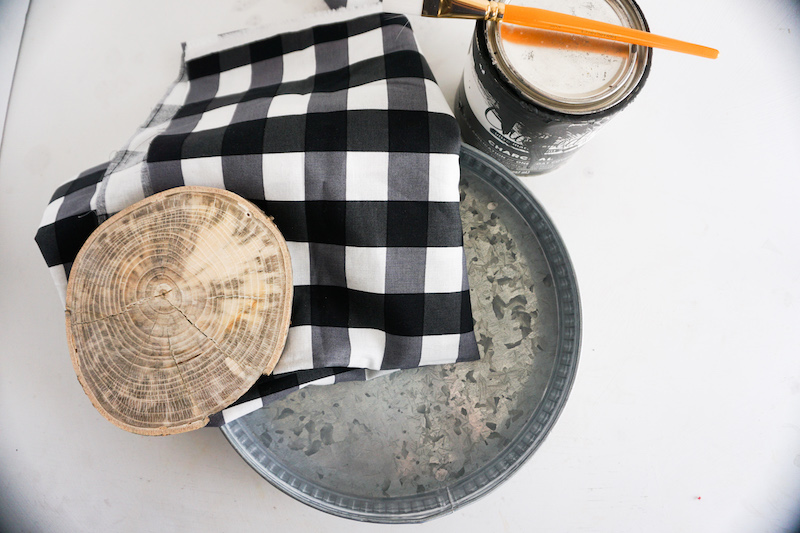
What You Need to Make the Thanksgiving Cricut Fall Project
- 1 12-inch Round Metal Charger or Serving Dish
- 1 8-inch Wood Round
- Black Chalkboard Paint
- 1/8 yard Black and White Buffalo Check Fabric
- Always Grateful Cut File
- White HTV
- Fall Floral Bauble (I used a trio of acorns)
Tools you’ll need to make this Always Grateful Fall Wall Art
- Paintbrush
- Hot Glue Gun & Glue
- Cricut or Silhouette
- Iron or Heat Press
How to Make the Always Grateful Fall Sign Made with Cricut
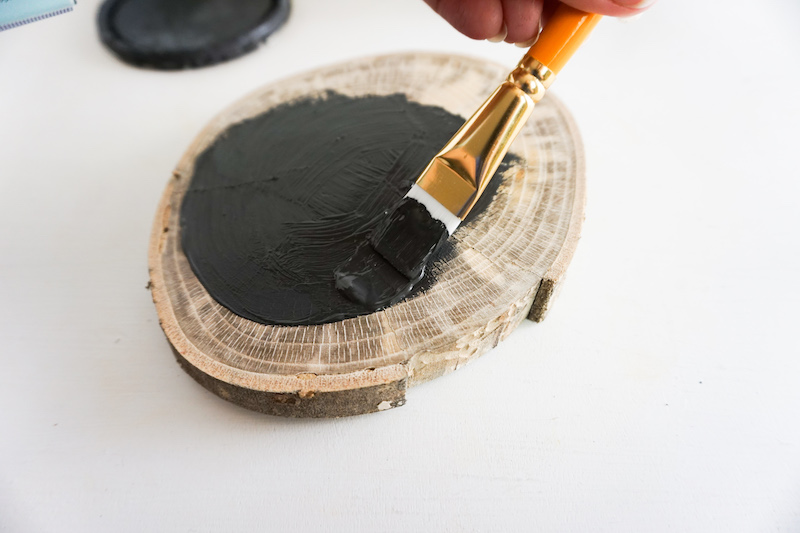
Paint the majority of the center of the wood round with the black chalkboard paint. Be sure to follow one of the rings of the wood and it’ll look organic and beautiful. Allow paint to dry fully.
Using the metal charger as your guide, trace the inner circumference of the metal charger onto the back of the buffalo check fabric.
Cut out the circle from the buffalo check fabric.

Trim it to be exactly the inner circumference of your metal charger so that it fits nicely in the bottom.
Hot glue the fabric in place inside the bottom of the metal charger.

Click here to download the Always Grateful SVG file for this super cute Cricut craft.
Cut the Always Grateful cut file from the white HTV using your Cricut Explore or Silhouette Cameo. Be sure to mirror the image in Cricut Design Space or Silhouette Studio, that way you don’t waste vinyl.
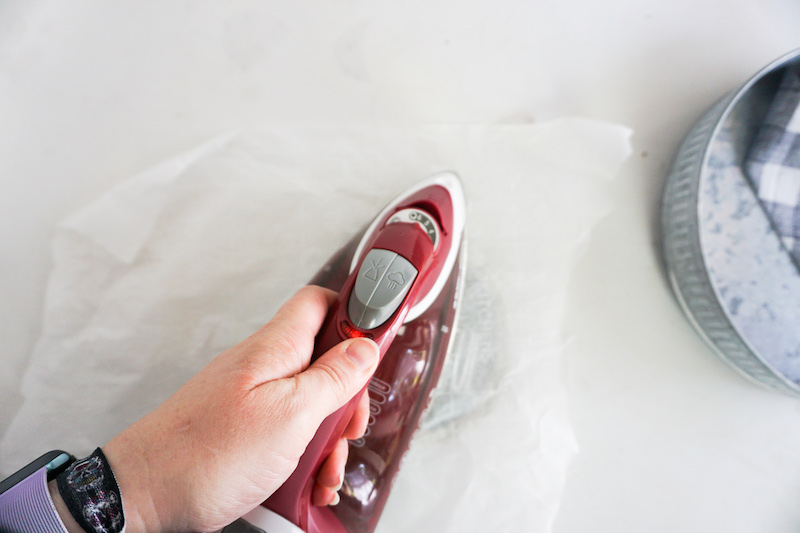
Weed the Always Grateful HTV and, with the iron, transfer the vinyl onto the wood round, centered in the black painted area.
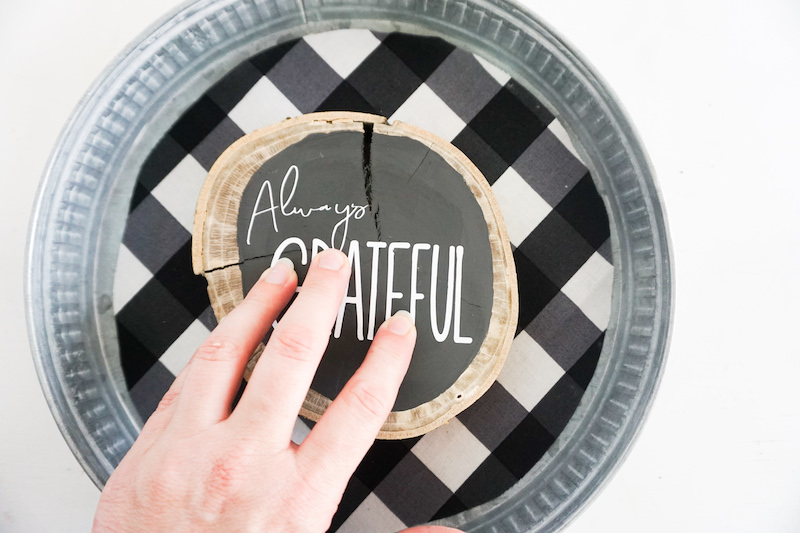
Hot glue the wood round into the center of the buffalo check fabric in the bottom of the charger.
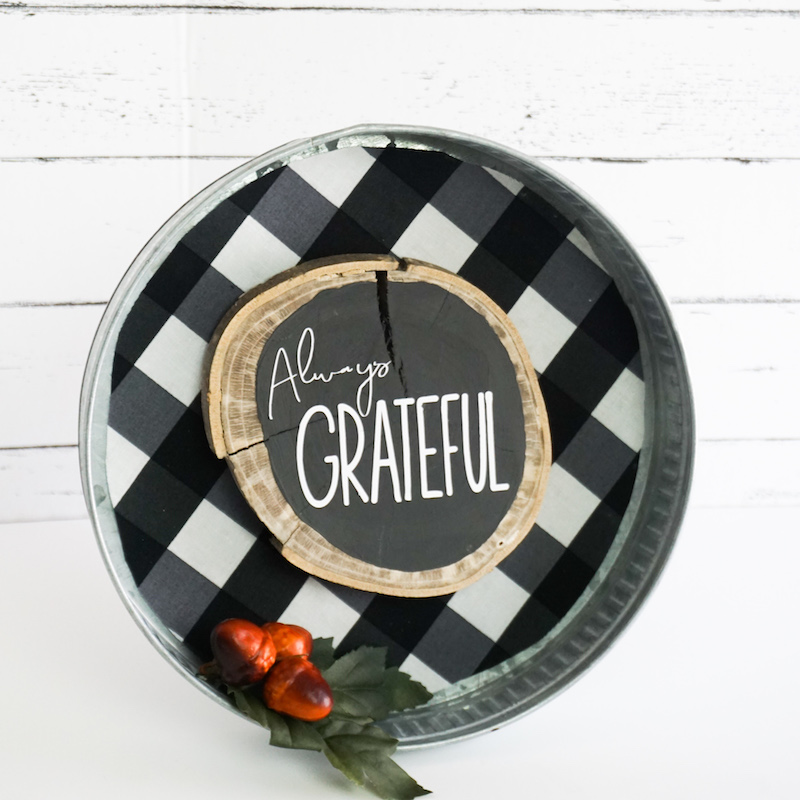
Affix the fall bauble you’ve got in the lower left corner.

Enjoy!
If you love this adorable wood round fall sign, be sure to pin it to your favorite fall DIY ideas board on Pintrest, so you can find it quick when you’re ready to break out your fall decorations again!
More Fall DIY Projects You’ll Love
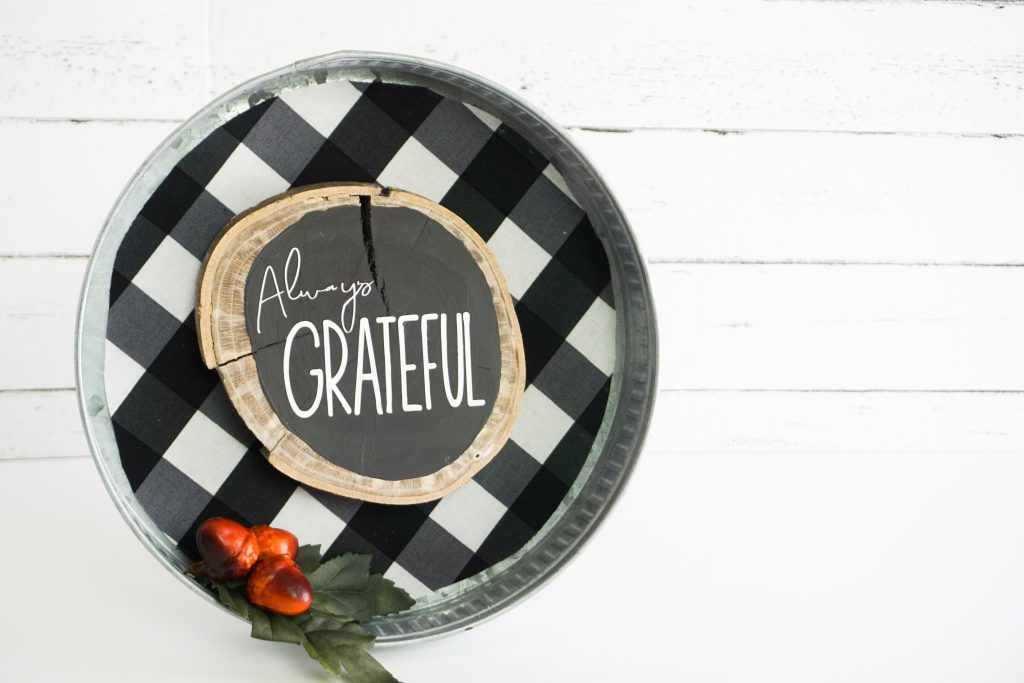
Always Grateful Fall Sign
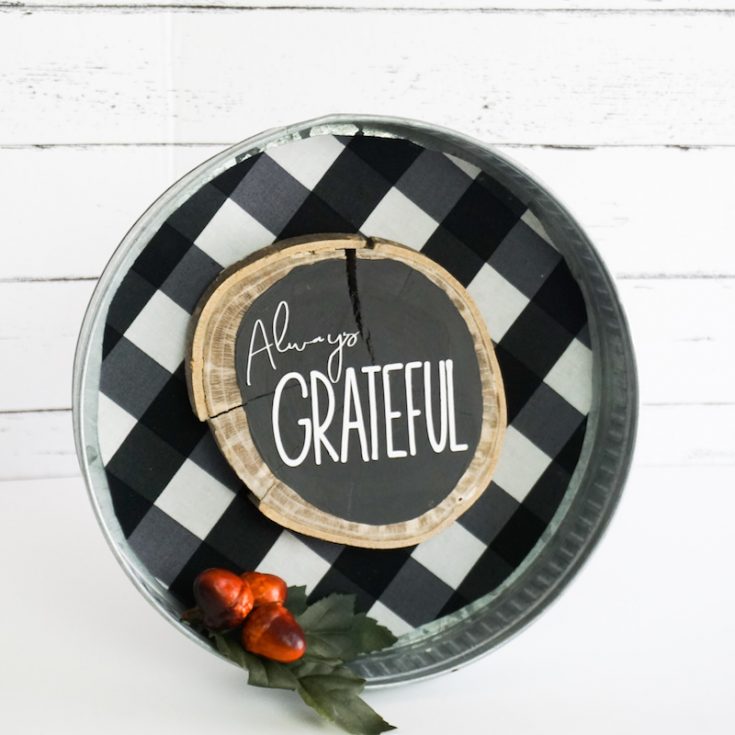
This Always Grateful Fall Sign is such a beautiful addition to your entryway or mantle. I love the buffalo check and wood round--it just all comes together so well!
Materials
- 1 12-inch Round Metal Charger or Serving Dish
- 1 8-inch Wood Round
- Black Chalkboard Paint
- 1/8 yard Black and White Buffalo Check Fabric
- Always Grateful Cut File
- White HTV
- Fall Floral Bauble (I used a trio of acorns)
Tools
- Paintbrush
- Hot Glue Gun & Glue
- Cricut or Silhouette
- Iron or Heat Press
Instructions
- Paint the majority of the center of the wood round with the black chalkboard paint. Be sure to follow one of the rings of the wood and it'll look organic and beautiful. Allow paint to dry fully.
- Using the metal charger as your guide, trace the inner circumference of the metal charger onto the back of the buffalo check fabric.
- Cut out the circle from the buffalo check fabric. Trim it to be exactly the inner circumference of your metal charger so that it fits nicely in the bottom.
- Hot glue the fabric in place inside the bottom of the metal charger.
- Cut the Always Grateful cut file from the white HTV using your Cricut or Silhouette. Be sure to mirror the image, that way you don't waste vinyl.
- Weed the Always Grateful HTV and, with the iron, transfer the vinyl onto the wood round, centered in the black painted area.
- Hot glue the wood round into the center of the buffalo check fabric in the bottom of the charger.
- Affix the fall bauble you've got in the lower left corner.
- Enjoy!
Ohhh I love it hanging! I need to do something similar in the kitchen and this is totally my Inspo!
This turned out so beautiful! Love it!