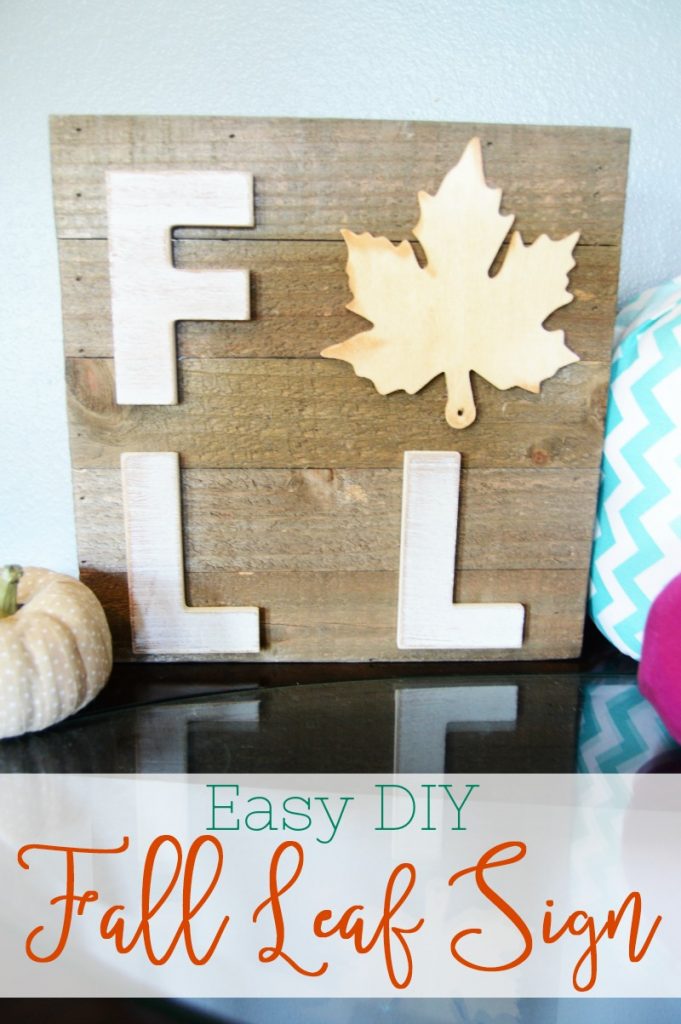
I’ve been in a DECORATE ALL THE THINGS for fall sort of mood these last few weeks. And apparently, a sign making mood too! This Easy DIY Fall Leaf Sign was the perfect thing to add to the fall decor rotation!

*affiliate links included in this post*
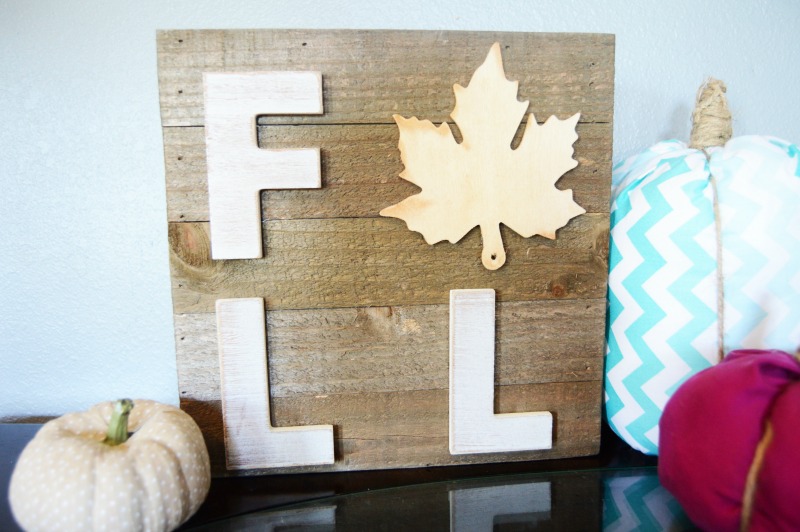
Isn’t this Easy DIY Fall Leaf Sign adorable? Here’s what you need to make your own!
Supplies:
Blank Hanging Wooden Sign (we found ours at Walmart in the craft section)
Wooden letters F, L, L (This set is awesome!!)
Wooden leaf
Hot Glue Gun

Easy DIY Fall Leaf Sign Directions:
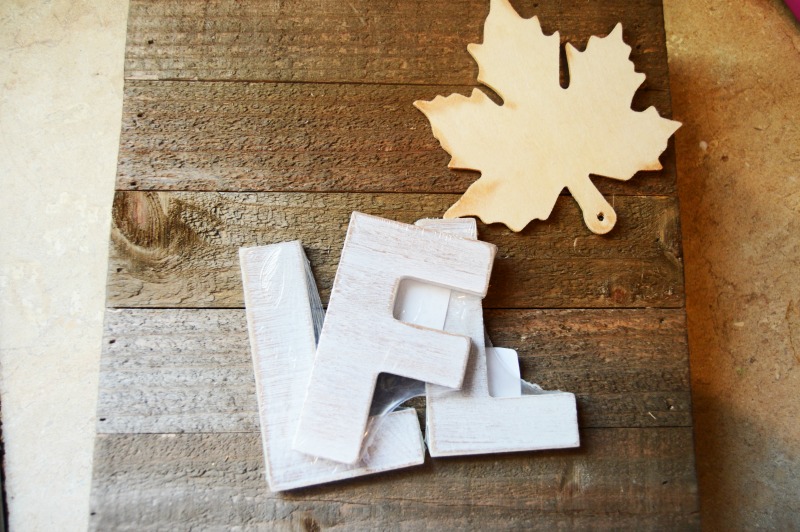
Plug in your glue gun to allow to begin warming up. While it warms, remove the plastic from the letters, and any stickers from barcodes that are on them. Before gluing anything down, line up the letters and the leaf how you want them to look on the sign. If your sign has wall or door hangers built into it already, be sure to keep that in mind when designing and attaching your letters.

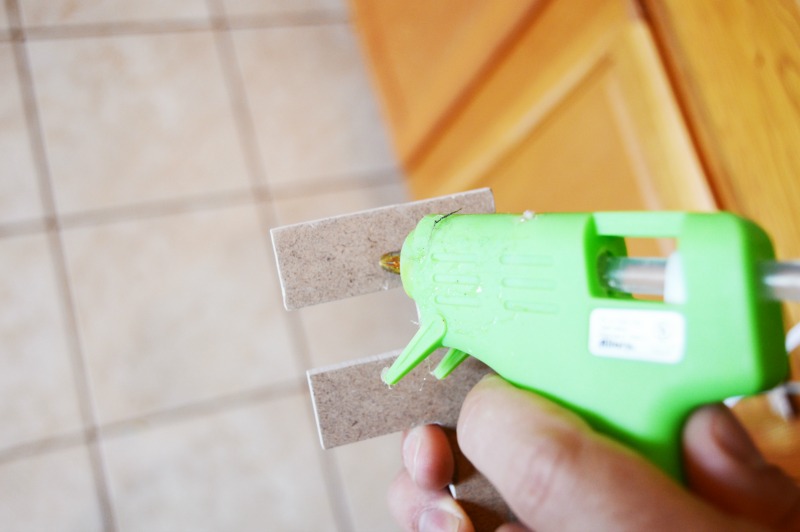
Once you have your letters lined up, and your glue gun is hot, attach your letters to the sign first. Make sure you don’t take too long placing the letters after applying the glue, because the glue will dry very quickly and then your letters won’t adhere like you need them to. Lastly, attach your leaf in the space where the “A” for FALL should go. You can keep it straight up and down, or give it a sideways twist to give your sign a little character.

Allow your sign to dry laying flat for five to ten minutes before displaying. This Easy DIY Fall Leaf Sign can be used from September through the end of November, and adds the perfect touch to any place it’s put. You could also use this decor outside if you want as well to make your porch feel more seasonal!
Do you go to town with your fall decor? Check out these other Fall Decor Ideas!

Nice artistic sign that is calming to look at