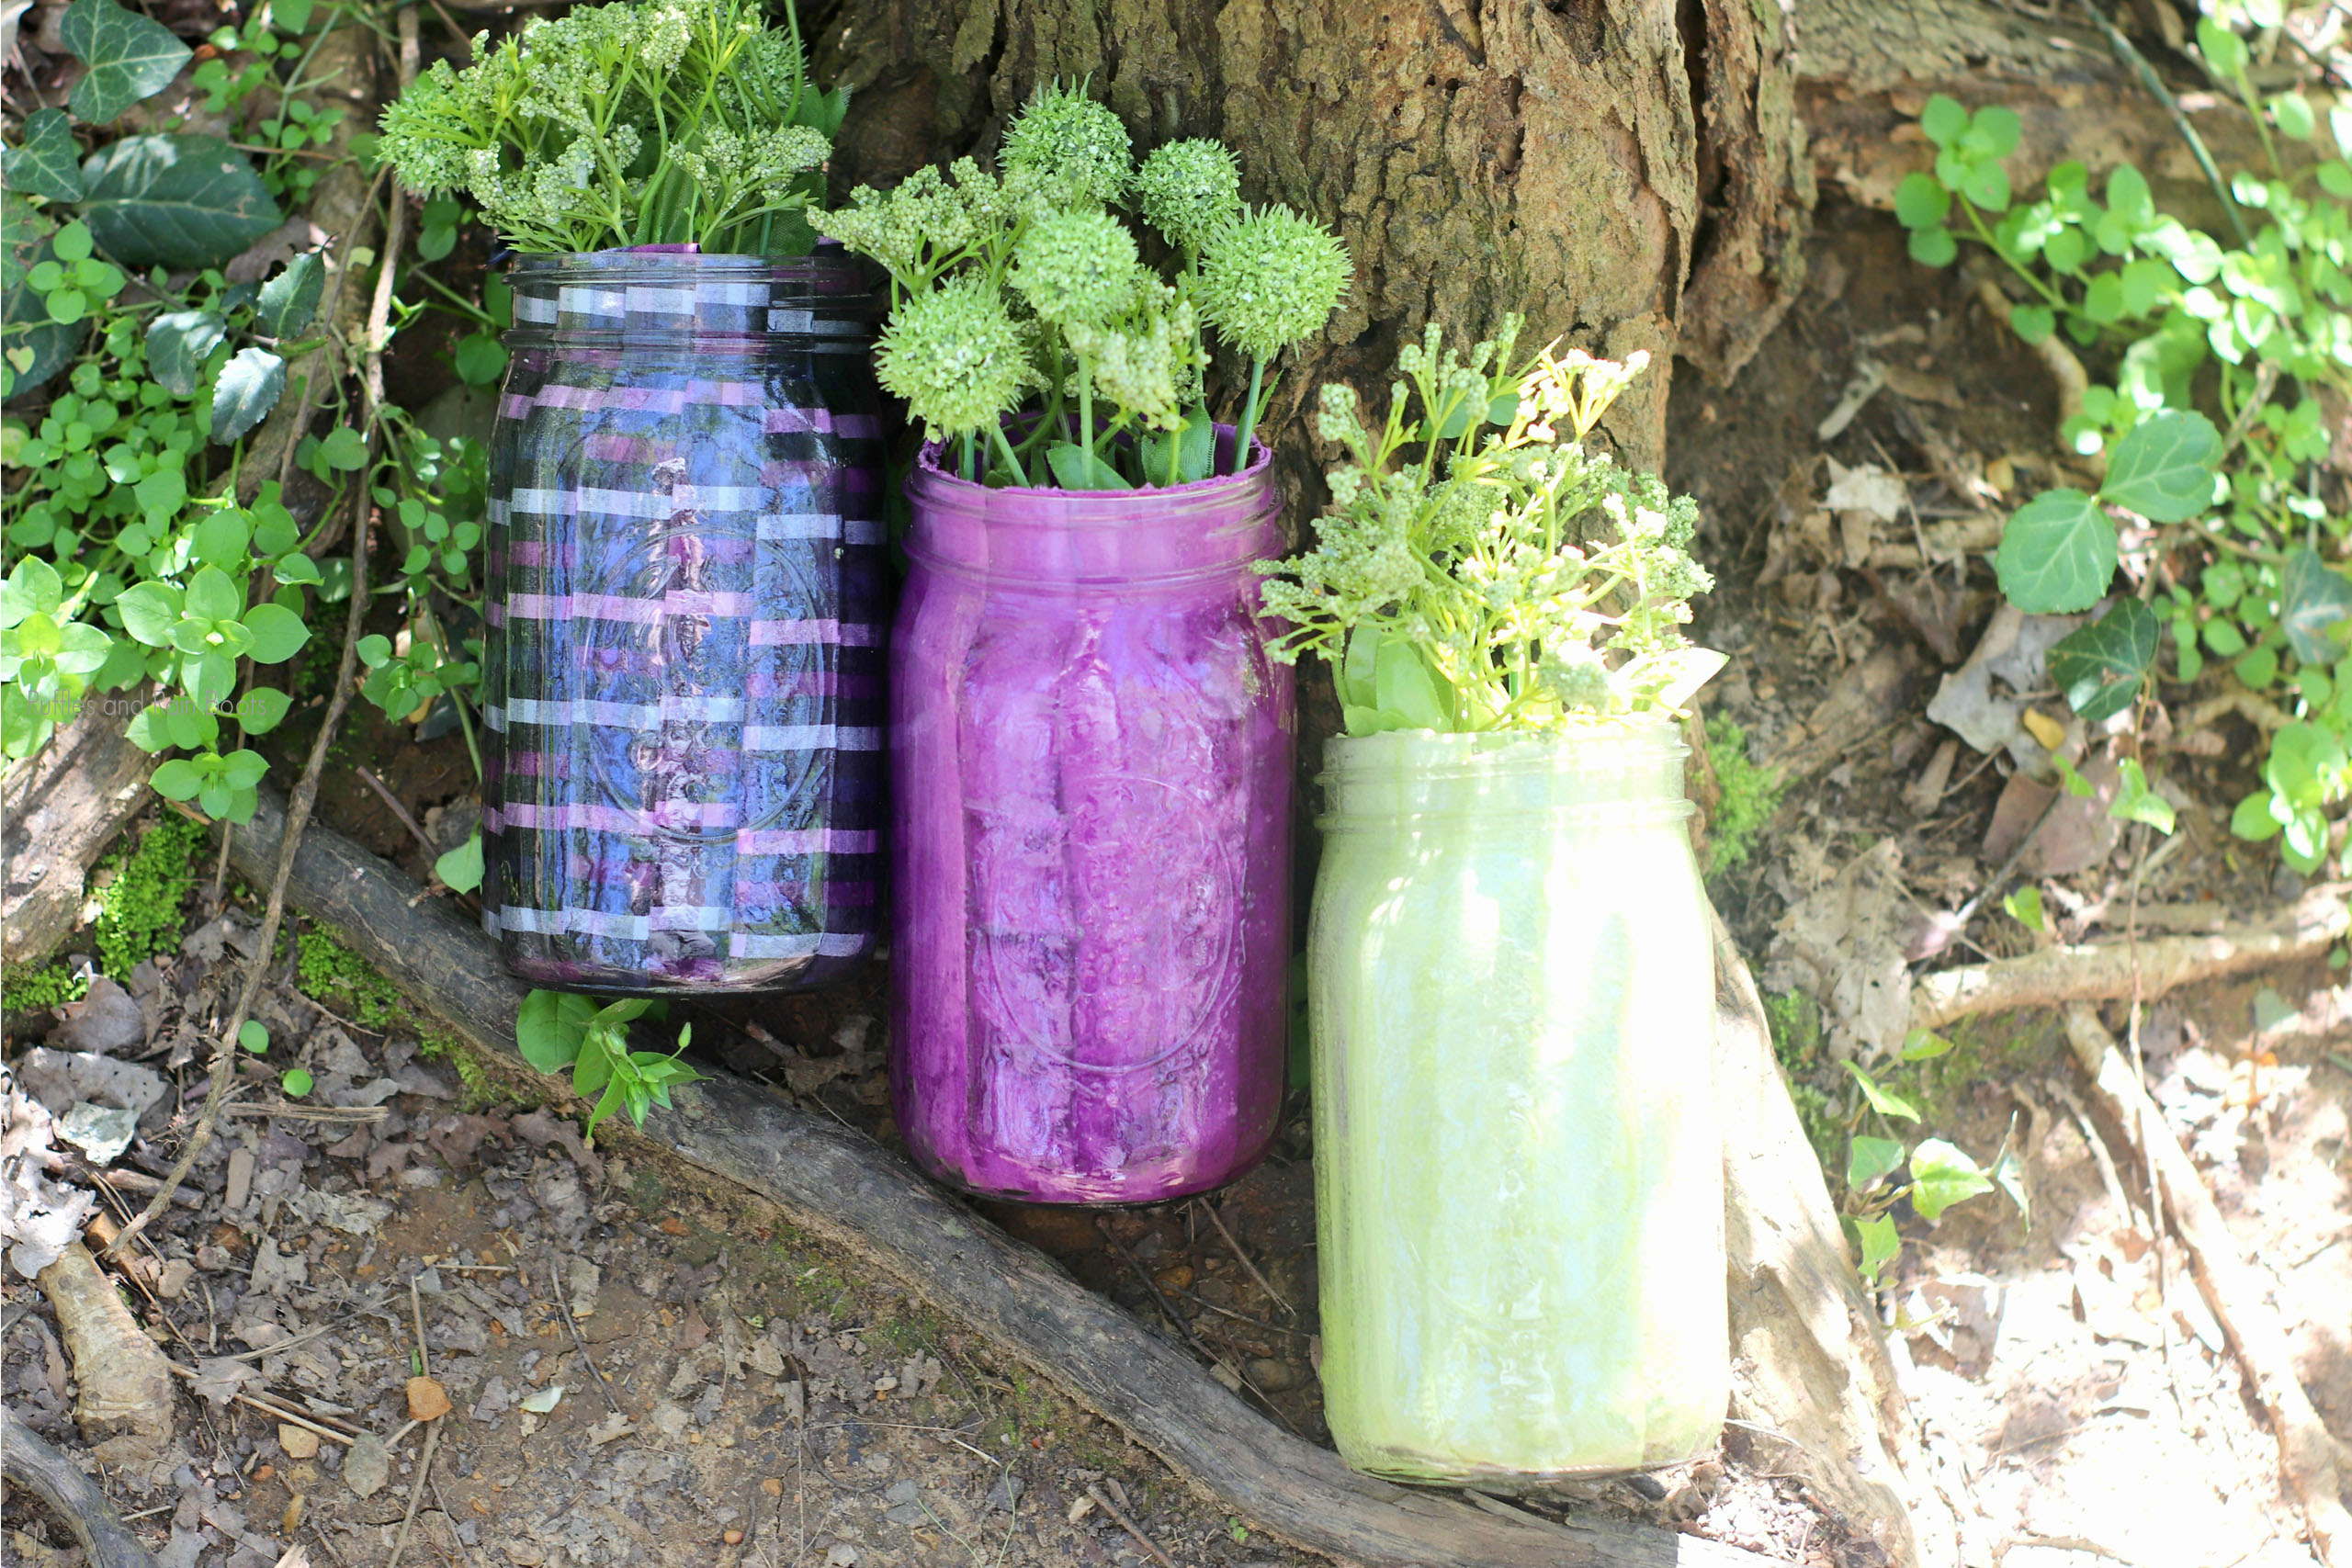
I made these awesome Upcycled Mason Jars with old shirts on a whim, because I have an enormous number of jars and really needed to brighten my porch. So, rather than just grabbing some plants, I decided to make a set of unique planters that are totally all my own!
And you can see that the resulting quick and easy craft is seriously stunning. Just let your imagination run wild! You can do anything with a shirt in any color you want or even a pretty print (I mean, look at those stripes!).
The level of creativity is only constrained by your own personal limitations.
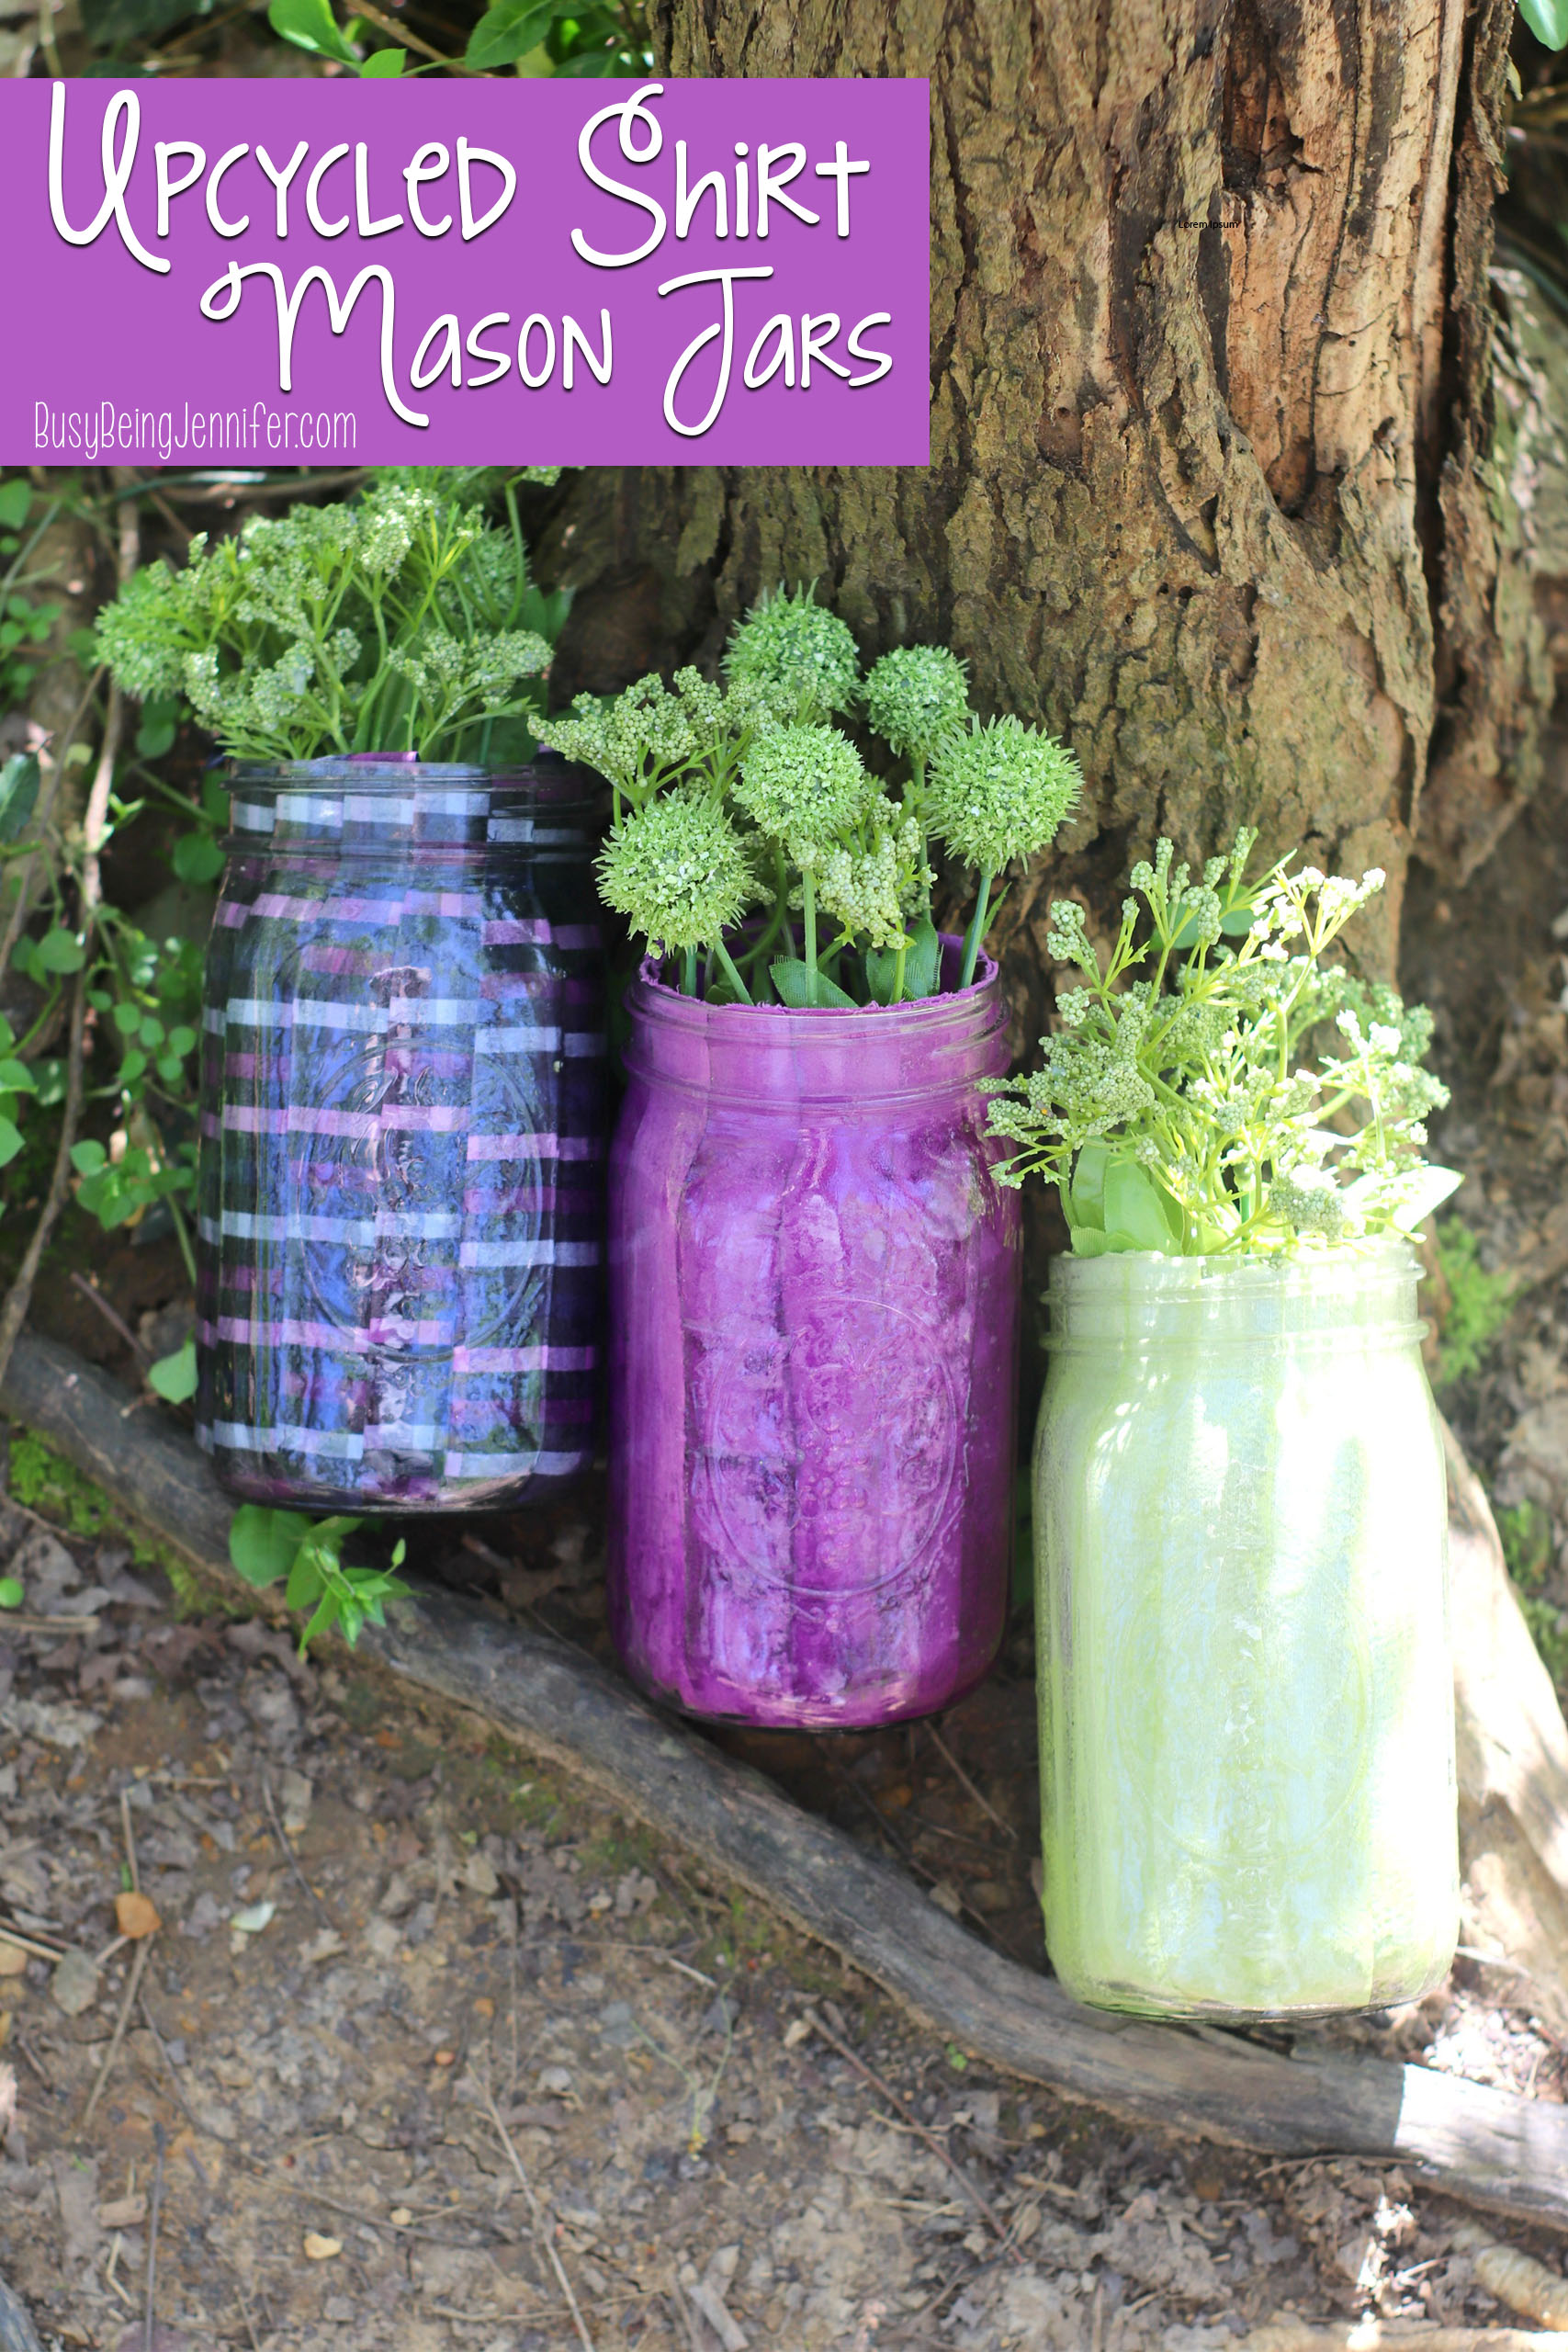
So, if you’re feeling a bit creative and want to add a little pop of color to your otherwise sadly empty mason jars, this is the project for you.
Or if you just like to make something fun as a gift–these are perfect and quick. But truly meaningful.
Seriously, this project is just a joy to do and a joy to see on the porch–and that right there is the best reason of all to make something by hand.
Ok. So, if you’re ready to really take those old mason jars and breathe new life in them, grab an old shirt and let’s make!
What You Need to Make Upcycled Shirt Mason Jars
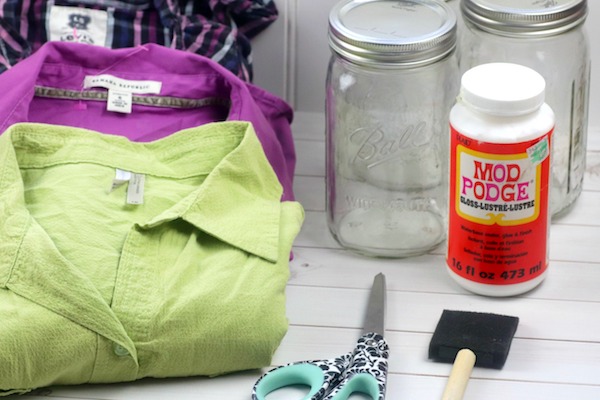
- Ladies shirt (we found ours at a local thrift store, but if yours is closed, dig into your closets!)
- Wide mouth mason jar
- Scissors and a ruler or a rotary cutter, a mat and ruler
- Mod podge
- Foam brush
- Chopstick
How to Make Upcycled Shirt Mason Jars
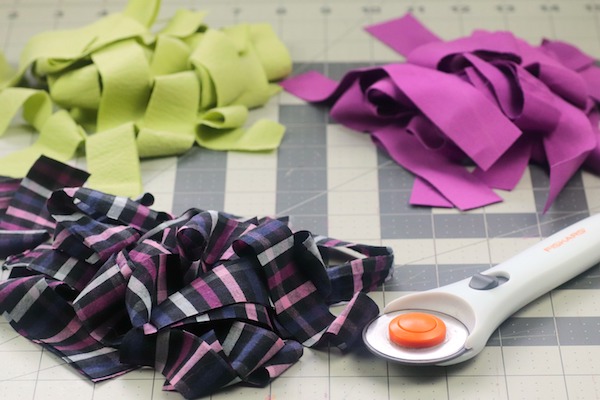
Cut your shirt into sections about 7-inches long by 1 inch wide. I recommend you save the sleeves, buttons, and collars for future projects–but I also tend to hoard craft supplies. That’s just me.
I used 15-20 strips per jar, but this is wholly dependent on how wide you make the strips, so keep that in mind.
There are two ways to affix the fabric strips to the interior of the jars.
The first method is to apply modpodge to the fabric and then slip the fabric inside the jar and try to smooth it down.
The second method is to apply the modpodge to the inside of the jar and then lay the fabric strip over the modpodge and smooth it down.
Whatever works for you is fine. The idea is to just get the fabric, modpodge and glass to be in contact with each other. You don’t have to soak the fabric in modpodge, but you can. It’s a very forgiving glue.
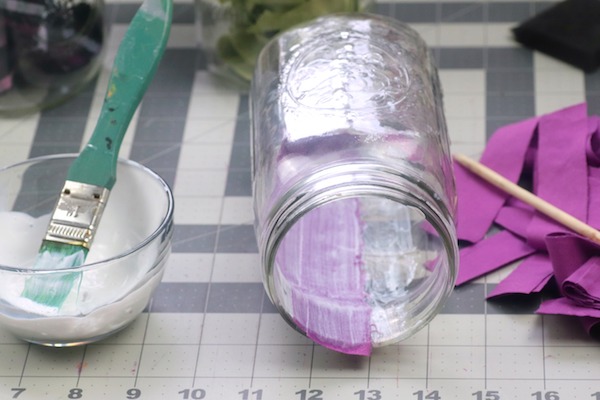
Repeat the process of gluing the strips side by side until the strips cover the entire interior of the jar.
Seal the fabric down with a second coat of modpodge and allow it to dry completely.
Trim any excess fabric from the top of the jar and enjoy!.
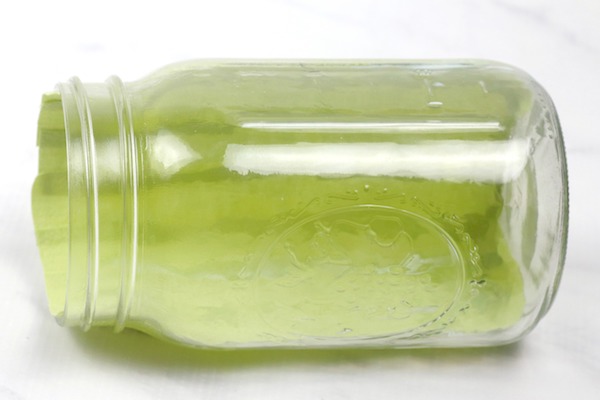
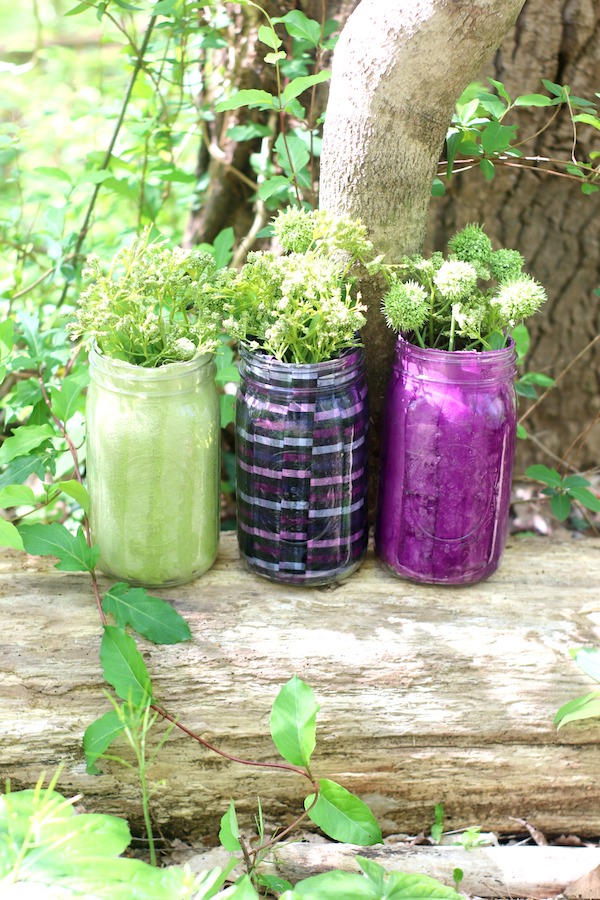
I think these make perfect planters or seed starters–but they’d also be gorgeous lanterns with those little LED candles. You can do so much with a mason jar and adding this touch of color just makes them so much more unique and fun.
Pin this handmade DIY idea for later:
More Easy DIY Ideas You’ll Love:
- Rolled Fabric Rose Farmhouse Wreath
- DIY Laundry Detergent (super budget-friendly!)
- How to Make an Interchangeable HOME Sign
Check out my Crafty Me board on Pinterest for even more DIY decor inspiration 🙂

Leave a Reply