Fall is here! Do you love it? I find myself layering on more clothes and grabbing a few extra warm drinks. So, grab that drink and let’s get right into this easy Fall Cricut Hand Towel Craft.
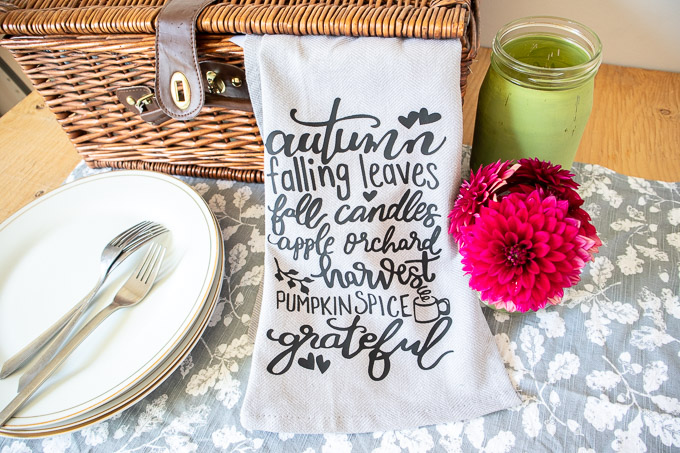
Do you love to use hand towels as decor in your kitchen? I know that it can seem intimidating to make them yourself, but with the Cricut Easypress, it’s a breeze! An iron-on project is one of the most simple DIY projects, and these Autumn Hand Towels turn out stunning no matter how new you are at using the Cricut Easypress.
If I am being completely honest, I haven’t had much time to be super crafty lately, but I like my home decor to look like I am. This DIY Cricut craft is simple, elegant, and make my home look like I spent a lot more money on them than I actually did. The template takes all the guesswork out of the design, so all you have to do is follow the instructions and you’ll end up with a beautiful finished product. I can’t wait to make more of these to give as gifts or to keep for myself!
All About Fall Cricut Hand Towel Craft:
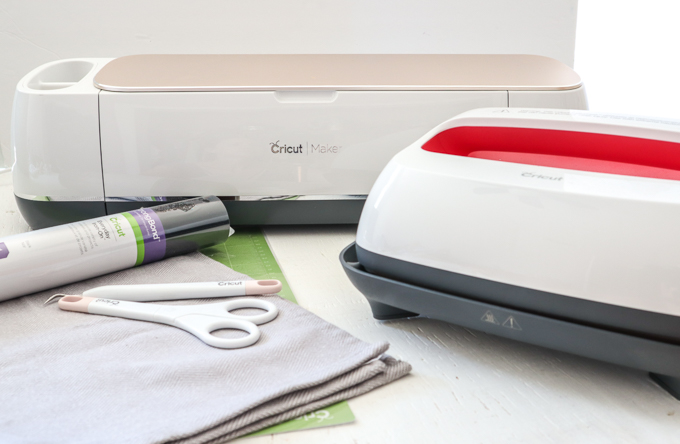
List of Materials Needed
- All About Autumn SVG (FREE File Download)
- Tea Towel, 100% Cotton
- Cricut Maker
- Everyday Iron On Vinyl, Black
- Cricut Standard Grip Mat
- Weeding Tool
- Scissors
- EasyPress 2
- EasyPress Mat or Towel
Instructions
Before We Get Started
There’s a bit we have to do before we can start creating our beautiful Autumn tea towel, but it’s no sweat. Just pop the towel in the wash and put it in the dryer.
After it’s dry, grab an iron and work out all those wrinkles and creases.
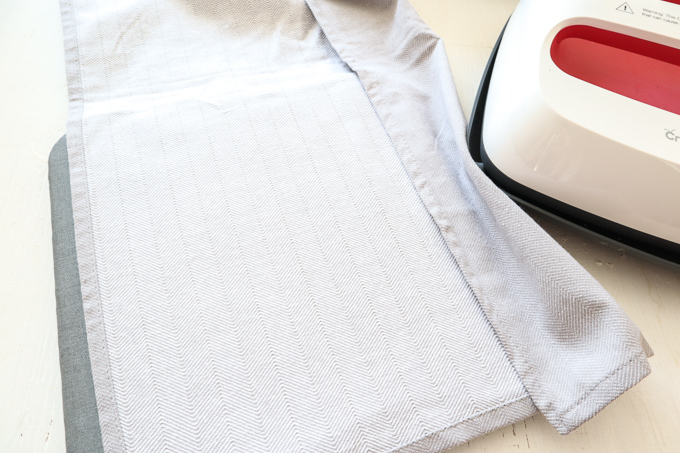
Now we’re ready to get down to the real fun part.
Sidenote: If you love your Cricut and you love fall, check out my Always Grateful Fall Sign with a free SVG file. Now your beautiful kitchen and your front door with thank me!
Back to the towel…
Preparing the Image
Pop open the Cricut Design Space.
Click on the “+” sign to start a new project, opening up a blank canvas.
Click on the Upload button from the toolbar to insert the All About Autumn SVG file on to the canvas.
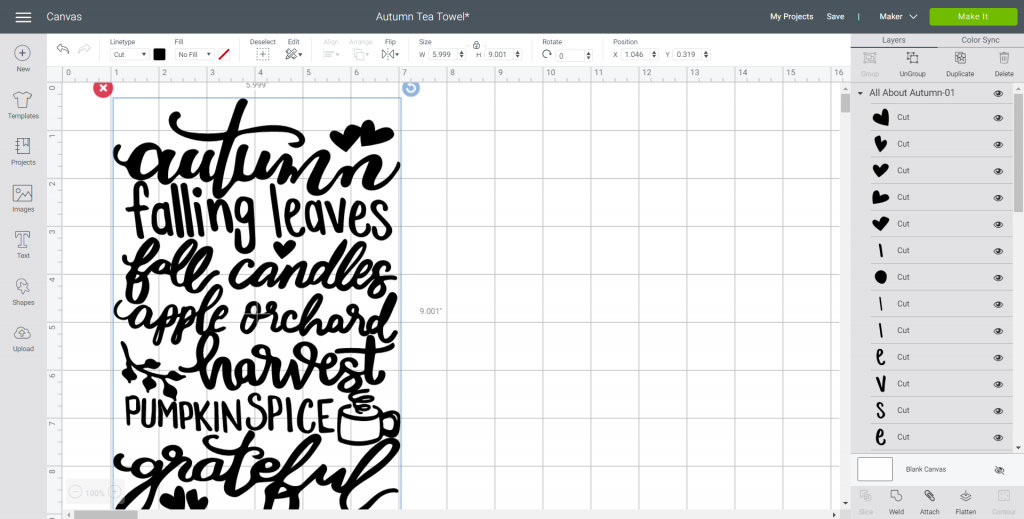
Maintain the size at roughly 6” wide by 9” high or adjust by highlighting the image and clicking on the size box in the top toolbar.
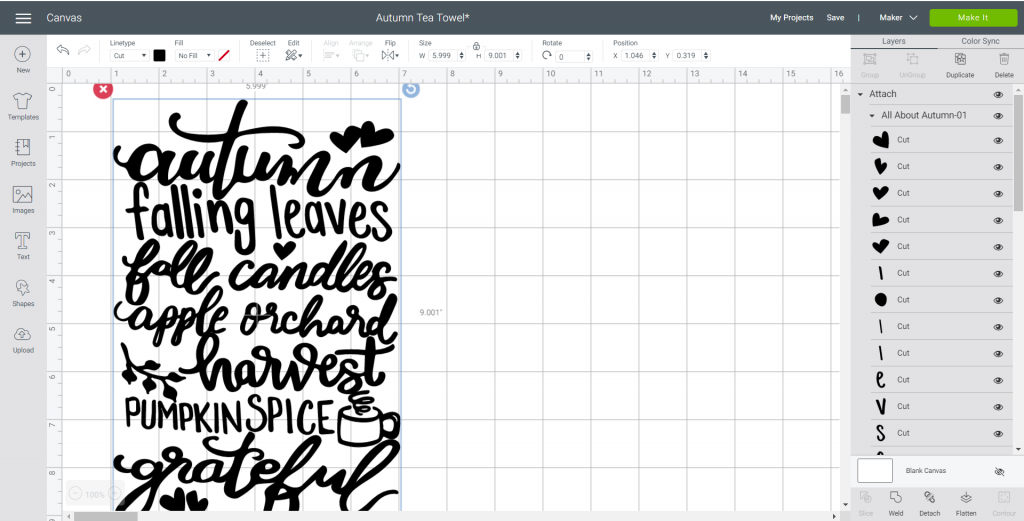
Cutting the Iron-On Vinyl
Select “Make It” in the upper right corner to proceed with cutting.
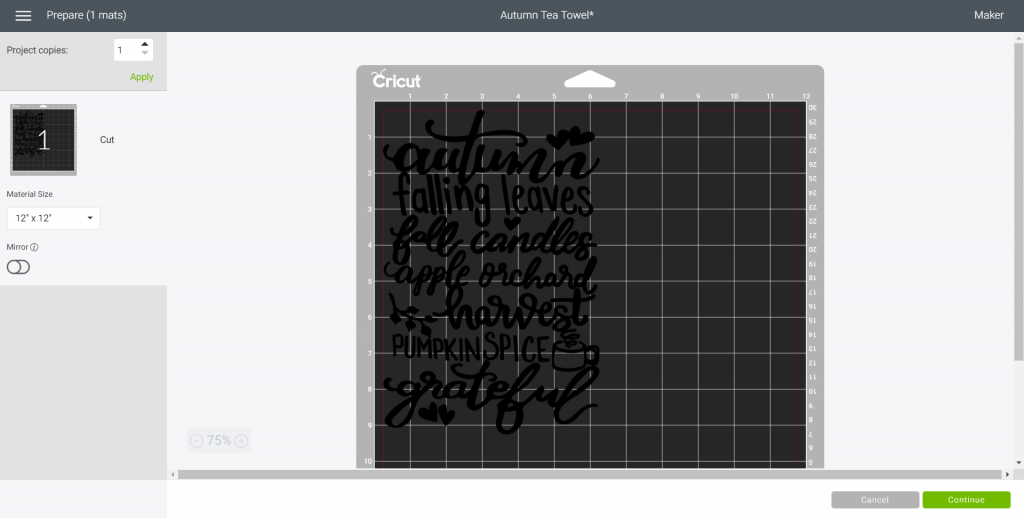
Click the “Mirror” toggle button to on. This is necessary for ALL iron on vinyl cuts.
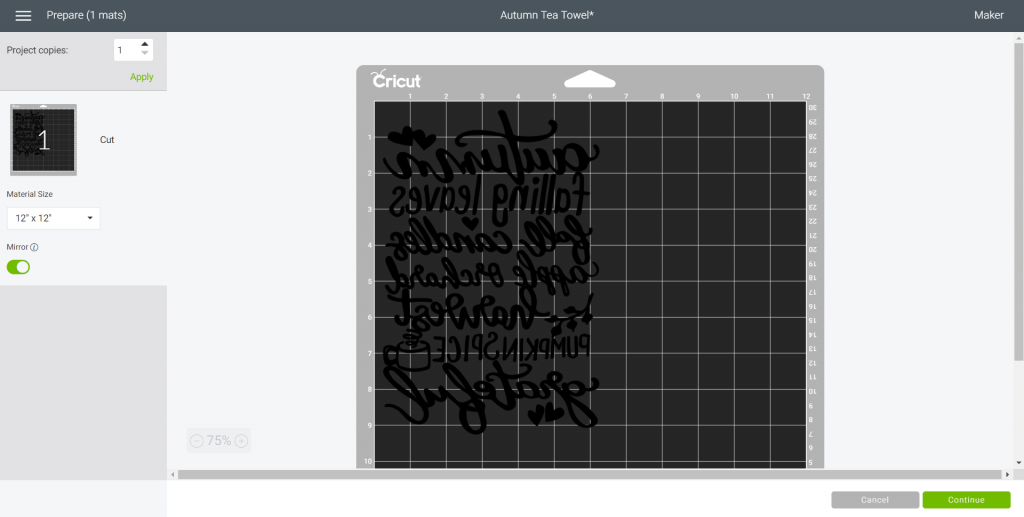
Cut the Everyday Iron-On Vinyl width to fit on the standard grip mat. Press continue.
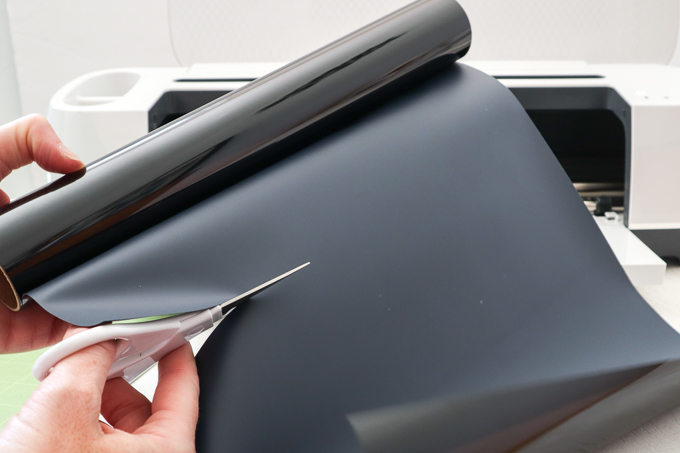
Choose Everyday Iron-On Vinyl from the list of options in the drop down menu.
Place the Iron-On vinyl directly onto the standard grip mat with the SHINY SIDE DOWN.
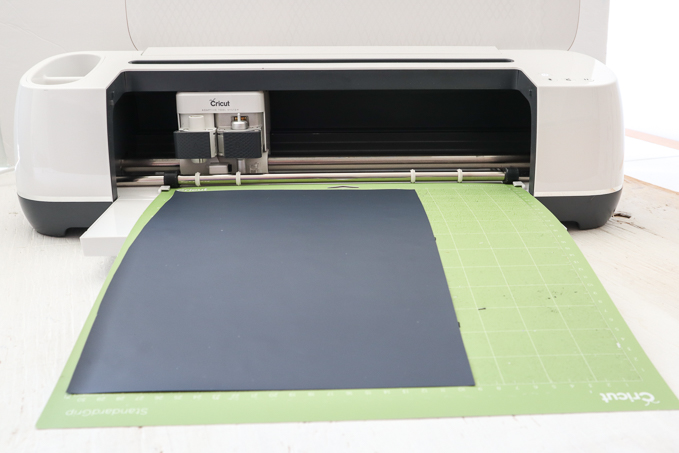
Following the instructions prompted on the screen, cut out the vinyl.
Preparing the Cut Image
Remove the Everyday Iron-On Vinyl from the mat.
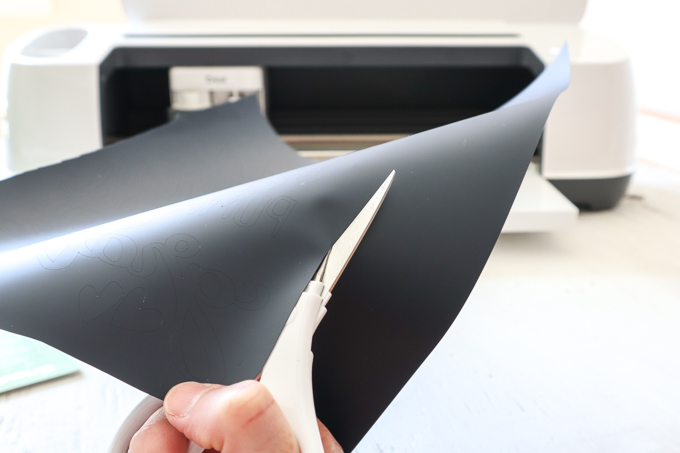
Cut around the image and put aside the left over vinyl for another project.
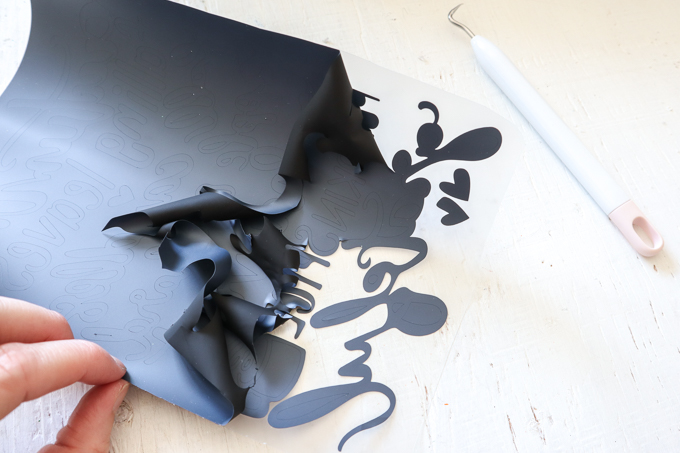
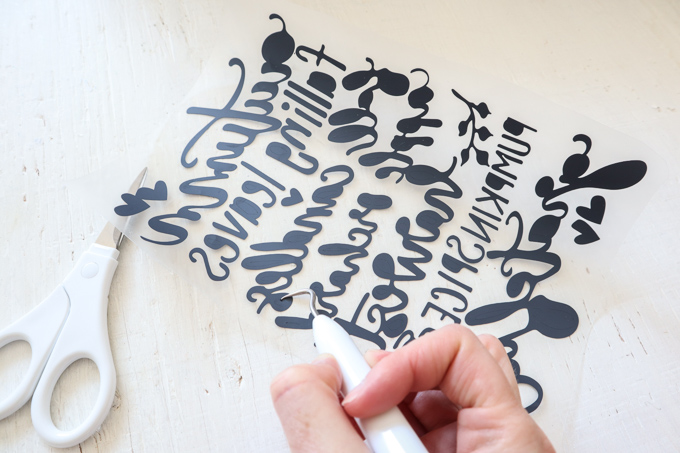
Using a weeding tool, peel away the excess vinyl leaving only the All About Autumn lettering. Super relaxing process, surprisingly! After peeling away the excess vinyl, you will see something like the image on the right.
Applying the Image with the Cricut EasyPress 2
Position the mat or a towel on a flat surface.
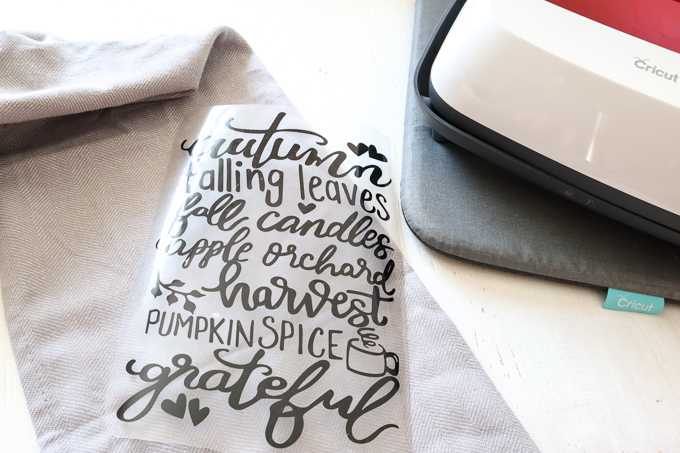
Set the temperature and time on the machine following the chart for the type of vinyl and material being used or use this EasyPress Interactive Quick Reference Guide.
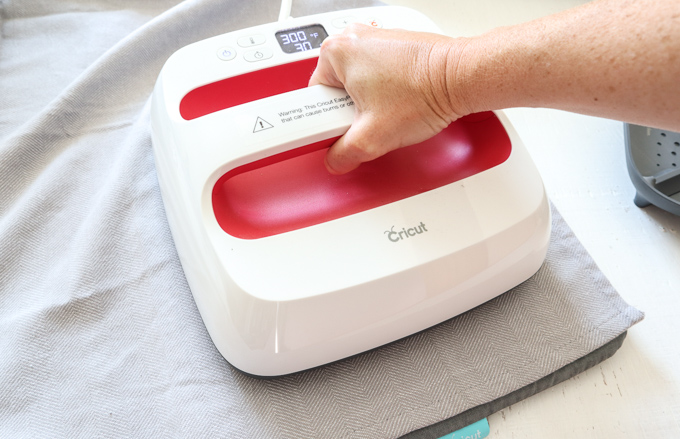
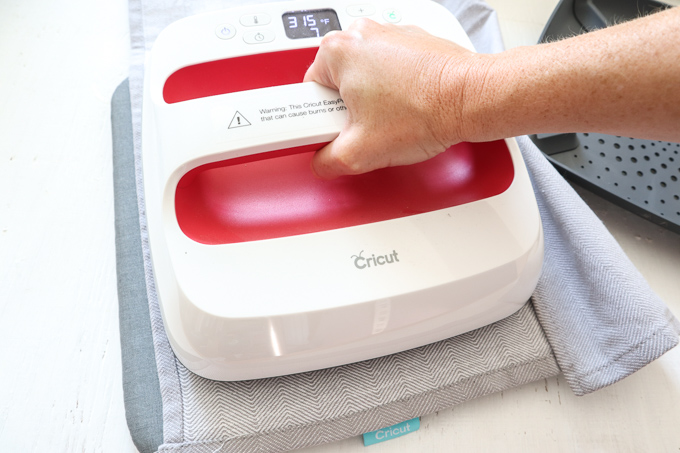
For a 100% Cotton tea towel and Everyday Iron-On Vinyl, set the EasyPress 2 to 315F.
Determine where you will be placing the lettering and preheat the tea towel in that spot for 5 seconds. This will prep the fabric for the vinyl, removing all excess moisture as well as help to remove any creases and wrinkles from the fabric.
Place the cut lettering on to the tea towel with the shiny side up.
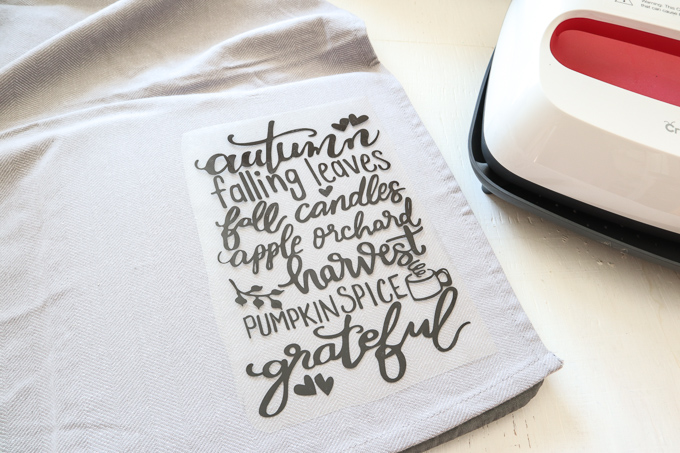
Press the image on to the tea towel for 30 seconds with light pressure.
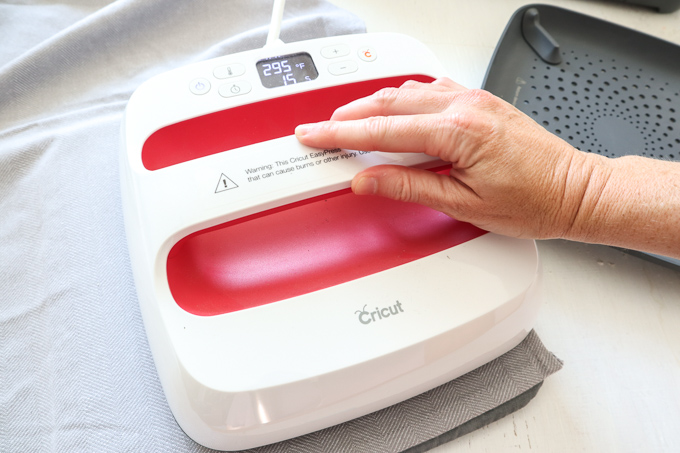
Turn the tea towel upside down and apply heat for another 15 seconds.
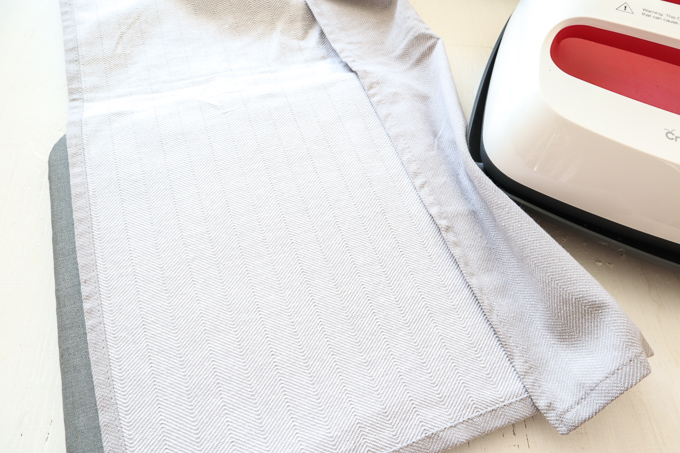
Peel the plastic part of the vinyl off carefully once it cools and discard.
If vinyl appears to be peeling off, keep the plastic covering on top and re-press for longer.
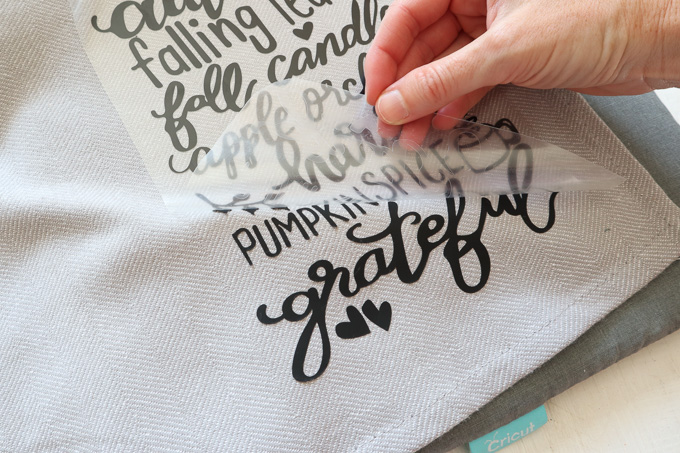
Make sure you do not place an iron or the EasyPress Mini directly over the vinyl without the protective plastic cover.
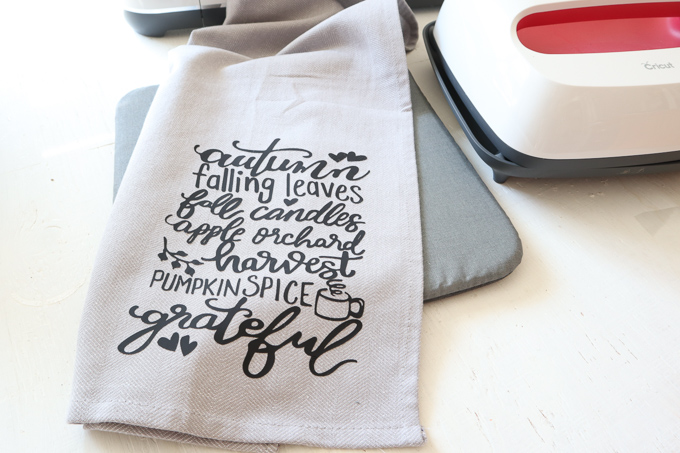
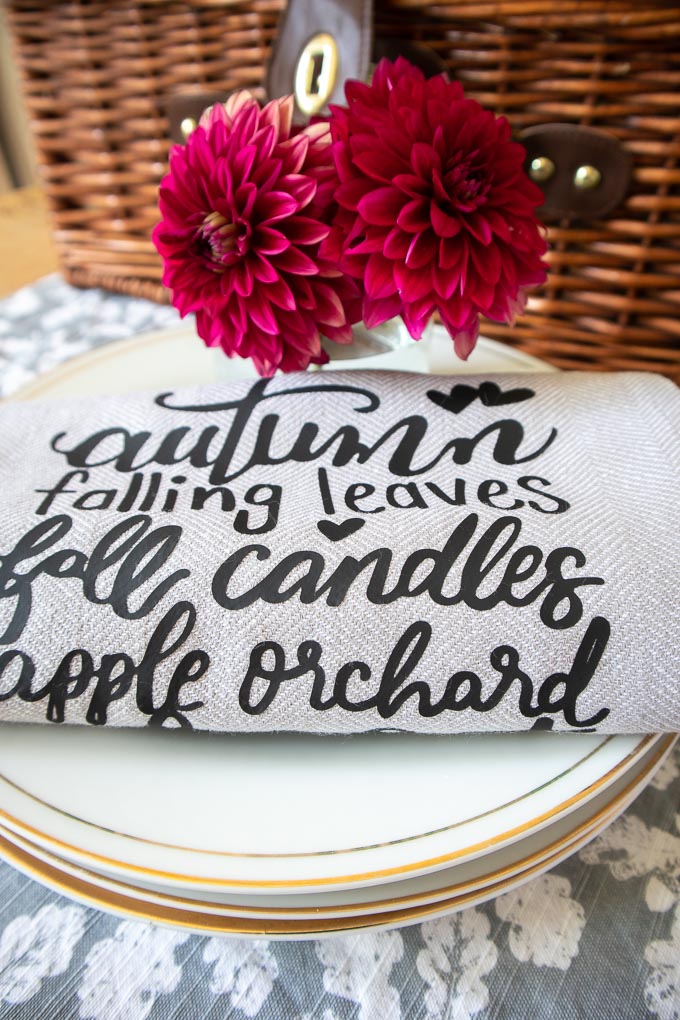
That’s it! You’re all done! Hang that beautiful tea towel up in your kitchen and enjoy!
Other Fall Crafts from Jennifer
If you’re in the mood for fall crafting, check out these other fun ideas:
- Fun Fall Mason Jar Crafts
- Fun & Easy Fall Crafts & Decor Projects
- How to Make DIY Fall Gnomes
- Faux Succulent Fall Planter
- Always Grateful Fall Sign Made with Cricut


Leave a Reply