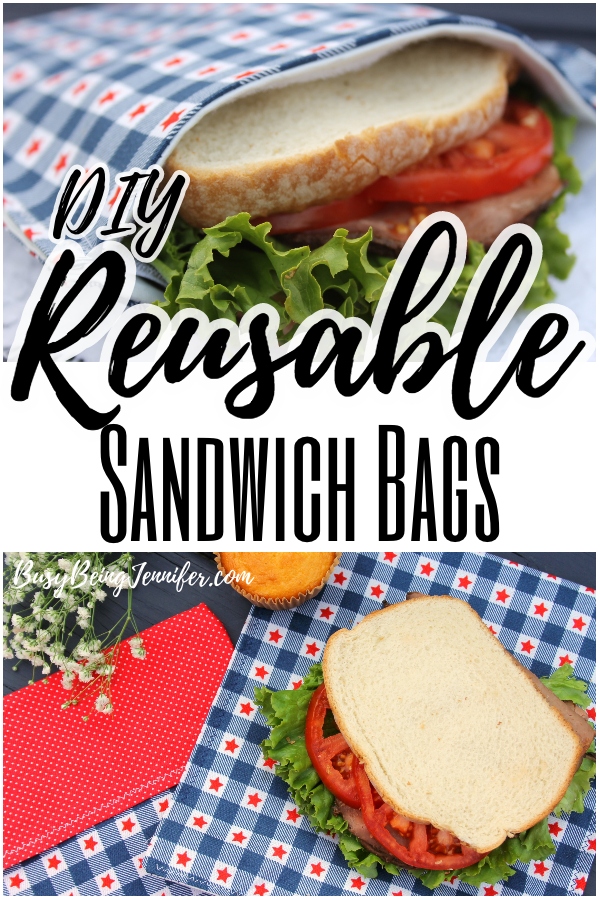
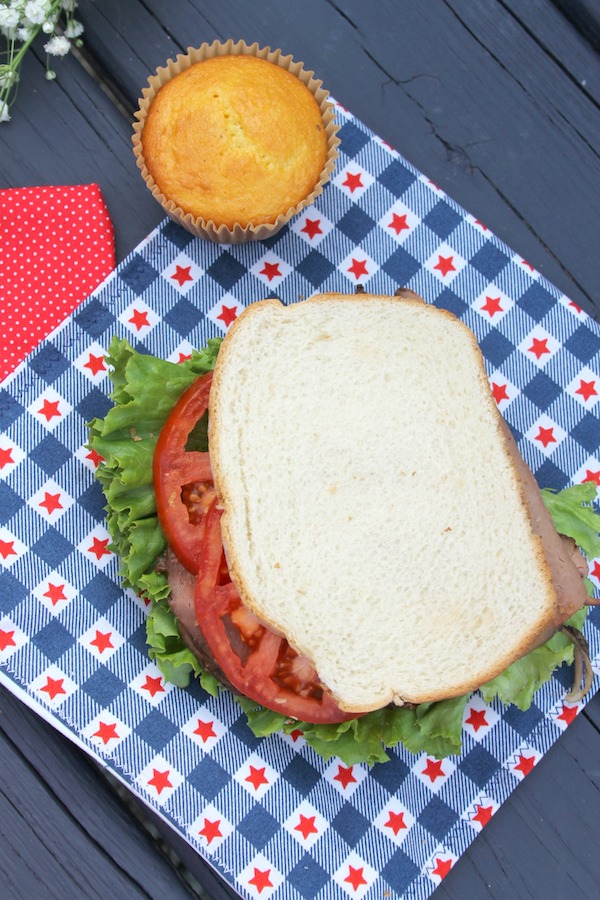
I absolutely abhor using plastic baggies for lunches. These DIY Reusable Sandwich Bags are SO EASY to make, it’s a no-brainer.
It’s seriously one of the easiest sewing projects–and you can just use scraps. Nothing fancy to see here, but seriously cool stuff. Just zip zip zap and it’s ready to hold your favorite sandwich!
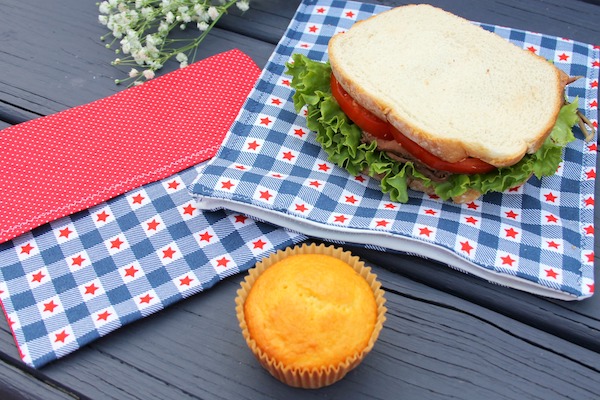
Plus, when they’re snarfy, just toss them in the wash. It’s totally food safe and makes so much more sense than tossing out plastic every day. You’re going to love these.
And, bonus time: this easy DIY reusable sandwich bag is customizable! You can make a big one for sandwiches, a small reusable snack bag, any size at all–you just run with it.
You can even hit the fabric stores and grab your kid’s favorite character fabric and make the outer fabric something they’ll absolutely love. Just make sure to use a waterproof liner fabric and you’re good.
That project is just a joy–and that right there makes my day.

Ok. So, if you’re ready to up your lunch box game and get rid of those plastic bags, get your scrap fabric and let’s make!
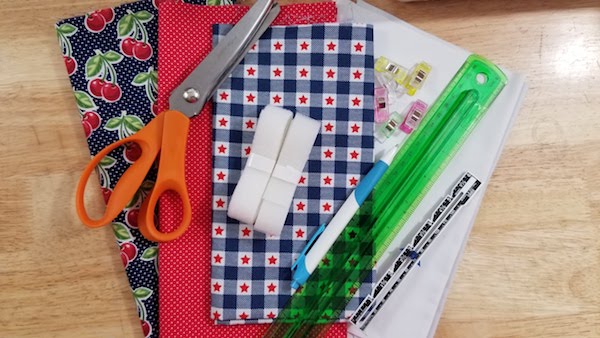
What You Need to Make DIY Reusable Sandwich Bags
- 1/2 yard of your main cotton or oilcloth fabric
- 1/2 yard of your complimentary cotton or oilcloth fabric
- 1 yard of waterproof fabric (if using cotton fabric)
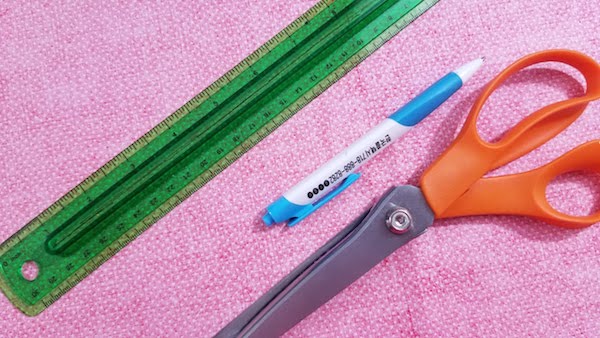
- Scissors (I prefer pinking shears)
- All-purpose thread
- Wonder sewing clips (these guys are WAY better than straight pins! Plus they won’t put holes in your oilcloth or waterproof fabric!)
- 1 package of sew on hook and loop Velcro strips (both the hook side and loop side pieces).
- Sewing machine ( I found my main sewing machine at a local thrift shop, but Amazon has some quality options too!)
How to Make DIY Reusable Sandwich Bags
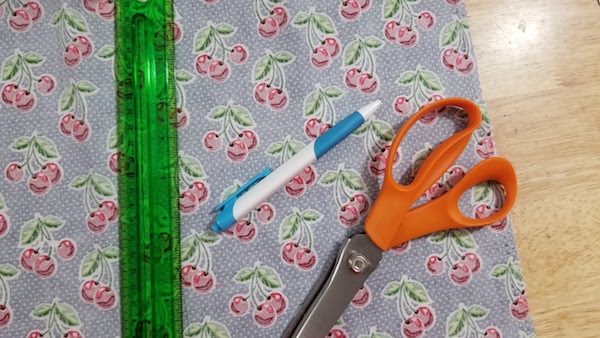
Measure, mark and cut 1 piece of your main and 1 piece of your complimentary fabric 8 inches long by 8 inches wide OR 1 piece of fabric 16” long and 8” wide. Cut one piece of waterproof fabric 16” long and 8” wide. If you are using oilcloth, you don’t need the waterproof fabric. Skip that part of any of the steps that mention the waterproof fabric.
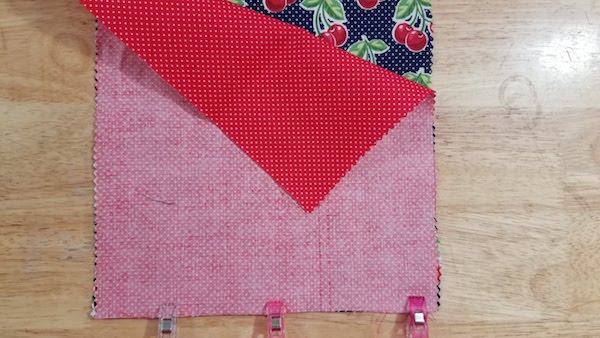
If using two pieces of fabric, with right sides facing each other (wrong side out), clip or pin along the bottom and sew with a 1/2” seam allowance. Iron your seams open.
With the fabric pieces right side to shiny side of your waterproof fabric facing each other and both laying flat, clip or pin all four sides and sew with a 1/2” seam allowance all the way around, leaving a 3” opening to turn the fabric. Be sure to reinforce each end of this gap. Turn fabric and close the opening.
Measure two 6” pieces of the hook and loop Velcro. With a 1/4″ allowance from the top of the bag and 1/2” allowance on each side, with a 1/2” seam allowance, attach the Velcro on each end of the bag.
Fold the fabric in half, with waterproof side together, so Velcro is pressed together. Sew with a 1/4” seam allowance along the sides and across the bottom, reinforcing from where the bottom of the Velcro starts to the top, so about 1”.

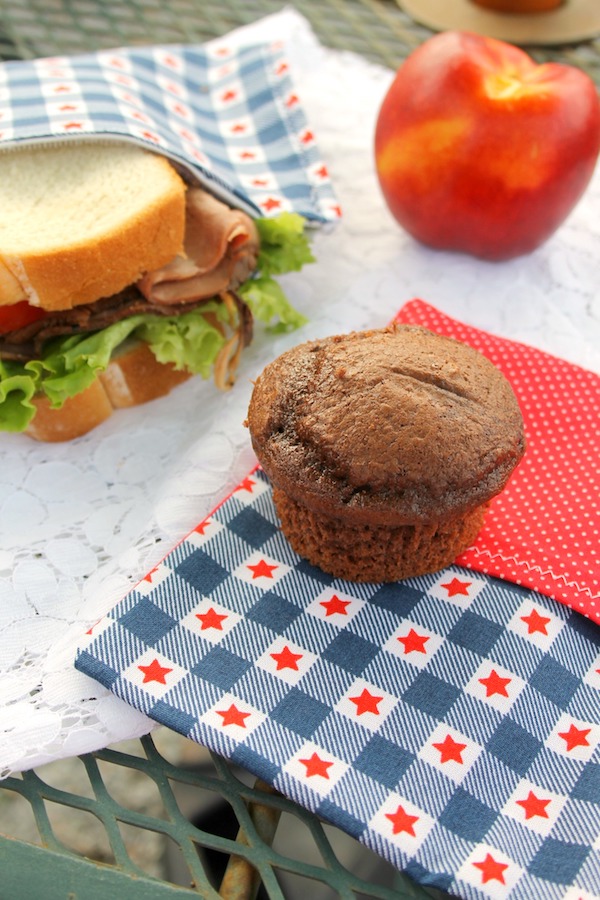
Doesn’t this look like such a fantastic idea for the kid’s lunchbox or your own?! I love practical DIY ideas! They’re super easy to whip up too! I might make a few sets to have on different days!
Pin this handmade DIY idea for later:
More Easy DIY Ideas You’ll Love:
- Rolled Fabric Rose Farmhouse Wreath
- DIY Laundry Detergent (super budget-friendly!)
- How to Make an Interchangeable HOME Sign
How to Make Reusable Dryer Sheets
Materials
- 1/2 yard of your main cotton or oilcloth fabric
- 1/2 yard of your complimentary cotton or oilcloth fabric
- 1 yard of waterproof fabric (if using cotton fabric
Tools
- Scissors (I prefer pinking shears )
- All-purpose thread
- Wonder sewing clips
- 1 package of sew on hook and loop Velcro strips.
- Sewing machine
Instructions
Measure, mark and cut 1 piece of your main and 1 piece of your complimentary fabric 8 inches long by 8 inches wide OR 1 piece of fabric 16” long and 8” wide.
Cut one piece of waterproof fabric 16” long and 8” wide. If you are using oilcloth, you don’t need the waterproof fabric. Skip that part of any of the steps that mention the waterproof fabric.
If using two pieces of fabric, with right sides facing each other, clip or pin along the bottom and sew with a 1/2” seam allowance. Iron your seams open. With the right side of your fabrics and the shiny side of your waterproof fabric facing each other, clip or pin all four sides and sew with a 1/2” seam allowance all the way around, leaving a 3” opening to turn the fabric. Be sure to reinforce each end of this gap. Turn fabric and close the opening.
Measure two 6” pieces of the hook and loop Velcro. With a 1/4" allowance from the top of the bag and 1/2” allowance on each side, with a 1/2” seam allowance, attach the Velcro on each end of the bag.
Fold the fabric in half, with waterproof side together, so Velcro is pressed together. Sew with a 1/4” seam allowance along the sides and across the bottom, reinforcing from where the bottom of the Velcro starts to the top, so about 1”.
Leave a Reply