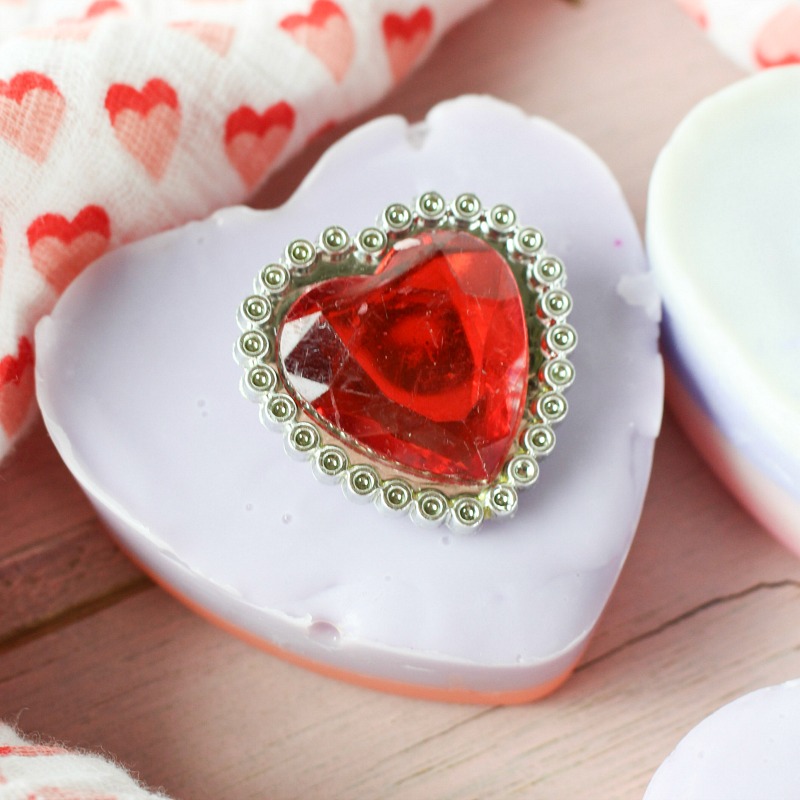
I LOVE getting crafty and creative when it comes to gifts for friends an family, especially at valentines! These DIY Valentine “Bling” Soap Bars are ADORABLE, fun to make and are a cute giftable!

These are cute enough to give to a friend, coworker, teacher, MIL, pretty much ANYONE! In case you couldn’t tell, I’m a little bit obsessed with these DIY Valentine “Bling” Soap Bars! Oh, and these smell pretty awesome too!
Affiliate links included below for your convenience.
Yields: 6
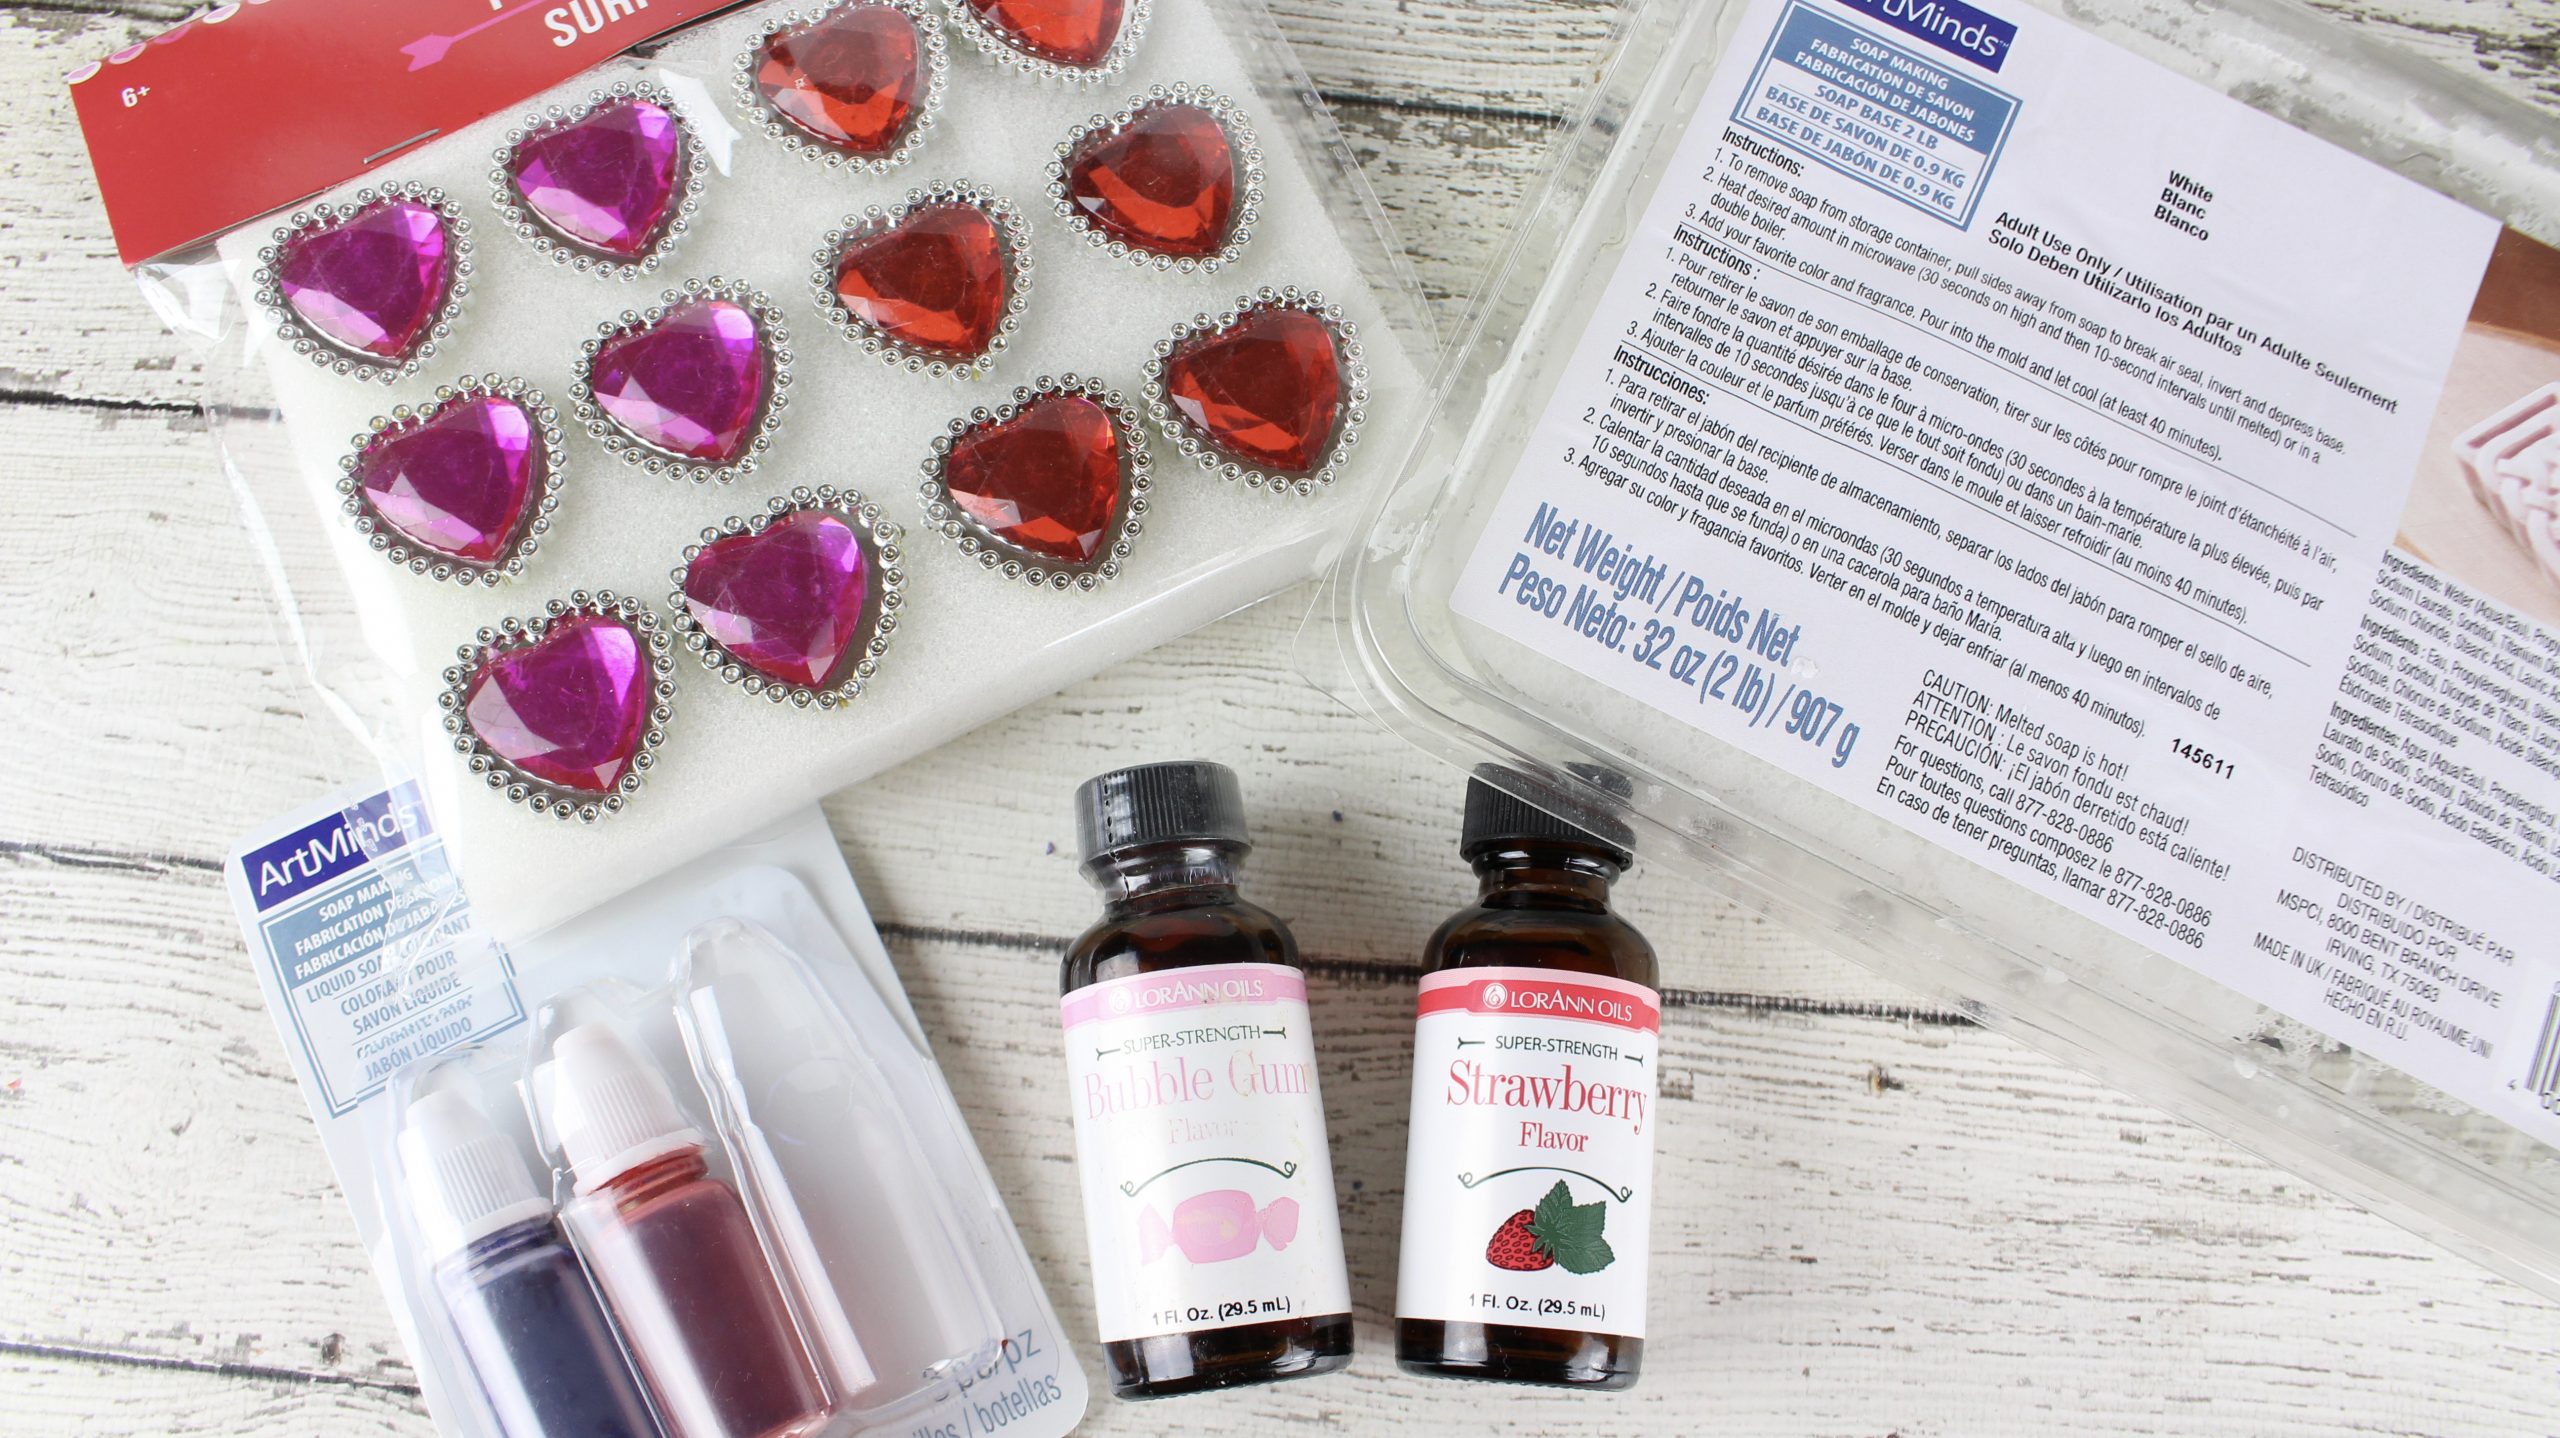
SUPPLIES
6 count Wilton silicone heart mold
20 oz melt and pour soap base
4-5 drops Vitamin E oil
1 teaspoon strawberry fragrance oil
1 teaspoon bubble gum fragrance oil
Lilac and red (or pink) soap colorants
6 plastic Valentine heart rings (found at the dollar store, but these would work too!
DIY Valentine “Bling” Soap Bars Directions:
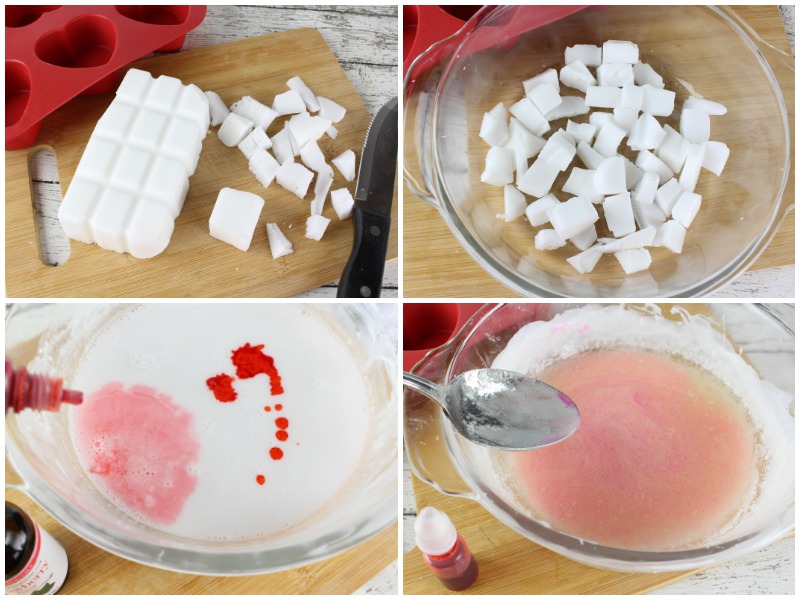
1. Most melt and pour soap bases come in a large block with 1 oz cubes that can be cut/broken apart. Separate 20 of the cubes from the block of soap base.
2. Chop or grate the soap cubes into smaller pieces and place half of them in a microwave bowl.
3. Microwave half of the cubes for 45 seconds on HIGH and stir. Continue to microwave in 20 second increments increments until completely melted.
5. Add the strawberry fragrance oil and a few drops of the red or pink soap colorant to the melted soap and whisk to combine.
6. Immediately, pour the melted “pink” soap into the heart-shaped molds, filling each mold half way. It will harden within 2 minutes of pouring into the molds.
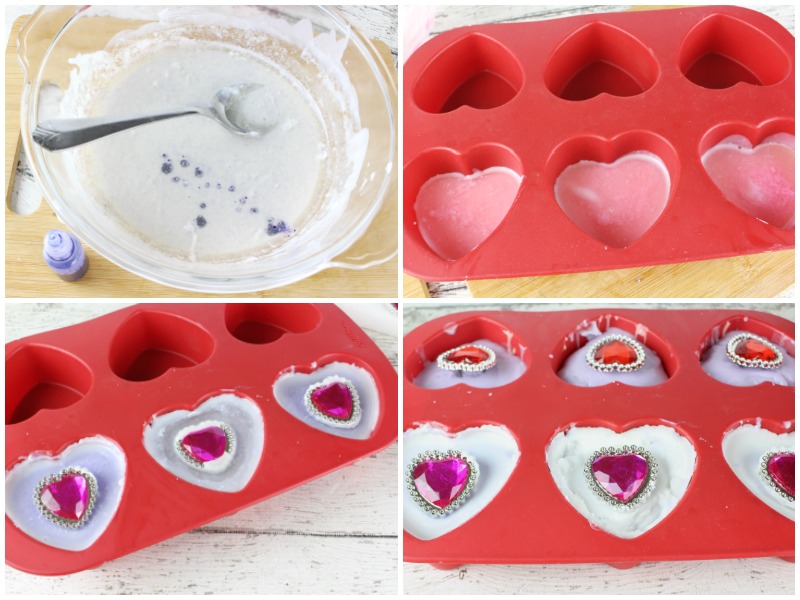
7. Add the remaining soap cubes to a microwave safe bowl. Microwave on HIGH for 45 seconds and stir. Continue to microwave in 20 second increments until the soap is completely melted.
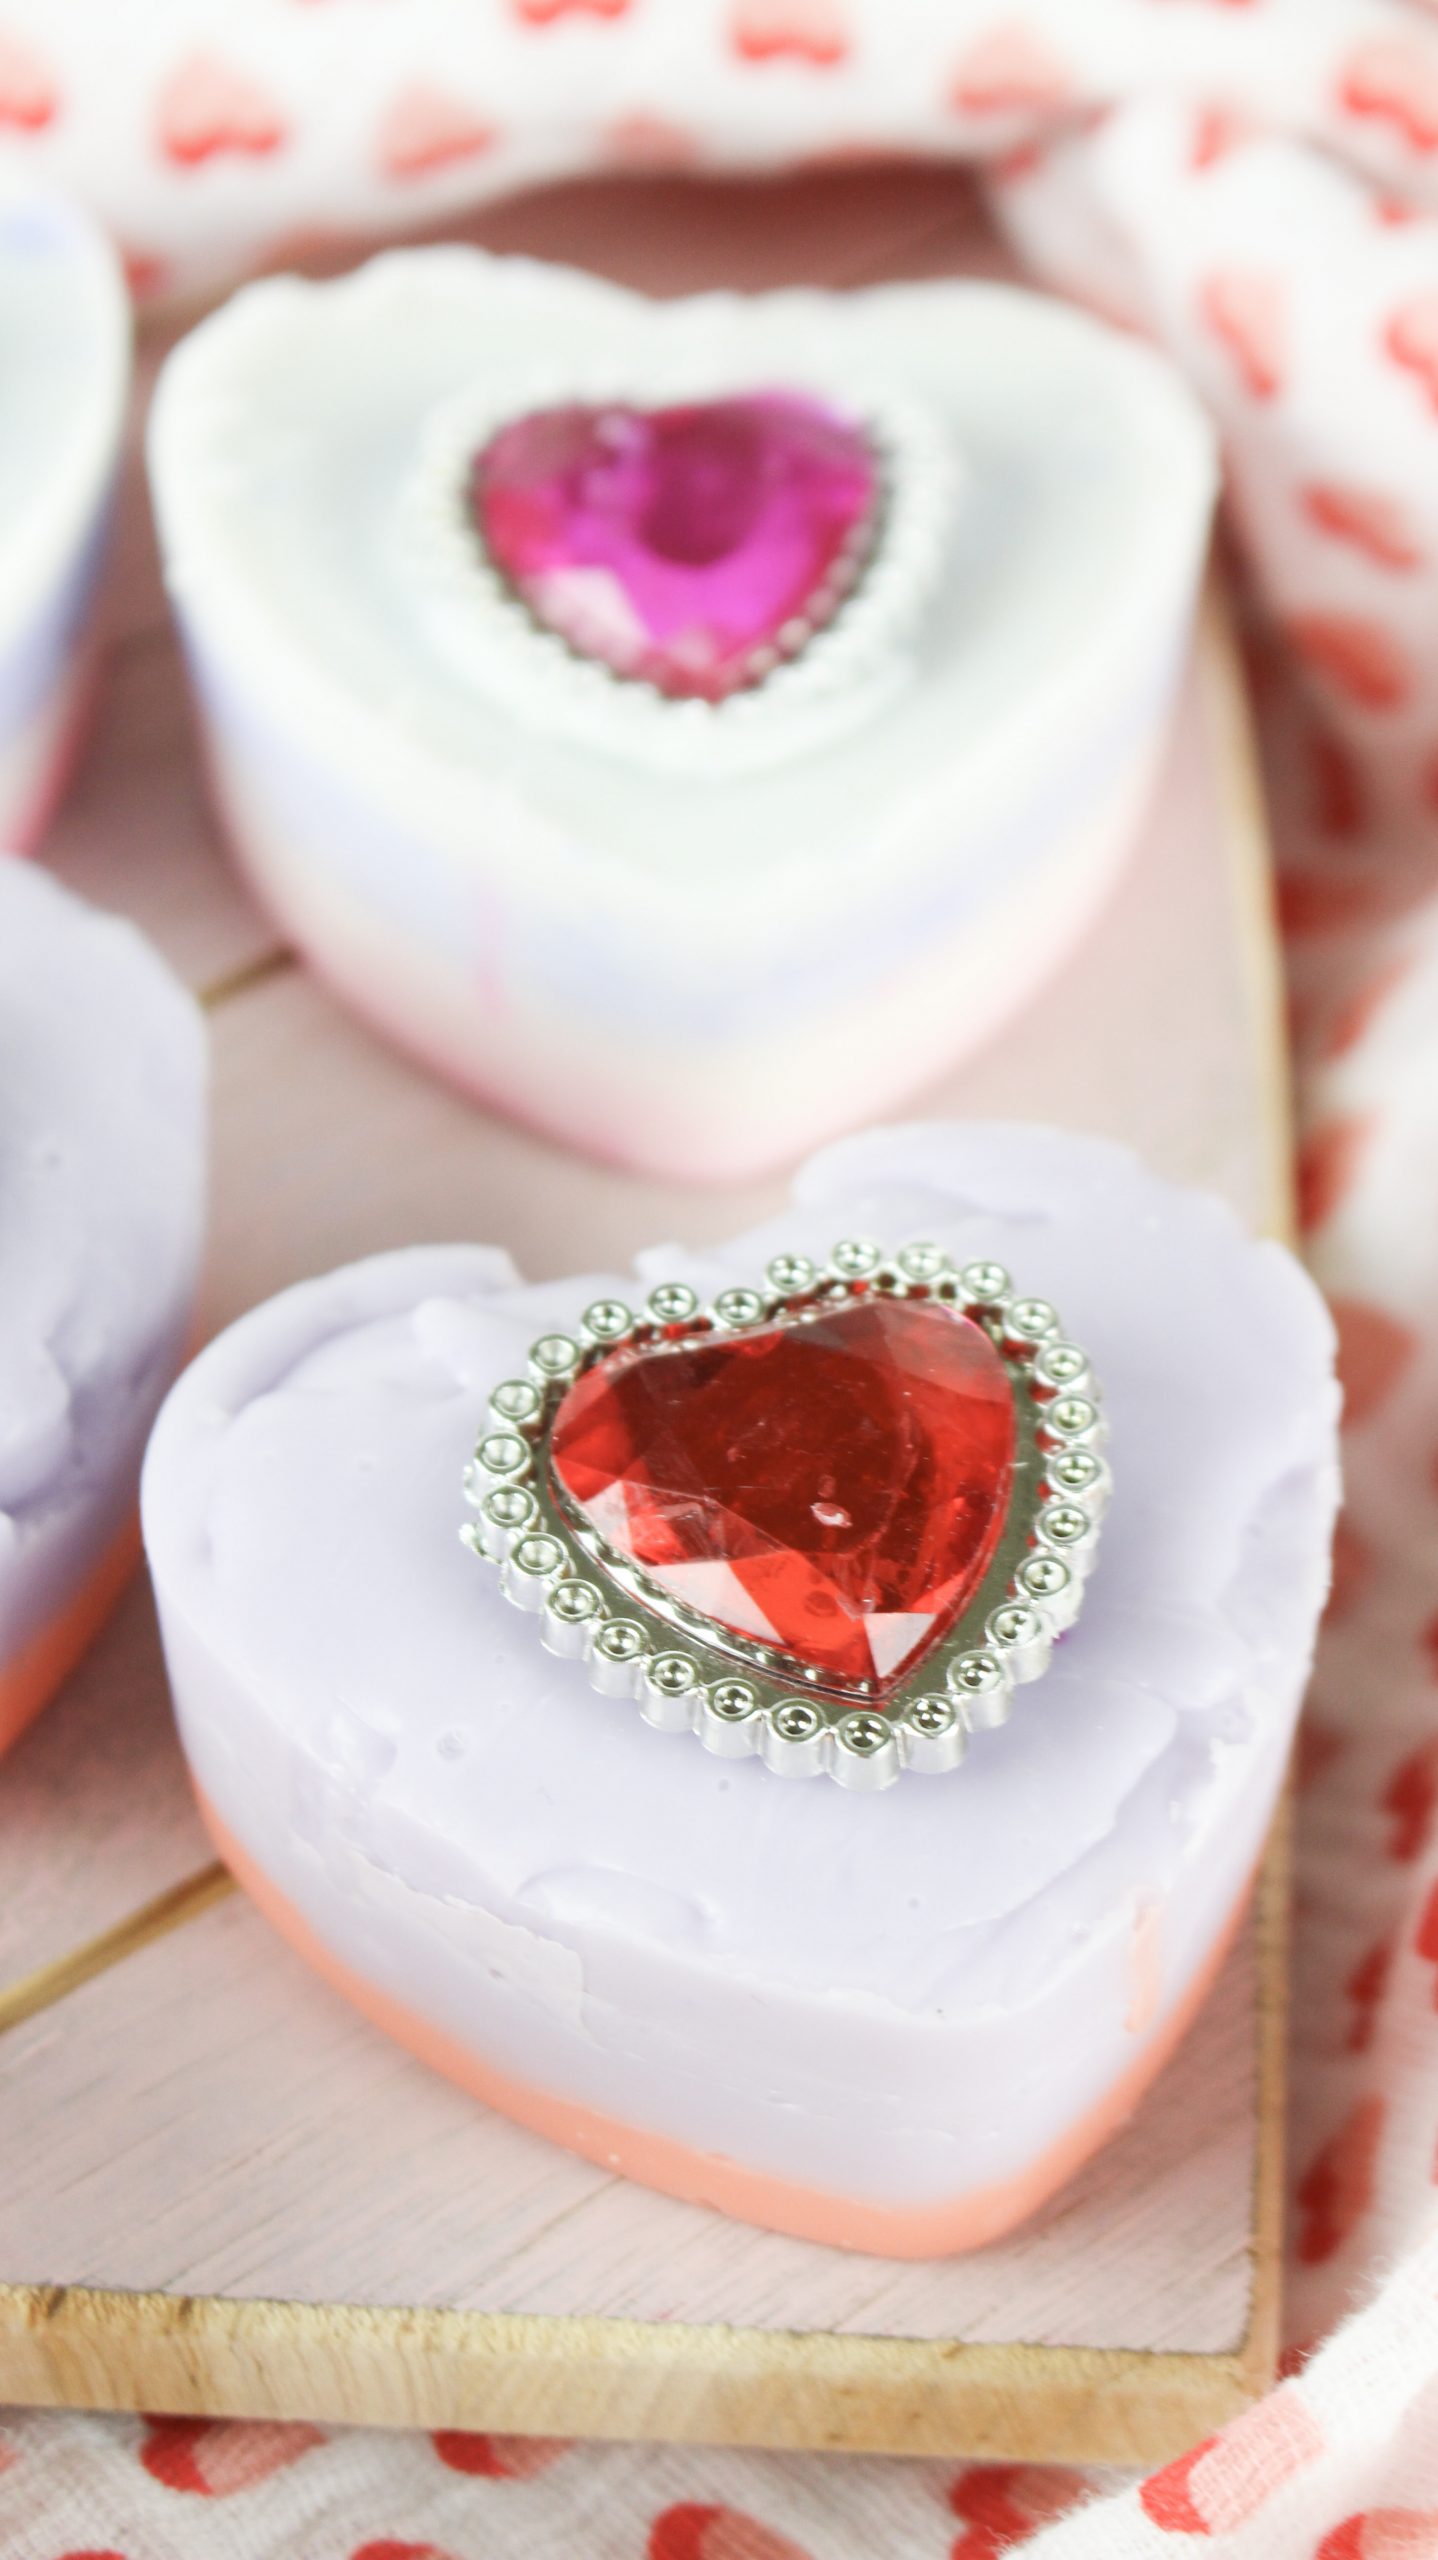
8. Add the bubblegum flavoring oil and lilac soap colorant and stir well to combine. Pour into each heart mold and fill up to the top. Be sure to stir really good or some of the soap that settles to the top will remain white in color. (It will just give your soap a 3 layer look).
9. Wait 1 minute before gently placing a toy ring into the middle of each soap mold. The soap should be firm but not completely hardened.
10. Place the silicone mold in the refrigerator and chill for 1 hour to harden completely.
11. Remove the soap bars from their molds and place in an airtight container for storage for up to 6 months!
12. ENJOY!!
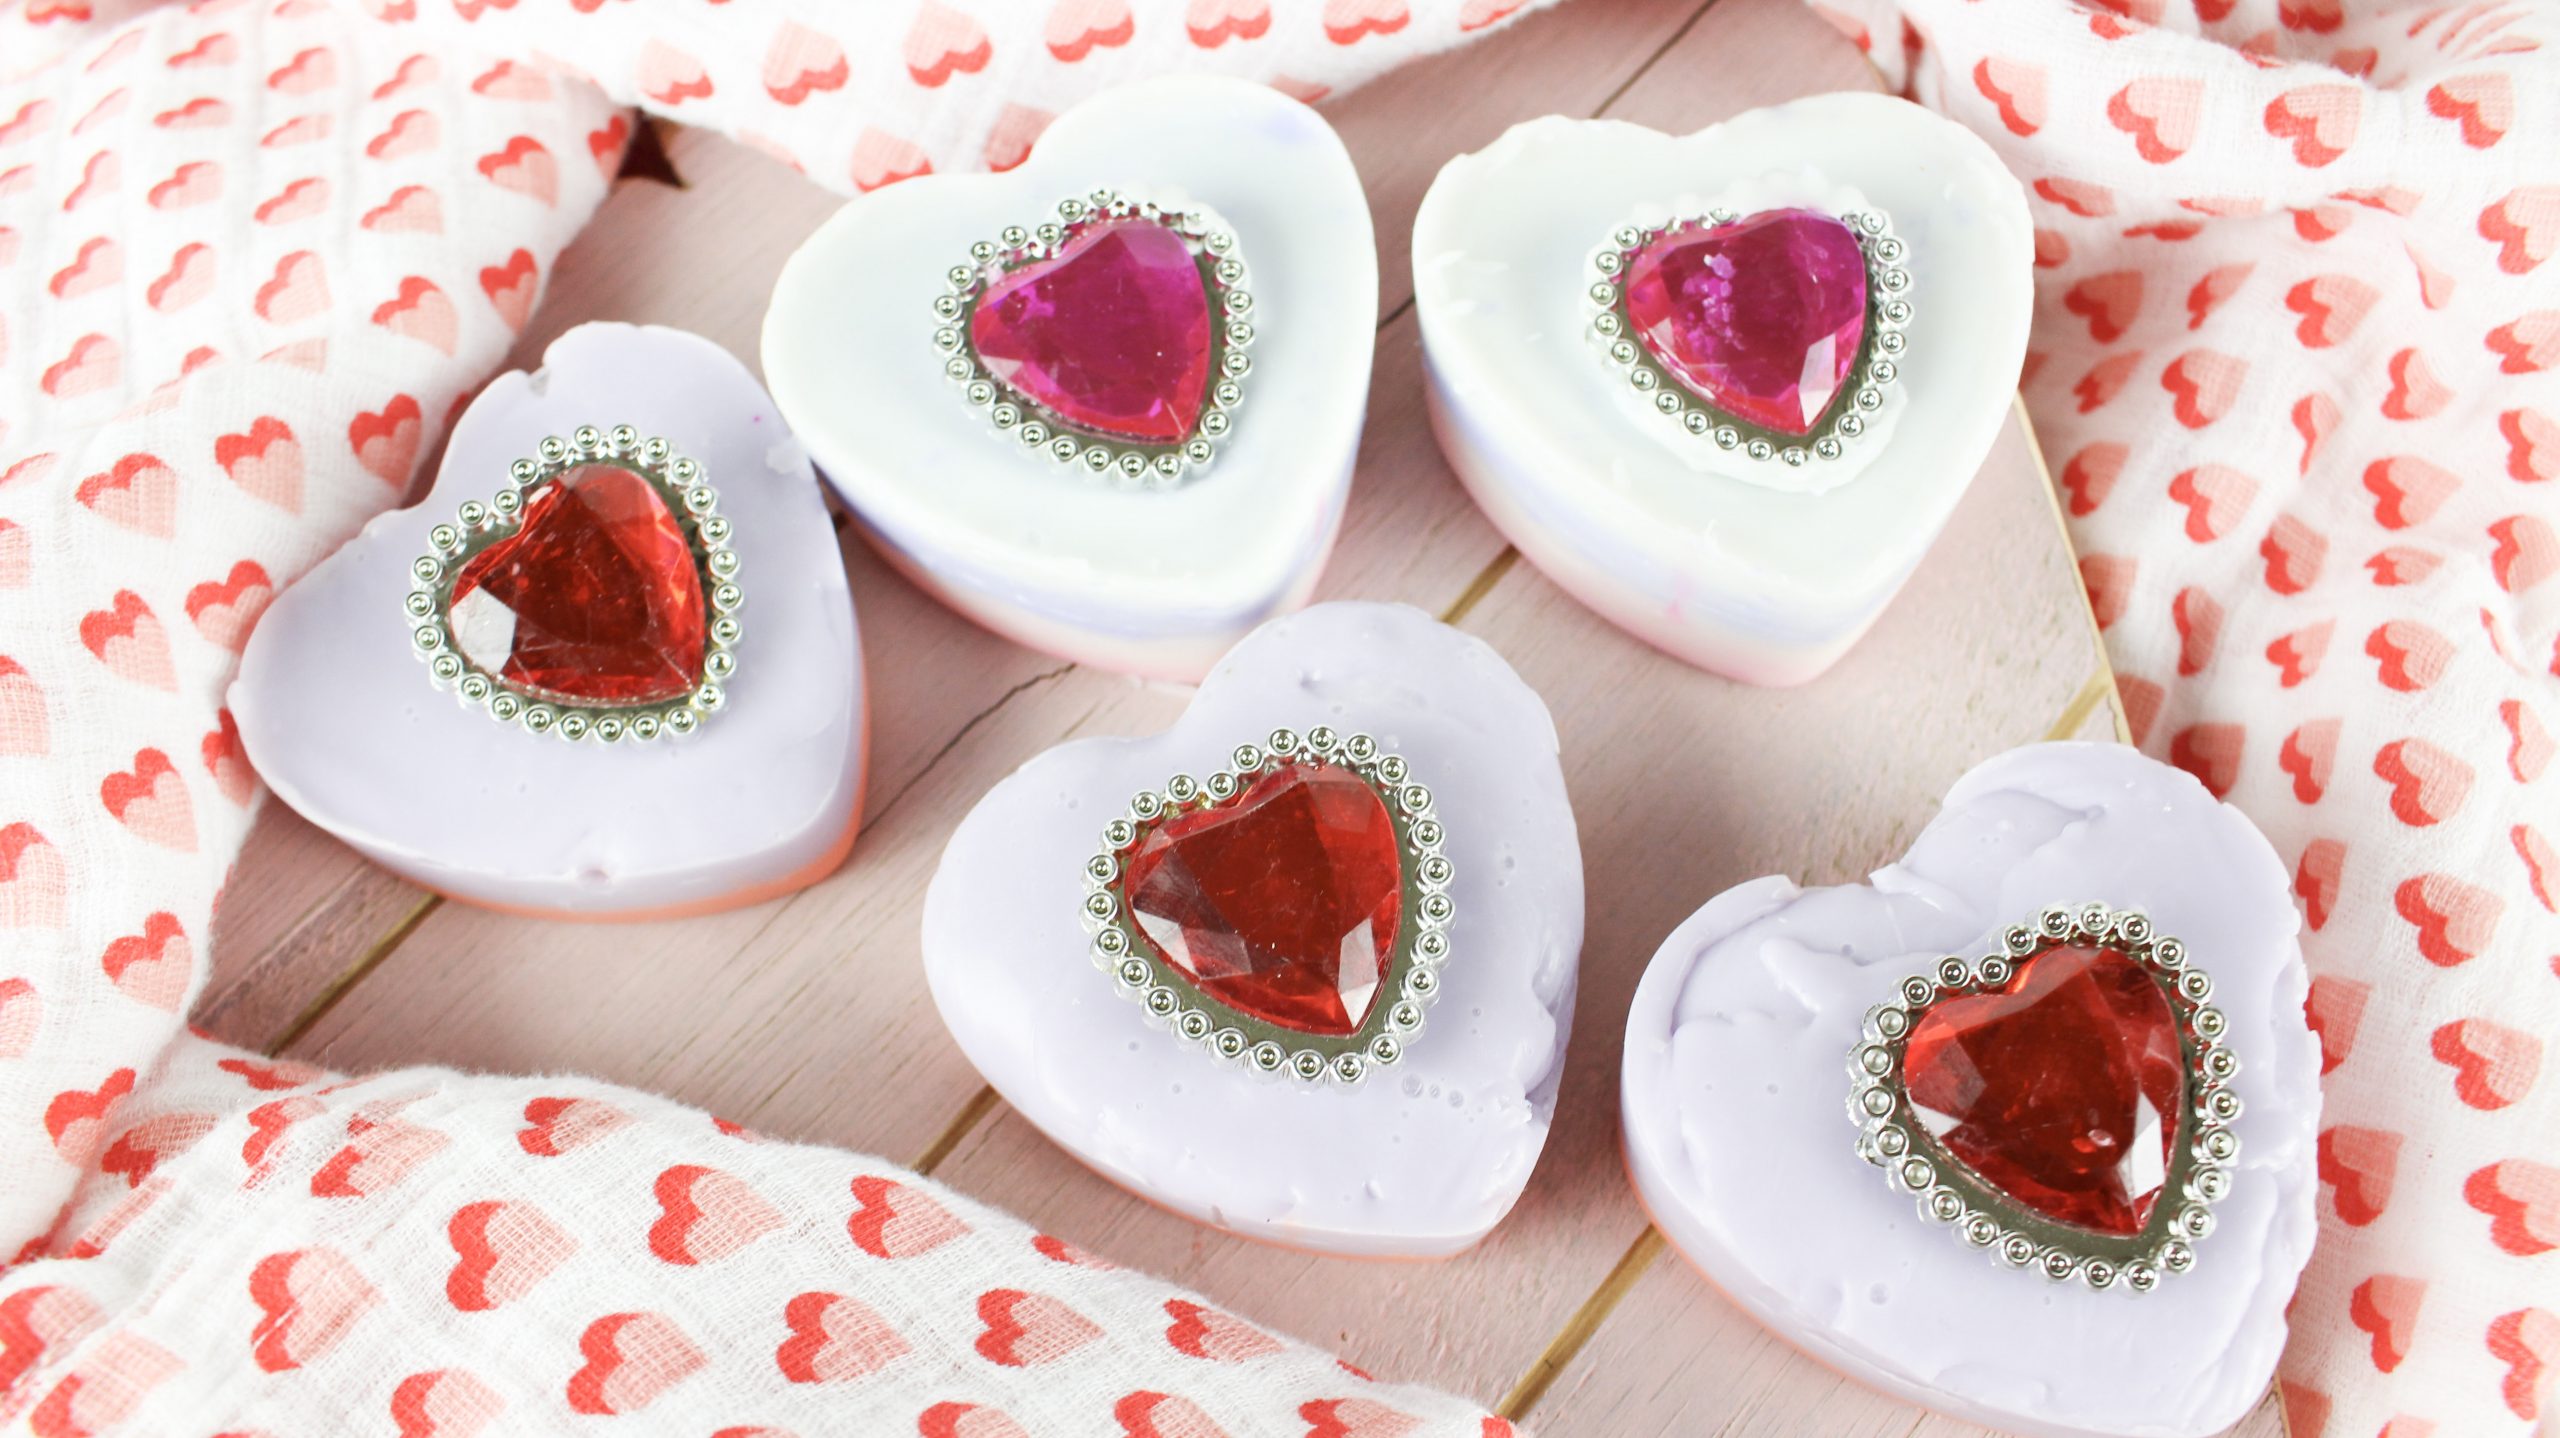
Package these up in a cute bag for gift giving, add to a “pamper yourself” gift basket or put them in your guest bath! These adorable DIY Valentine “Bling” Soap Bars are sure to be a hit!
Have you ever tried making your own soaps?
Check out my other Valentine’s ideas, treats and gifts here!
These are so shiny and sparkly. I love it! They would indeed be great in the guest bathroom.
These could be made for any occasion too