These Scrap Fabric Bookmarks are just so cute! And those tassels add just the right touch! Get the details on how to make your own in this tutorial.
I knew the second I saw these little faux-suede tassels EXACTLY what I wanted to make with them. Don’t you just love when a project assembles itself in your brain like that? I sure do!!
Usually I have to put a little more thought and effort into coming up with a project.
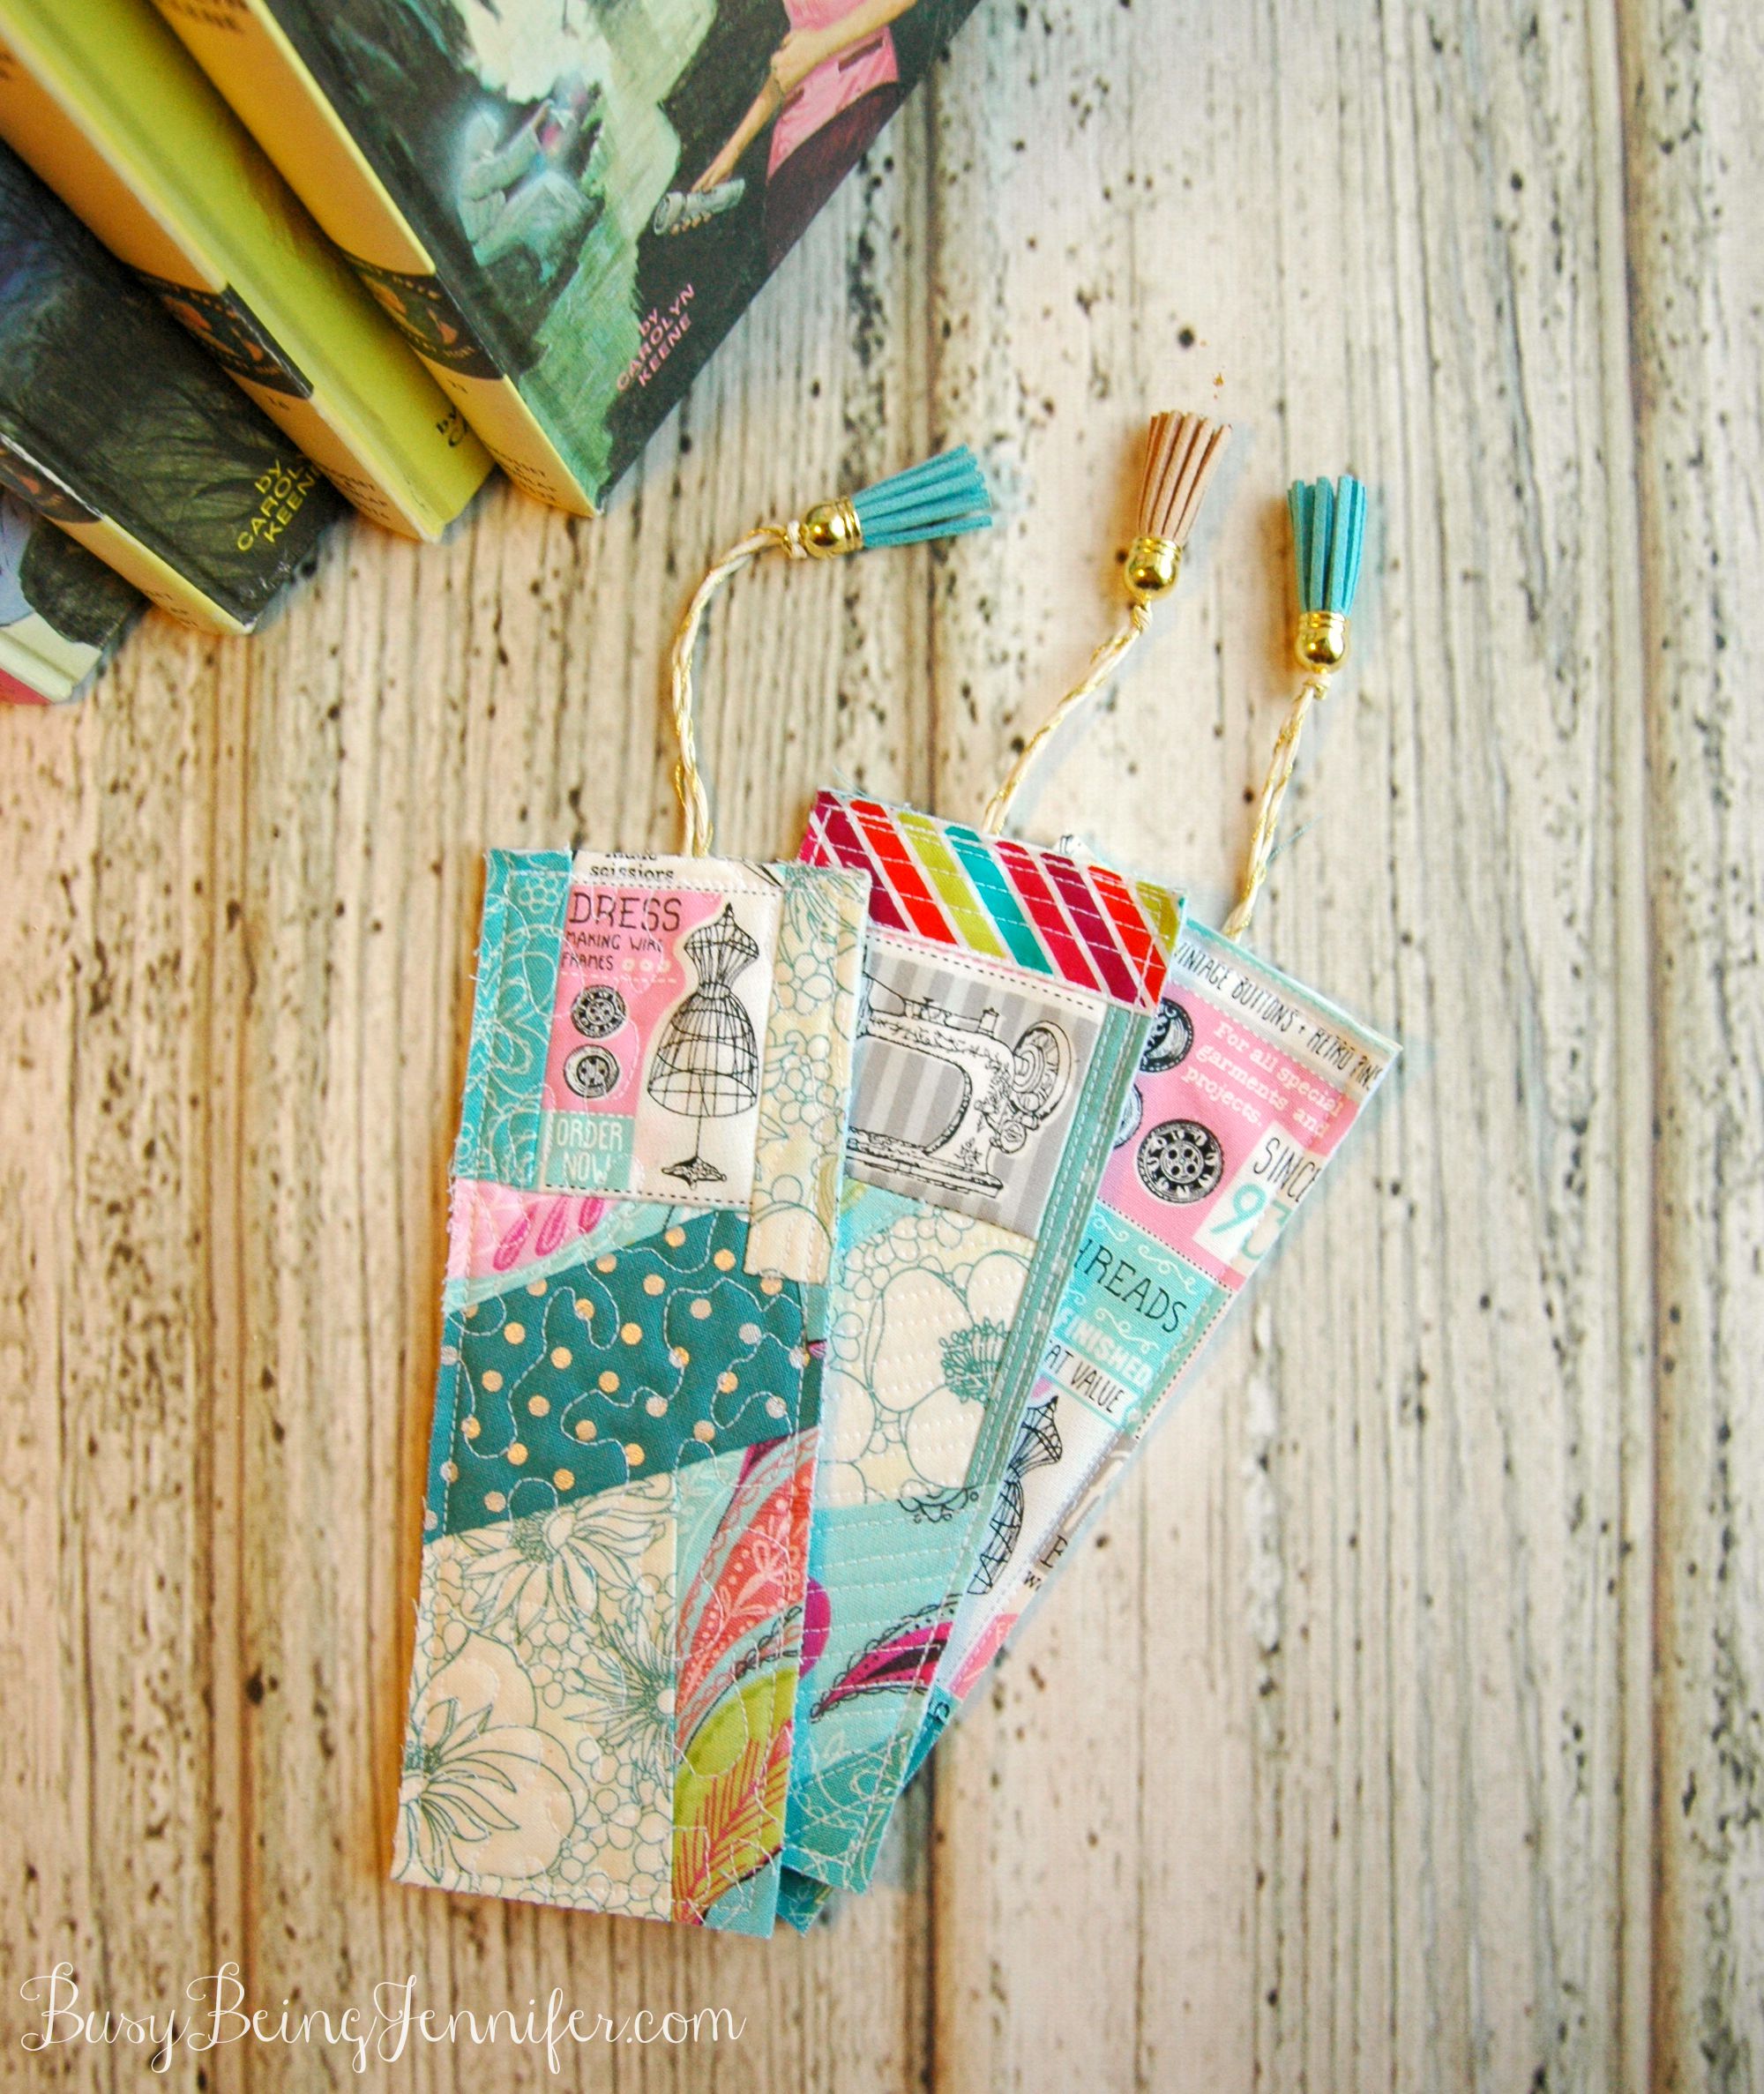
If you’ve been around here before, then you probably know know I have a fabric “issue”… as in TONS of fabric and scraps. I love a scrap fabric project and these DIY fabric bookmarks are a great one!
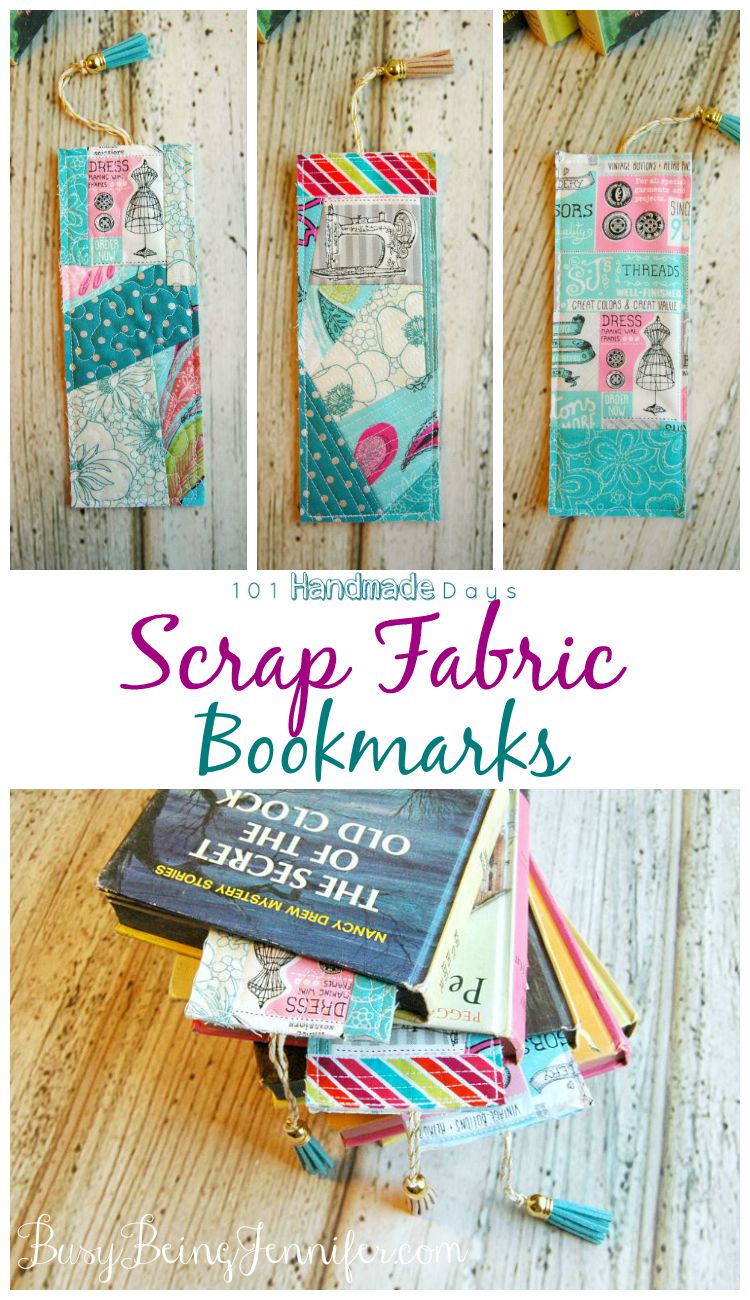
Aren’t they cute? And those tassels add just the right touch!
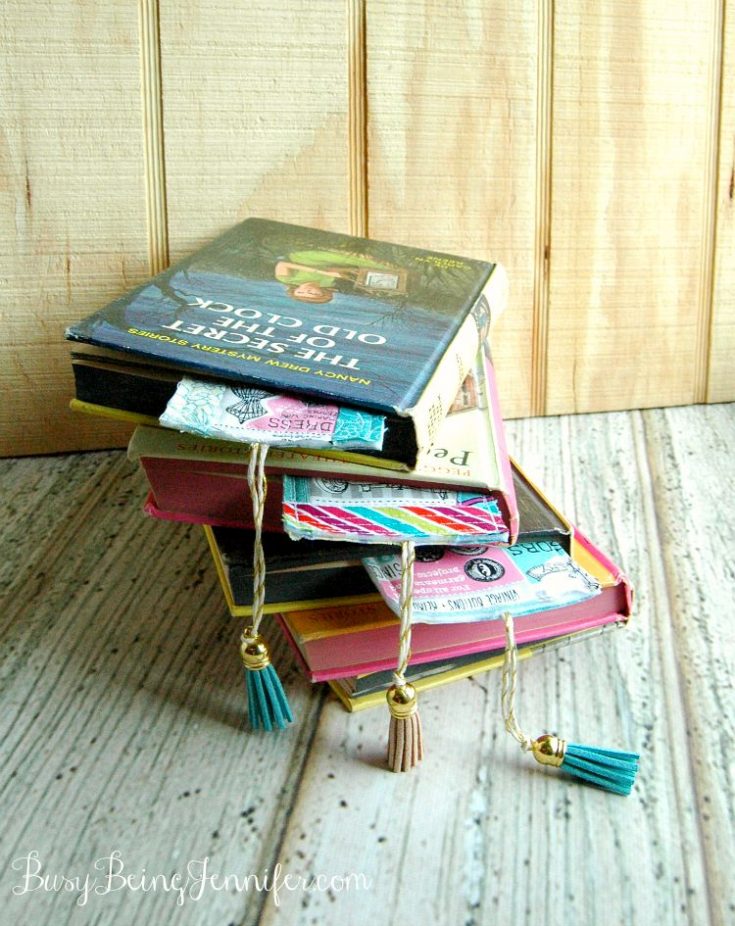
This makes a cute gift idea for mother’s day or for anyone that love reading the “old fashioned” way.
It’s also a great idea to get rid of leftover fabric–and an easy sewing tutorial that beginner quilters can absolutely pull off.
What You Need to Make Scrap Fabric Bookmarks
Here’s what you need to make your own scrap fabric bookmarks:
- Scrap Fabric
- Batting
- Mini Tassels
- Twine or Ribbon
- Thread
- Iron
- Sewing Machine
- Scissors or Pinking Shears
How to Make this DIY Fabric Bookmark
Step One: Gather your scraps and decide which pieces you want to use. Set aside.
Step two: Cut your batting. You’ll need a 3 inch wide by 7.5 inch long rectangle.
Step three: Using the batting as the base, add your scrap pieces using the quilt-as-you-go method (See this post). This will be the top layer of your bookmark. Trim the top layer to 2.5 x 7 inches.
Step four: Cut a length of twine or ribbon and thread it through a mini tassel. Cut a strip of fabric for the back of your book mark, roughly 3 x 7.5 in size.
Step five: Take the top layer and the back piece and place them wrong sides together, so that the “pretty” side is sowing on both the back and the front. Match the top edge and long sides of the back and front pieces. Take your tassel and twine/ribbon and tuck the ends in so the tassel is hanging on the outside.
Step six: Top stitch around the bookmark at least twice. Trim off the access backing fabric.
I read a lot, and usually more than one physical book at a time, not to mention at least 2 on my kindle. So I might have gonna a little scrap bookmark-making happy! They’re just too cute!
And, because they use so few pieces of fabric (one of the best kids of scrap project ideas could have come up with), I feel like this is one of those creative ideas like making fabric flowers into a wreath or some of my other easy sewing projects.
I just can’t get enough of them. It’s like making fabric bows–I just need more. LOL!
Scrap Fabric Bookmarks
These Scrap Fabric Bookmarks are just so cute! And those tassels add just the right touch! Get the details on how to make your own in this tutorial.
Materials
- Scrap Fabric
- Batting
- Mini Tassels
- Twine or Ribbon
- Thread
Tools
- Iron
- Sewing Machine
- Scissors
Instructions
- Gather your scraps and decide which pieces you want to use. Set aside
- Cut your batting. You’ll need a 3 inch wide by 7.5 inch long rectangle.
- Using the batting as the base, add your scrap pieces using the quilt-as-you-go method (See this post). This will be the top layer of your bookmark. Trim the top layer to 2.5 x 7 inches.
- Cut a length of twine or ribbon and thread it through a mini tassel. Cut a strip of fabric for the back of your book mark, roughly 3 x 7.5 in size.
- Take the top layer and the back piece and place them wrong sides together, so that the “pretty” side is sowing on both the back and the front. Match the top edge of the back and front pieces. Take your tassel and twine/ribbon and tuck the ends in so the tassel is hanging on the outside.
- Top stitch around the bookmark at least twice. Trim off the access backing fabric.
These are super cute! I have a lot of fabric scraps as well and I’m never sure what to do with them. These bookmarks are much more aesthetically pleasing than the crumpled library receipts I’ve been using 🙂
They’re lovely. I love their colors and patterns.
If only I wasn’t so intimidated by the sewing machine sitting in my closet! These are absolutely adorable 🙂
This is a REALLY good beginner project! There’s no turning the fabric and you can straight stitch everything!
Hmm, I’m thinking I need to make a bunch for gifts! Where did the tassels come from?
Cynthia I found them on an end cap at Hobby Lobby! I need to see if they’re available to order online cause I need ALL THE COLORS!
I found them after much searching at Hobby Lobby… in the paper crafting section. I think they are the same ones anyway! I’m getting ready to make some and notice your outside edges are raw?
Yep! It was the easiest way to finish. Thats why I top stitched around the edge a couple times. I would have used my pinking shears… if I could have found them. LOL
These are so cute! I am in love with them. My daughter and I are both big time book worms so she would love something like this as a gift.
I really love the idea of this because my best friend has scrapes and have been wanting to try something out! Definitely will pin this for her. 🙂
These are fantastic! I’ve never tried quilting anything, I have a lot of scraps I’m going to have to try this with.
These would make perfect stocking stuffers for readers (or those you’d like to get reading)!
These are so cool. I work at a book publishing house, so these would be so fun to use around the office! I love that you’re taking the tassel trend in directions other than on clothing and jewelry. I love this project!
Cameron Proffitt
So cute and it’s always good to find another idea for the endless supply of fabric scraps I seem to have. I know lots of people who still like a “real” book rather than an ereader (me included) so these would make lovely gifts.
This is so amazing!!!! I’ve been looking for a bookmark idea and this combines my love of quilting AND reading. Thanks for sharing. 🙂
These really are cute! I like this idea so much, I just might make some fabric bookmarks myself 🙂
Very nice! What a great gift for an avid reader:).
Awesome post! I would love to invite you to my new link party The Beautifully Creative Inspired. The party launched today and will continue every Fridays at 9AM eastern time on 5 BLOGS! It runs until Wednesday night 😀 Hope you can party with us!
Love your bookmarks Jennifer!
Congrats – you are one of our Featured Guests at this week’s Inspire Me Monday party at Create With Joy! (#192)
Hi there
Just stopped by to let you know that I featured this on my Round Tuit post this week!
A Round Tuit 274
Thanks again for linking up! Hope you have a great week!
Jill @ Creating my way to Success
http://twochicksandamom.blogspot.com/2015/09/woo-hoo-love-this-time-of-week-omhgww.html
Hi. Just thought I would let you know your book marks were my pick to be featured at out party this week! Thanks for sharing!
These are beautiful. I used to sew almost everyday when I was younger, I my have to dust off my sewing machine and make these for the upcoming hoilday season as gifts.
These bookmarks are CUTE. LOVE ‘EM!! Pinned. Linda @Crafts a la mode
These are so cute! I need to use up those fabric scraps and make some because these would be perfect stocking stuffers for Christmas.
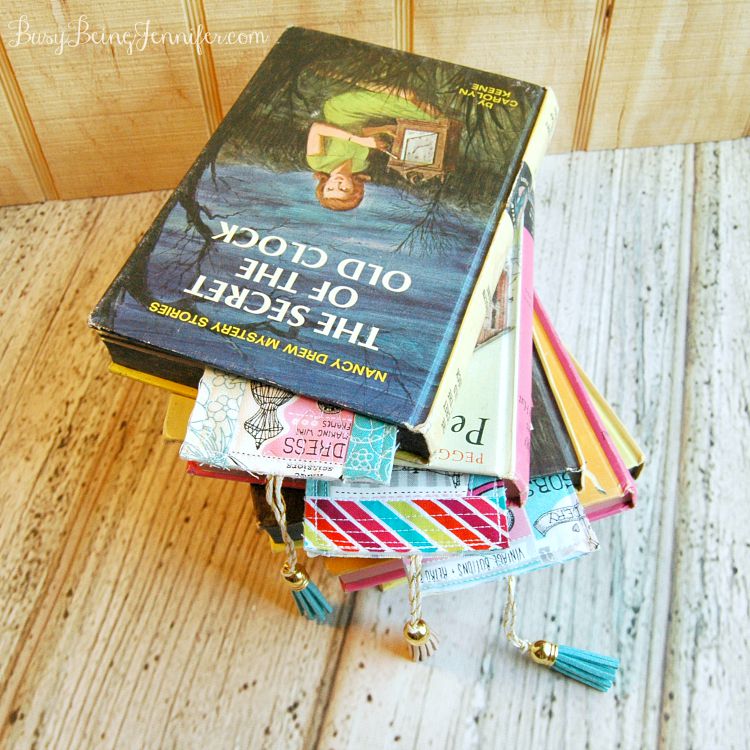
I love this idea (pinned it!) and the top two books in that stack are some of my favorites from my childhood (have them in a box for when my daughter gets old enough to read them!)
I would love for you to share it with #CCBG Link Party http://tryit-likeit.com/entries/link-party/creatively-crafty-link-party-14
I know more and more people are switching to e-readers, but I really do prefer an actual book–with a cover and pages. 😉 These are so cute! I’d love for you to share this at our weekly link party! http://www.thelifeofjenniferdawn.com/2016/05/fun-birthday-party-ideas-little-bird.html Hope to see you there!
I absolutely love these! Thanks for sharing at #HomeMattersParty
These are just darling, Jennifer! Wouldn’t these be great teacher gifts! Thanks for sharing with us at Throwback Thursday!
Mollie
What a cute idea, and I have more scrap fabric than I have been able to use. I want to try this!
Thanks so much for sharing with us at the To grandma’s house we go link party, I’ll be featuring you this week on Facebook, Instagram and on my blog!
Your bookmarks look great and the tassel adds a special touch. I laughed when you said “read the old-fashioned way.” I’m visiting from Craftastic Monday.
These are super cute and such a great gift idea too! Pinned
These are so cute! I was wondering, since you didn’t turn the fabric, if the batting shoes along the edges?
A little, but it gives it a cute worn look over time. You could use pinking shears for less wear.
Love the tassels. I made similar bookmarks to donate to a convalescent home last Valentines Day. Only difference is I used ribbon and sewed on a button instead of twine & tassels and used my pinking shears on the edges.