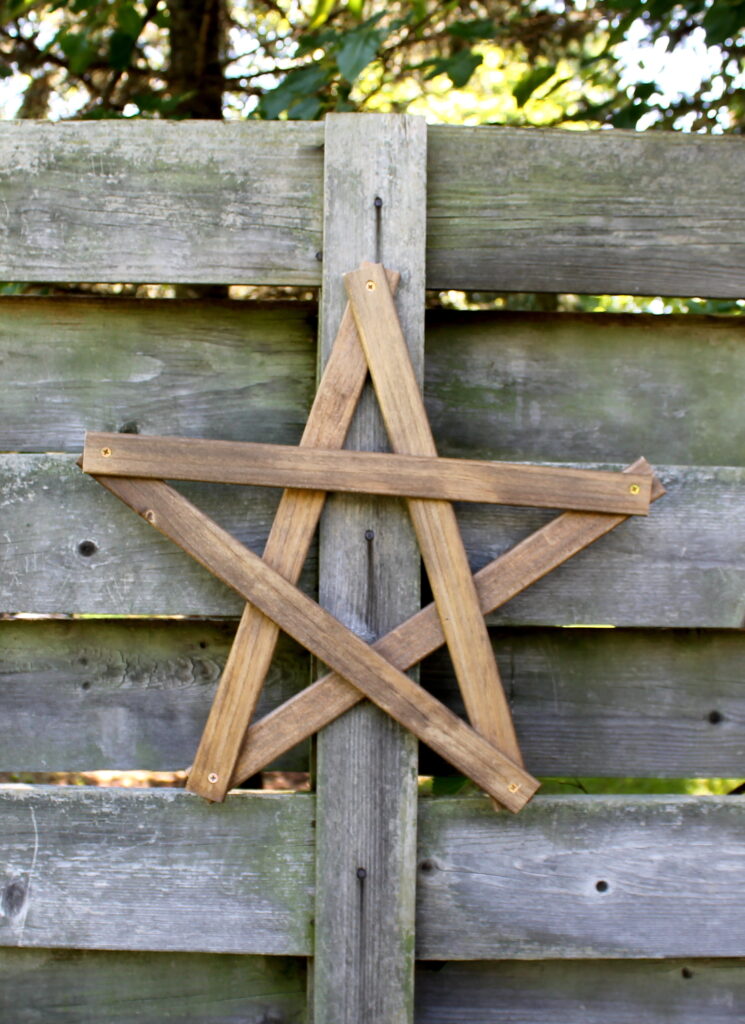
You know what I love? I love DIY Christmas decor projects that serve more than one purpose 🙂 Like this gorgeous Rustic Wooden Star. When I lived in Texas, stars were a normal, everyday decor staple. Especially a fabulous rustic styled star like this one!
Even though I don’t live in Texas anymore, my love of a good, rustic, DIY decor star holds strong! And it certainly doesn’t hurt that this DIY Christmas project works well for the rest of the year too!
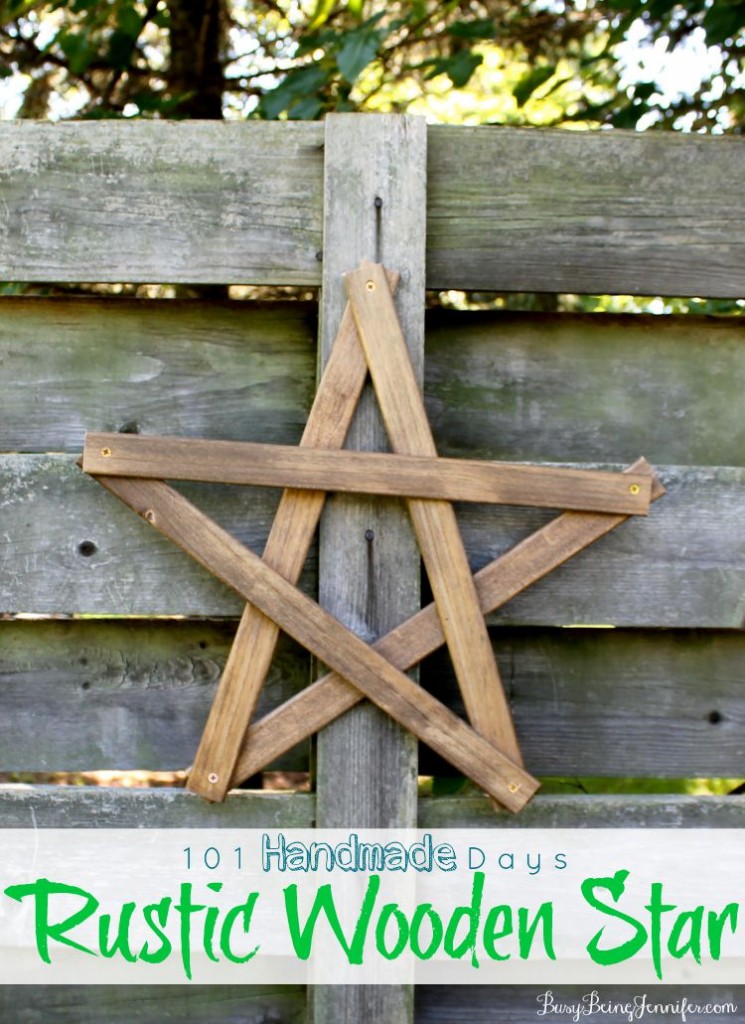
As the days get shorter and the weather gets colder, we all start to get into the Christmas spirit. Whether you’re decorating your home inside and out or putting up your tree, adding a charming wooden star to your decorations is the perfect way to add some extra flair. This easy diy project can be completed in just a few steps, and it’s a great way to use up some of those old scraps of wood you have lying around. So grab your tools and get started!
Supplies to Make a Wooden Star
- 5 pieces of wood all the same length (to make a small star, use short pieces and stay narrow the longer your wood the wider you can go, so for a slightly larger star pattern, make your pieces longer and thicker)
- Screws
- Drill
How to Make a Rustic Wooden Star
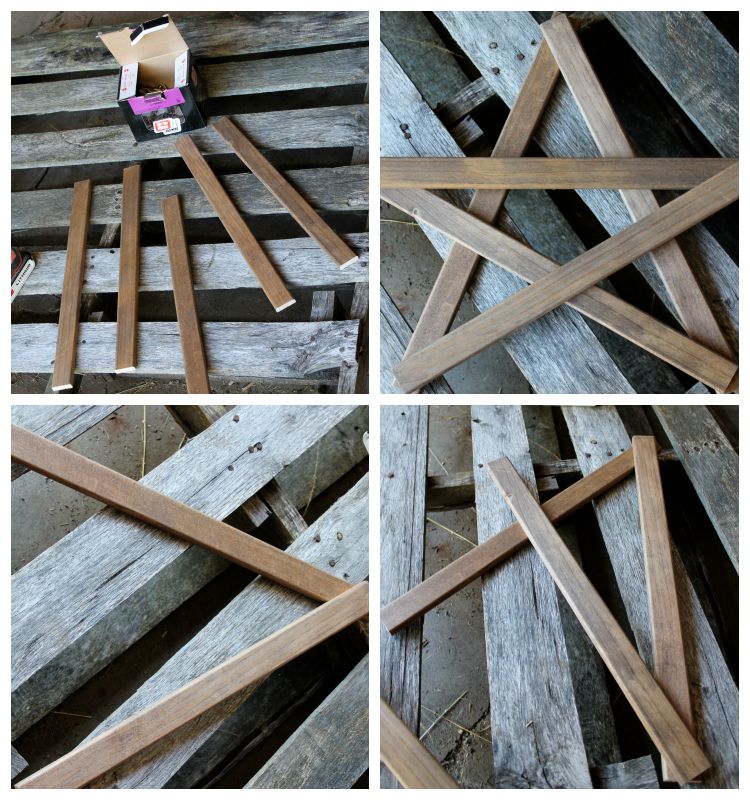
Very simply, start laying out a star shape. Be sure to lay it out before screwing just so you can make sure all the star pieces fit the way you want. Once you have a star points meeting the way you like you can screw the corners.
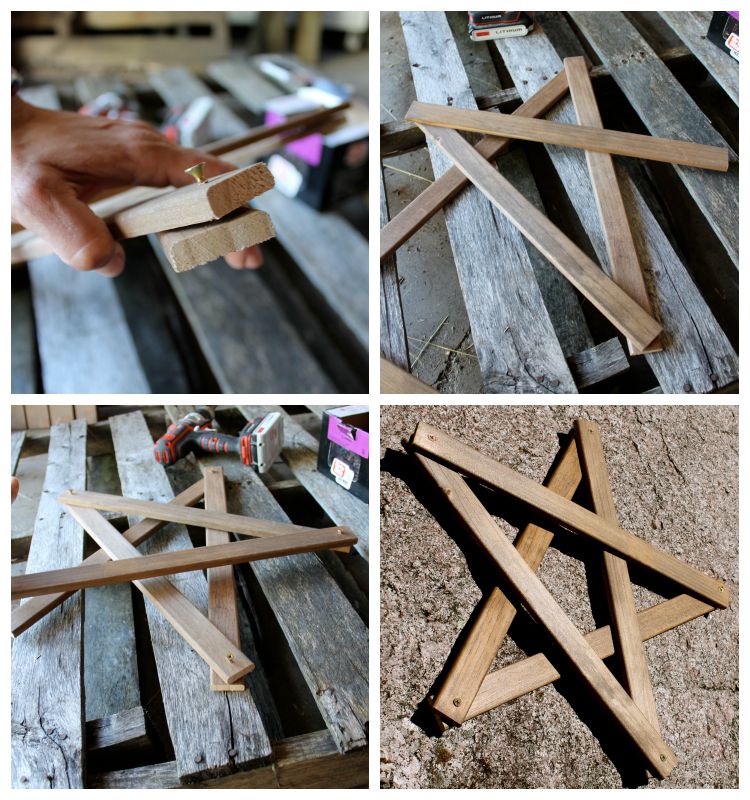
If it makes it easier for you, depending on the density of your wood, you can use a drill bit to predrill your holes.
DO NOT tighten your screws all the way tight yet, we will do that later. Once all 5 corners are loosely screwed move your boards until you are happy with the shape. Now you can tighten the corners. Doing this last lets you get the piece well-balanced so it can be free-standing.
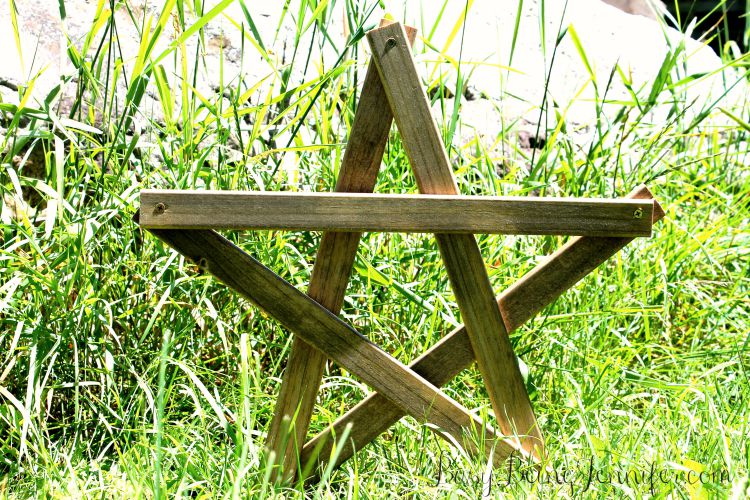
Then repeat making different sizes of stars!
The simple, rustic design of this wooden star is perfect for any home decor, especially during the Holiday season. For Christmas you could wrap your star in lights and hang it pretty much anywhere. How cute would a couple of these be hanging on a front porch? Or a mid-sized star wrapped with a little greenery and lights in place of a wreath on your door?
Of you could add some wire to a smaller star and turn it into a rustic wooden star tree topper (like this one)!
It’s safe to say that I’m more than just a little obsessed with these stars and seriously considering making enough to fill an entire wall full!
Rustic Wooden Star
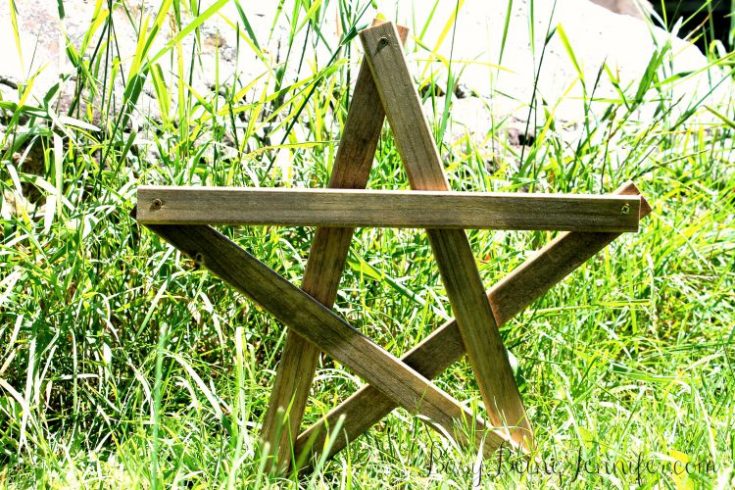
You know what I love? I love DIY decor projects that serve more than one purpose 🙂 Like this gorgeous Rustic Wooden Star
Materials
- 5 pieces of wood all the same length (to make a small star, use short pieces and stay narrow the longer your wood the wider you can go, so for a slightly larger star pattern, make your pieces longer and thicker)
Tools
- Screws
- Drill
Instructions
- Very simply, start laying out a star shape. Be sure to lay it out before screwing just so you can make sure all the star pieces fit the way you want. Once you have a star points meeting the way you like you can screw the corners.
- If it makes it easier for you, depending on the density of your wood, you can use a drill bit to predrill your holes.
- DO NOT tighten your screws all the way tight yet, we will do that later. Once all 5 corners are loosely screwed move your boards until you are happy with the shape. Now you can tighten the corners. Doing this last lets you get the piece well-balanced so it can be free-standing.
- Then repeat making different sizes of stars!
Pin for later:
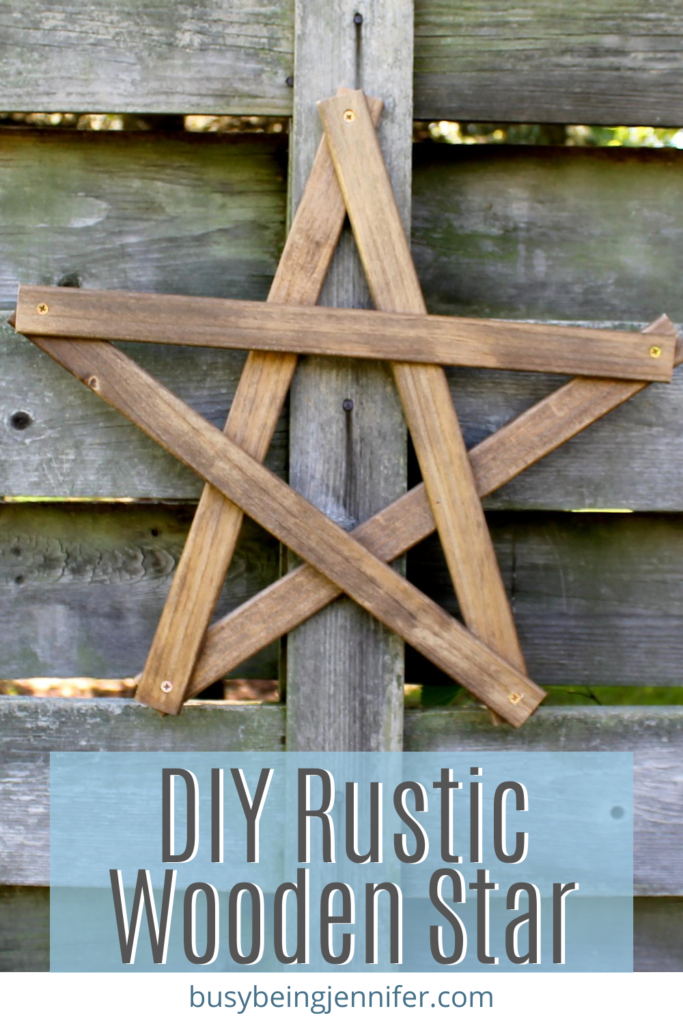

I am a star fanatic and LOVE this rustic version. And yes, a wall full of them in varying sizes would be awesome! 🙂
I absolutely love this! Pinned and tweeted. Thank you so much for bringing such a masterpiece to our party. I hope to see you tonight at 7 pm. We can’t wait to party with you! Lou Lou Girls