Last week when I was visiting my bestie, I had a moment where I really wished I had cute little bag to shove my pajamas in come morning. Instead I had to tuck them under my pillow until it was time for bed again. No Bueno! So I decided I’d make myself a DIY draw string bag for the next time I get to go for a sleep over!
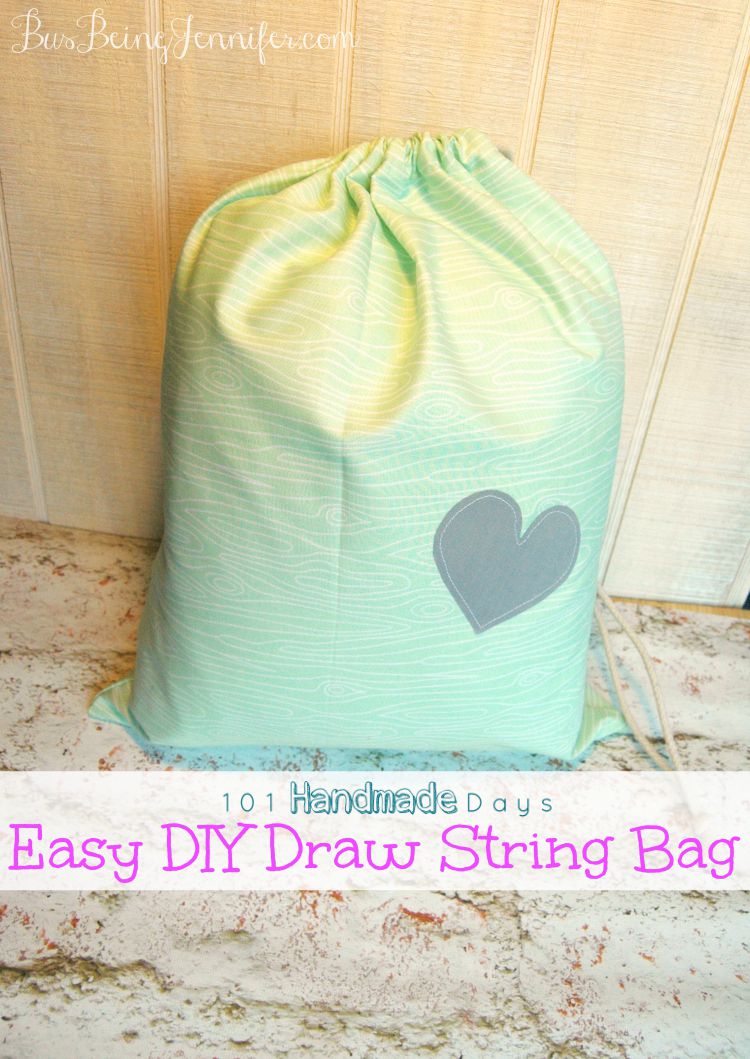
And yes. I know I’m in my 30’s. A girl is NEVER too old for a sleepover with her BFF 🙂 Especially if there are cute sleepover related accessories like my new, easy DIY draw string bag for my jammies 😀
Here’s what you need to make your own DIY draw string bag:
Fabric of your choice – 2 14.5″ x 18″
piece of coordinating scrap fabric
Heat’n’Bond or no-sew seam tape.
Ruler
Rotary Cutter
Sewing Machine
Coordinating Thread
Paracord, Twine, Ribbon or something like that
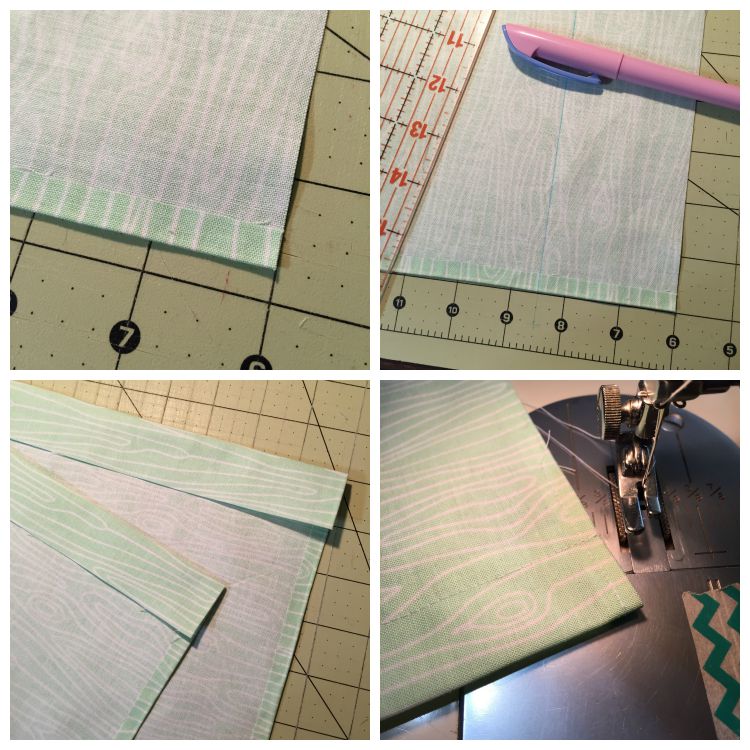
Step One: Cut 4 – 1/4 inch wide by 18 inch long strips of heat’n’bond (or 1/4 wide no-sew hem tape). Iron those strips to the long edge on the wring side of the fabric. Then remove the backing, fold the heat’n’bond down and iron flat.
Step two: Decide which end is up and add a 6″ line of straight stitching over the heat’n’bond “hem”. Measure 2 1/2 from the top and draw a line using a washable fabric market.
Step three: Fold the top end to the line and iron in place.
Step four: Sew a straight stitch line across the stop securing the fold in place. This leaves you with a 1 1/4 inch wide slot to thread your sting through. Repeat these steps on both pieces.
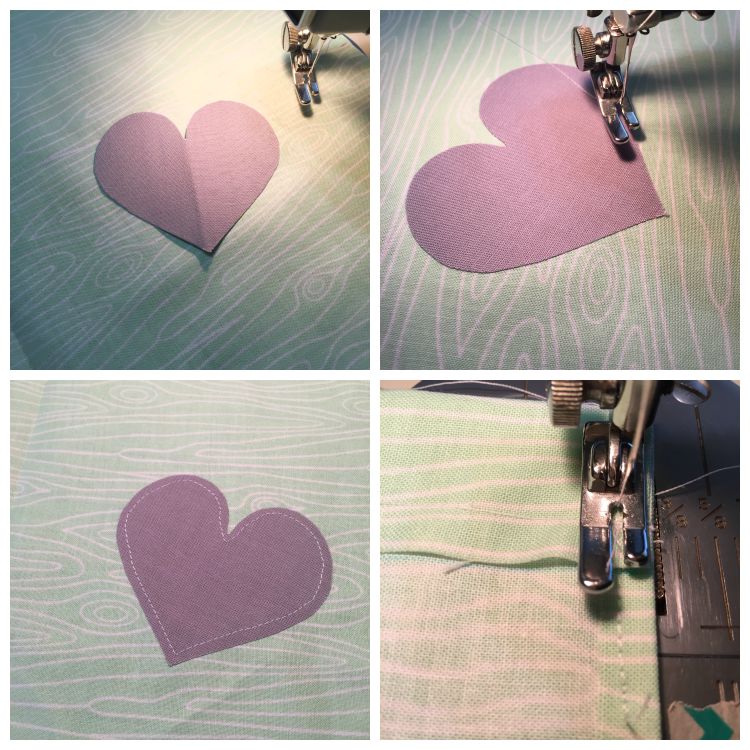
Step five: Add a piece of heat’n’bond to the coordinating fabric scrap. Cut out a heart. Remove the heat’n’bond backing and iron onto one of the rectangle pieces.

Step six: Layer the 2 pieces on top of each other matching the slot opening. Pin in place.
Step seven: Starting just below the line of stitching (See the arrow in above image) sew a 1/4 seam around, stopping just below the same spot on the other side.
Step eight: Clip your corners. Turn right side out.
Step nine: Pin a safety pin to the end of your string and thread it through the opening on both sides. You can thread it back around and have just one outer string (like mine) or thread a second length through the opposite side and knot them together at both ends.
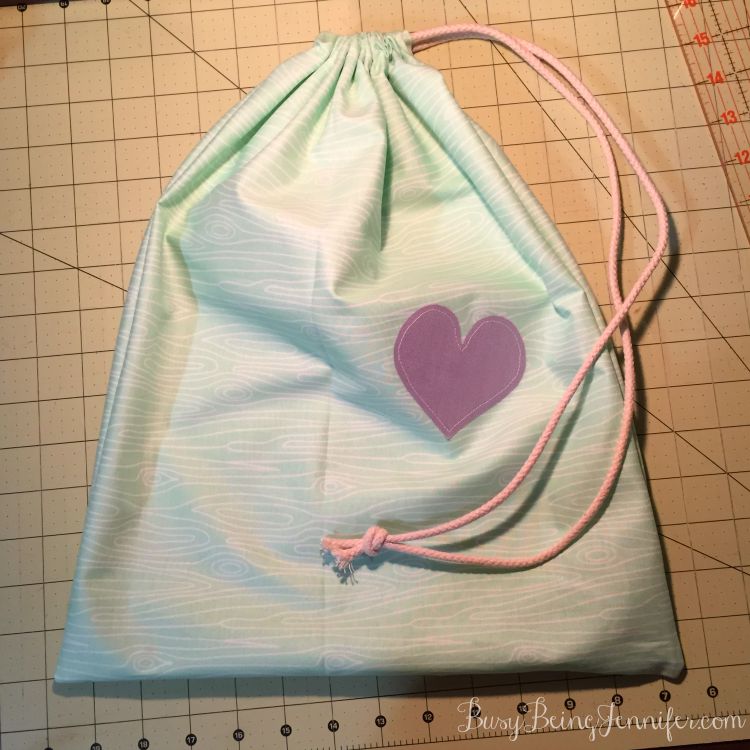
You could easily adjust the size of this bag just by increasing or decreasing the size of the rectangles!
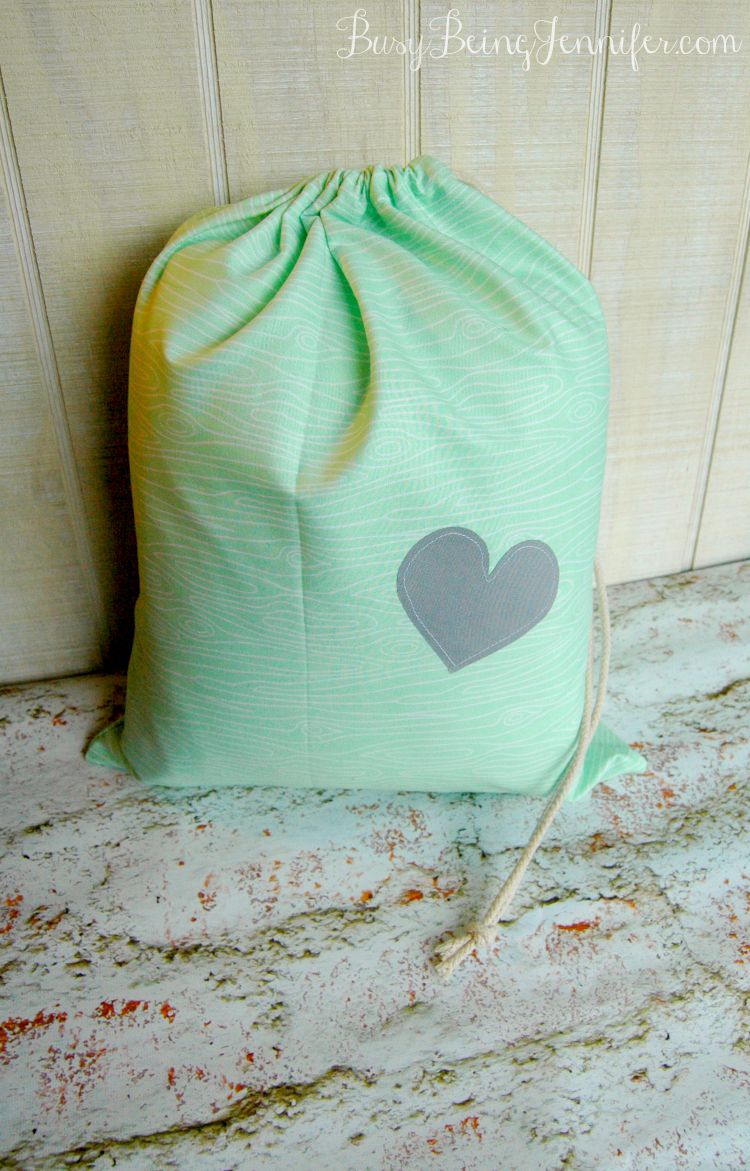
Now all that is left to do is to put your new DIY draw string bag to good use! Its perfect for your pajamas, a change of clothes, a project bag or even a yarn bag! Its a great size for just about anything!
Too cute! I love making these little bags. I keep my hair products in one and my gym clothes in a few others I’ve made. Thanks for sharing!