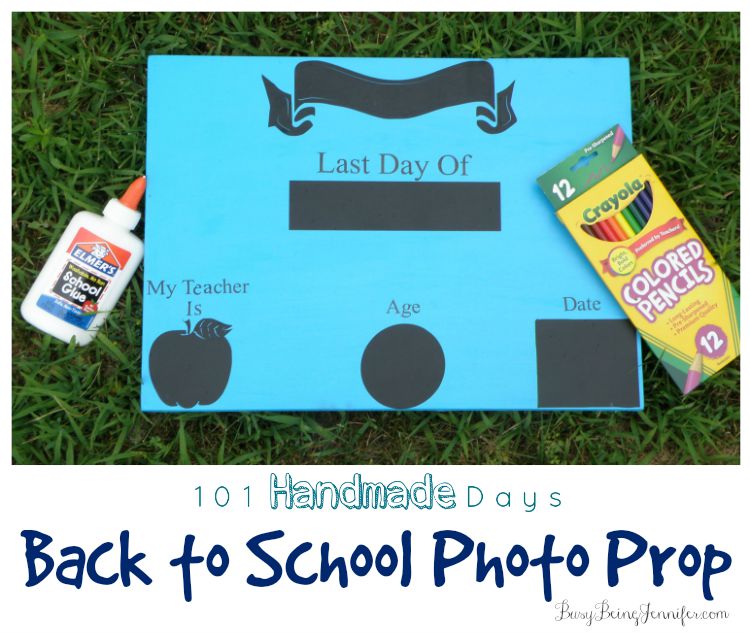
School will be starting back up again very shortly and we all love taking the first and last day of school photos of our children to see how much they have grown. One of the problems is that we have to write on the back of the photos when we take the pictures so we know what age, grade, teacher and other information that we love to know. Instead of looking at the back of the photo wouldn’t it be great to know when you just look at the photo?
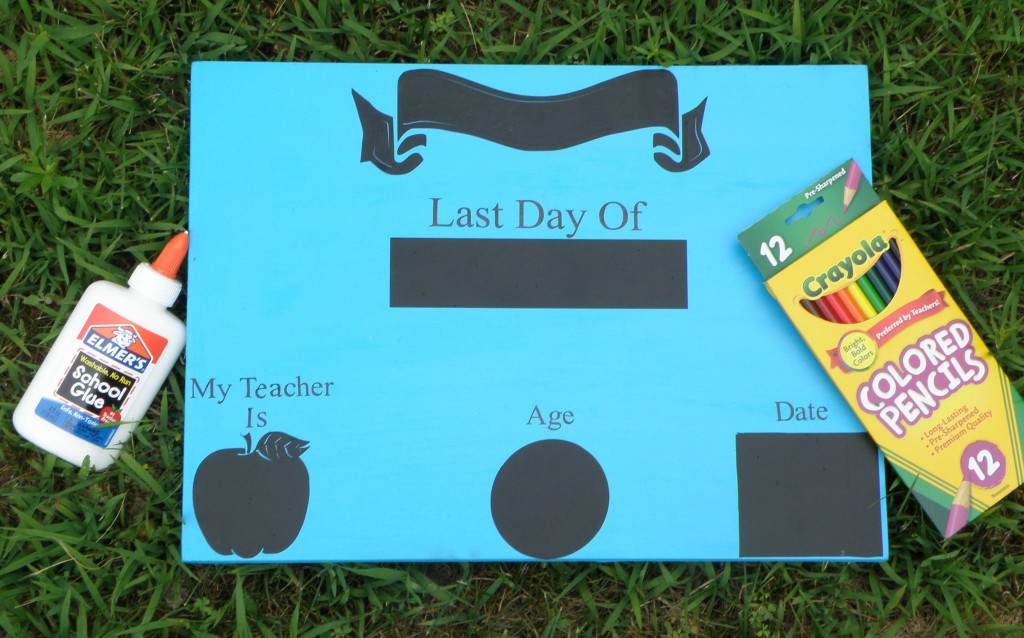
You can make one of these great First/Last Day of school photo prop boards for your child/children and use them year after year. They will hold up and I love that you can use chalk to write in the information of the school year and erase it for the next year or child. You can choose any color for the board that you would like, if you have a boy and girl use a color that would be great for both. You will love being creative with your board and you can add more information if you choose as well. If you would like you can also add, “When I grow up I would like to be” , “My best friend is”, “My favorite book is” and anything else you would like. Your not limited to the information that you can add to your board.
Note: You will need 2 sets of each images and letters for both sides of the board. One side will say first day of school and the other side will be for the Last day of school.
Supply List:
5/8″ Plywood 18″ High and 27″ length
1 Large Bottle Of Anita’s All Purpose Acrylic Island Blue paint
Modge Podge
2 Apple And Square PDF print out
2 Circle and heart PDF print out
2 Ribbon Banner PDF print out
2- Black Chalk Board Covering (Dollar General $1)
Sand paper
Pencil
Ruler
Chalk
Letter Stickers, Letter stencil or anything you would like to use for the letters
Step 1: Have your Plywood cut into the size of the board you need. You can make more then one or choose to make other projects from the left over plywood.
Step 2: Sand the edges of your board so that you will not get splinters and you can paint it easily.
Step 3: When I’m painting I like to squirt the paint onto sections of the board and use a length wise straight across motion so that the paint is smooth. Then I continue till the board is covered onto the edges of the board. I then let it dry and cover the other side of the board and the edges again to make sure they are fully covered. The front and back will need two coats of paint each.
Step 4: Get your Modge Podge and place a thick layer over the top of your boards to seal the paint, it helps to protect it and makes it easy for cleaning as well.
Step 5: Print out the PDF files of your images. Now that you have them printed out, you can now cut out the outline of each image to use for your Black chalk board cover.
Step 6: You will want to trace your images on the white backing of the Black chalk board cover and then cut them out. Do not remove the white backing yet.
Step 7: If your using the Black Chalk board cover for the lettering with a stencil, you will want to use the wrong side of the stencil to trace so that the letters will come out correctly. If your using sticker letters then you can get them ready.
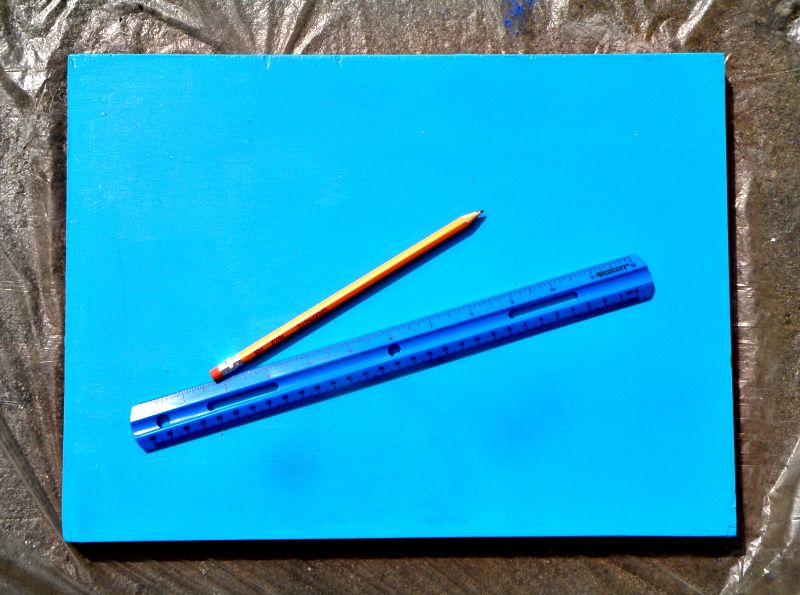
Step 8: Now you have all your pieces cut out and ready to use. You will now use a ruler and your pieces to draw straight lines on your board. This will help you to ensure that your pieces go on the board straight so they are not all over the board and uneven.
Step 9: Now that your ready to start placing your pieces down. I highly recommend that you use modge podge on the back of your pieces as it really helps adhere them to your board. You will only use a light layer of modge podge. Once you have your light layer of modge podge on your piece you can start to place them one at a time. I like using the modge podge as I can still move the pieces easily if you need to.
Step 10: Once your pieces have dried you can use a damp cloth to remove any extra modge podge and your ready to use your board for the first and last day of school.
Isn’t this just the most perfect back to school / end of school photo prop? I’m thinking that I might add something like this to my list of things to add to the shop/market booth for next summer! I think my local clients and friends would just LOVE it!


Love this! I read this article the other day “the 7 types of moms you see on the first day of school” & I am definitely “paparazzi” ?
Esther
The Cuteness
I wish I was this clever when my kids were little! College students don’t care for first day pics anymore unless their selfies on snapchat! Stacie xo