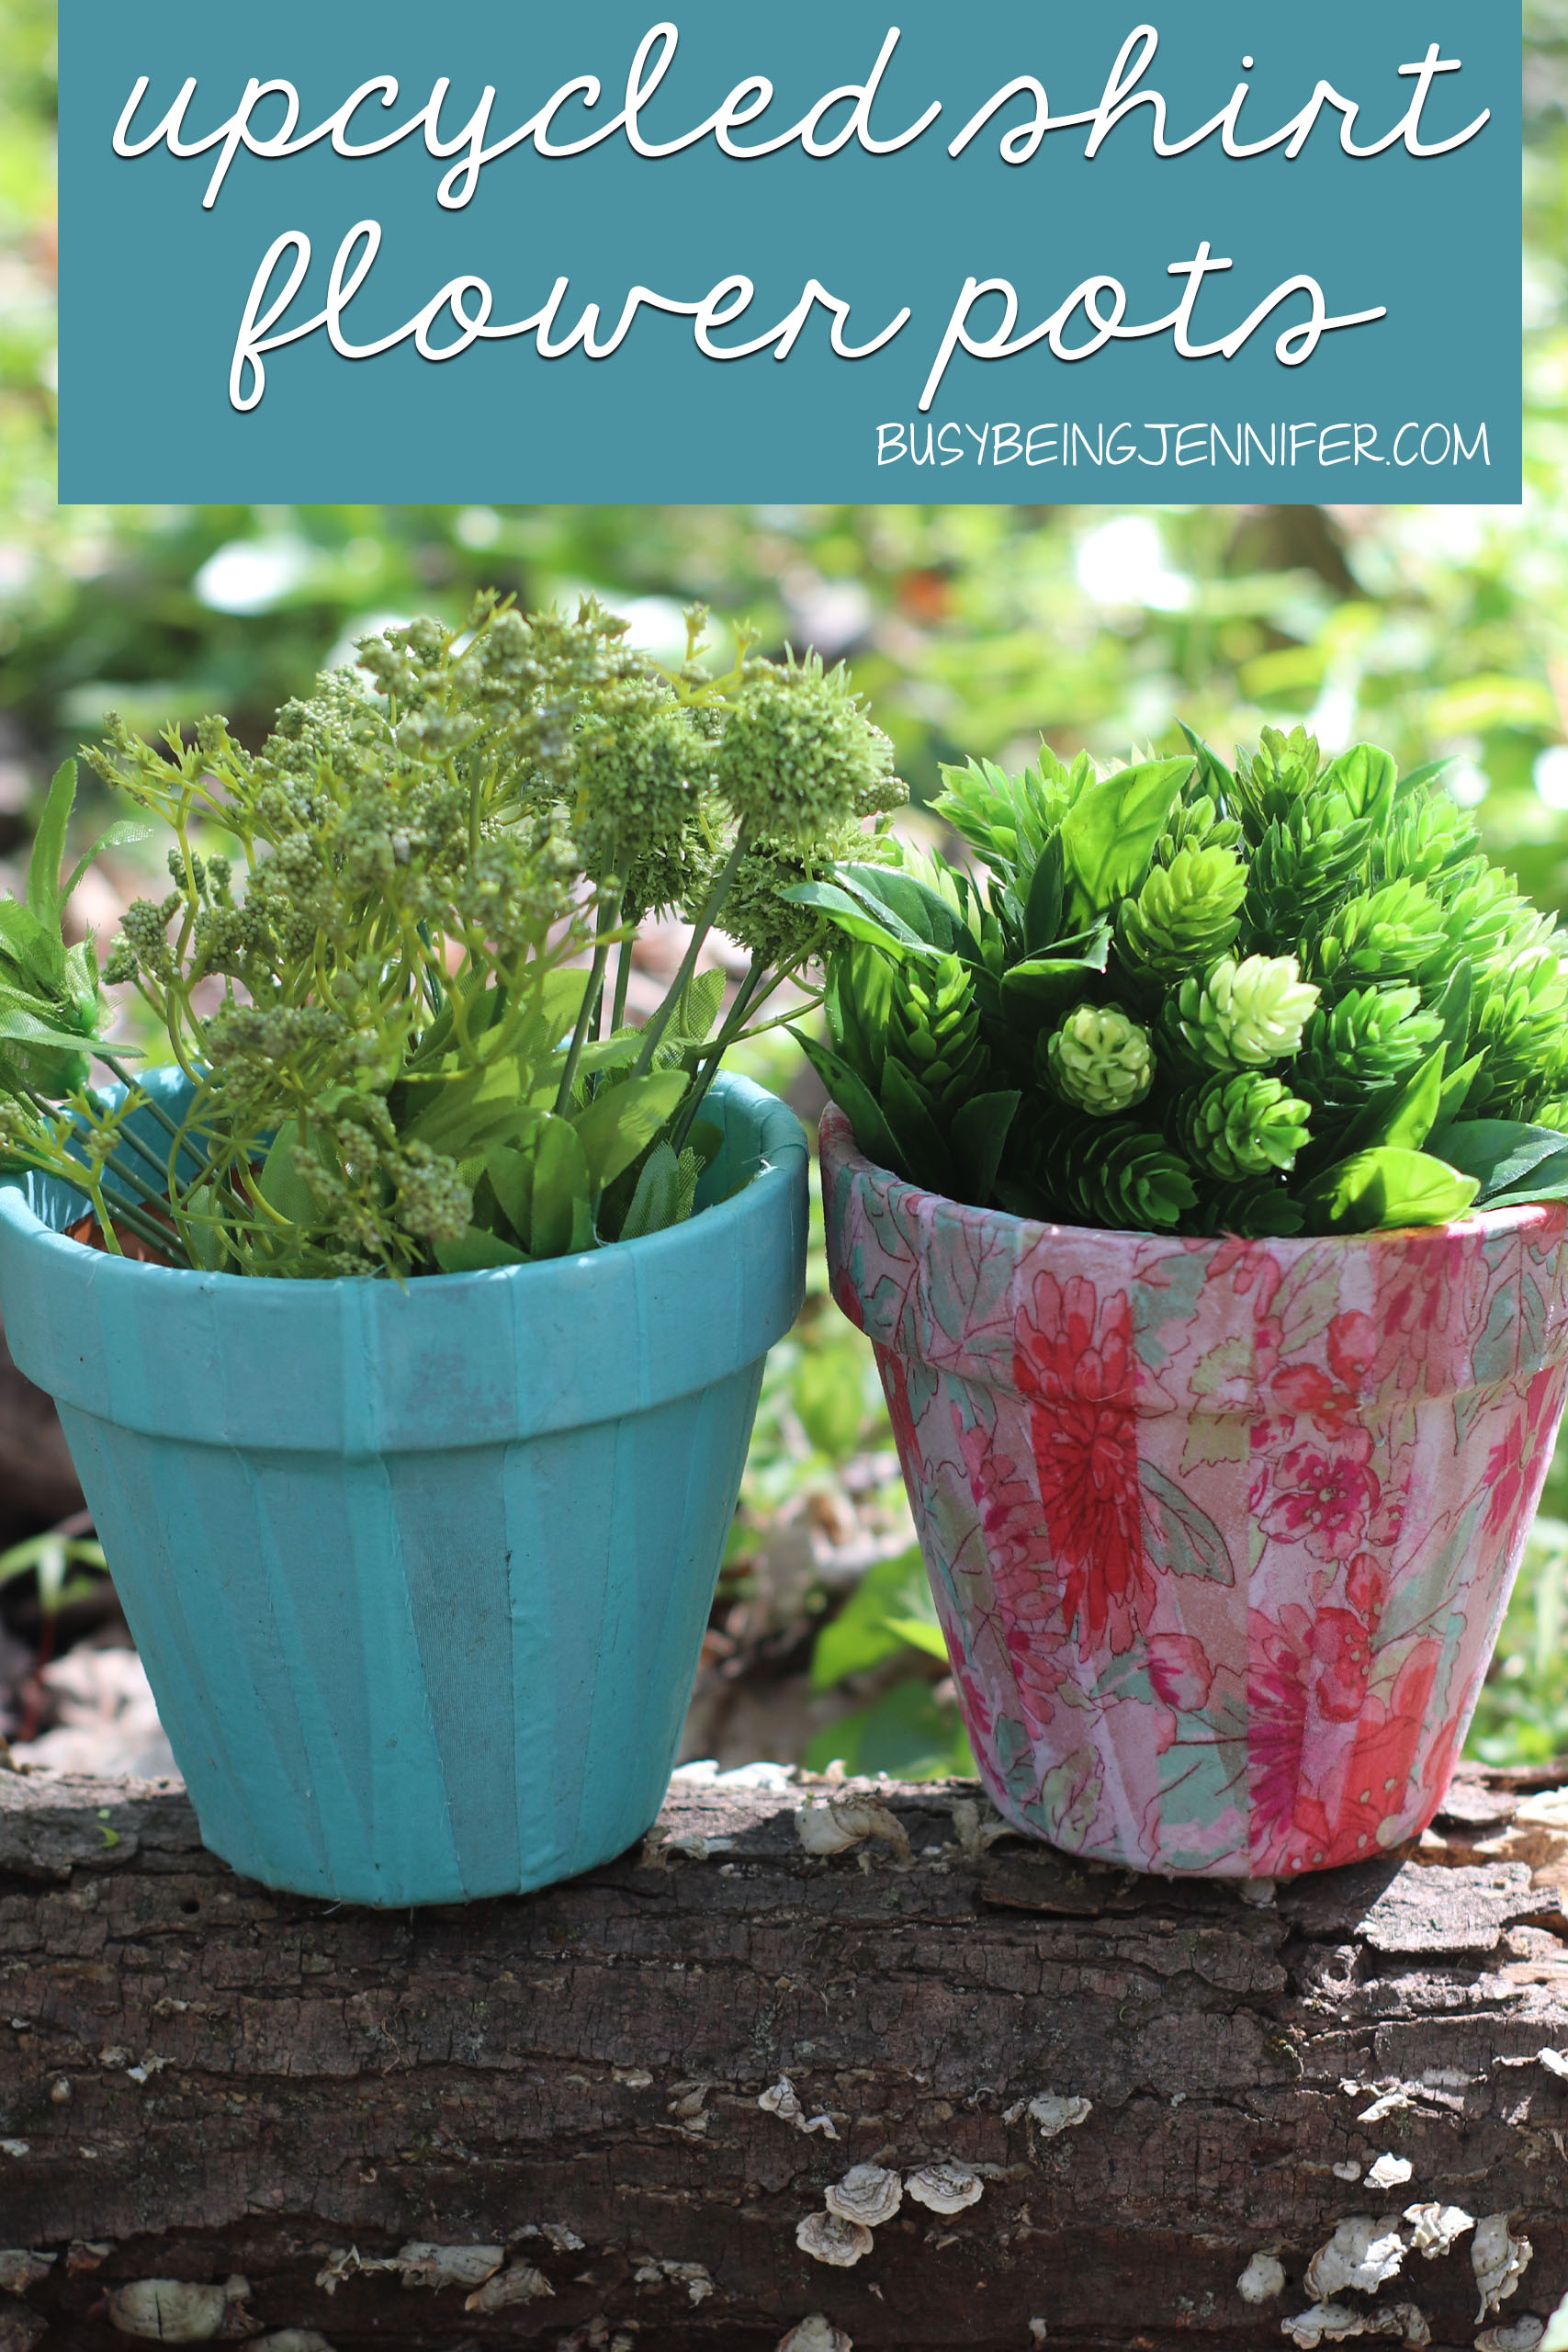
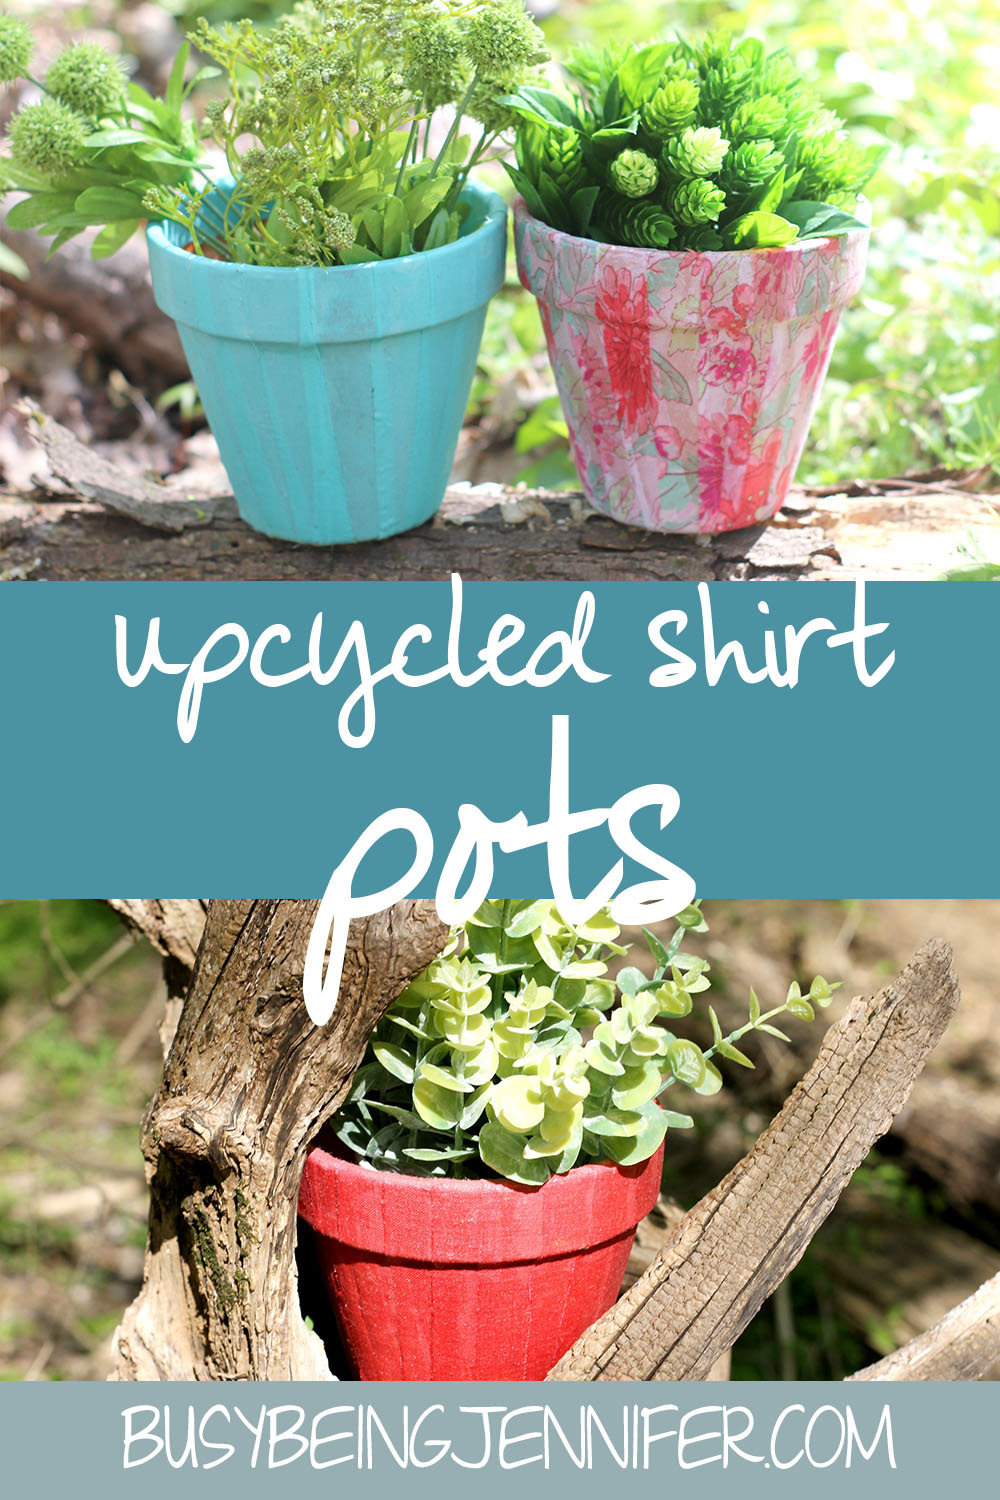
I had a conundrum–I wanted to update my porch with some plants, but didn’t want boring old terra cotta pots. So I made some fun Upcycled Shirt Flower Pots. They’re bright and silly, and they bring so much more to my porch than just an orangey blah.
Plus, making these Upcycled Shirt Flower Pots was super easy–they’re even simple enough that a kiddo could even do this for a fun Mother’s Day project, if they were so inclined. And I do so love an upcycle project!
All around, this is another one of my most recent handmade crafts that is just a simple, fun activity to help bring joy to my day.
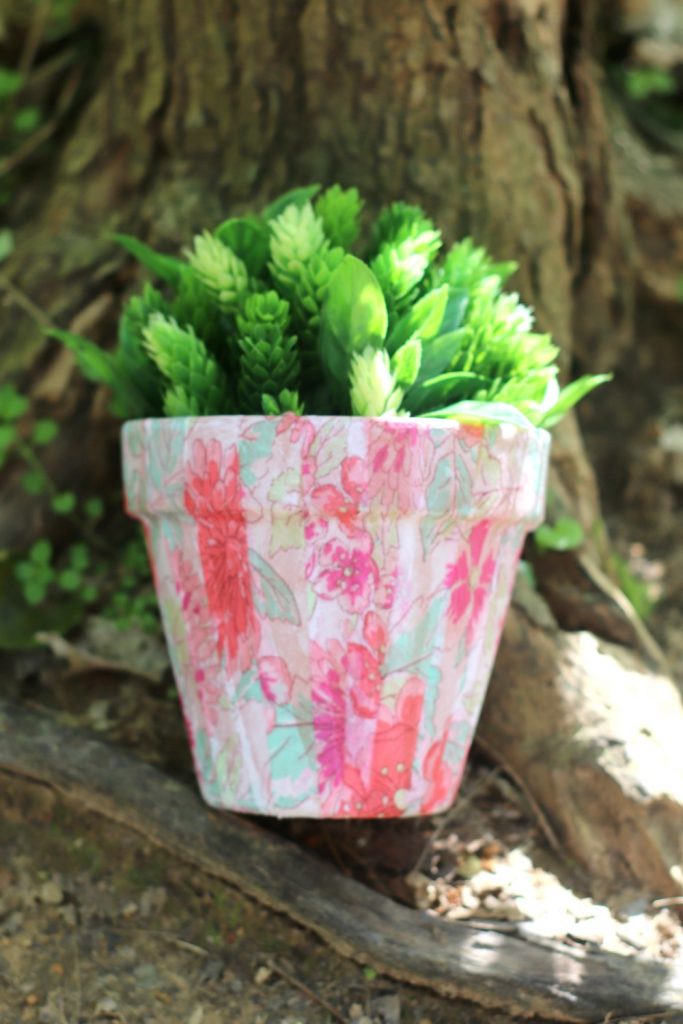
And really, that’s what I am all about recently. I just want more joy in my life. I know it seems silly–what kind of joy could Upcycled Shirt Flower Pots bring?! But it’s bringing in those colors I love, simple floral patterns, and just breaking up that “normal” that is so tired looking.
Once I had the idea, I just couldn’t wait. And now, looking at those beautiful pots on my porch, well, I can’t be happier.
If you’re ready to get these Upcycled Shirt Flower Pots on your porch, grab an old shirt and let’s get making!
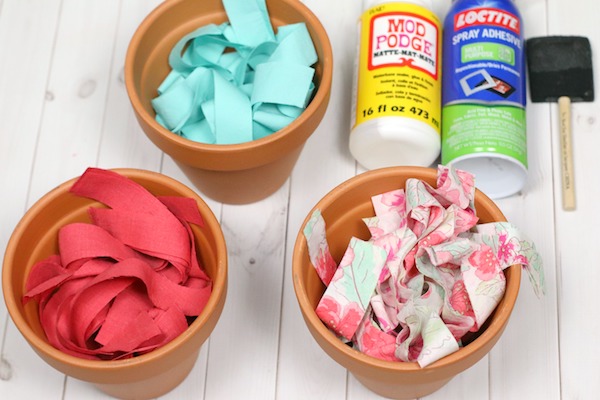
What You need to Make Upcycled Shirt Flower Pots
- Ladies shirt (we found ours at a local thrift store or dig into your closets!)
- Terra cotta flowerpot
- Scissors and a ruler or a rotary cutter, a mat and ruler
- Modpodge or spray adhesive
- Foam brush
How to Make Upcycled Shirt Flower Pots
Cut your shirt into sections. We saved the sleeves, buttons, and collars for future projects.
Cut the shirts into strips that measure about 9 inches long by 1 inch wide. But, please know that if your flower pot is taller than mine or shorter, the 9-inch measurement may need to be adjusted. So, measure your pot from center to lip, and add 2-3 inches on the end.
Also, note that the number of strips you cut will depend on the size of your pot. So if you have a bigger pot, you might need more strips. Or a smaller one will need less.
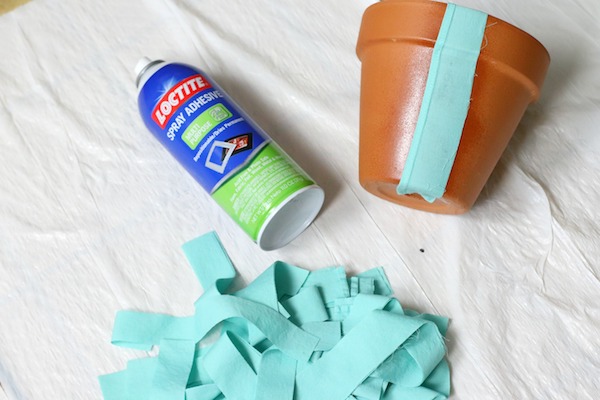
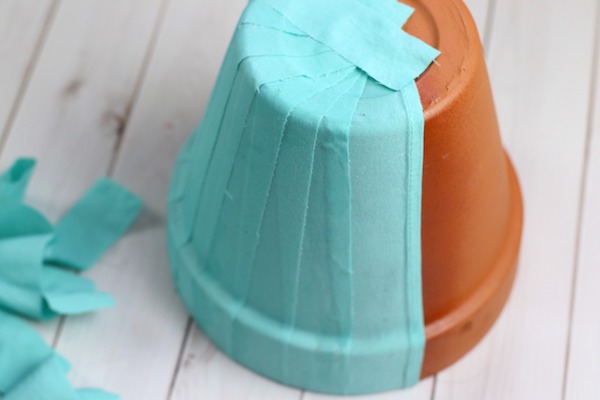
Apply the modpodge or spray adhesive in small sections on the flowerpot. Immediately place a strip of fabric on top of the modgepodge or adehesive and smooth it flat.
Start on the inside lip of the pot and move down the side and stop under the bottom.
Repeat process until the pot is covered.
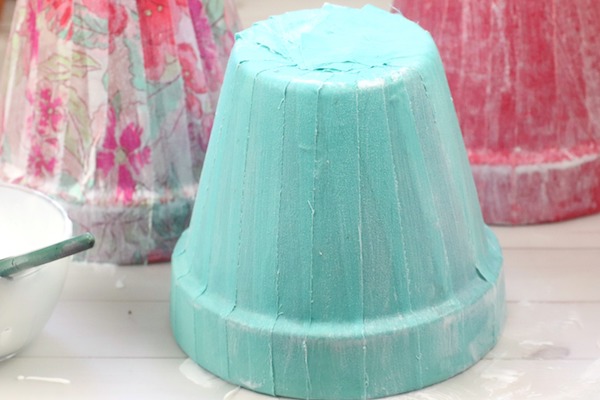
Seal with a coat of modpodge and allow to dry completely.
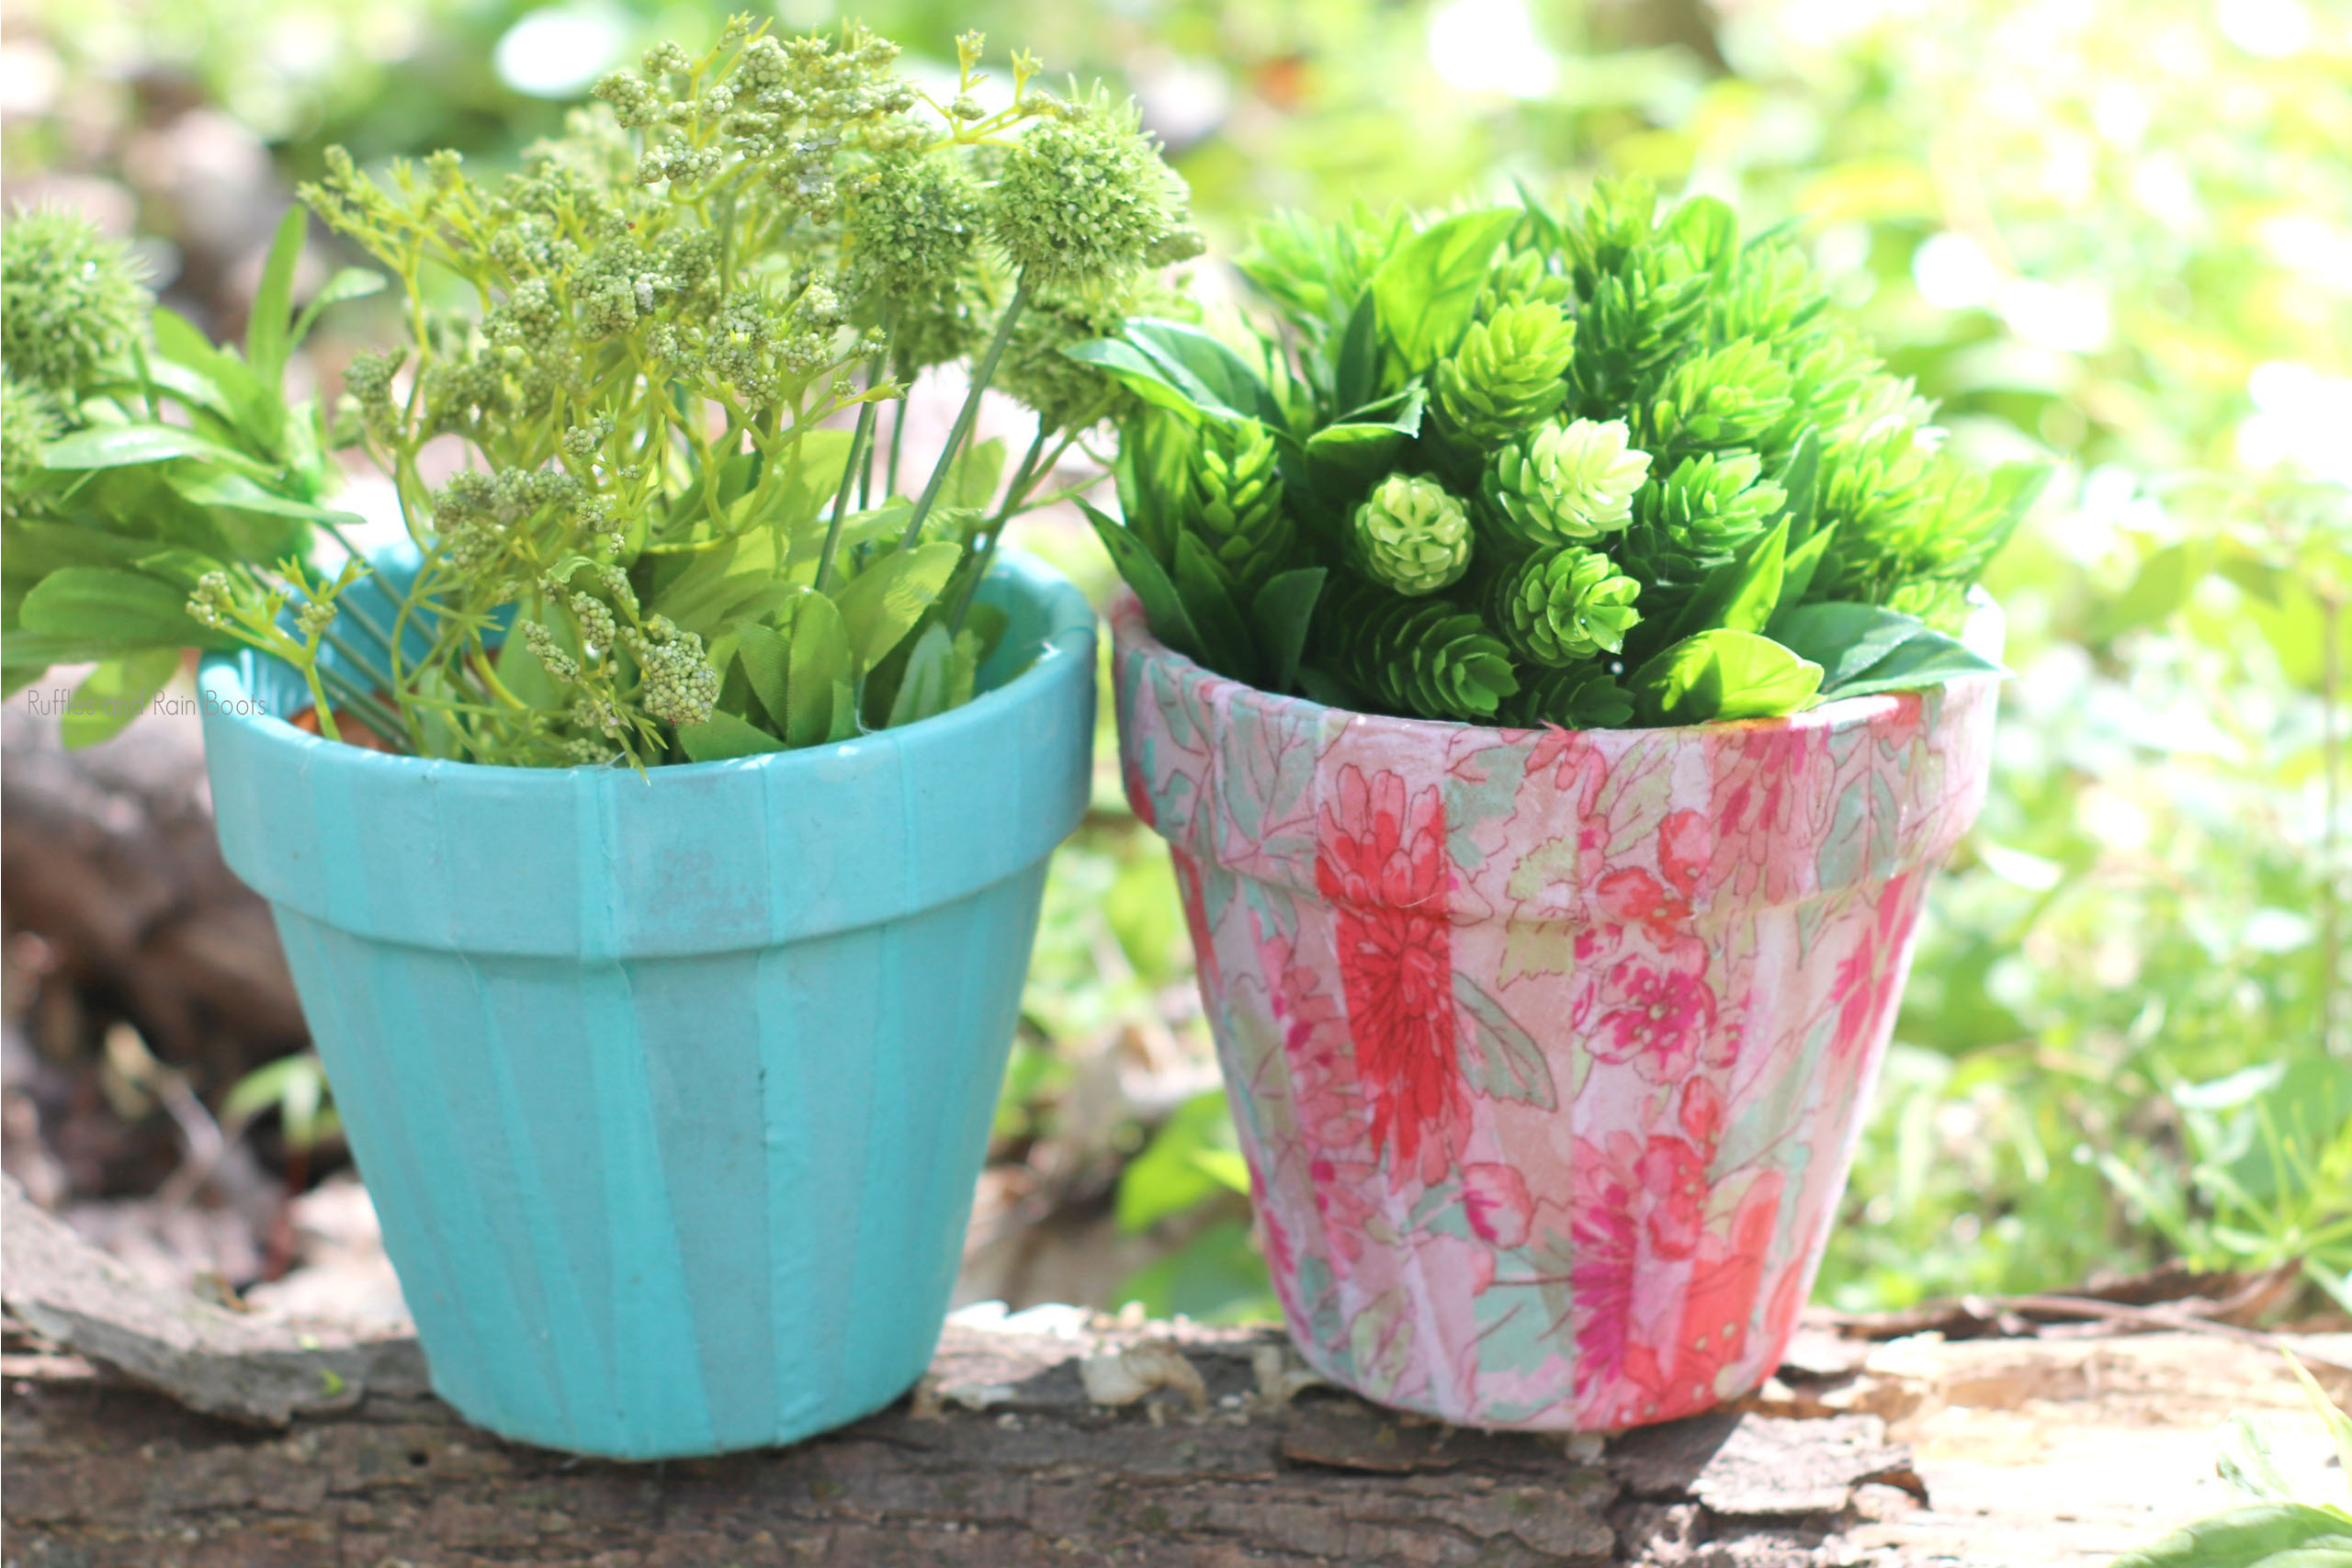
Once you let that modpodge dry, you’re ready to plant a pretty plant and put this cute flower pot on the porch!
Isn’t that just a dream?! And paired with some upcycled shirt mason jars in the same style?! Oh, that’s going to make for an awesome front porch plant display.
Be sure to pin this to your favorite easy craft ideas board on Pinterest (and be sure to follow me for craft inspiration!), so you can find it again super fast when you need a reminder of this easy handmade craft!
Leave a Reply