I’m back with another fun handmade ornament project from my friend and fellow creative blogger Gina! We met several years ago through at a blogging conference and bonded over our love of hot glue and glitter 🙂 Take it away Gina! —–
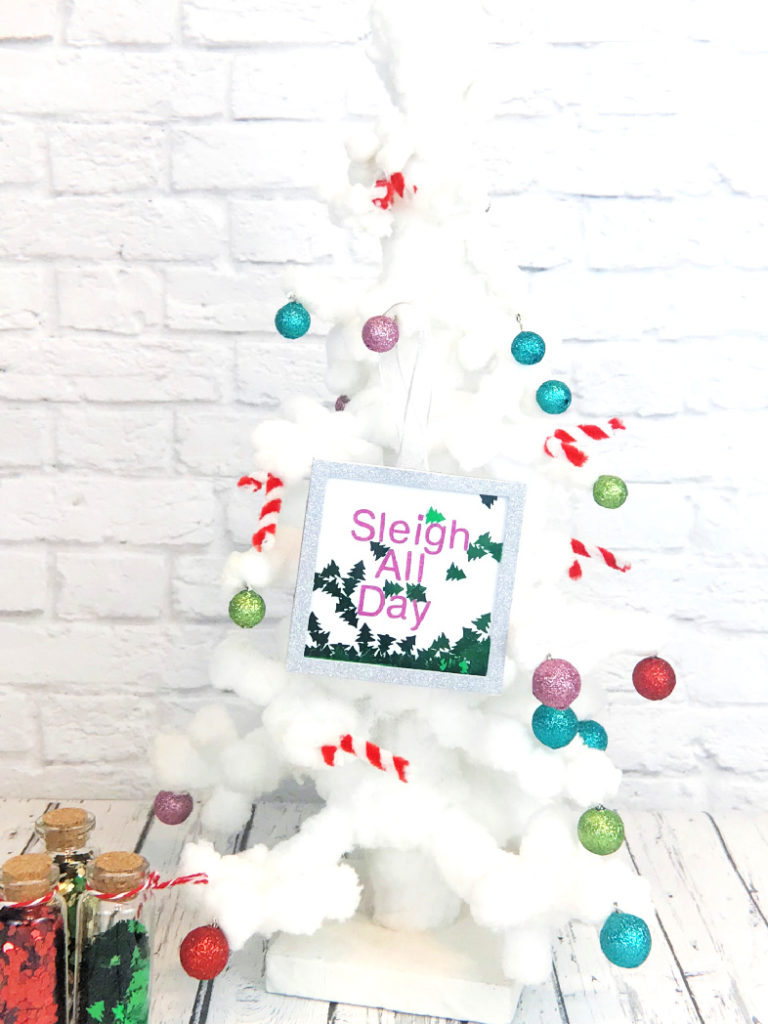
Hey, new friends! I’m Gina from Desperately Seeking Gina. I’m thrilled to share with you this fun Sleigh All Day Letter Board Shaker Ornament. I’m obsessed with letter boards and when I saw this adorable letter board die set from The Stamp Market, I knew I had to make something fun with them. You could totally make these into letter board gift tags for embellishing presents, too! Let’s make them.
Materials:
- Letter Board Die Set ** See note
- One sheet of Acetate
- One sheet of chip board **See Notes
- Letter Stickers ** See note
- Ribbon for hanging
- Christmas confetti
- Adhesive
- Foam tape
- Scissor
Notes:
- If you don’t have the die set, simply cut 2 (3.25 inch) squares of card stock, score one square to look like letter board. The other will be your backing.
- If you don’t have chipboard, use a cereal box cut to 3.25 inches.
- The die set comes with an alphabet die, but I couldn’t find mine. I used my Silhouette Cameo to cut my letters but you could also just use letter stickers.
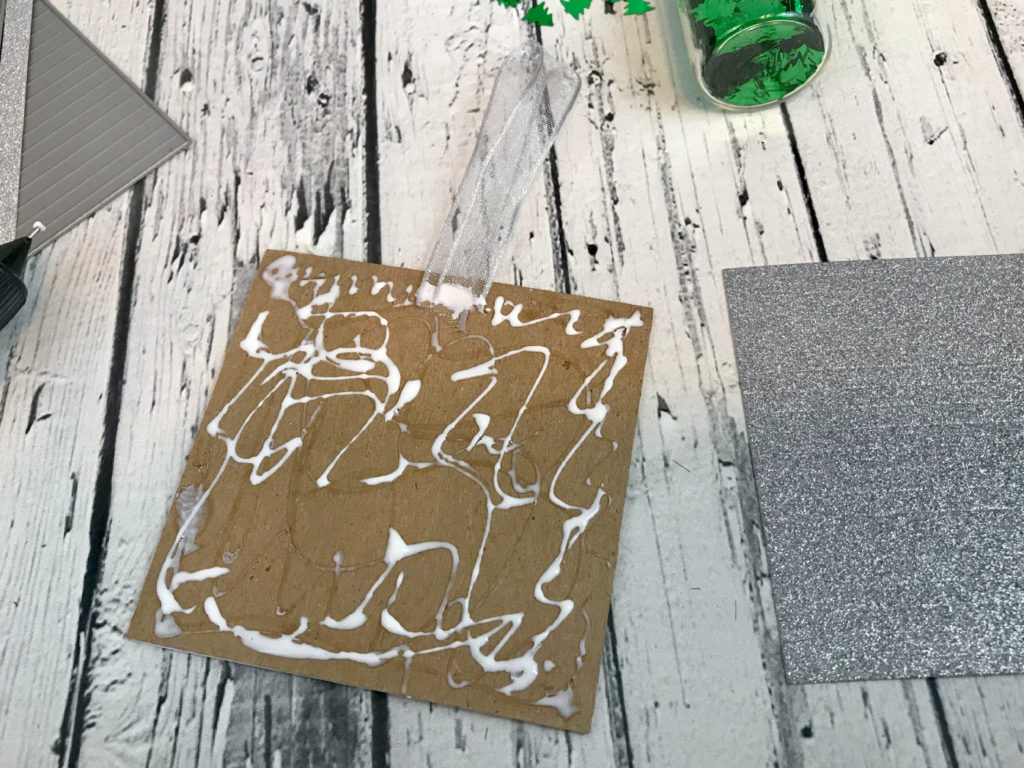
Begin by glueing the “letter board” to one side of the chipboard. Flip over and apply adhesive to the other side of the chipboard. Cut a length of ribbon for a hanger and adhere to the top of the chipboard. Place the second square of patterned paper over the ribbon and press to adhere.
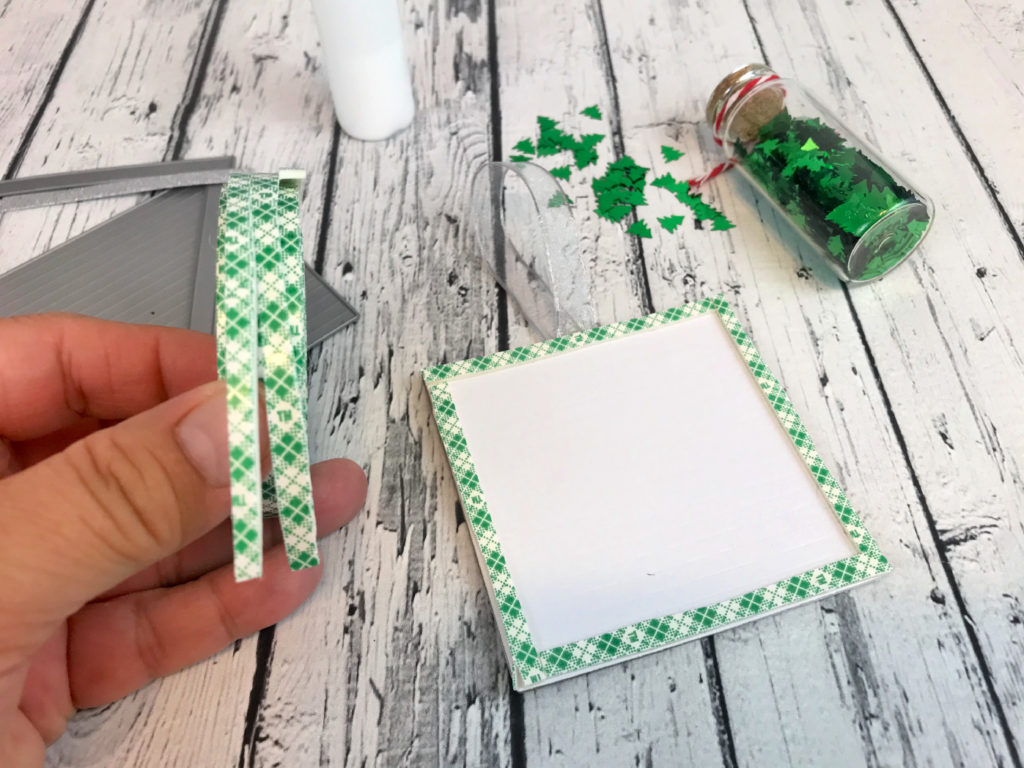
Cut foam tape into three strips measuring about 3 inches long. Place foam tape around the perimeter of the letter board ornament. Ensure that the ends of the foam tape touch so there will not be any gaps.
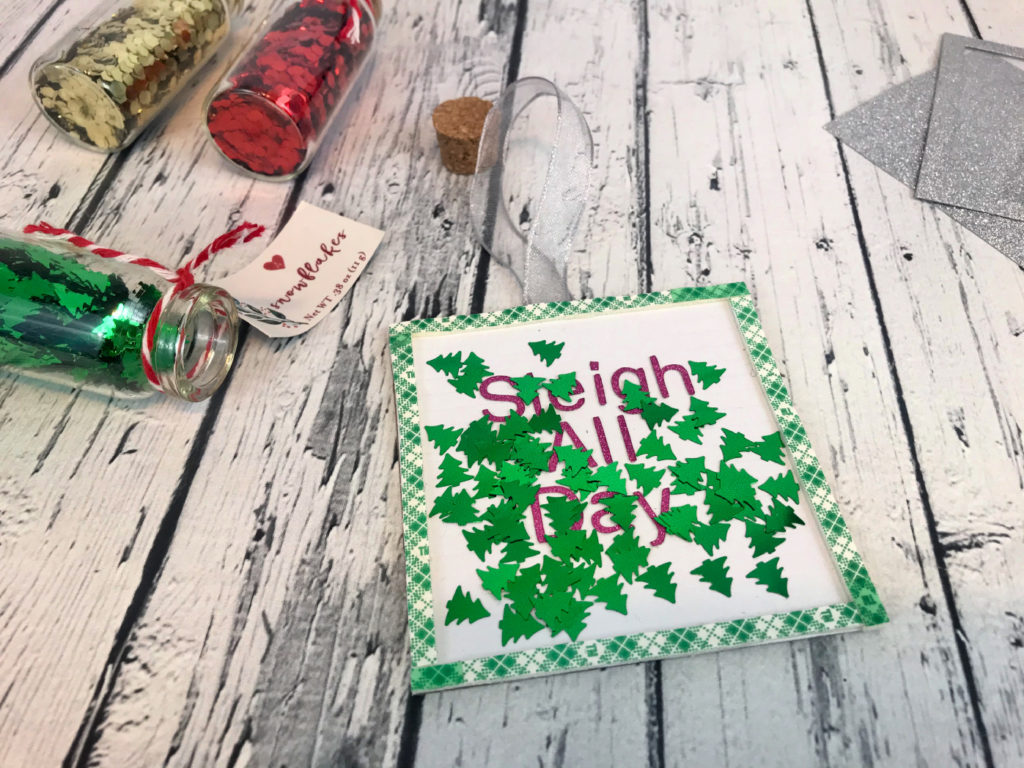
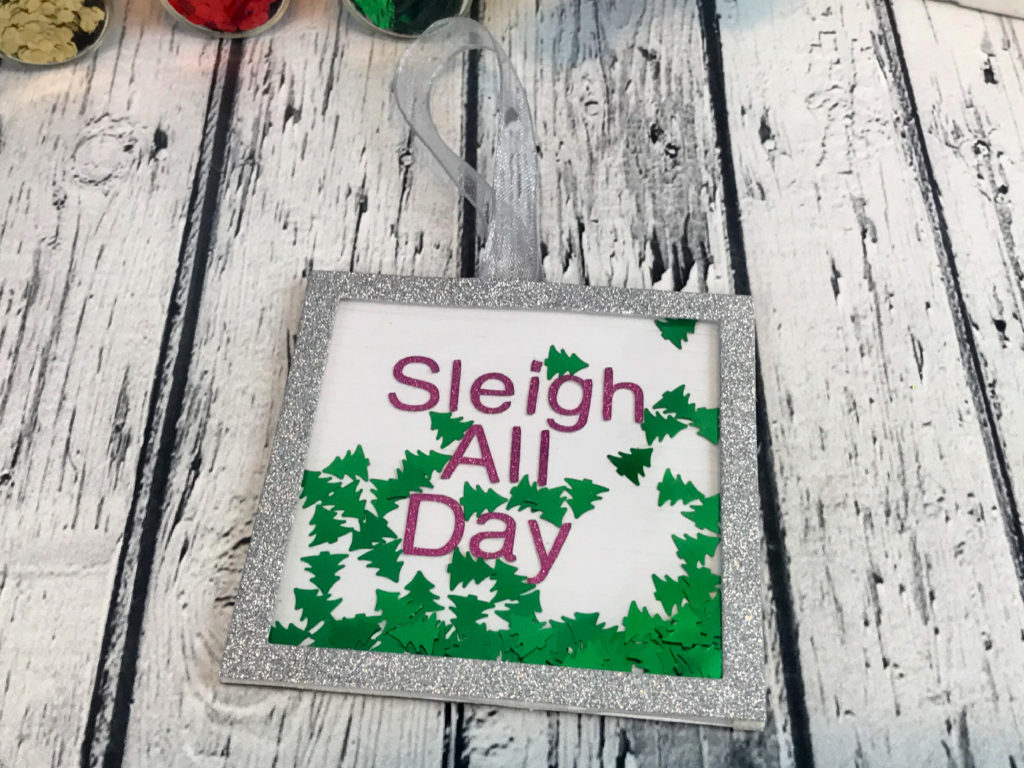
Arrange and glue letters to the letter board. I used “Sleigh All Day” here but you can use any phrase. Even someone’s name! Add Christmas confetti. Remove the foam tape backing and set aside. Prepare the top frame.
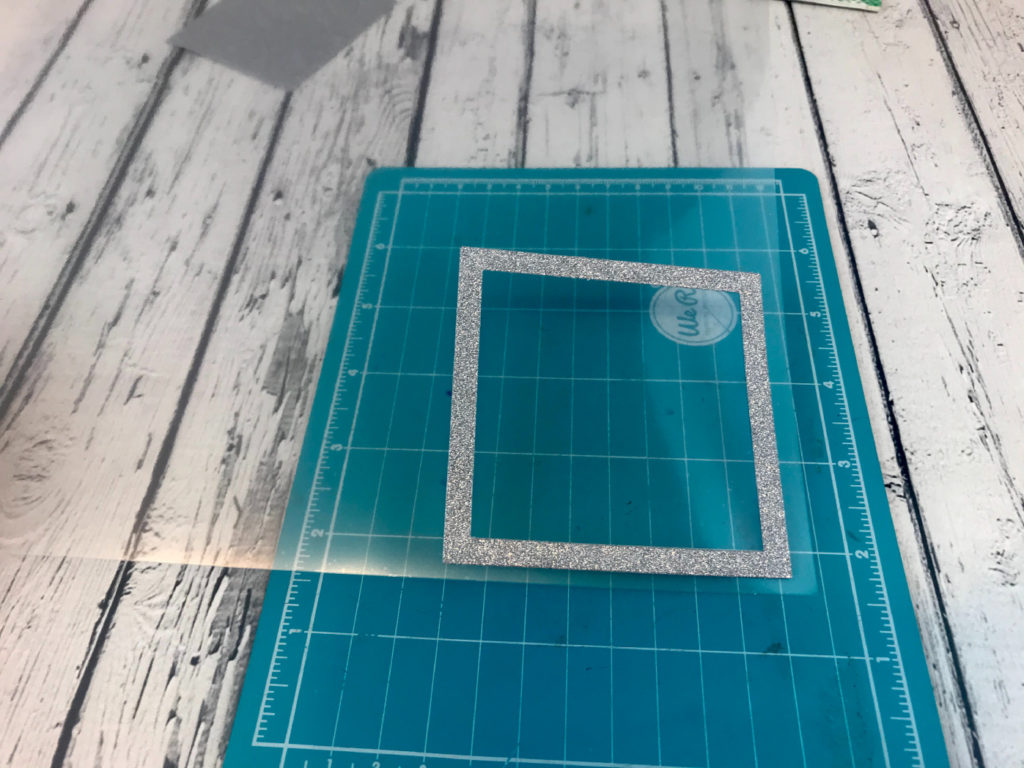
For the top frame, add glue to the back of the paper frame and place on top of the acetate. Cut around the outside edge to create a window.
Adhere the framed window to the letter board base. Trim edges of foam tape, if needed.

You’re ready to hang your Sleigh All Day Letter Board Ornament!

Thank you for having me over today, Jennifer! I hope y’all liked this fun Christmas ornament DIY.
More about me: I’m just a crafty girl living in a glitter covered world. I’m also a writer, crafter, and cupcake baker who’s trying to figure out what she wants to be when she grows up; one glue stick at a time. I’d love for you to join in the crafty fun over on my Facebook page, Desperately Seeking: Inspiration for Creative Living.
—- Thanks so much Gina! This ornament is ADORABLE!
Leave a Reply