This Rustic Pinecone Garland craft contains affiliate or brand partner links. Read our full disclosure here.
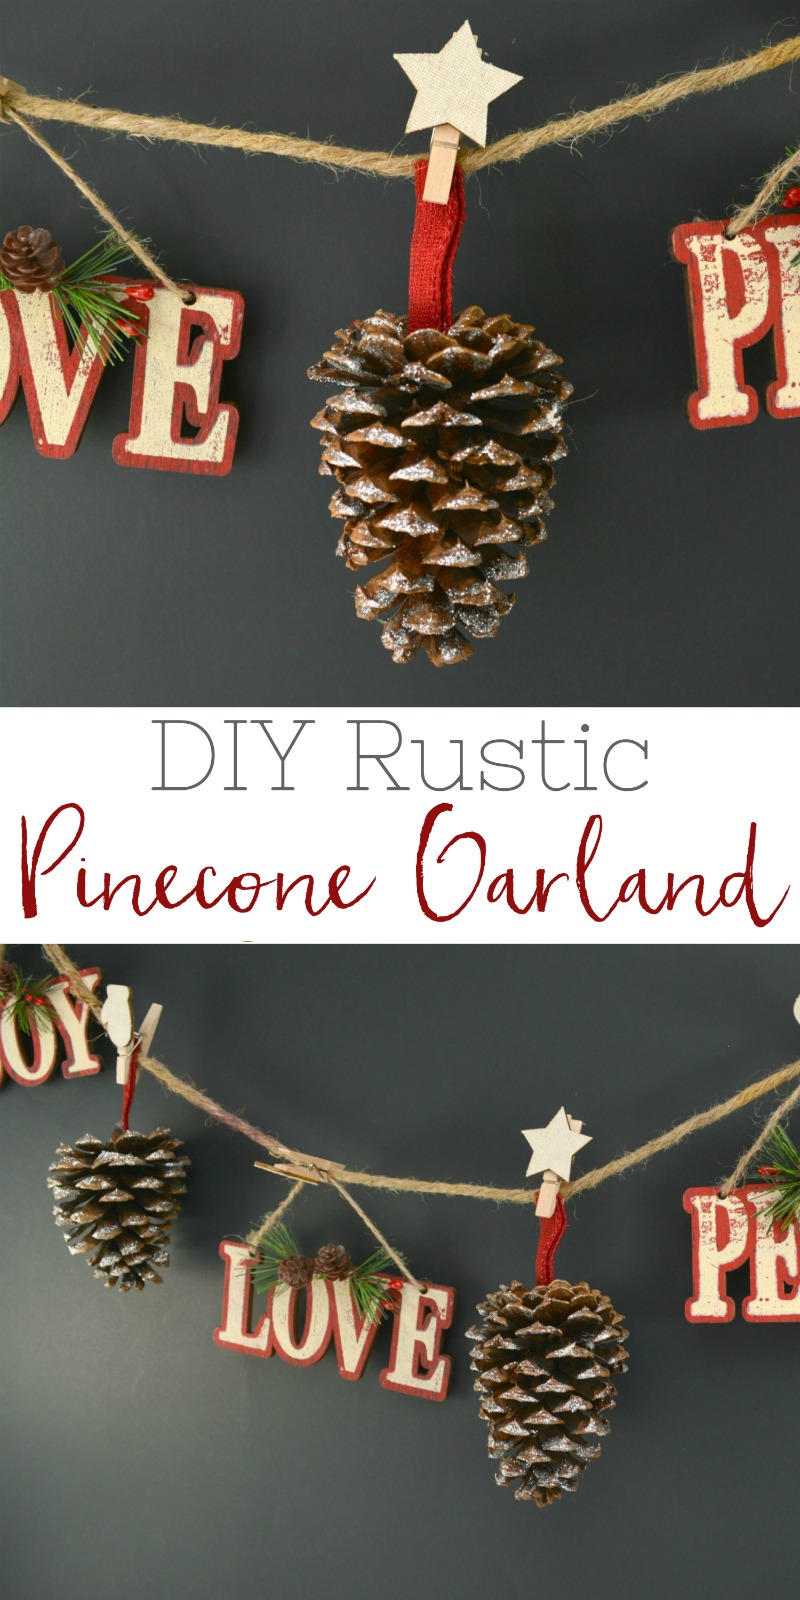
As far as I’m conscerned, its never too early to get started on your holiday decor! I’ve been brainstorming ideas, gathering supplies and gearing up to share all kinds of fun ideas, starting with this DIY Rustic Pinecone Garland!

There are a hundred different ways and things you could add to this Rustic Pinecone Garland! And depending on how crafty you’re feeling you could easily make your own rustic ornaments instead of buying them! This post is more about inspiration and getting escited about creating some holiday decor of your own than giving you every single piece, espeically since some of supplies are not available online. 😉
Rustic Pinecone Garland Materials:
- Pinecones
- Silver glitter paint
- Paintbrush
- Hot glue gun
- Red ribbon
- Small holiday themed clothespins
- Rope or twine
- Scissors
- Rustic holiday ornaments (optional)
Rustic Pinecone Garland Instructions:
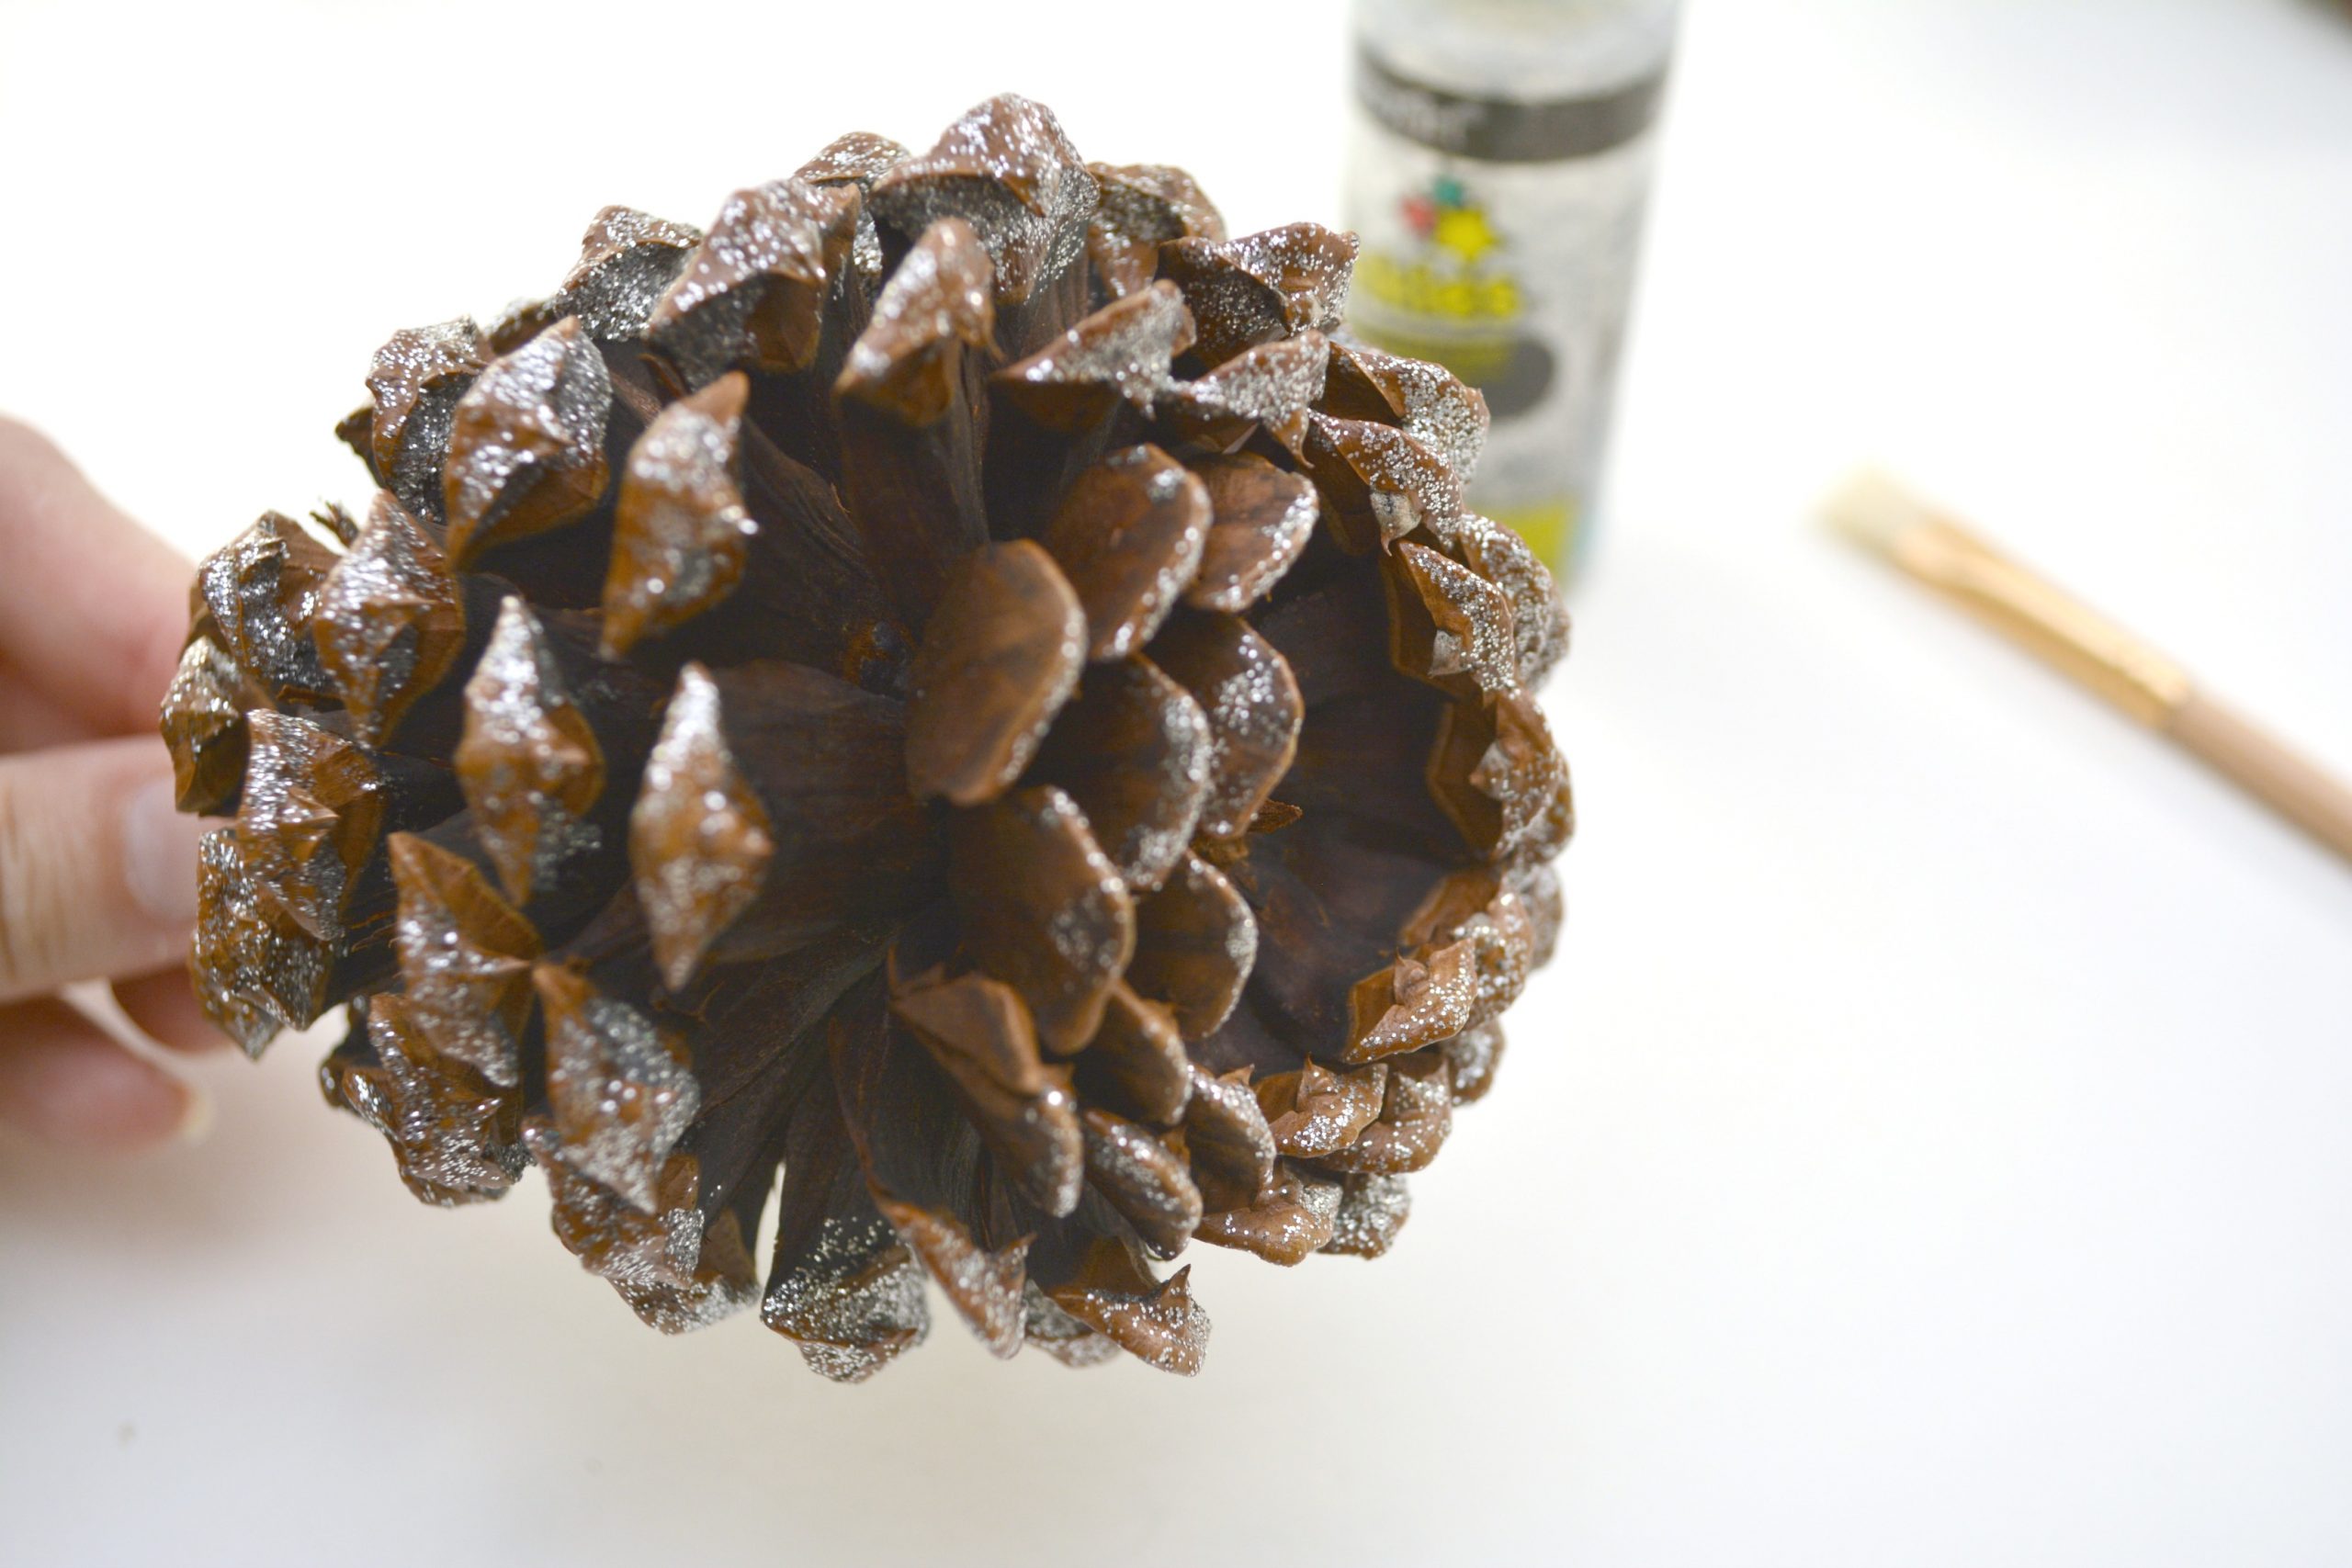
Begin by holding your pinecone upside down by the tip and painting the edges of the pinecone with silver glitter paint. Lay the pinecones down gently on a protected surface and allow them to dry completely.
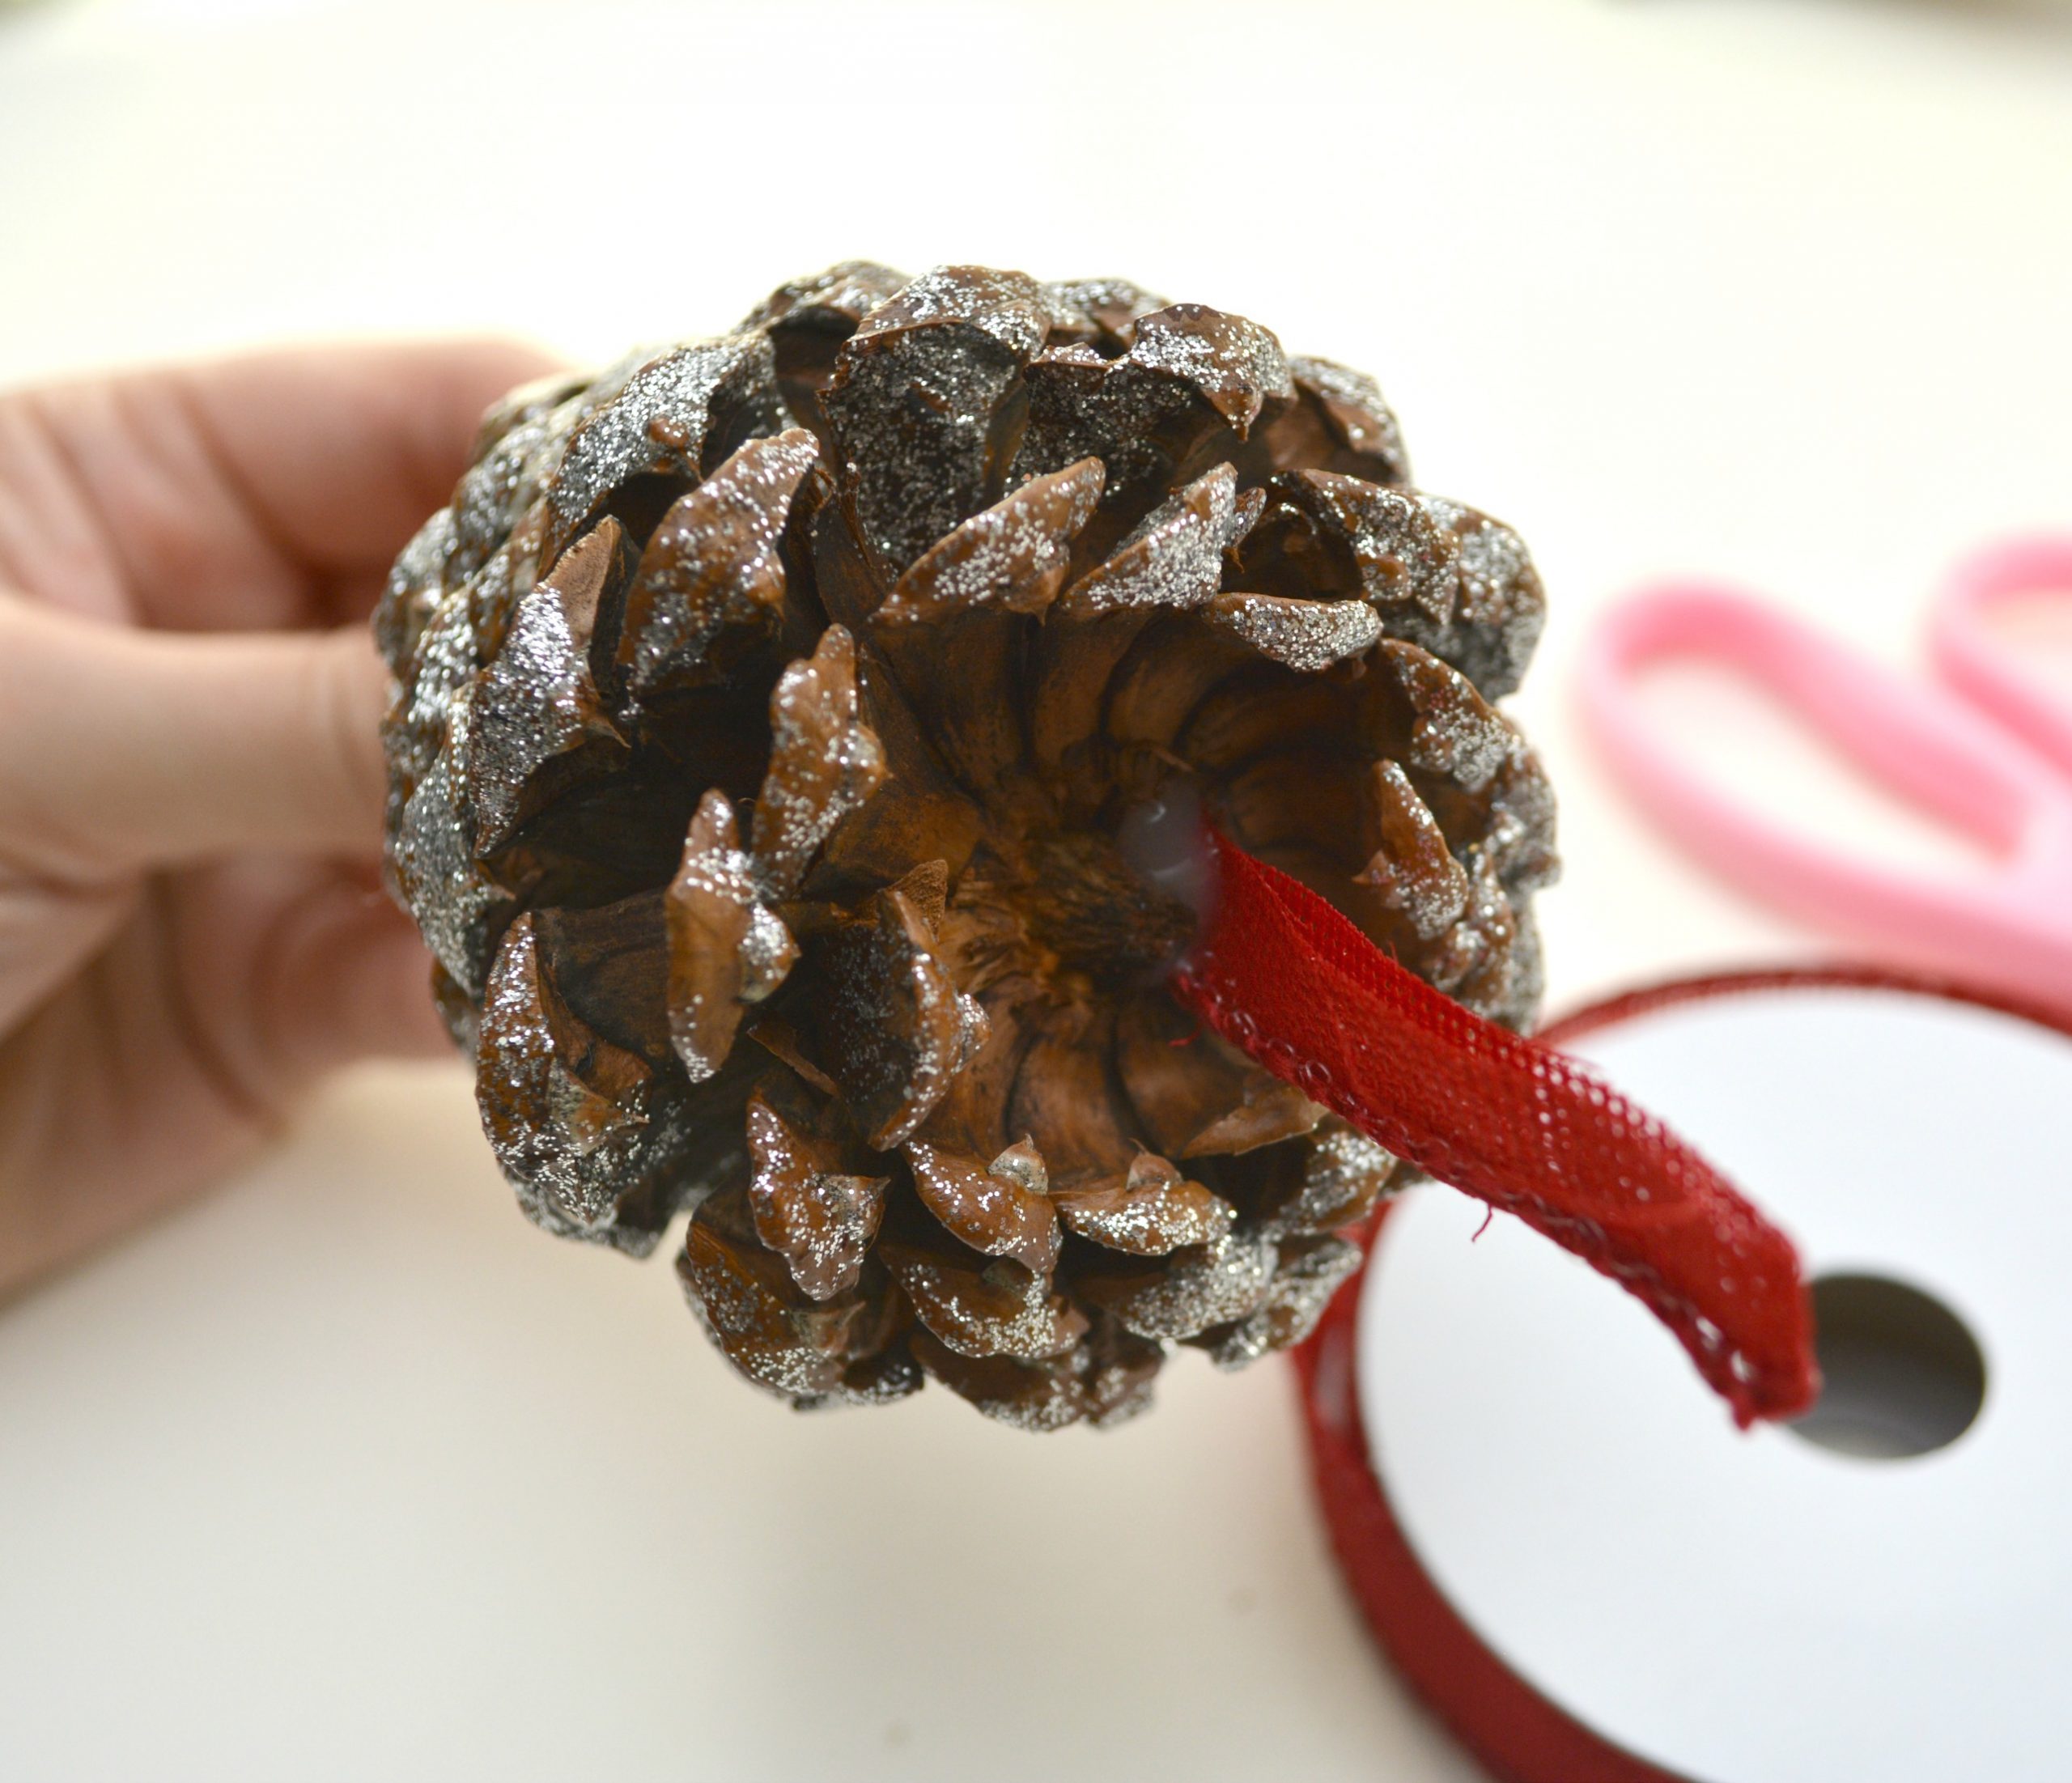
Once dry, cut a small loop of red ribbon (we used burlap), and glue it to the bottom of the pinecone, which will actually be the part that faces up on the garland. There is usually a small notch there that you can glue the ribbon to. You can see the photo for reference on how to do this.
Cut a length of twine or rope that is as long as you would like your garland to be.
Alternate hanging the painted pinecones along the length of the rope or twine with small holiday themed clothespins. If you cannot find the clothespins, you can make your own out of regular sized clothespins, or simply hot glue the pinecones directly to the rope or twine by its ribbon hanger.

You can boost the rustic look of your pinecone garland by alternating other inexpensive rustic holiday ornaments among the pinecones on the garland. The ones used here were found at the Dollar Tree.


Can’t you just picture this Rustic Pinecone Garland hanging over the fireplace or draped over a holiday decorated hutch? I can’t wait to bust out ALL the Christmas decor and deck out the house for the holidays!
When do you decorate for Christmas?
I love it!
How pretty! Love it!
Glitter makes everything look good! Nice twist on the traditional holiday garland.
I love this idea! And it would be great to do with kids.
Hi Jennifer,
Love how your Christmas garland turned out! Pinning for you. <3
Thanks for the tutorial,
Barb 🙂
I usually start decorating on Thanksgiving Day, but your garland is just darling. Thank you for sharing at Party In Your PJs!
So cute! Thanks for sharing at our To Grandma’s House We Go DIY, Crafts, Recipes and More Link Party. I pinned this! Hope to see you again Wednesday!