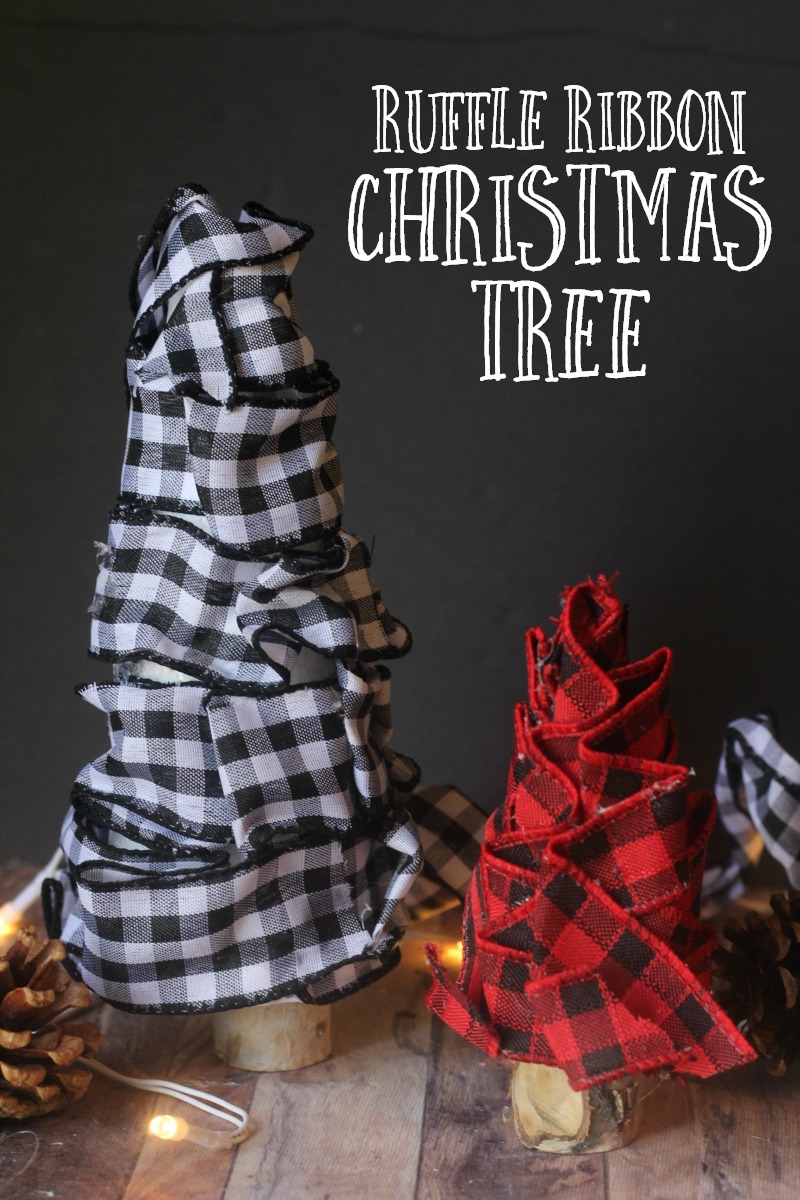
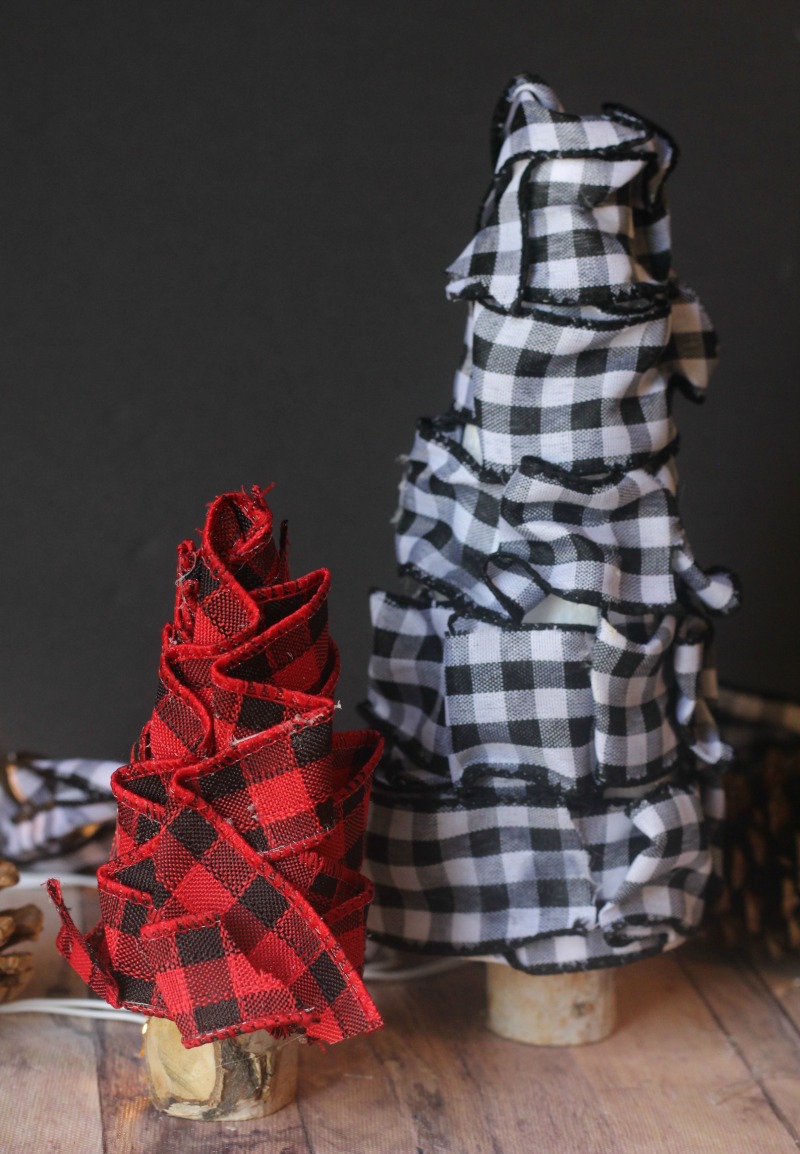
These cute Ruffle Ribbon Christmas Trees look like they came from a home decor store but were really just the product of my buffalo check obsession and wanting to use up some craft supplies I had on hand!
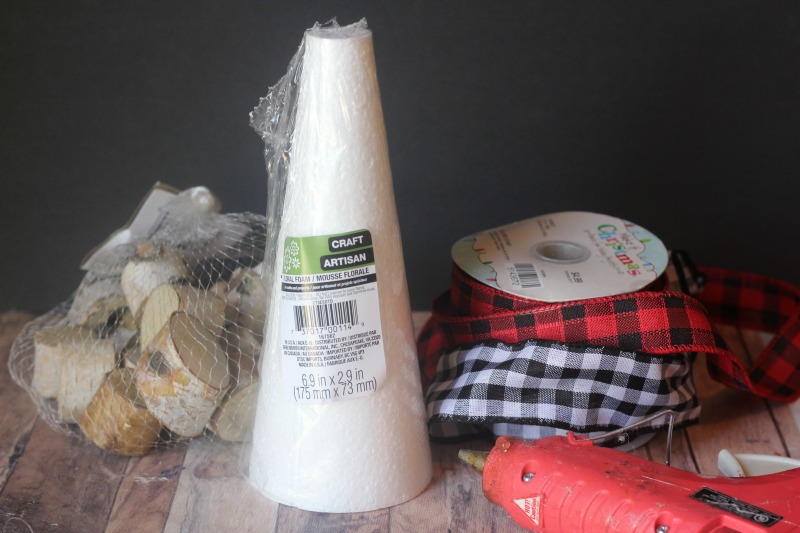
You can get floral foam cones in a large variety of heights and widths from tiny trees to larger ones that will make a pretty floor decoration. Keep them all the same or mix and match solids, plaids, and other patterns for an eclectic look to infuse your own personality into them.
You will need:
Directions:
-
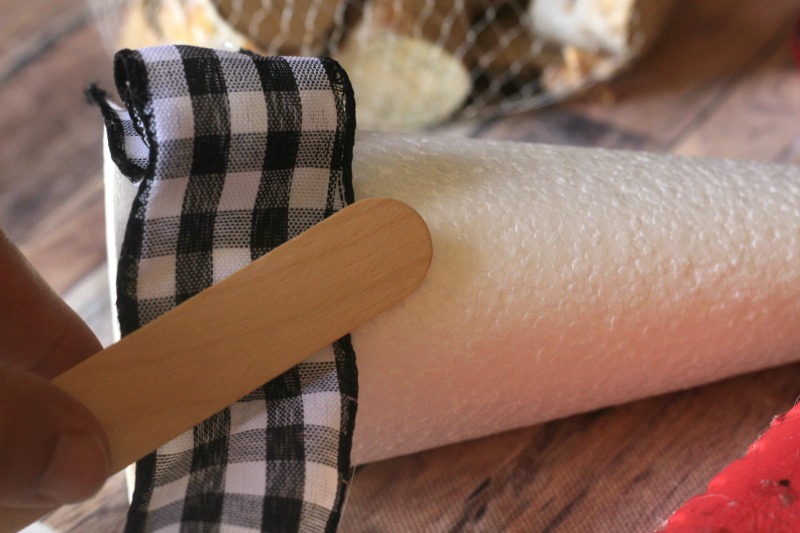
Place a generous dab of hot glue on one end of your ribbon and press it gently in the bottom of your cone to start, allow it to cool before moving on so that it stays in place.
-
To create the ruffle I glued about 2” of ribbon around the tree then folded it back on half of itself and secured it with glue, continue this all the way around your first layer.
-
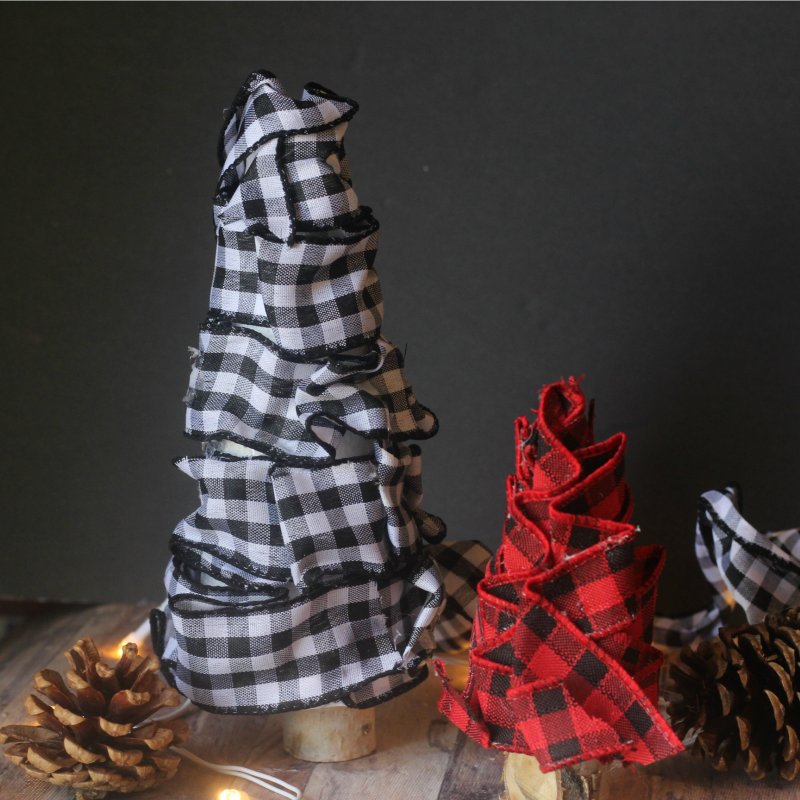
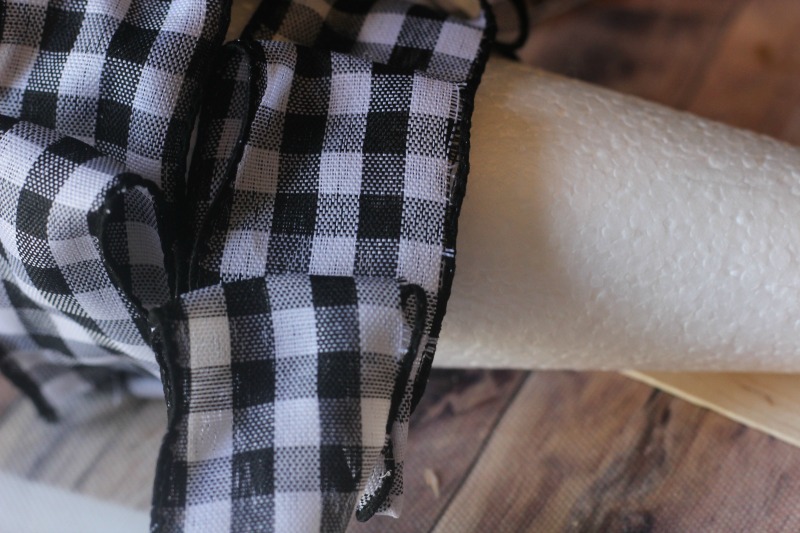
For the second layer you want to butt your ribbon right up against the last rows edge and make your overlaps just slightly smaller, decreasing the size as you go up the tree.
-
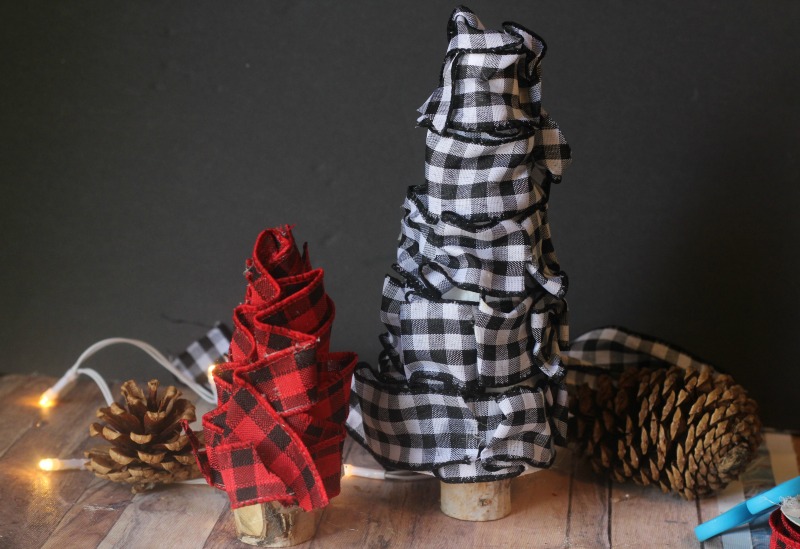
Once you are done pull and press on your ruffles until you are happy with the look, creating a tree that is widest at bottom and gets smaller as it goes up, the wire ribbon is very forgiving and helps you to mold that shape if you over ruffle any of your layers.

-
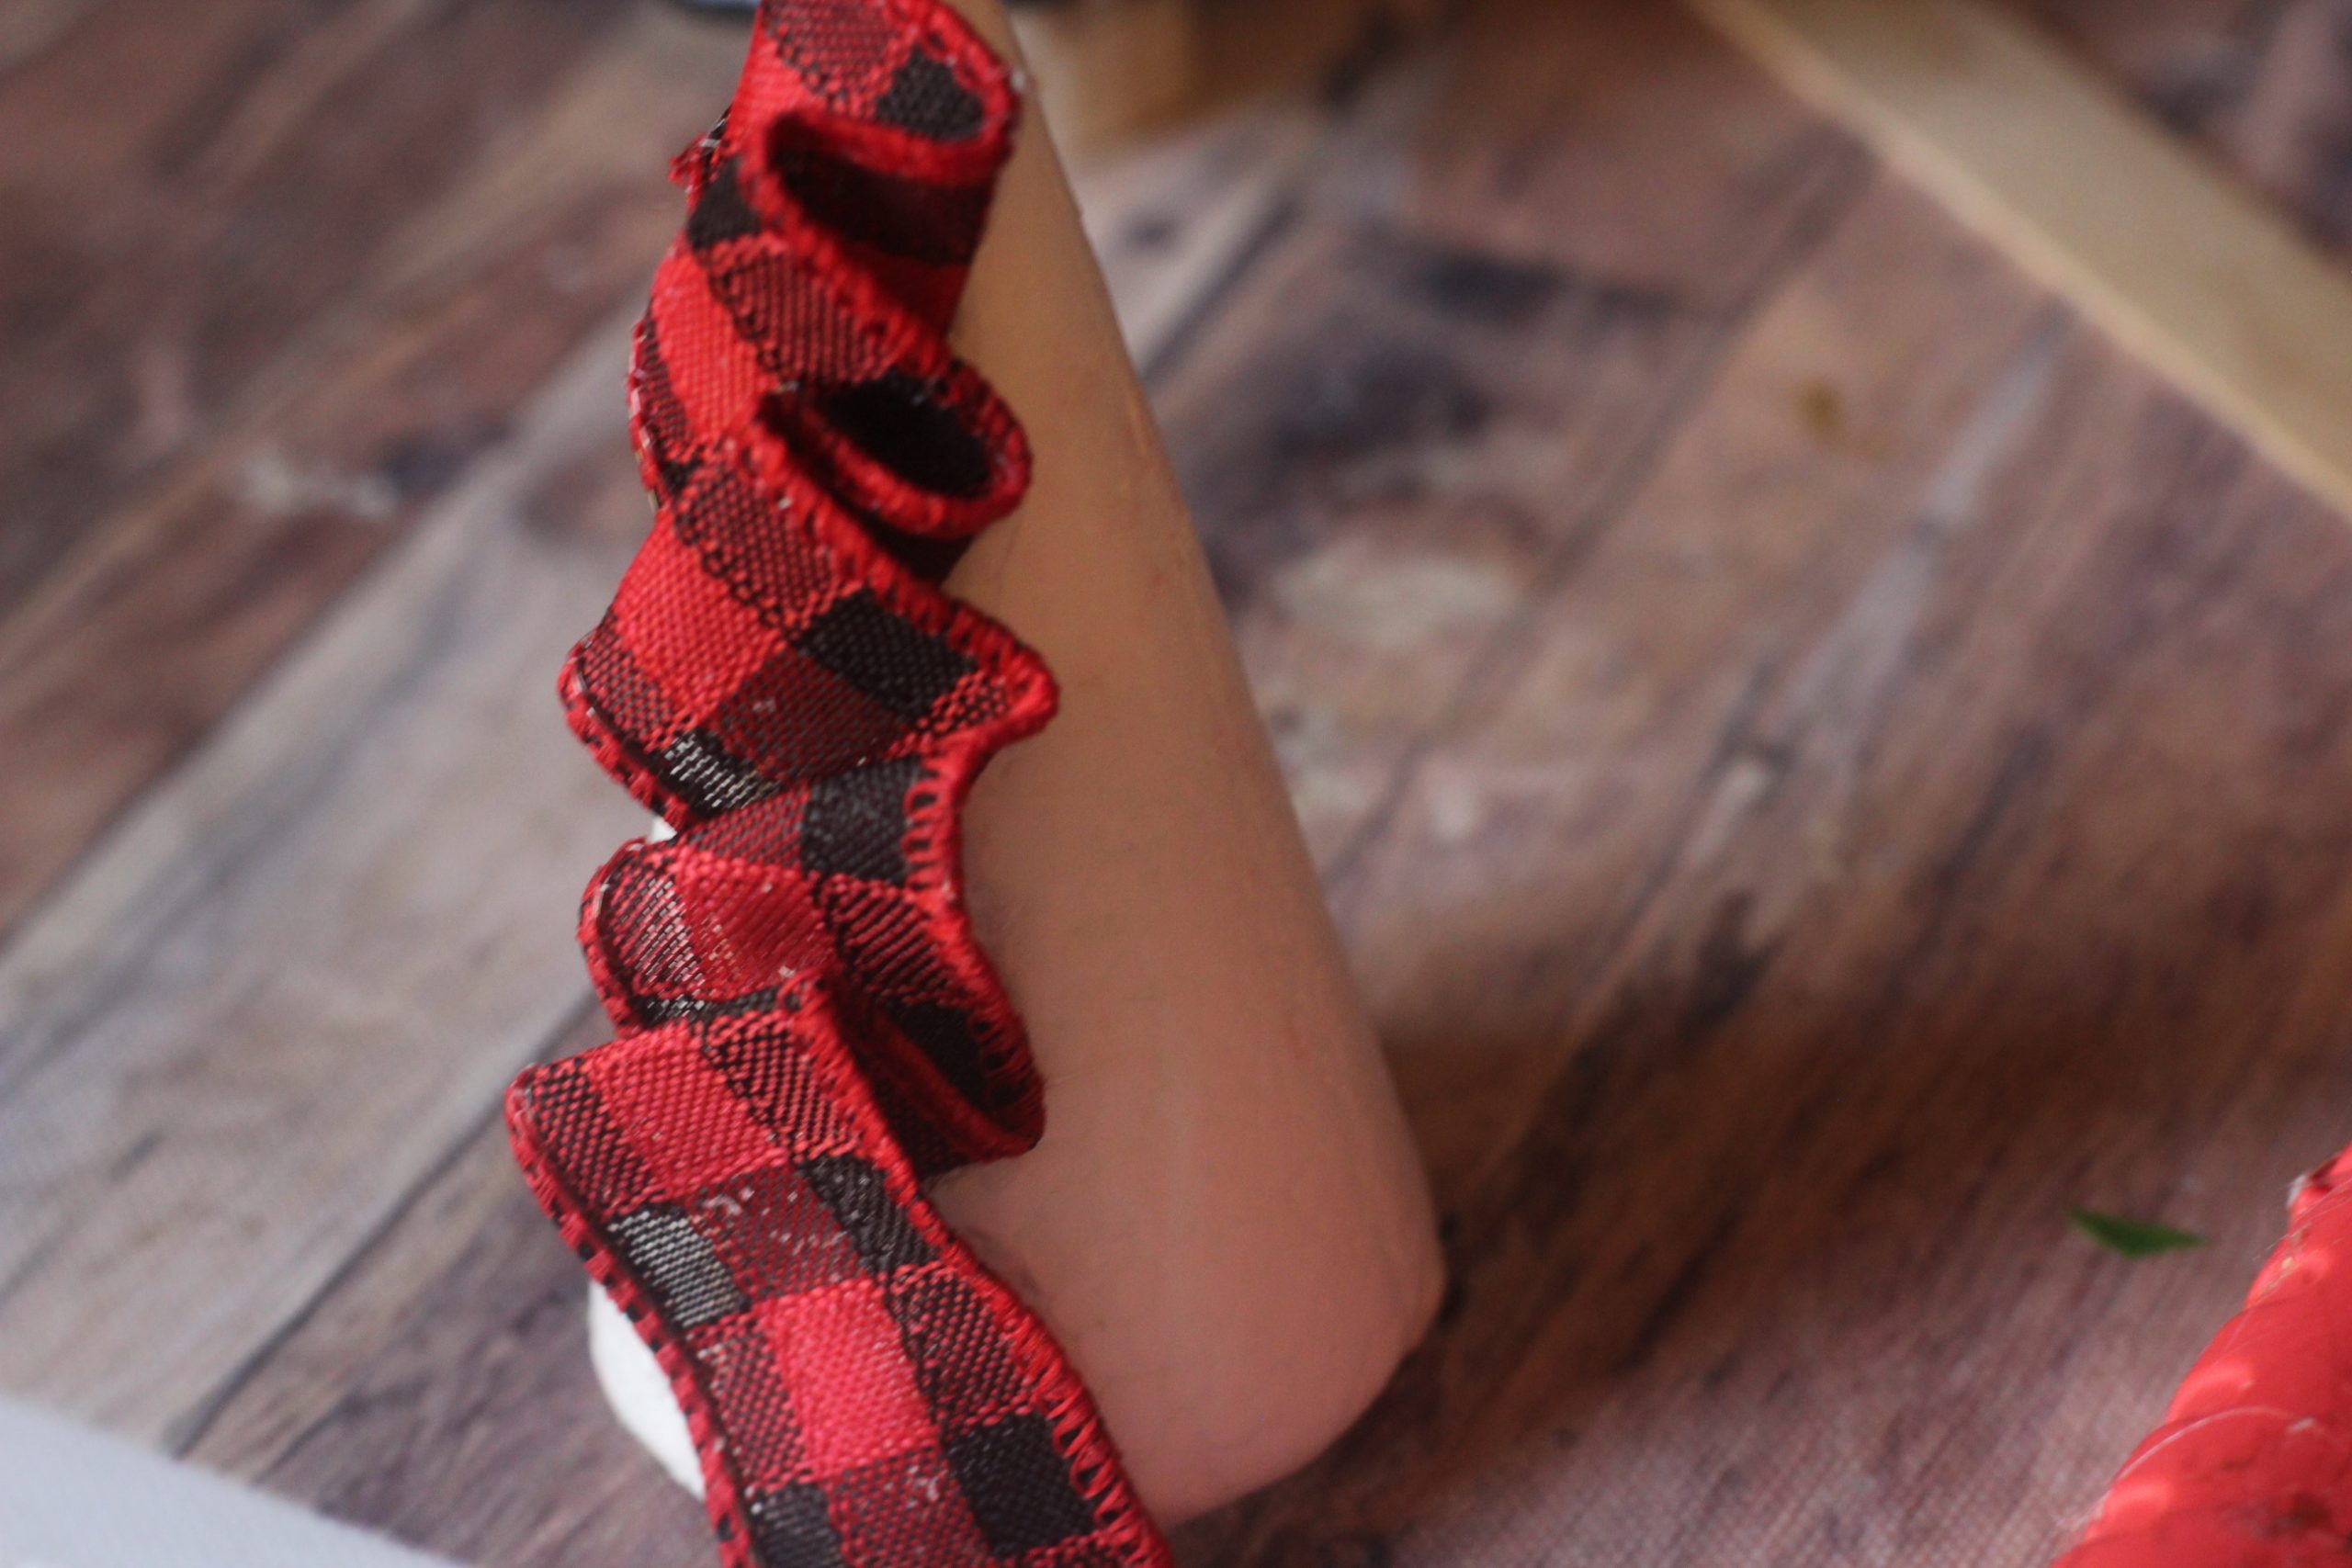
To create the vertical ribbon tree I began one row at the top and folded it over to cover the point then did the same process of ruffling until i reached the bottom, repeat with another vertical row right up against the first and continue going around.
-
Rather than cut off the ends even with the tree base I folded them back and let them act as part of the ruffle.
During the holiday season you can grab inexpensive floral foam cones at Dollar Tree but they are also a year round staple at all the craft stores and can be used for so many different crafting projects.
I love having these fun and festive Ruffle Ribbon Christmas Tree as a part of my holiday decor this year. They’re definitely just the right buffalo plaid touch!
Now on to that giveaway…

Co-Hosted by: Optimistic Mommy, From Moms to Grandmas, & Food Hussy
Remember to bookmark this page and come back for all of the daily entries!
Hi Jennifer. I really struggled to make a tree with ribbon but I love the solution you came up with. The way you placed the ribbon really makes a lot of sense since it would not sit well going around the cone. I am going to add this tutorial to my post also about a mini Christmas tree. And show my readers an alternative way to make a pretty mini tree.
Thanks so much Mary! I’m all about simple and practical and appreciate you sharing with your readers too!
Cute and clever idea!
Those are SO cute! I love how easy they look to make too. Pinned.
Your trees look cute. Thanks for sharing the tutorial.
What a great way to use up ribbon! I love this idea and definitely want to make one of these. Thanks for sharing on MM.
These turned out so cute! I have drawers of extra ribbon and pinning so I can make these!
Jill – Doused in Pink
i like the christmas tree those are cute and easy to make it all the year
What a lovely and creative idea. They look beautiful 🙂
Thank so much for joining us at The Christmas Link Up.
Have a wonderful holiday and see you next year.