Are you new to patchwork and quilting?
This Easy Patchwork Pillow Tutorial is an excellent way to get started! I’m Annabelle and Jennifer is graciously letting my takeover her blog today to share this fun tutorial!
In this easy-to-follow and straightforward how to make a patchwork tutorial, you’ll learn few other quilting skills, such as piecing together squares and adding a border.
All you need is LOTS of scraps (or your favorite unused quilt blocks, 12” by 12,” for example), a completed quilt center, and add a border, and you’ll have a breathtaking 16” x 16” beautiful pillow.
Here are few simple steps to make an easy patchwork pillow:
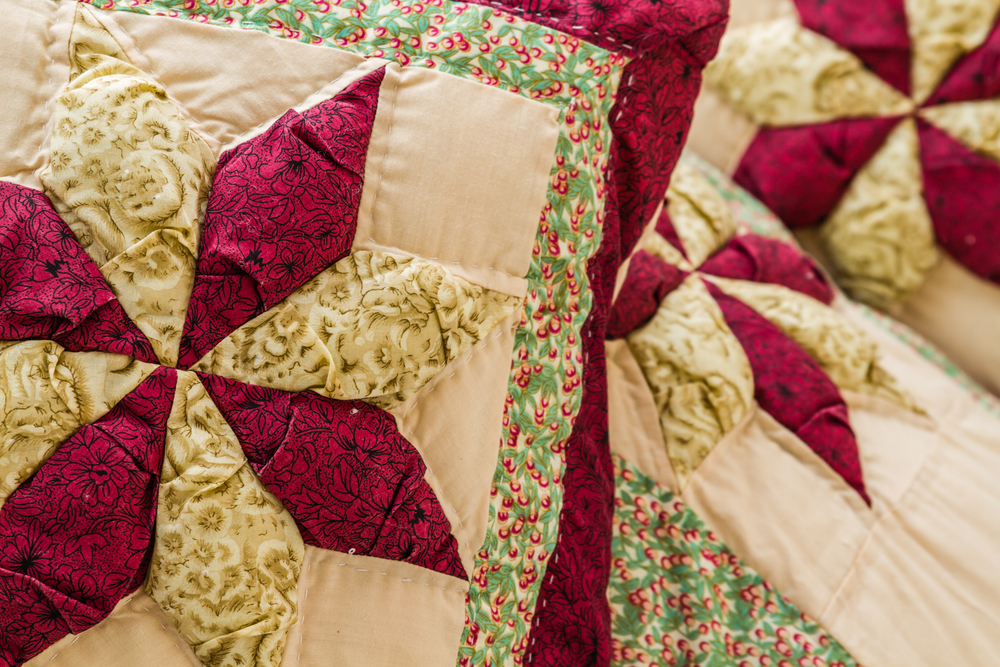
Simple Step #1: The Pillow Front
Do you have a leftover quilt block lying on the floor? Don’t throw it just away!
Why? Because you can use it to make the pillow top.
Have smaller blocks? No problem!
Merely piece them together to make the front of your pillow.
In each case, add coordinating borders to make the front of the pillow BIGGER.
Besides, half-square triangles (and even quarter square triangles) can be stitched together to make exciting pillow fronts.
Simple Step #2: Finish the Pillow Front
For this easy-to-follow tutorial, we’ll use a 12” by 12” finished block size and add a 2” finished border to all sides, resulting in a 16” by 16” finished beautiful pillow.
- First of all, get your measuring tape and measure the center of your pillow top. If you have a 12 ½″ x 12 ½″ quilt block, cut two pieces 2 ½″ x 12 ½″ for the borders.
- Sew the side borders using a ¼” seam allowance.
- Then, add borders on the top and bottom. For these parts, cut two pieces, 2 ½″ x 16 ½″ each. Again, sew the side borders using a ¼” seam allowance.
If you followed these steps, now you should have a pillow front, measuring 16 ½″ x 16 ½″.
Simple Step #3: Make the Pillow Back
We’ll make an “envelope” style 16″ x 16″ finished pillow back.
With this style, a pillow form can be inserted into the cushion back to give it a shape. This way, you can also quickly remove pillow form to wash the cover.
Here’s what you’ll need:
- 2 pieces of backing fabric: one measuring 16 1/2″ x 16 1/2″ and other measuring 16 1/2″ x 14″.
- For a FUN look, you can use the same fabric (or coordinating fabrics) for the pillow back.
- Next, fold in and press ¼” on one 16 1/2″ of each pillow back section. Then, merely fold again and press and sew to create a completed edge.
Simple Step #4: Join the Pillow Front and Back
Using a ¼” seam, sew the pillow front and back.
Remember to overlap the pillow back sections with each other
Then “pin” the larger pillow back section to the front pillow section, and then, add the smaller pillow back section.
You may have to use lots of pins at this stage. Using a “walking foot” can make the top and bottom layers to move together through the machine which will help prevent wrinkles as you stitch the layers together.
Finally, give your pillow a good pressing before adding the pillow insert to complete your pillow.
Simple Step #5: Ideas for the Pillow Insert
A ready-made pillow insert can be purchased from a nearby local craft store. Or, you can also create your own by stitching together two 16 1/2″ x 16 1/2″ pieces with a 1/4″ seam.
Make sure to leave a space – 3 to 4 inch – opening to quickly and easily turn the pillow form right side out.
Then finally, stuff with polyester or fiber, or cotton stuffing before closing the opening.
There you have it: a simple and easy tutorial to make patchwork pillow.
With creative ideas like these, you’ll never have to throw away another inch of a leftover fabric… ever!
Spoiler Alert: You can also personalize projects such as these by adding your custom design label (or tag).
Thanks for reading and I hope you love your new Easy Patchwork Pillow! ~ Annabelle
This tutorial seems pretty easy to follow. I might give it a try when I get some extra time. Thanks for sharing!