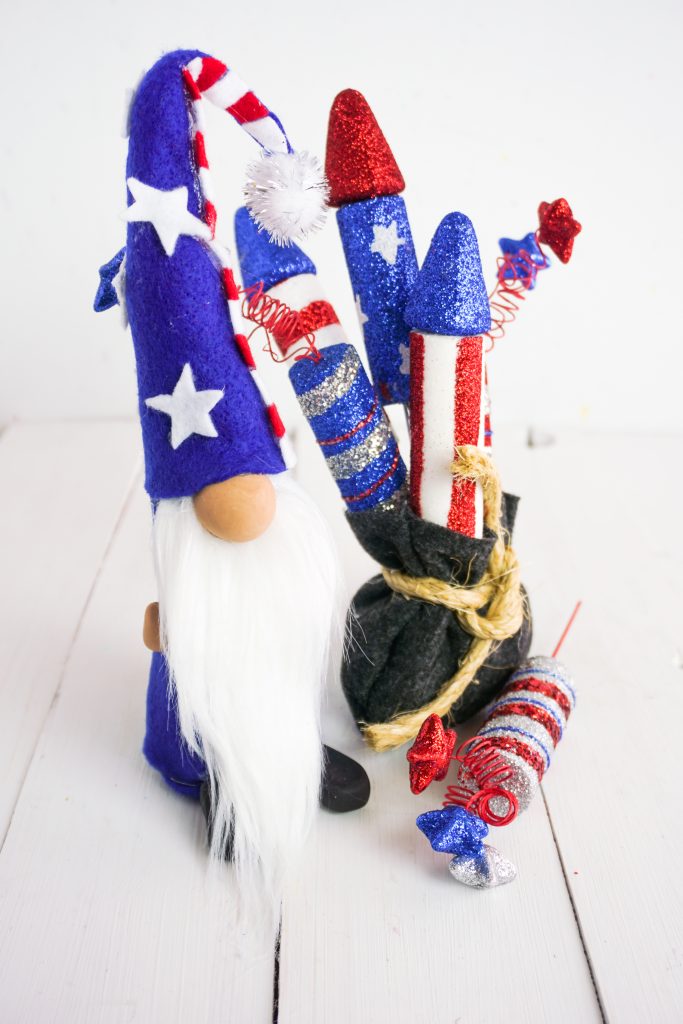
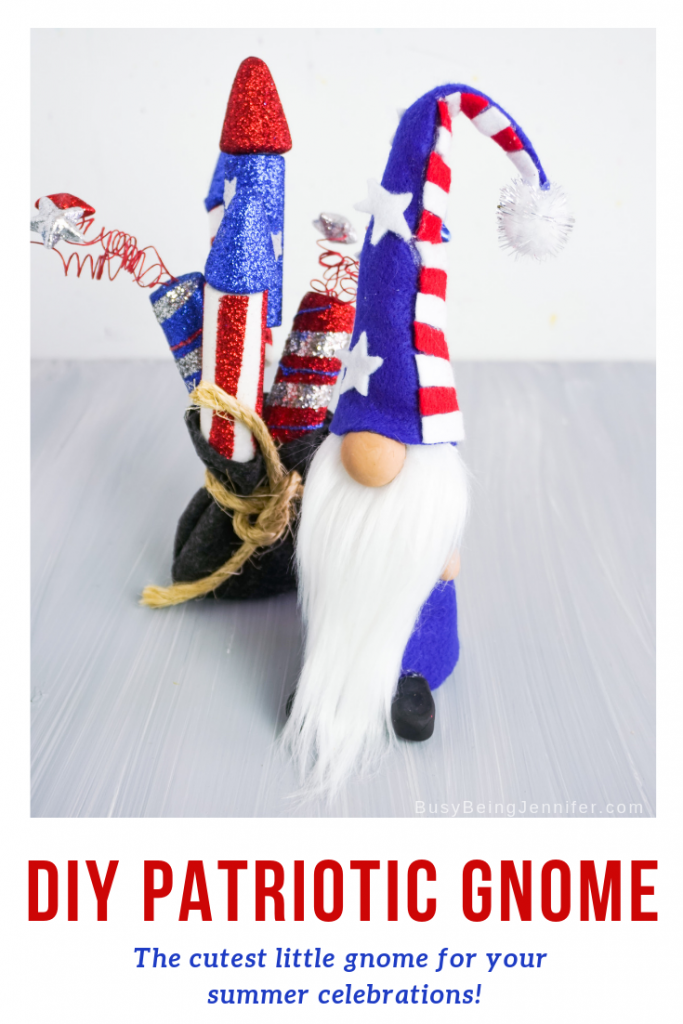
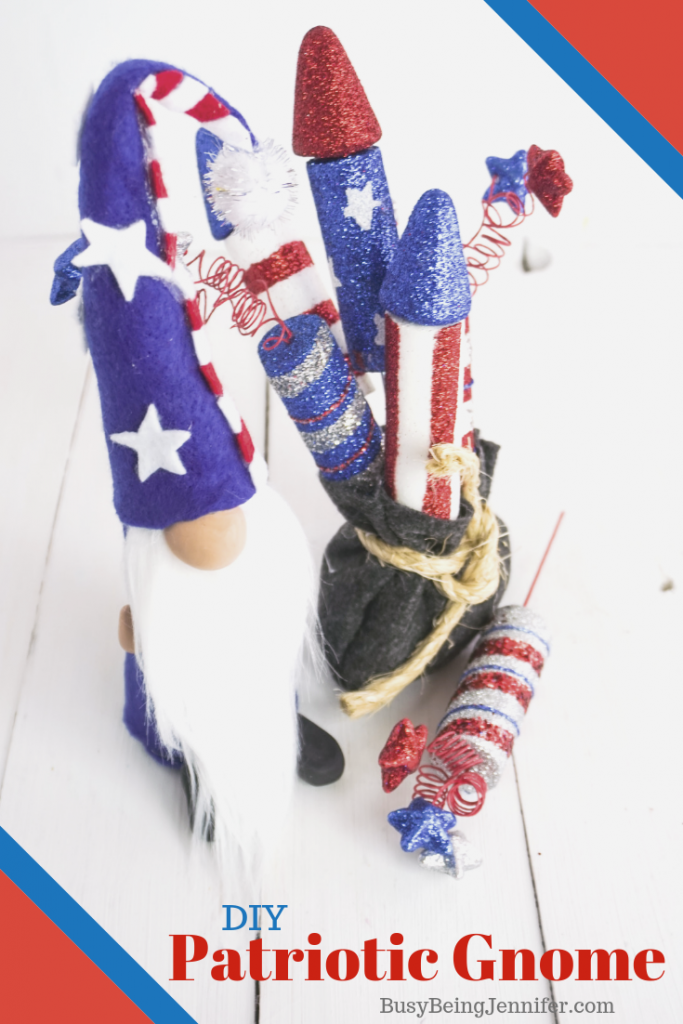
This DIY Patriotic Gnome is the perfect cute and quirky friend to add to your red, white and blue summer decor!
Is it just me, or are gnomes the new unicorn? I love these quirky, funny, adorable little guys, and I’m sort of hooked on DIYing them! I just had to share this DIY decor project with you because I think everyone needs at least a couple of these cuties in their home!
Read on for the tutorial so you can make your own DIY Patriotic Gnome.
DIY Patriotic Gnome:
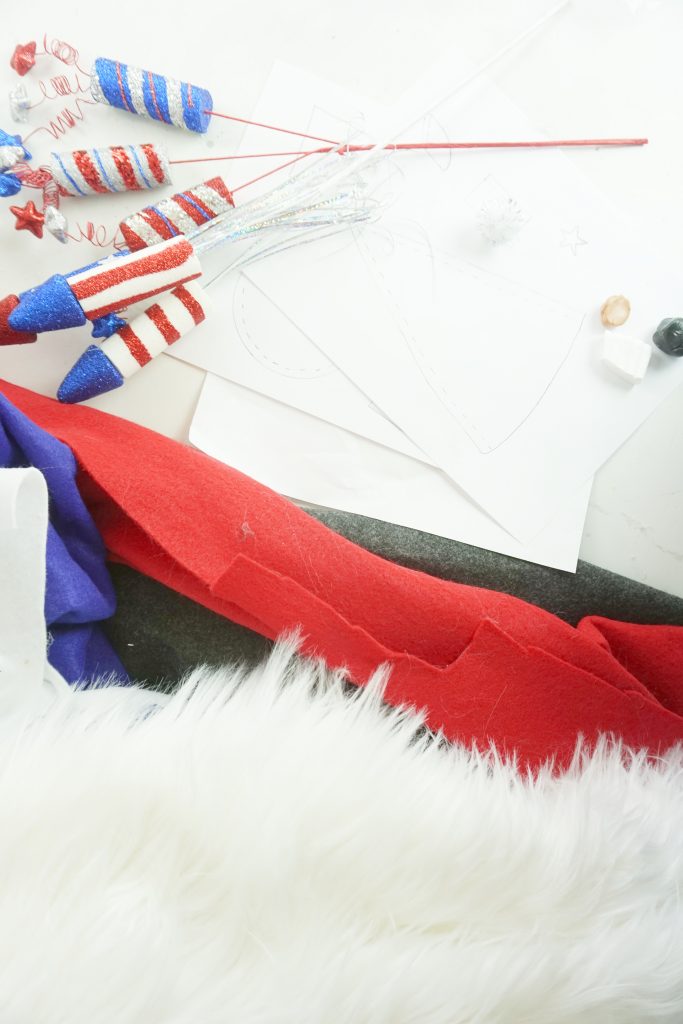
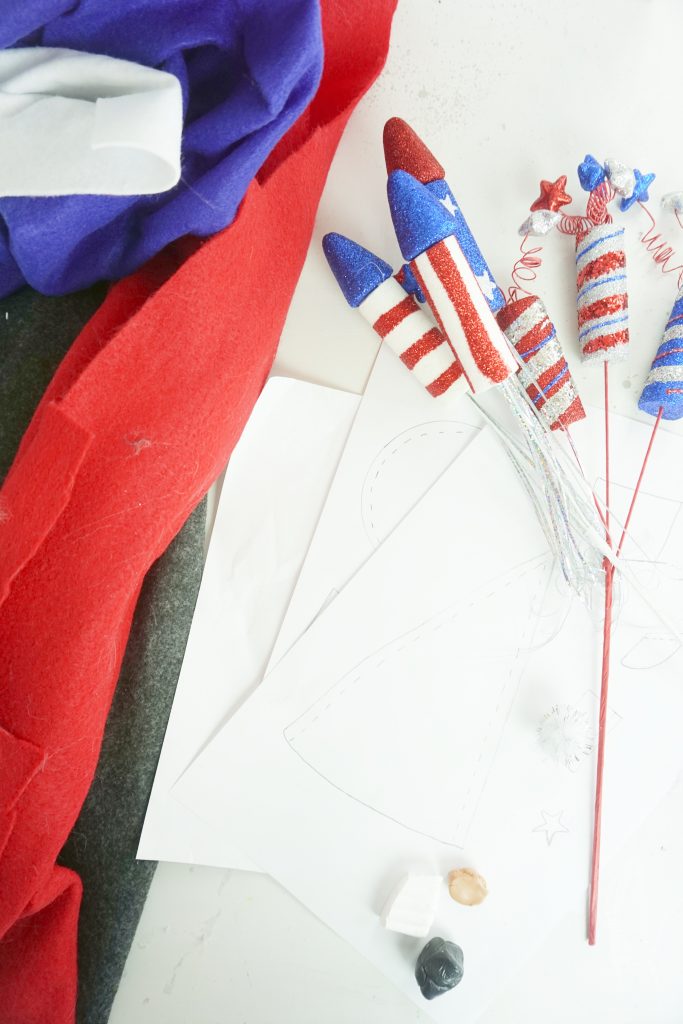
Supplies for making your DIY Patriotic Gnome
- Small Amount of Polyfill
- 2 Cups Dry Rice
- 8-inch Length of Floral Wire
- White Craft Fur
- Polymer Clay (for gnome nose, hands and feet–can alternatively use ½-inch wooden beads):
- 1 small, dime-sized portion of brown
- 1 quarter-sized portion of white
- 1 quarter-sized portion of black
- ¼ yd Royal Blue Craft Felt
- Scraps Charcoal Craft Felt
- Scraps Red Craft Felt
- Scraps White Craft Felt
- Printable Template/Pattern – Page 1 – Page 2 – Page 3 –
- Silver Sparkle Pom Pom
- Foam firecrackers (I found these at my local craft store)
- Twine
Tools
- Hot Glue Gun & Glue
- Scissors
- Exacto Knife (to cut the fur)
- Wax Paper
- Oven
Instructions for making your DIY Patriotic Gnome
To create the clay parts:
Start making your gnome nose and hands by combining the brown and white polymer clay until a flesh-color is consistent throughout.
Break the clay into two small about-the-same-size portions and a larger portion (more than half).
Roll each portion of clay into a neat ball, making sure it’s smooth all the way around.
Smoosh the two smaller balls of skin colored clay into rectangles.
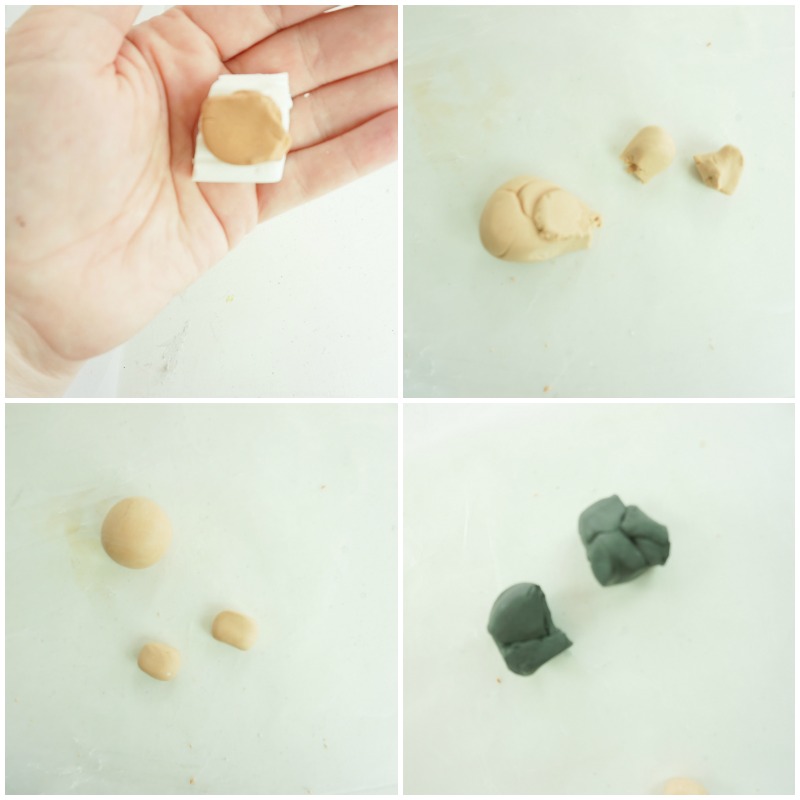
Break the black clay into two about-the-same-size portions.
Roll each portion of clay into a neat ball, making sure it’s smooth all the way around.
Smoosh the balls into rectangles with a slightly wider one end to make a foot or shoe shape.
Bake in the oven per the polymer clay package directions. Allow to cool before touching. Set aside.
Cut out the following:
- 1 body from printable pattern in blue felt
- 1 circle base from printable pattern in blue felt
- 1 beard from from printable pattern in craft fur
- 1 tiny rectangle (mustache) in craft fur
- 1 of the hat from printable pattern in blue felt
- 5 of the stars in white felt
- 1 each of the stripes in white felt
- 1 each of the stripes in red felt
- 2 large rectangles from printable pattern in charcoal felt
To assemble the gnome body:
Hot glue the two straight-edges of the gnome body together, creating a large open cone.
Hot glue the base to the wide opening of the gnome body piece cone.
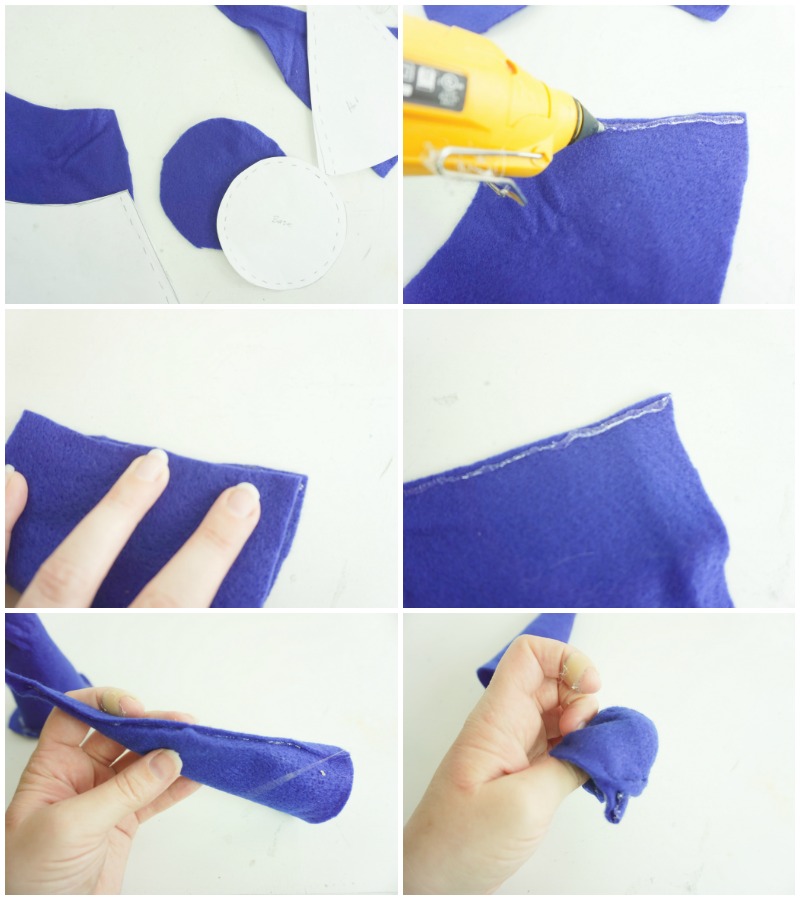
Turn this inside out.
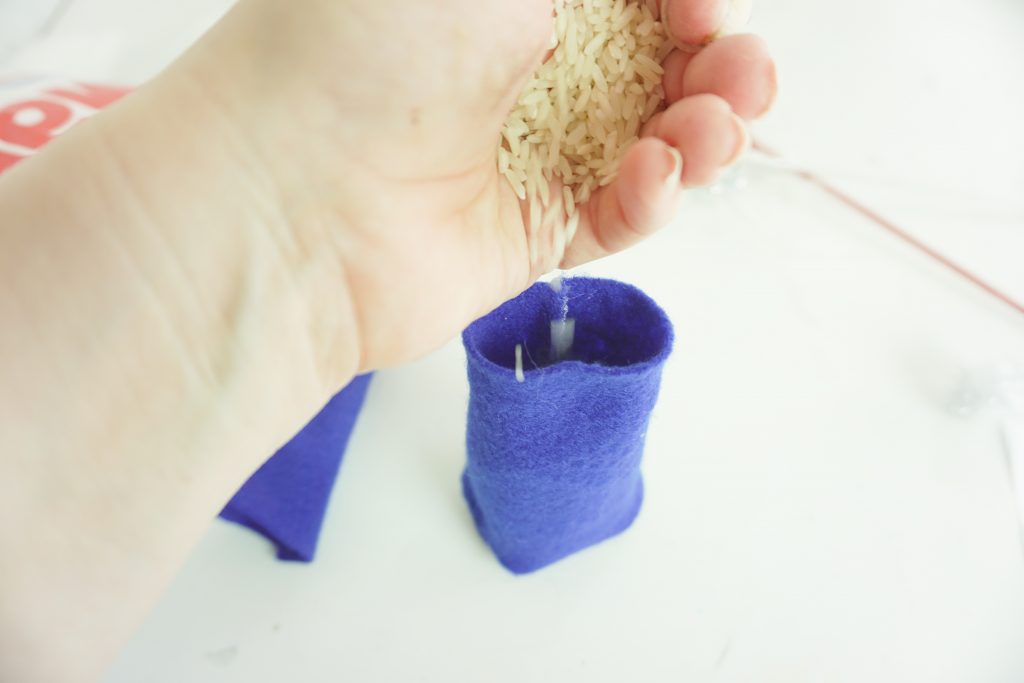
Fill with about half the rice.
Fill remaining area with polyfill.
Hot Glue beard to top of gnome body.
With the small rectangle of craft fur, split the fur with your fingers long-ways and kind of finger brush it into the shape of a mustache. Hot glue it in place at the top of the beard.
Hot glue nose to top of mustache.
Hot glue feet on either side of bottom tip of beard on the body base.
Hot glue hands on either side of body about ¾ of the way up from the bottom.
To assemble the gnome hat:
Place a bead of hot glue along one side of the hat shape.
Roll the other side of the hat shape over and affix it in a cone shape with the hot glue line.
Line-up the red and white stripes side-by-side in an alternating pattern on the table with the angled sides pointing the same way. Align them as best you can.
Place several lines of hot glue all over the red and white stripes to join them (this is just to hold them long enough for you to place them on the hat, so do not worry about spreading the hot glue out or anything.
Trim the stripes to be straight on one side and angled on the other as if they are one piece of fabric.
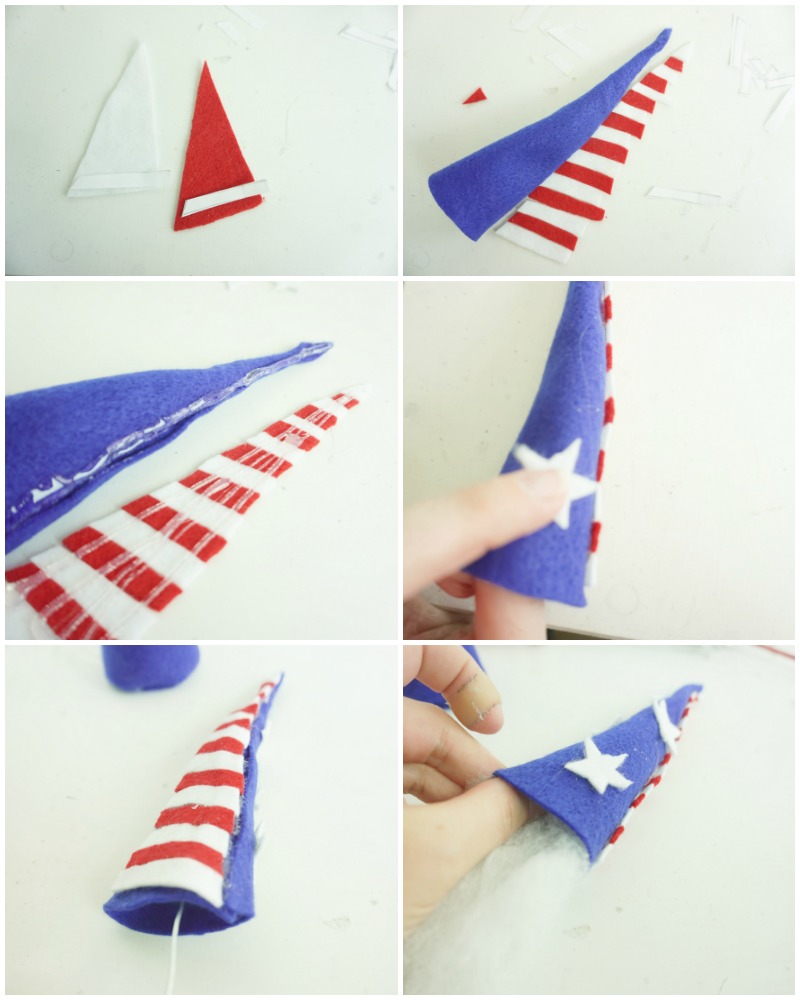
Allow hot glue to dry completely.
Place a bead of hot glue along the seam of the blue hat.
Place the straight side of the glued stripes along the bead of hot glue, lining up the straight side of the stripes with the seam. The side of the stripes with hot glue on them should be against the hat, hidden from view.
Hot glue down the angled side of the stripes onto the hat.
Hot glue the stars randomly all over the blue portion of the hat.
Stuff a small portion of polyfill up into the hat, followed by the floral wire to both get the polyfill all the way up into the tip of the hat, but also to get the floral wire into the tip as well so you can use it to help the hat hold its eventual shape.
Finish stuffing the hat with polyfill.
Tuck the remaining end of the floral wire into the gnome’s still open body, pulling the hat down to barely wrinkle over the nose.
Hot glue the hat in place–even putting a drop on the nose to hold the wrinkle in place.
Bend the top of the hat over.
Place a bit of hot glue on the tip of the hat and place the sparkler pom pom onto the tip of the hat.
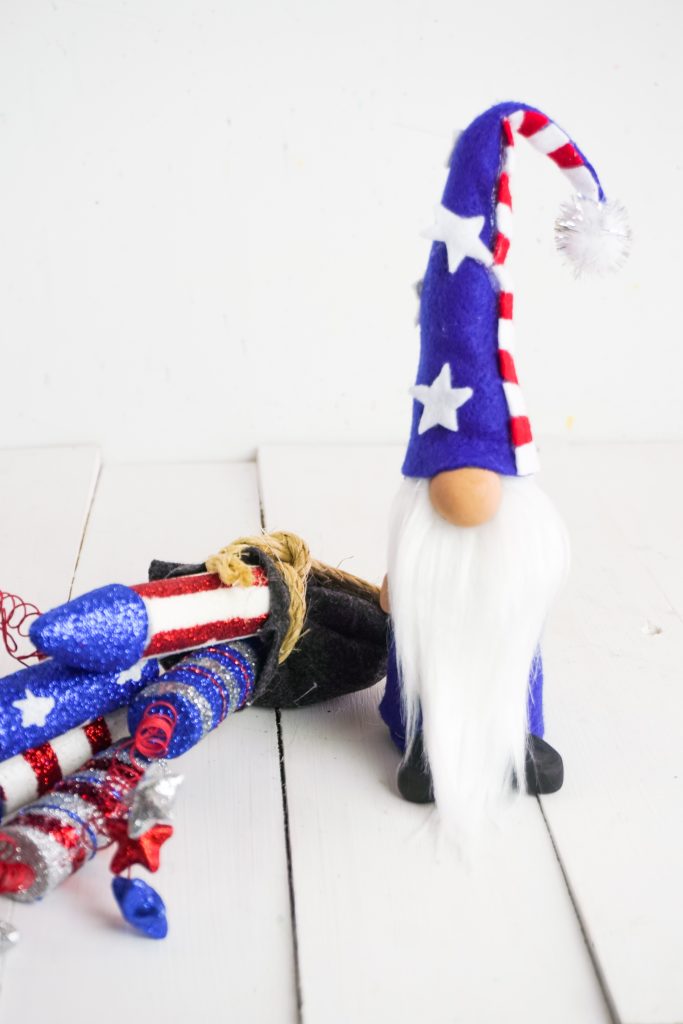
To assemble the bag:
Place a wide “u” shaped bead of hot glue along one side, the bottom and then the other side of the rectangle (leaving the top open) of one of the rectangles of charcoal felt.
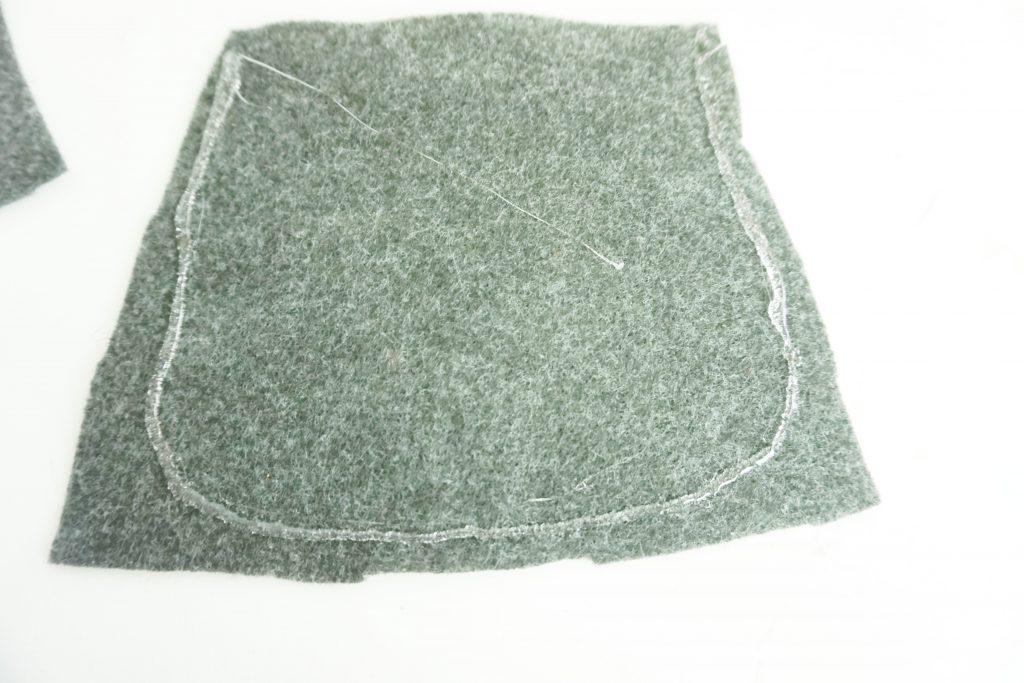
Allow hot glue to dry.
Turn bag inside out.
Fill with some rice halfway, followed by polyfill to kind of hold it in.
Stuff foam firecrackers inside.
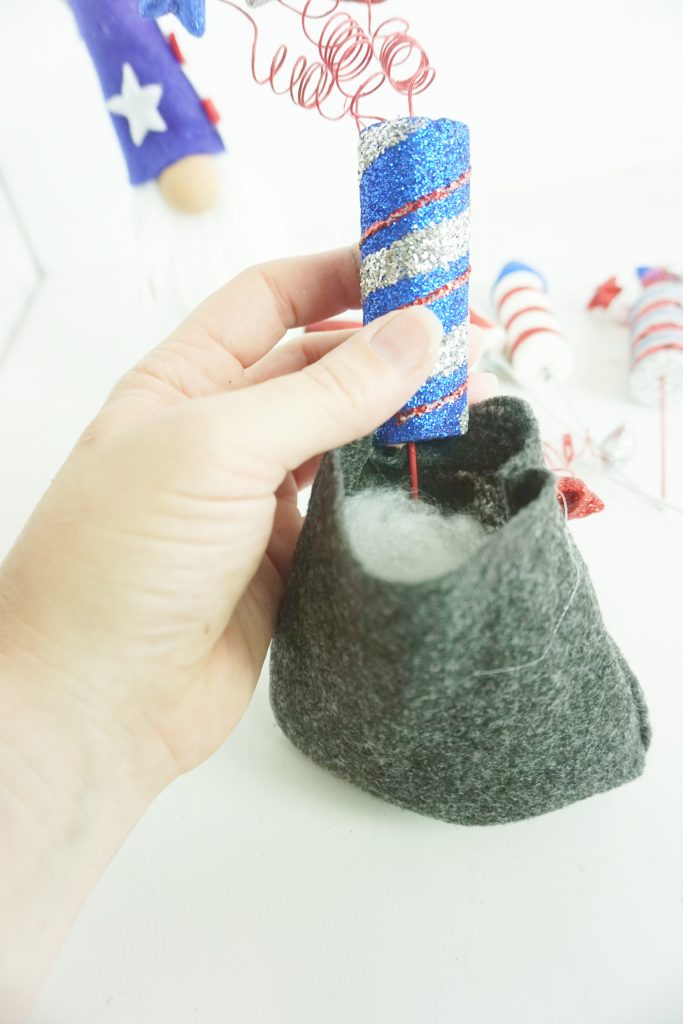
Tie the bag closed with twine to secure.
Voila! You’ve created your own no sew, DIY Patriotic Gnome!
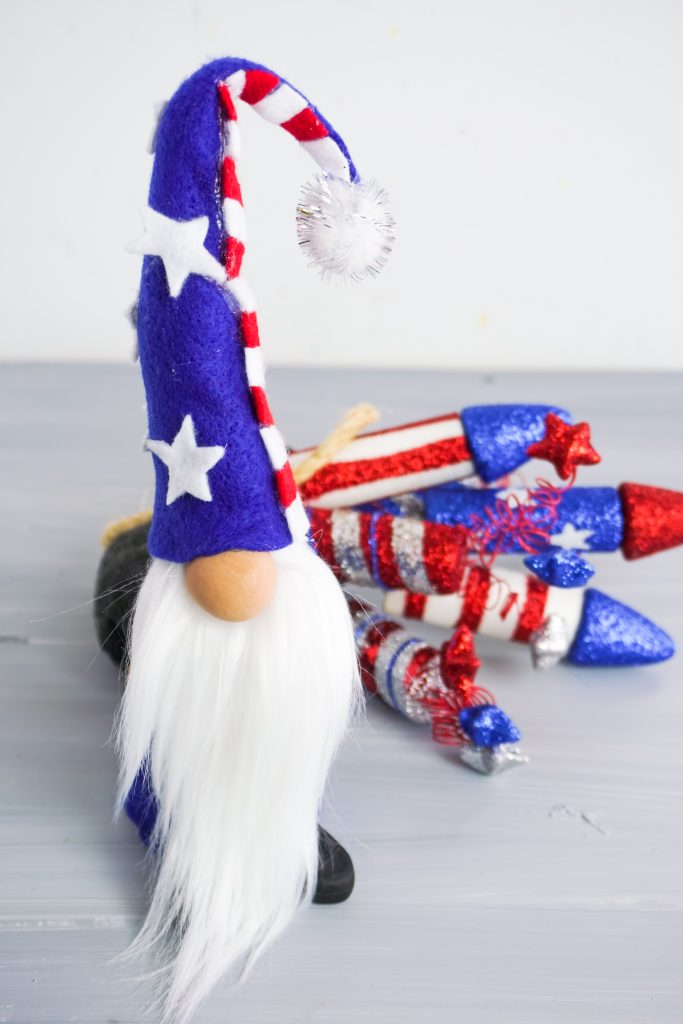
Isn’t this little guy just the cutest? With this easy to follow gnome tutorial, you’ll be able to whip up your own friendly little guy in no time! One or a dozen of these adorable little DIY patriotic gnome dudes would be the perfect touch to your summer decor and celebrations!
Pin for later:
Check out these other Patriotic decor ideas!
So cute! Love it!
How adorable! Thanks for the tutorial. Thanks for sharing at the Weekend Blog Hop at My Flagstaff Home! Hope to see you again next week. –Jennifer