This shop has been compensated by Collective Bias, Inc. and its advertiser. All opinions are mine alone. #EverydayCraftMoments #CollectiveBias
Its that time of the year where we’re all a little more aware of everything we have to be grateful for! But why not keep that gratitude going all year long? I’ve got a free printable and DIY Gratitude Journal tutorial to share with you for just that purpose!

One of the things I want to look back on a year from now, is a collection of all of the things and moments I was grateful for. I think its so important to write these things down. It’s nice to be able to look back and remember or have a physical reminder on the hard days. I like to start a new gratitude journal around Thanksgiving each year, but you can start anytime you want to!
This DIY Gratitude Journal is easy to make! Hover over the photo to shop these great Scotch™ Brand Products!
Or head to Walmart to grab what you need 🙂
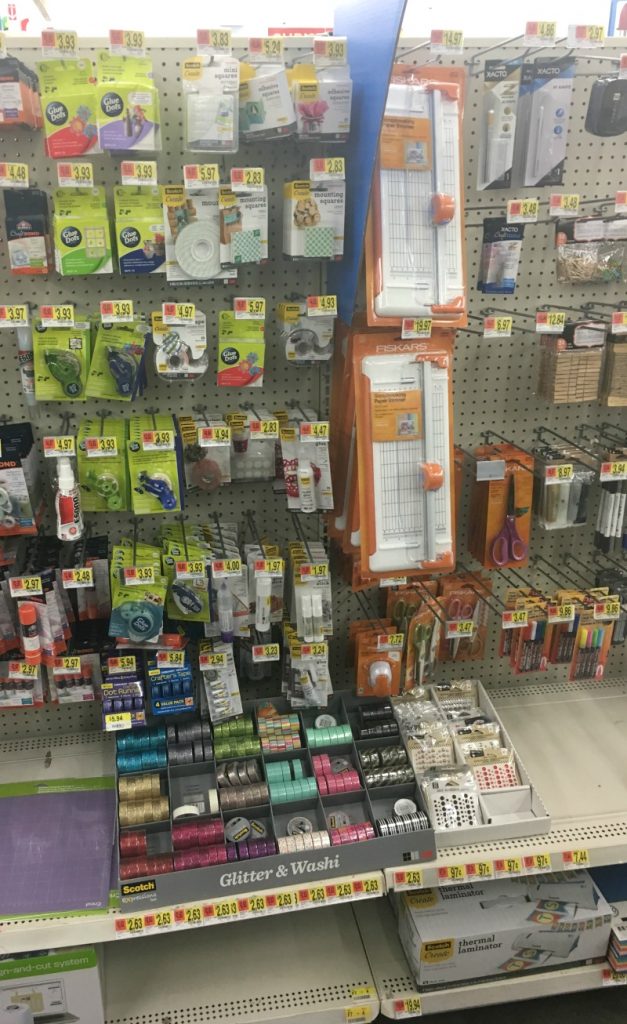
DIY Gratitude Journal Supplies:
Card Stock (white)
24 weight paper (for the inside of your journal)
disc binding punch and discs
Scotch™ Create Thermal Laminator + Pouches
Scotch® Expressions Glitter Tape (Gold + Platinum)
Scotch® Create Adhesive Squares
Scissors
Paper cutter
Paints and brush
Step #1: Print out THIS FREE cover on the white cardstock. Paint it however you like 🙂 I went a little crazy with my favorite colors and a “watercolor” effect… aka blotches of color. Then I flicked a little more color on top of that. Just keep adding and dabbing and flicking paint until you like what you’ve got. Set aside to dry.
Step #2: Once dried, trim your gratitude journal cover to whatever size you want. I went with 5.25 x 7.25. Also, trim a piece of cardstock to the same size for back of the journal.
Step #3: (Optional) Add glitter tape to the edge of your cover. I also added a few strips glitter tape to a scrap piece of paper and cut out a heart.
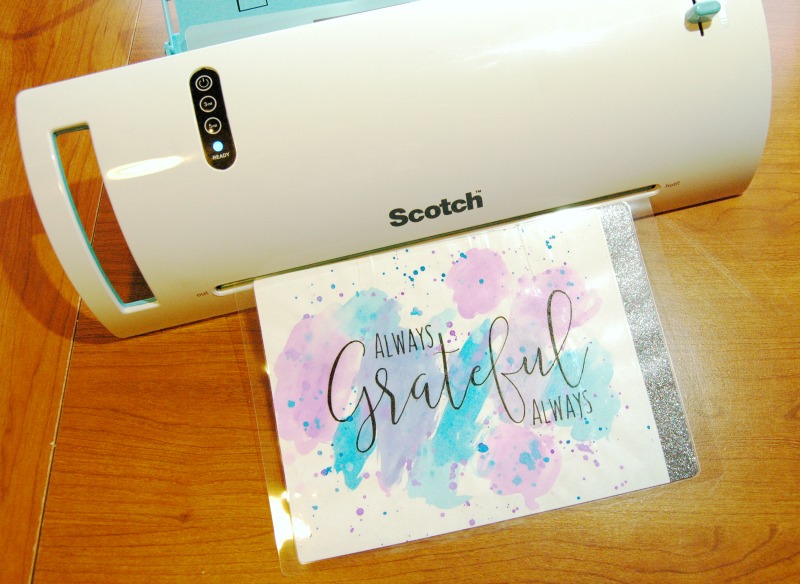
Step #4: Use the Scotch™ Create 9” Thermal Laminator to laminate your cover and glitter heart. Follow the directions to get the best results. Trim excess off leaving just a thin edge of the clear plastic. I mounted the glitter heart to the front of the journal for a little “3d pop”.
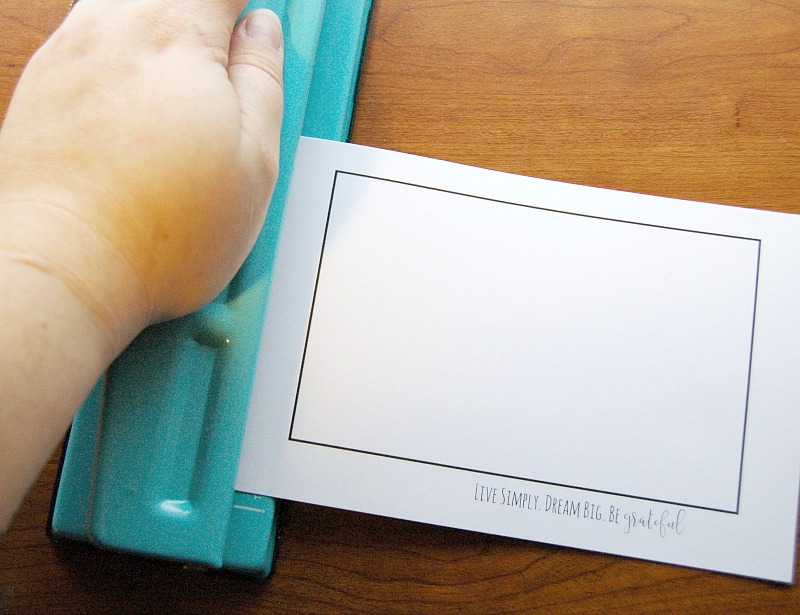
Step #5: Using the heavier 24 weight paper (they stand up better to long-term use with a disc binding system), add the interior pages of your gratitude journal – I created these 4 printables (#1 || #2 || #3 || #4) to add to the inside of mine and printed them off to a 5×7 size. Trim to the correct size and then punch with the disc binding punch.
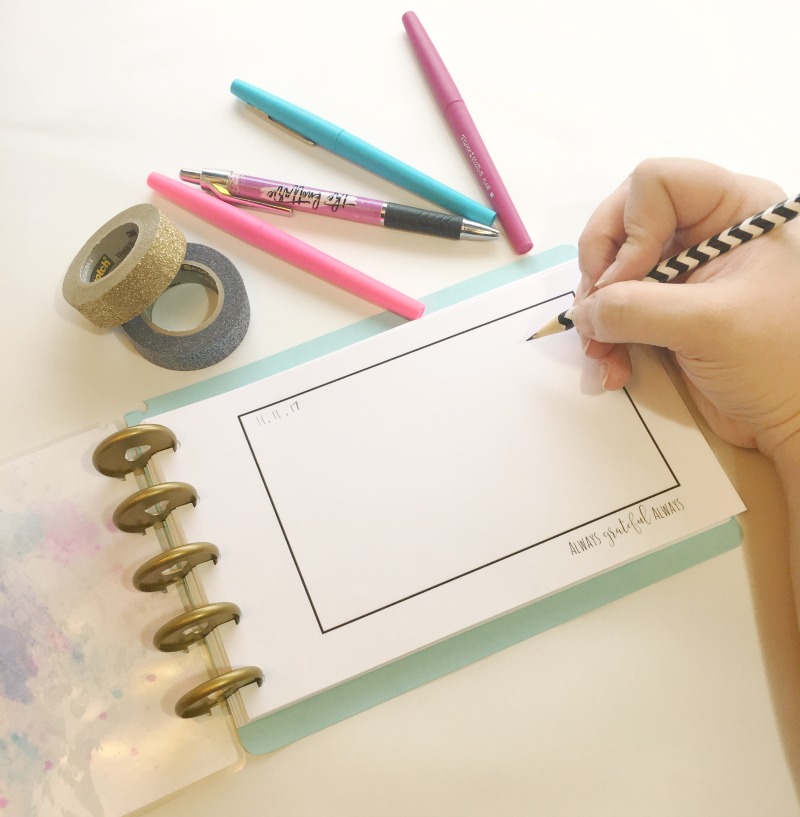
Step #6: Layer all your pages together and add in the discs.
Tada! You’ve got a fabulous DIY Gratitude Journal to help you keep track of all of the things and moments you have to be grateful for! Be hands-on with Scotch™ Brand, because this project is a breeze!

I’ll be making it a point to add at least one thing EVERY day for the next year! I can’t wait to look back and flip through this pretty journal in a year!
Want just the printable to frame in your home? CLICK HERE to grab the free file!



I love this idea! I’d like to do something like this with my husband. Really makes you sit down and think about the things you are thankful for in your life.
This is such a cute idea. I’m loving the water color affect you did. And I could really use that laminator.
-Lauren
#creativemondays
This is so pretty. Great idea. Thanks for sharing with us.
Have a great day.
Khadija
https://creativekhadija.com/
Thanks for this! I have a gratitude journal, but I don’t write in it everyday. Perhaps if I made it myself, it would encourage me to use it more often!