Busy Being Jennifer

What doesn't kill you make you blonder

  • Home
  • Blog
  • Shop
  • Contact
  • Recipes
  • DIY Projects
  • Crafts
  • Essential Oils
  • Every Day Boss

December 21, 2013 by Jennifer

DIY Gold “Dipped” Feather Ornament

This post may contain affiliate or brand partner links. Read our full disclosure here.

Its been a tradition for as long as I can remember to create a new ornament every Christmas. There HAS to be a new, handmade something  to go on the tree or it’s just not Christmas!! Inspired by this new trend, I decided this year I needed some Gold “Dipped” Feather Ornaments 🙂

DIY Gold Dipped Feather Ornament - BusyBeingJennifer.com

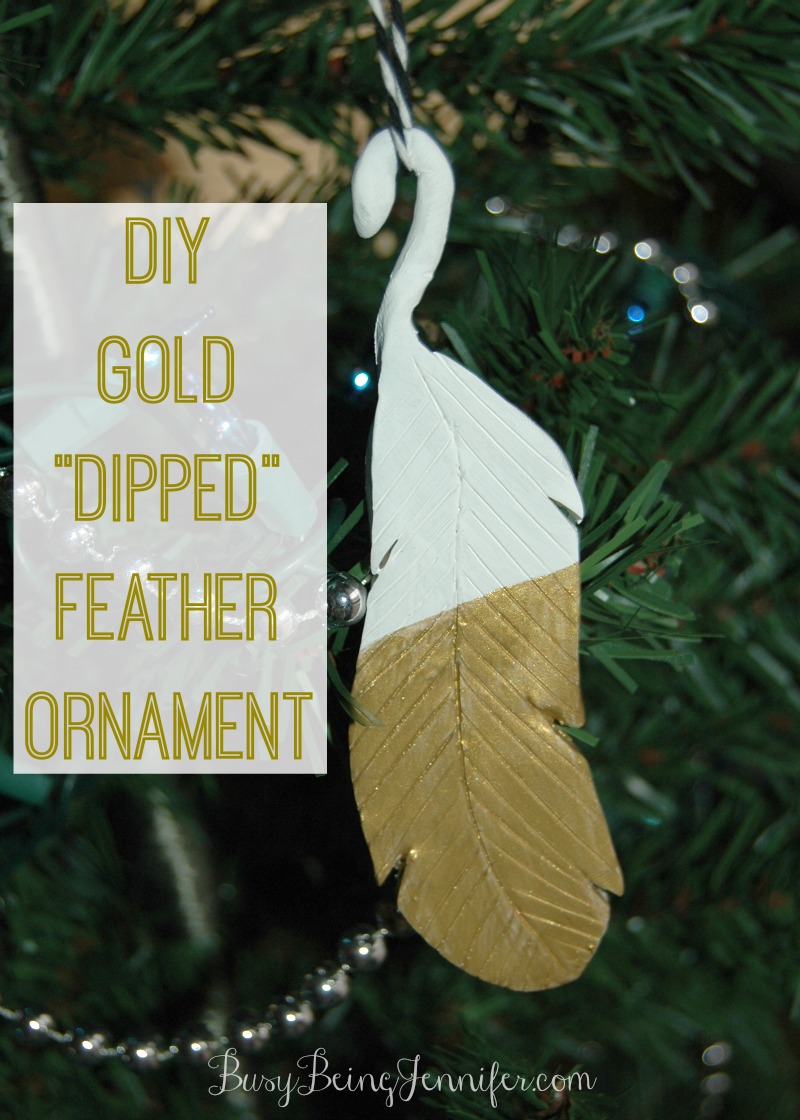
I used the same clay and method as the mustache ornament from last year. Only this year, instead of using some sort of cookie cutter, I used a knife to cut out the feather-ish shape. Added the feathery details with the edge of the knife. Looped the feather spine and voila! A Feather!

Handmade Gold Dipped Feather Ornament - BusyBeingJennifer.com

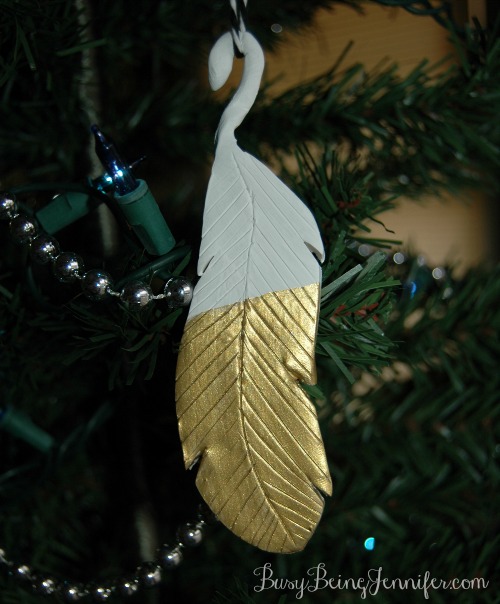
Of course the ornament has to be baked and painted before it can go on the tree. So into the oven at 275 degrees for 12 minutes it went. Once completely cooled, a couple of white craft paint were applied. Once that was dried, it was time to “Dip” in the Gold. Since I had a limited amount of gold paint, I just painted on the gold as opposed to actually dipping. Several coats and a diagonal line work well to give it that “just dipped” look!

I am in love with this ornament! And since its clay and quite unlikely to break if dropped its proudly displayed on what would otherwise be a rather boring tree. With the Monster Kittens around, we chose to limit the ornaments to the bare minimum. You know in case those two terrors knock the whole thing over! They’re quickly learning that chewing on the lower branches will not be tolerated 🙂

With my traditional ornament making completed its starting to feel a lot more like Christmas!

What is the one tradition that makes it feel like Christmas for you?

Filed Under: Crafts + DIY's, DIY Projects Tagged With: Christmas, DIY, handmade, ornament, tutorial

❮❮ Previous Post
Next Post ❯ ❯

Comments

  1. Aleshea Dominique says

    December 21, 2013 at 11:12 pm

    Pinned, it' so cute Jennifer.

    Reply
  2. Rebecca says

    December 22, 2013 at 10:33 am

    Very pretty!

    Reply
  3. Ashley Bree Perez says

    January 7, 2014 at 1:34 pm

    I am definitely going to need to try this out! Thanks! 🙂

    Reply

Leave a Reply Cancel reply

Your email address will not be published. Required fields are marked *

About Me
  • Facebook
  • Instagram
  • Pinterest
  • RSS
  • Twitter

Search

Categories

As an Amazon Associate I earn from qualifying purchases.

Places I Party...

© 2023 · Busy Being Jennifer · Privacy Policy

We are using cookies to give you the best experience on our website.

You can find out more about which cookies we are using or switch them off in settings.

Busy Being Jennifer
Powered by  GDPR Cookie Compliance
Privacy Overview

This website uses cookies so that we can provide you with the best user experience possible. Cookie information is stored in your browser and performs functions such as recognising you when you return to our website and helping our team to understand which sections of the website you find most interesting and useful. Read our complete privacy policy here.

You can adjust all of your cookie settings by navigating the tabs on the left hand side.

Strictly Necessary Cookies

Strictly Necessary Cookie should be enabled at all times so that we can save your preferences for cookie settings.

If you disable this cookie, we will not be able to save your preferences. This means that every time you visit this website you will need to enable or disable cookies again.