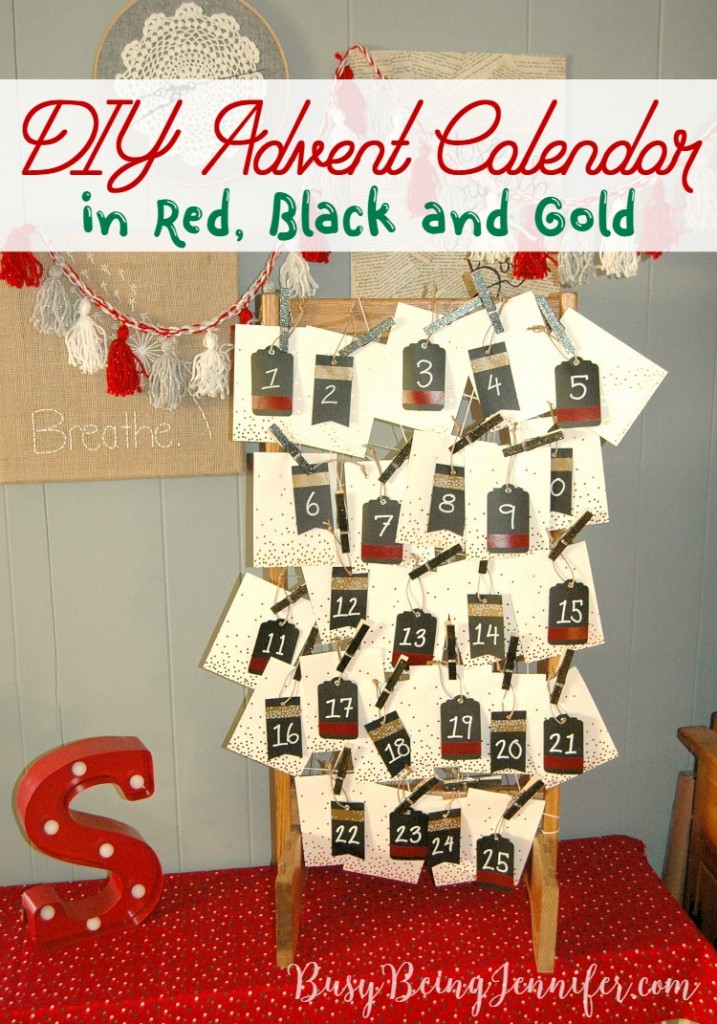
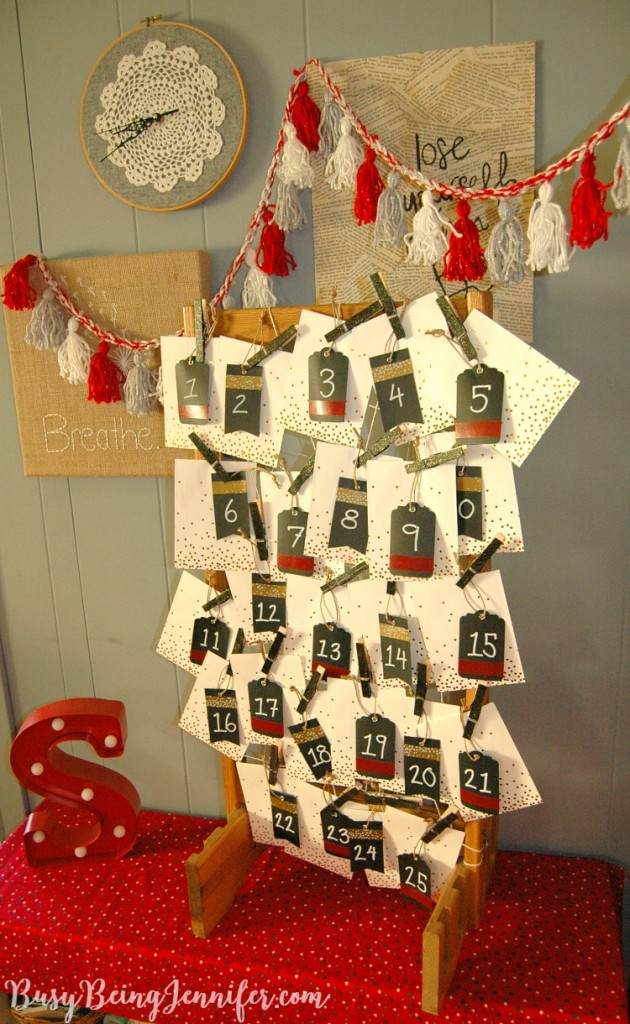
There are no “littles” in this house (unless you count the fur-baby), but that doesn’t mean that I don’t like to keep up with the traditions of my childhood! Growing up we always got those chocolate advent calendars, you know the ones with the little numbered windows and Christmas themed chocolates? We all LOVED them! Nowadays I’m a little more grown up with my advent calendars. With all of the hustle, bustle and craziness that I have going on as a blogger, Virtual Assistant and Handmade Shop Owner + a few more Holiday Markets to prepare for, I decided that my DIY Advent Calendar this year would be treats and rewards just for me!
I added little pieces of paper with rewards written on them to each of the gold confetti bags. Things like go get a pedicure, Coffee Break! -> read a book and enjoy a cup of coffee for the next 20 minutes, and Take a Bubble Bath. Things that I enjoy, but forget to do when I get super busy.
To make this DIY advent Calendar I used a lot of what I already had on hand, as well as a few new goodies 🙂 To make your own you’ll need…
Wooden Stand ( I used an old TV tray stand ) or Command Hooks to add string to on the wall.
Bakers Twine
25 Clothes Pins
25 Paper Bags (kinda like these)
25 Chalkboard Tags (like these)
Chalkboard Marker (I used this one)
Washi Tape (I used this one)
Black Paint
Gold Glitter paint
Slips of paper with your “treats” written on them (25)
I started by painting my clothes pins – 2 layers of black multi surface paint and then a layer of gold glitter. Make sure that you allow then time to dry completely between layers.
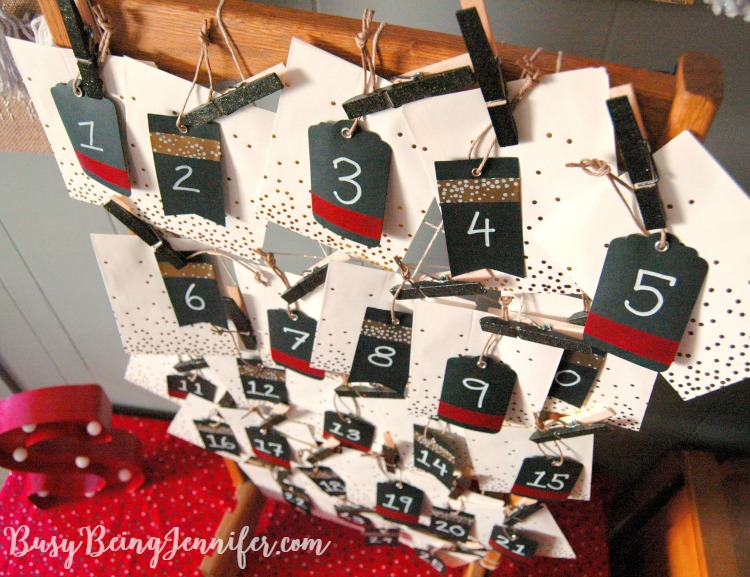
Next, I made the tags. I alternated between the styles of chalkboard tags – one style got red washi tape at the bottom and the other got gold dot washi tape along the top. Then I wrote the the numbers 1 to 25 alternating tag styles with each number.
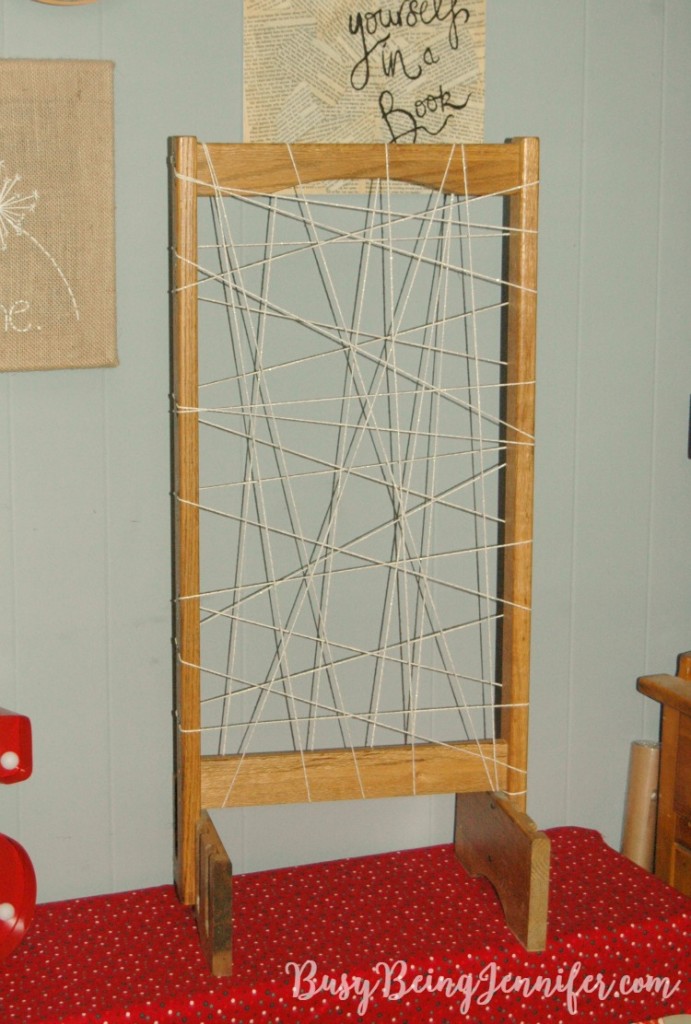
To make the DIY advent calendar stand, I grabbed an old TV tray stand that was tucked into a closet. After giving it a good dusting, I taped the end of a piece of twine to the “wrong side” of the stand and then wrapped and wrapped and wrapped the bakers twine around! Up and down as well as side to side! There needed to be lots of strings to clip the paper bags and tags to. To secure the lines of bakers twine, I added a little gold dot washi tape to the sides… just to be safe 🙂
Finally I took my “treat” papers and slipped them into the paper bags, folding the tops down as I went. Once they were all inside and the tops were folded, I shuffled the bags a bit so each day would be a surprise 🙂
Once all the parts of this DIY advent calendar are all together, I picked a paper bag, grabbed the numbered tag and pinned it to the stand 🙂
All in all I am loving my grown up DIY advent calendar! And I am excited to spoil myself a little starting on December 1st! I have a feeling I’m going to need it!


Leave a Reply