You know what I love? I love taking old broken things and turning them into pretty, new useful things! Also known as upcycling 😉 My husband’s work has a plethora of old, busted palettes and I am so excited about this fun project! You’re gonna love this DIY Palette Crate project too!
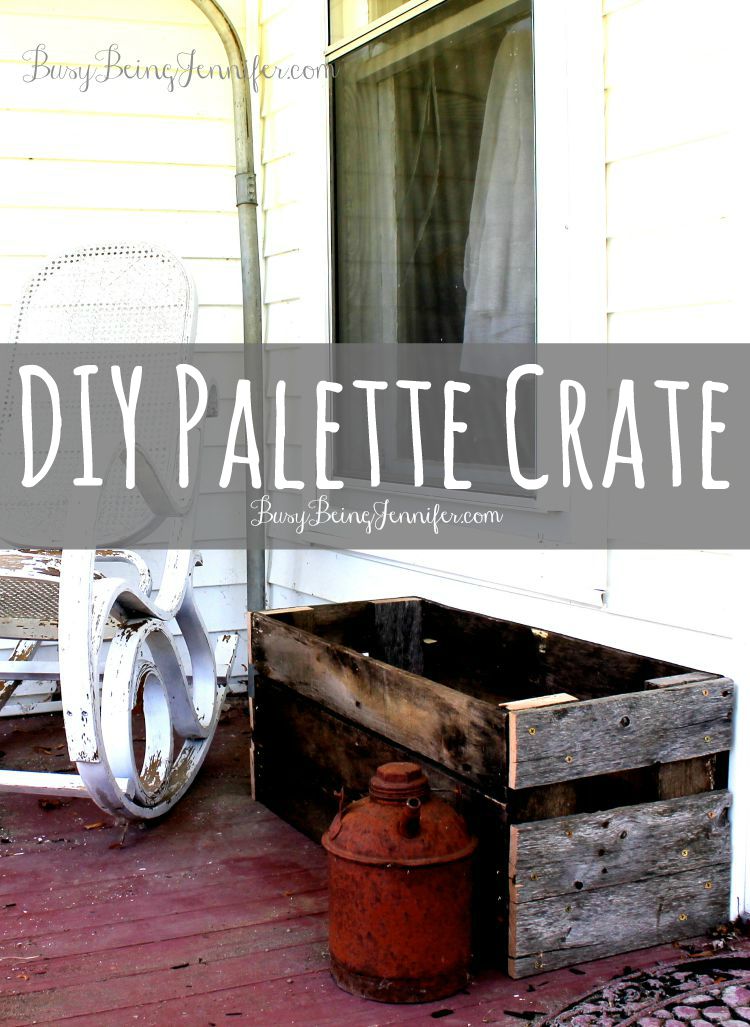
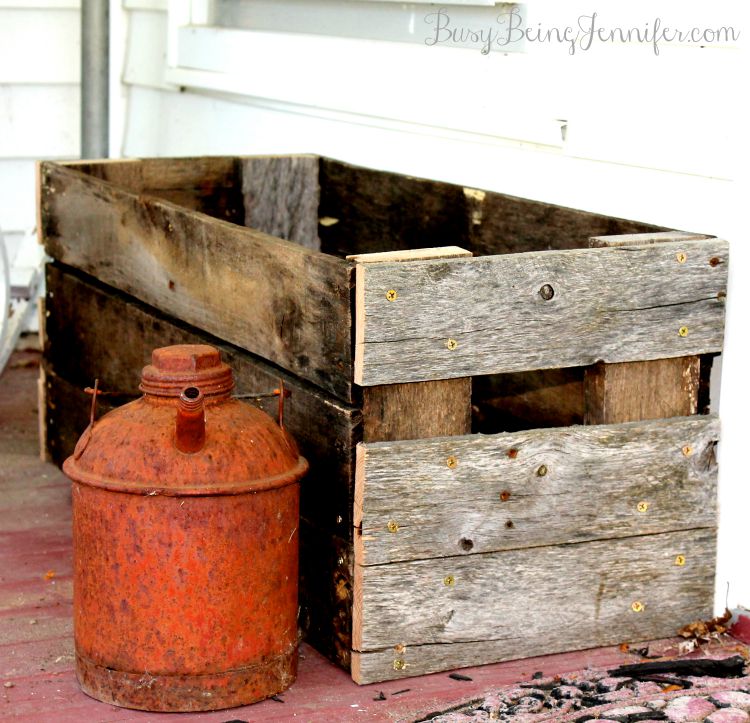
There is something so beautiful about old, distressed wood! These rough old palettes are given new life when made into these palette crates! I think I need 2 or 3 dozen for my front porch!
Supplies:
Pallet
Hammers
Saw
Screws
Drill
Directions:
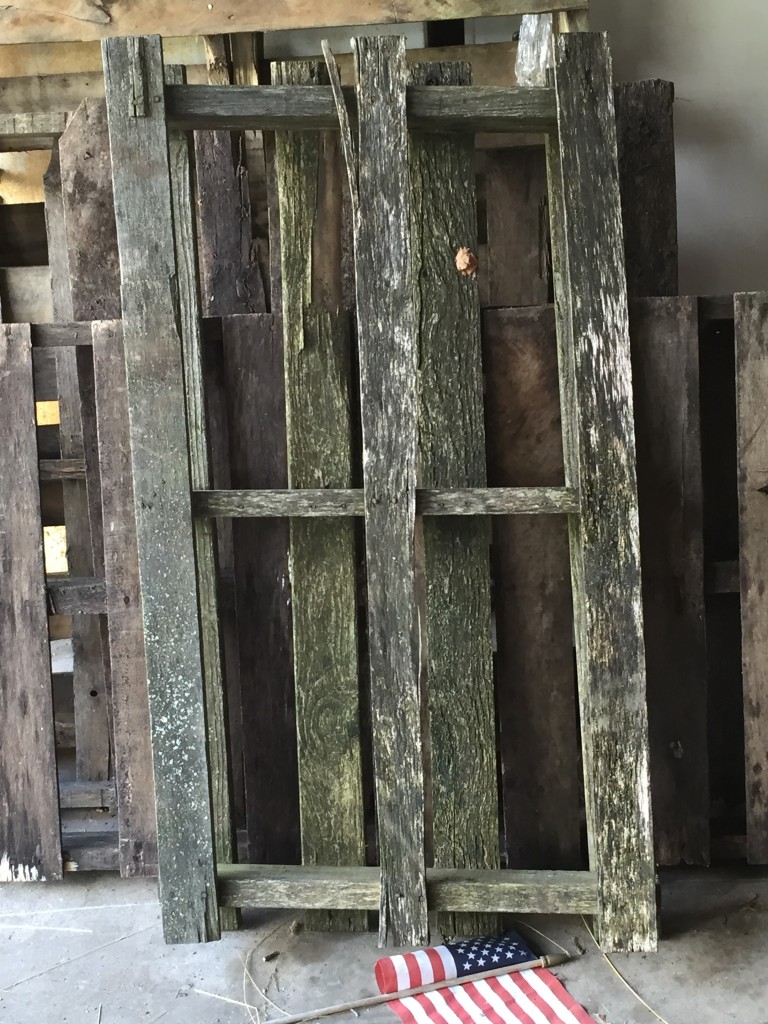
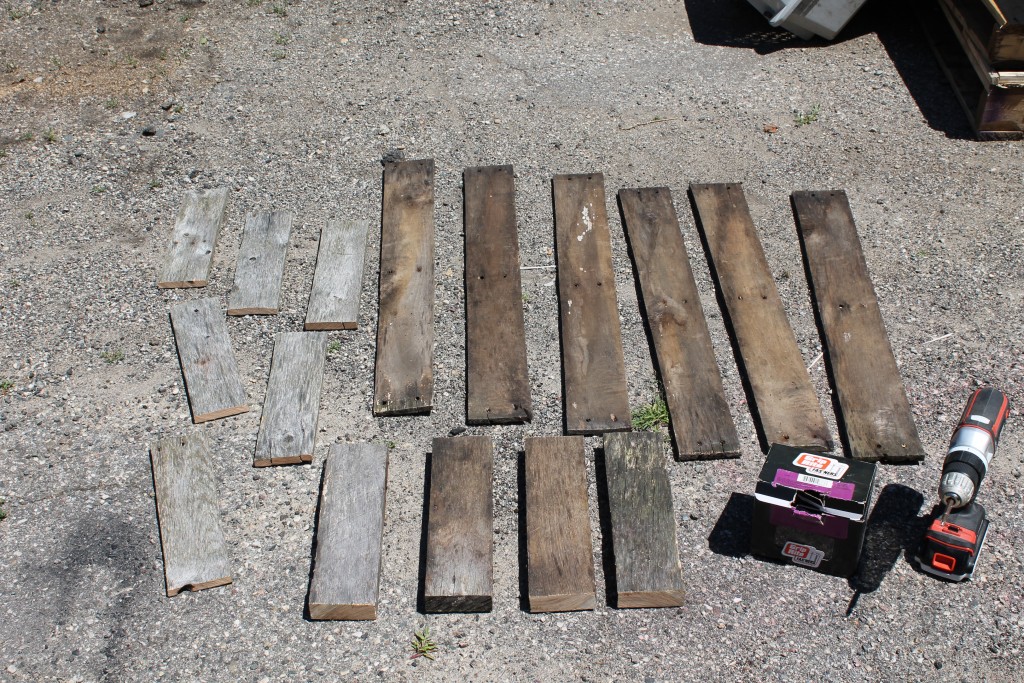
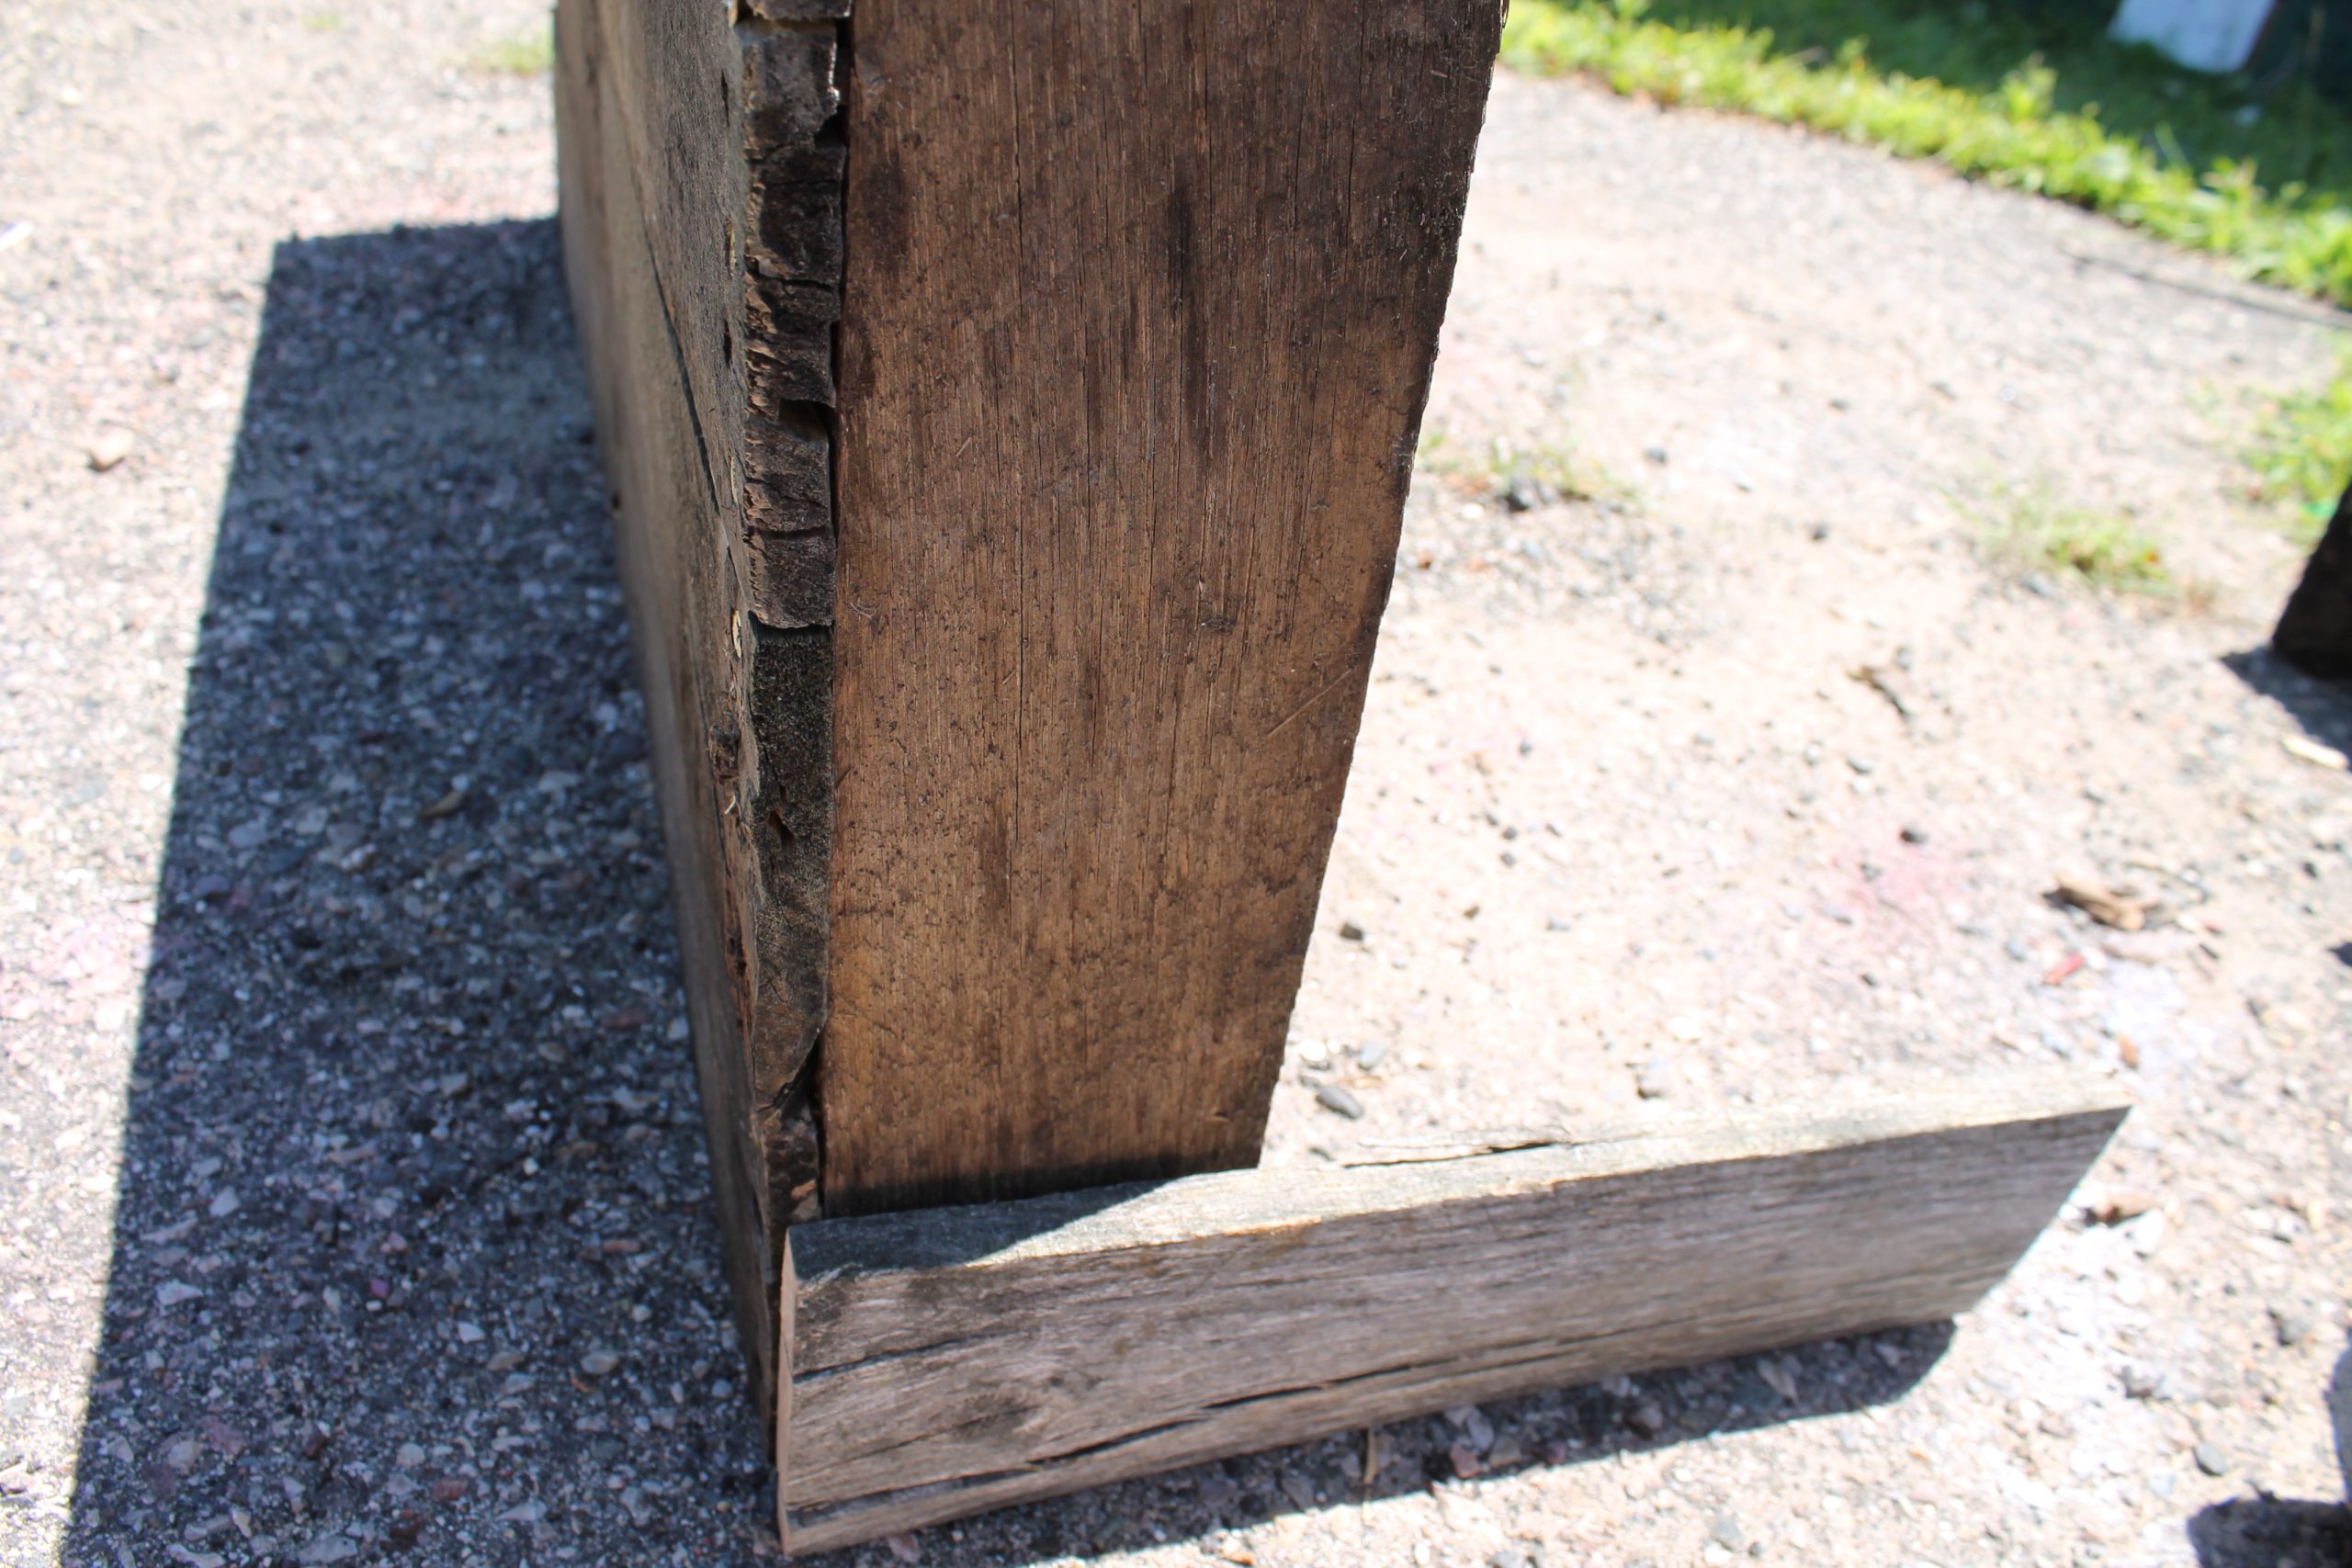
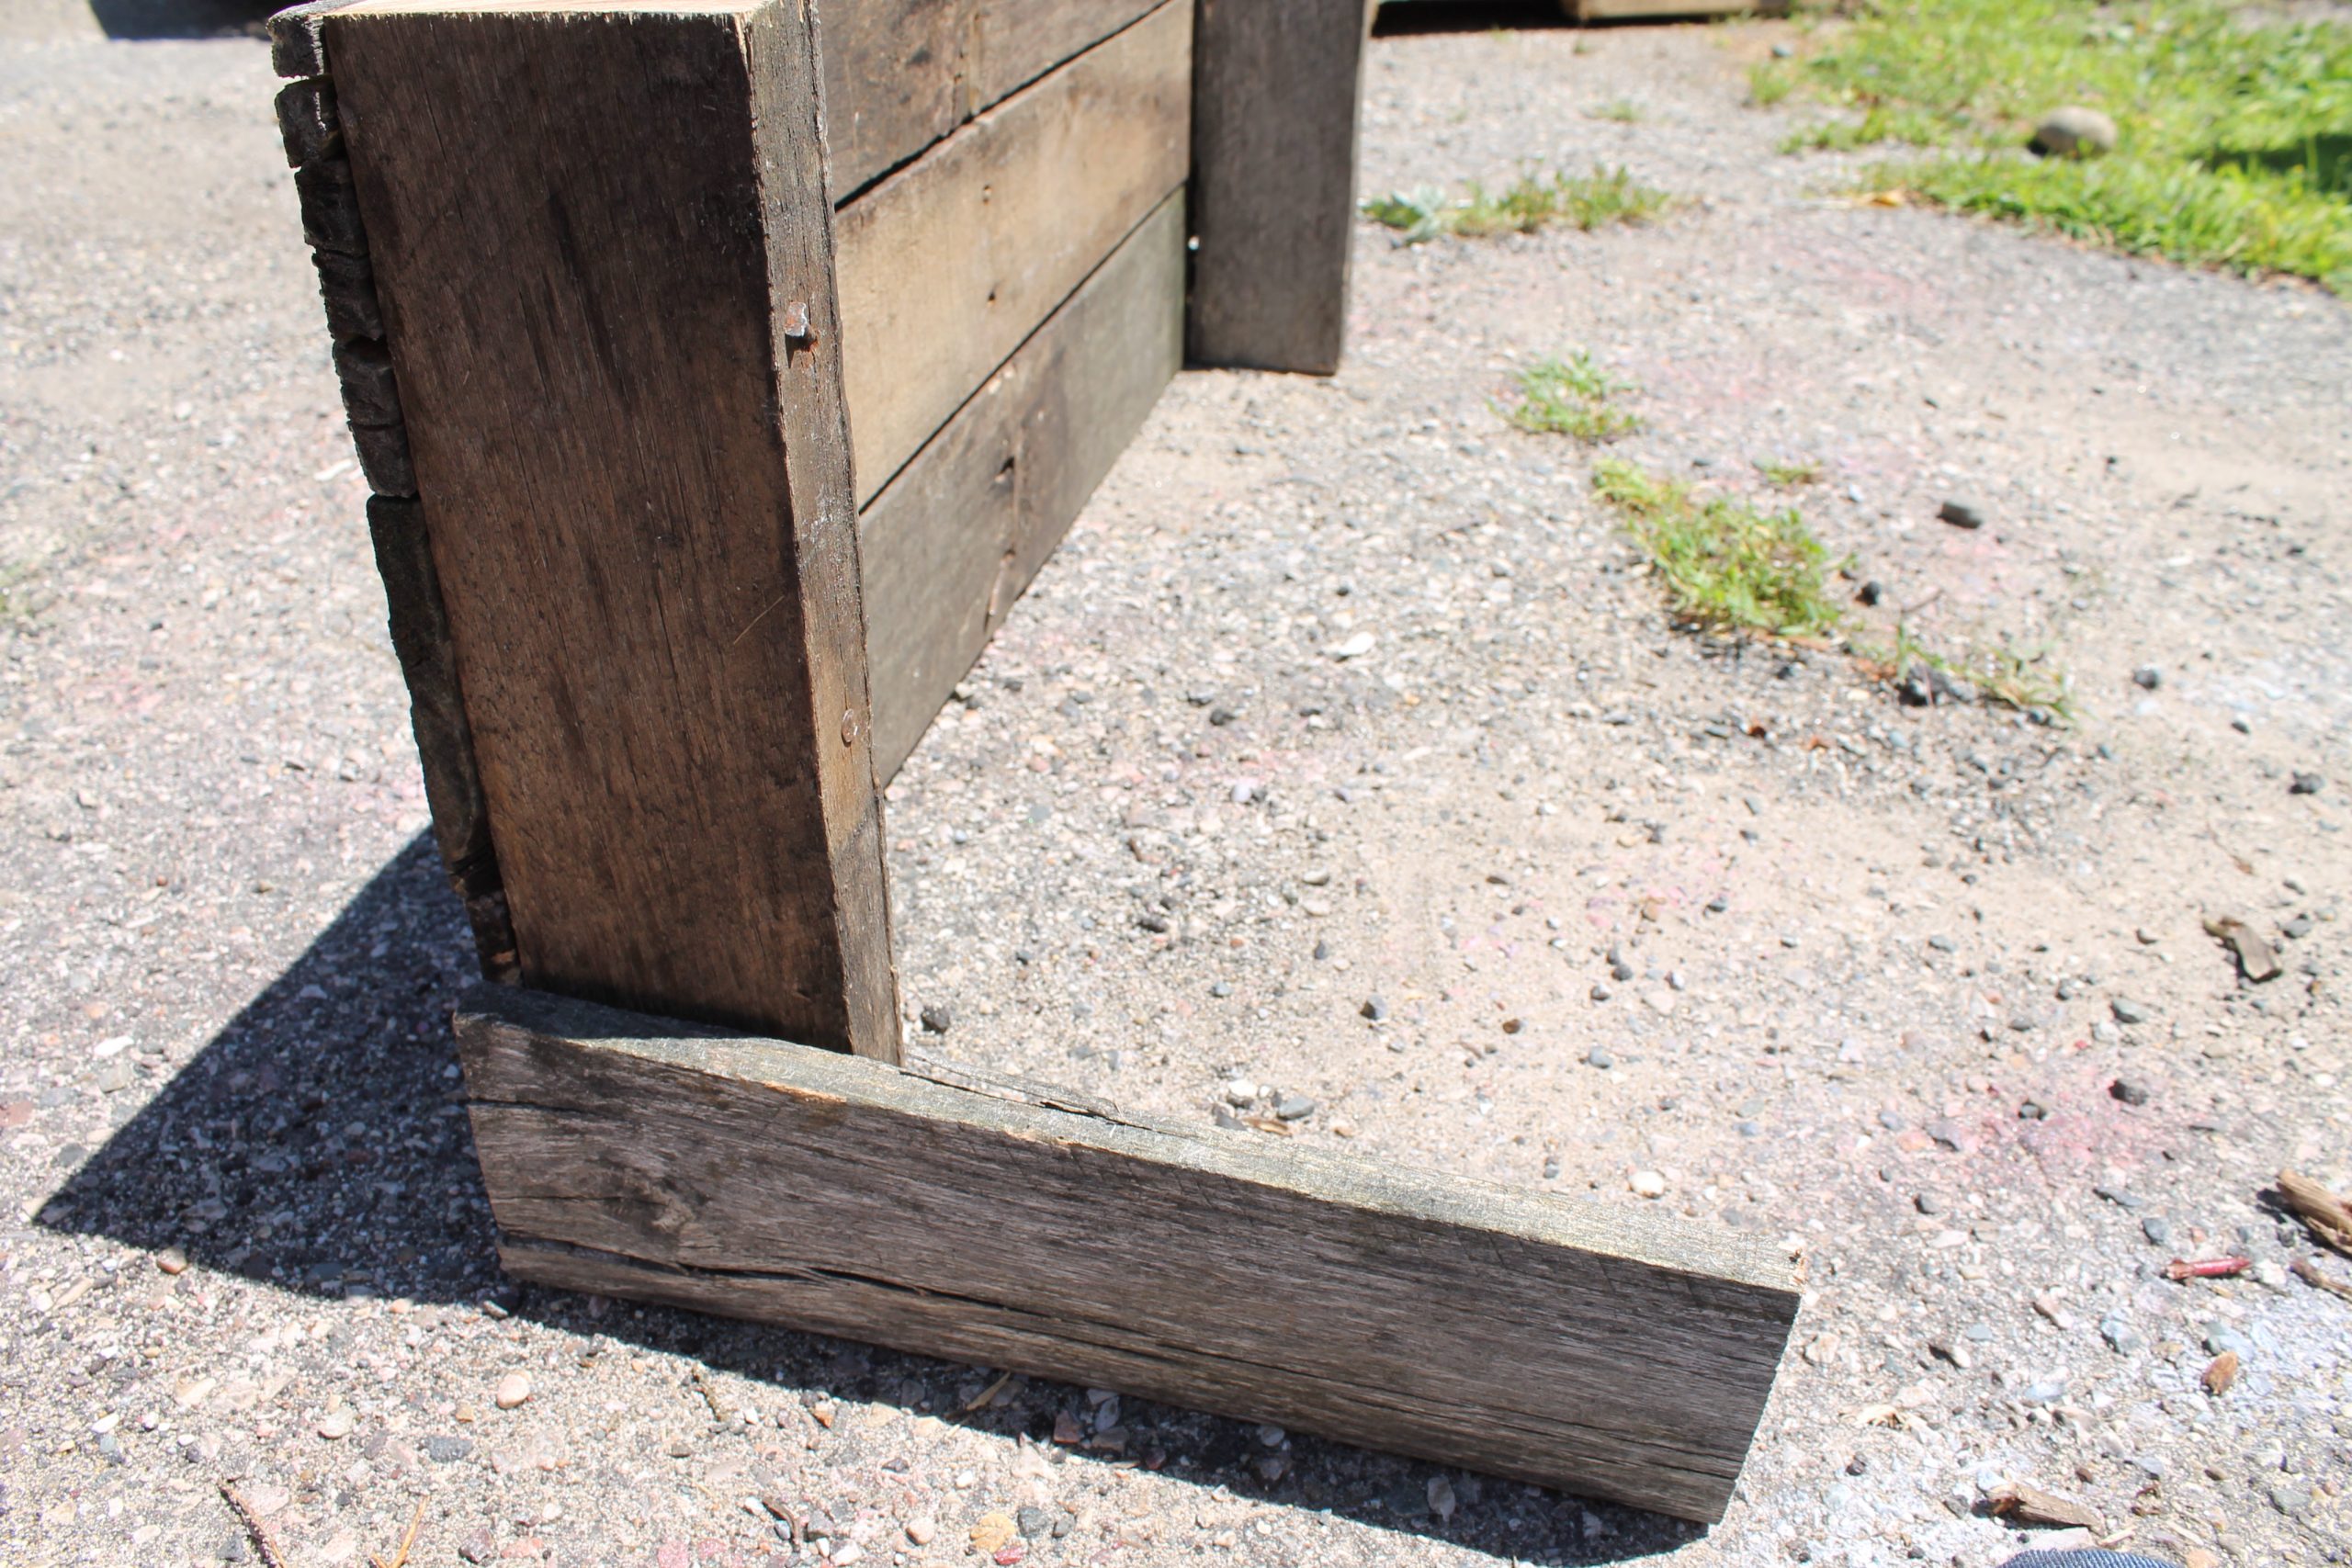
Disassemble the pallet. Determine how big you want your box; I did the length of my pallet boards to reduce cuts. Once you determine how deep you want the crate cut 4 corner supports from the pallet support boards. These are the thicker ones that stand on edge. Determine you desired depth, Cut boards to length.
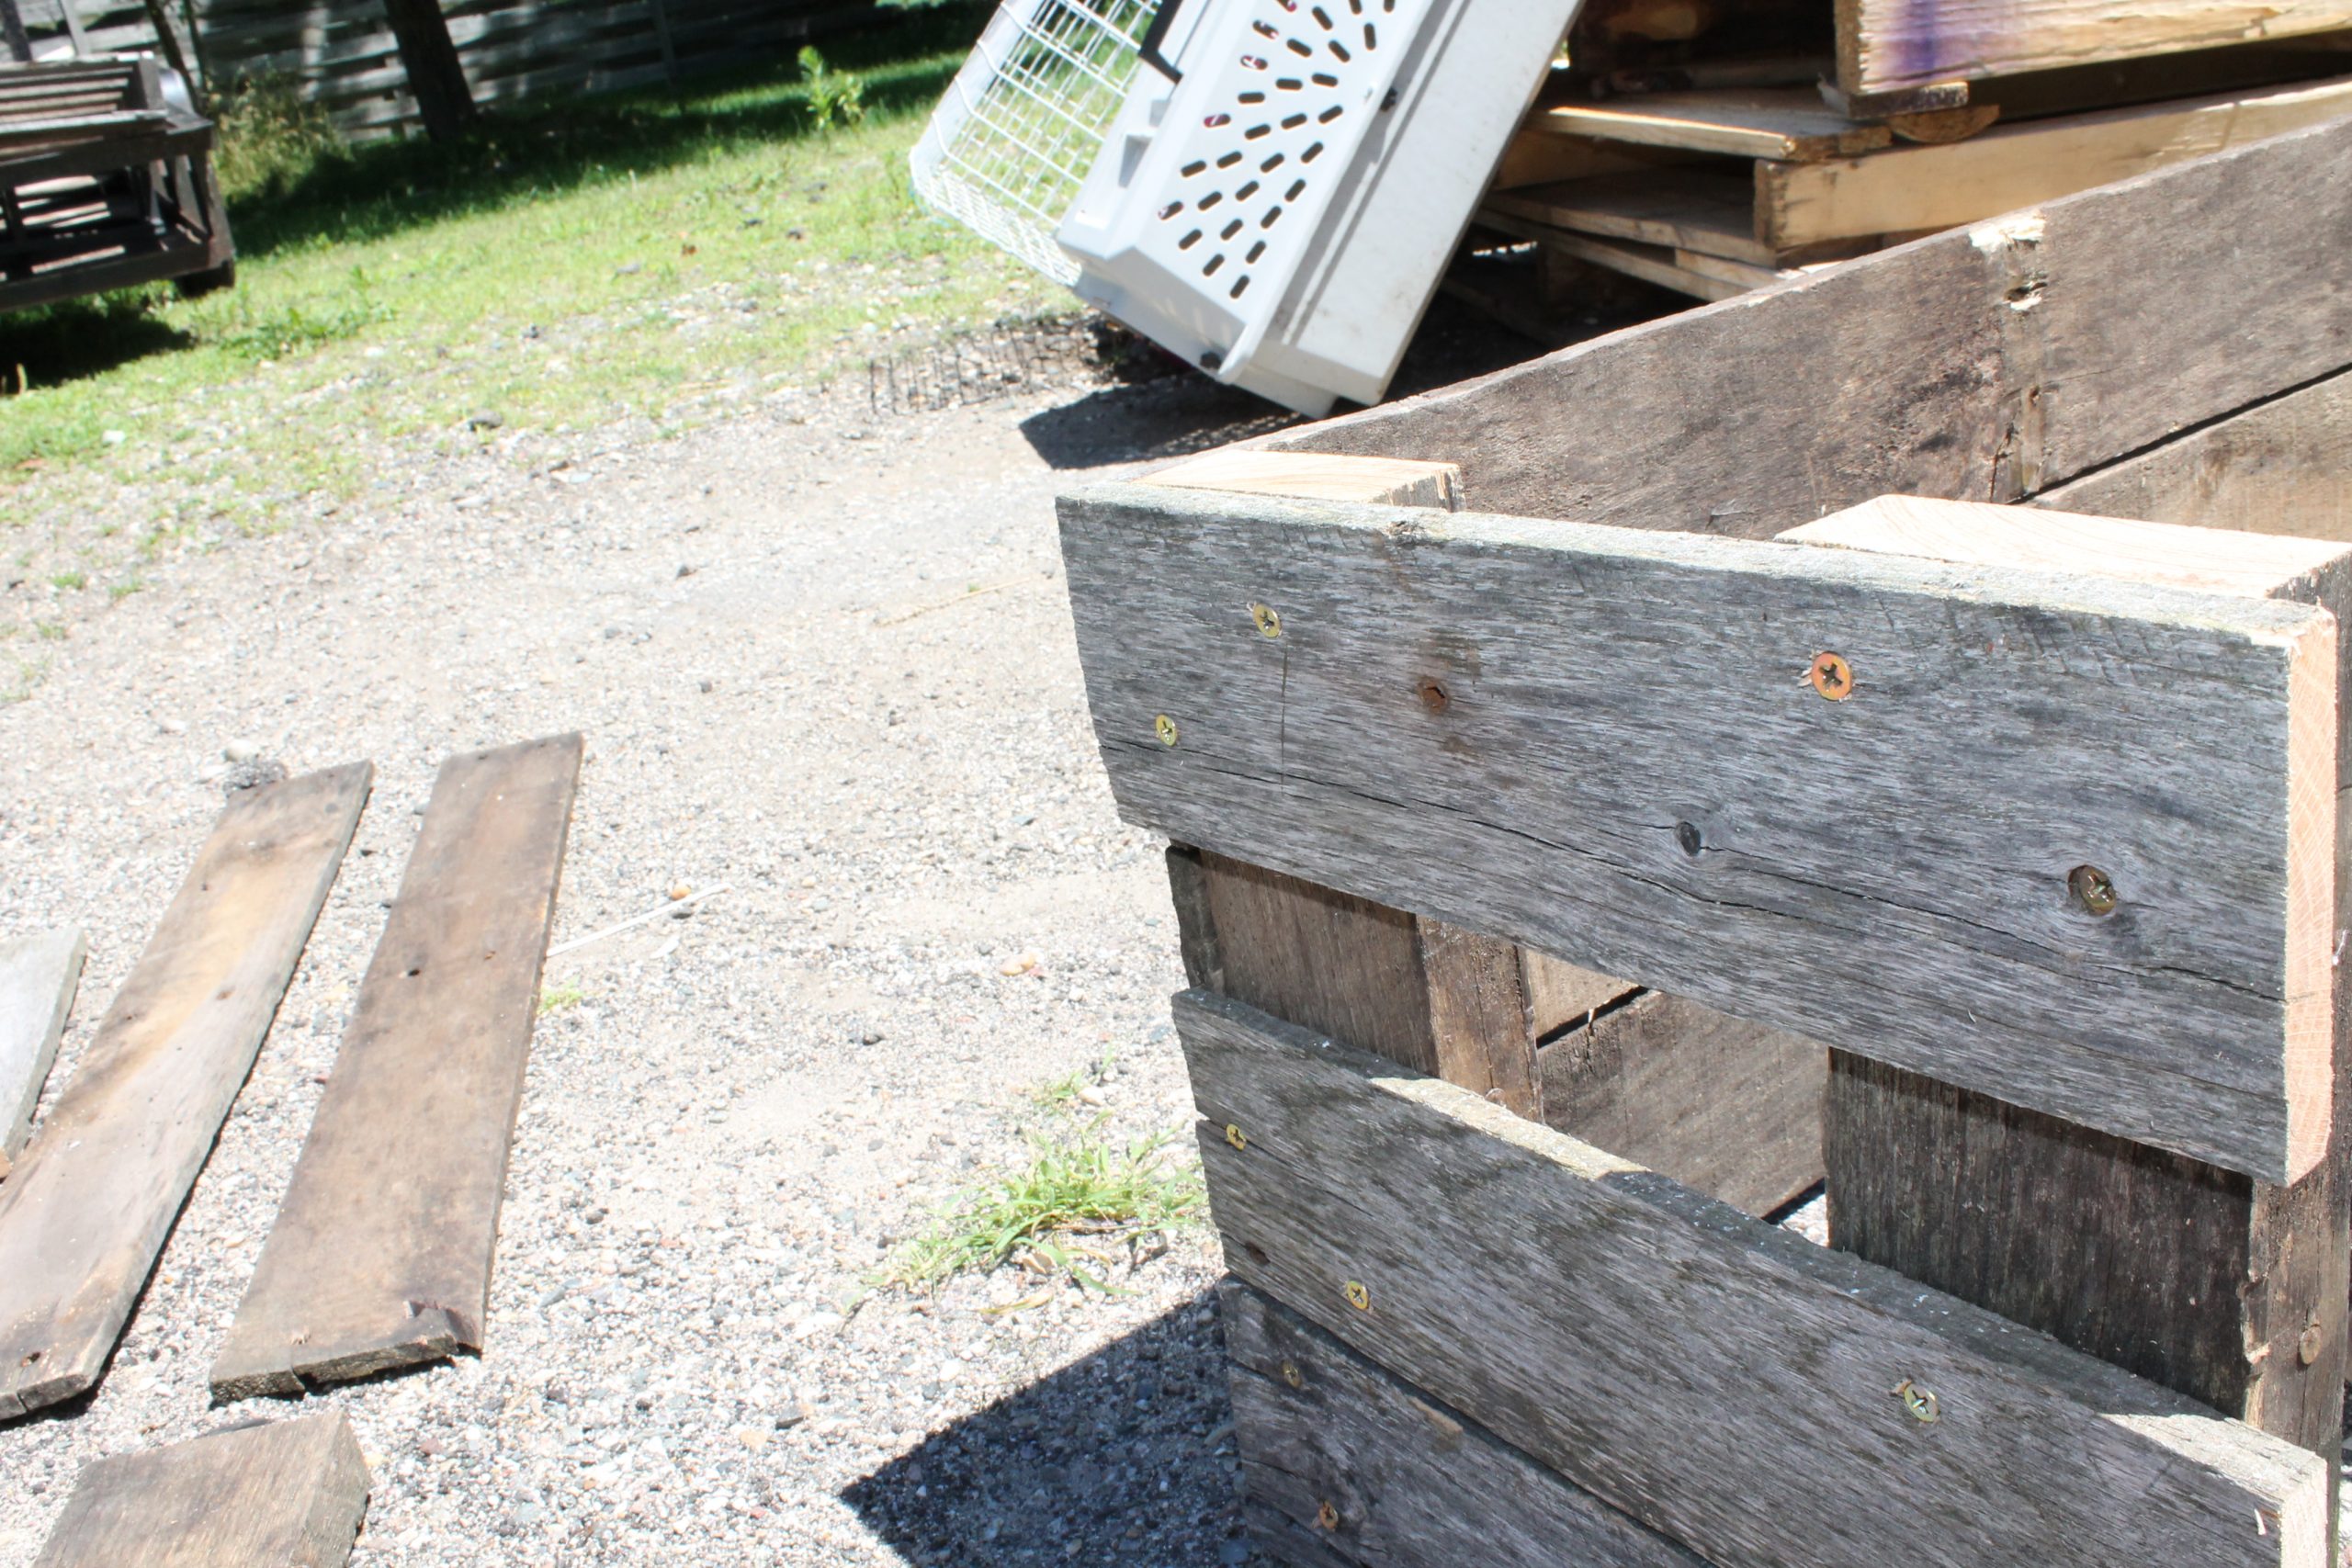
Once all boards are cut lay out the front of your crate, I chose the best boards for this. Screw these to the corner pieces. Leave gaps as desired. The back of the crate is the same process.
Once you have the back and front made use the shorter boards to make the sides. My pallet had different width boards so I ended up being able to make these handles. You can mix and match pallets if you need different widths.
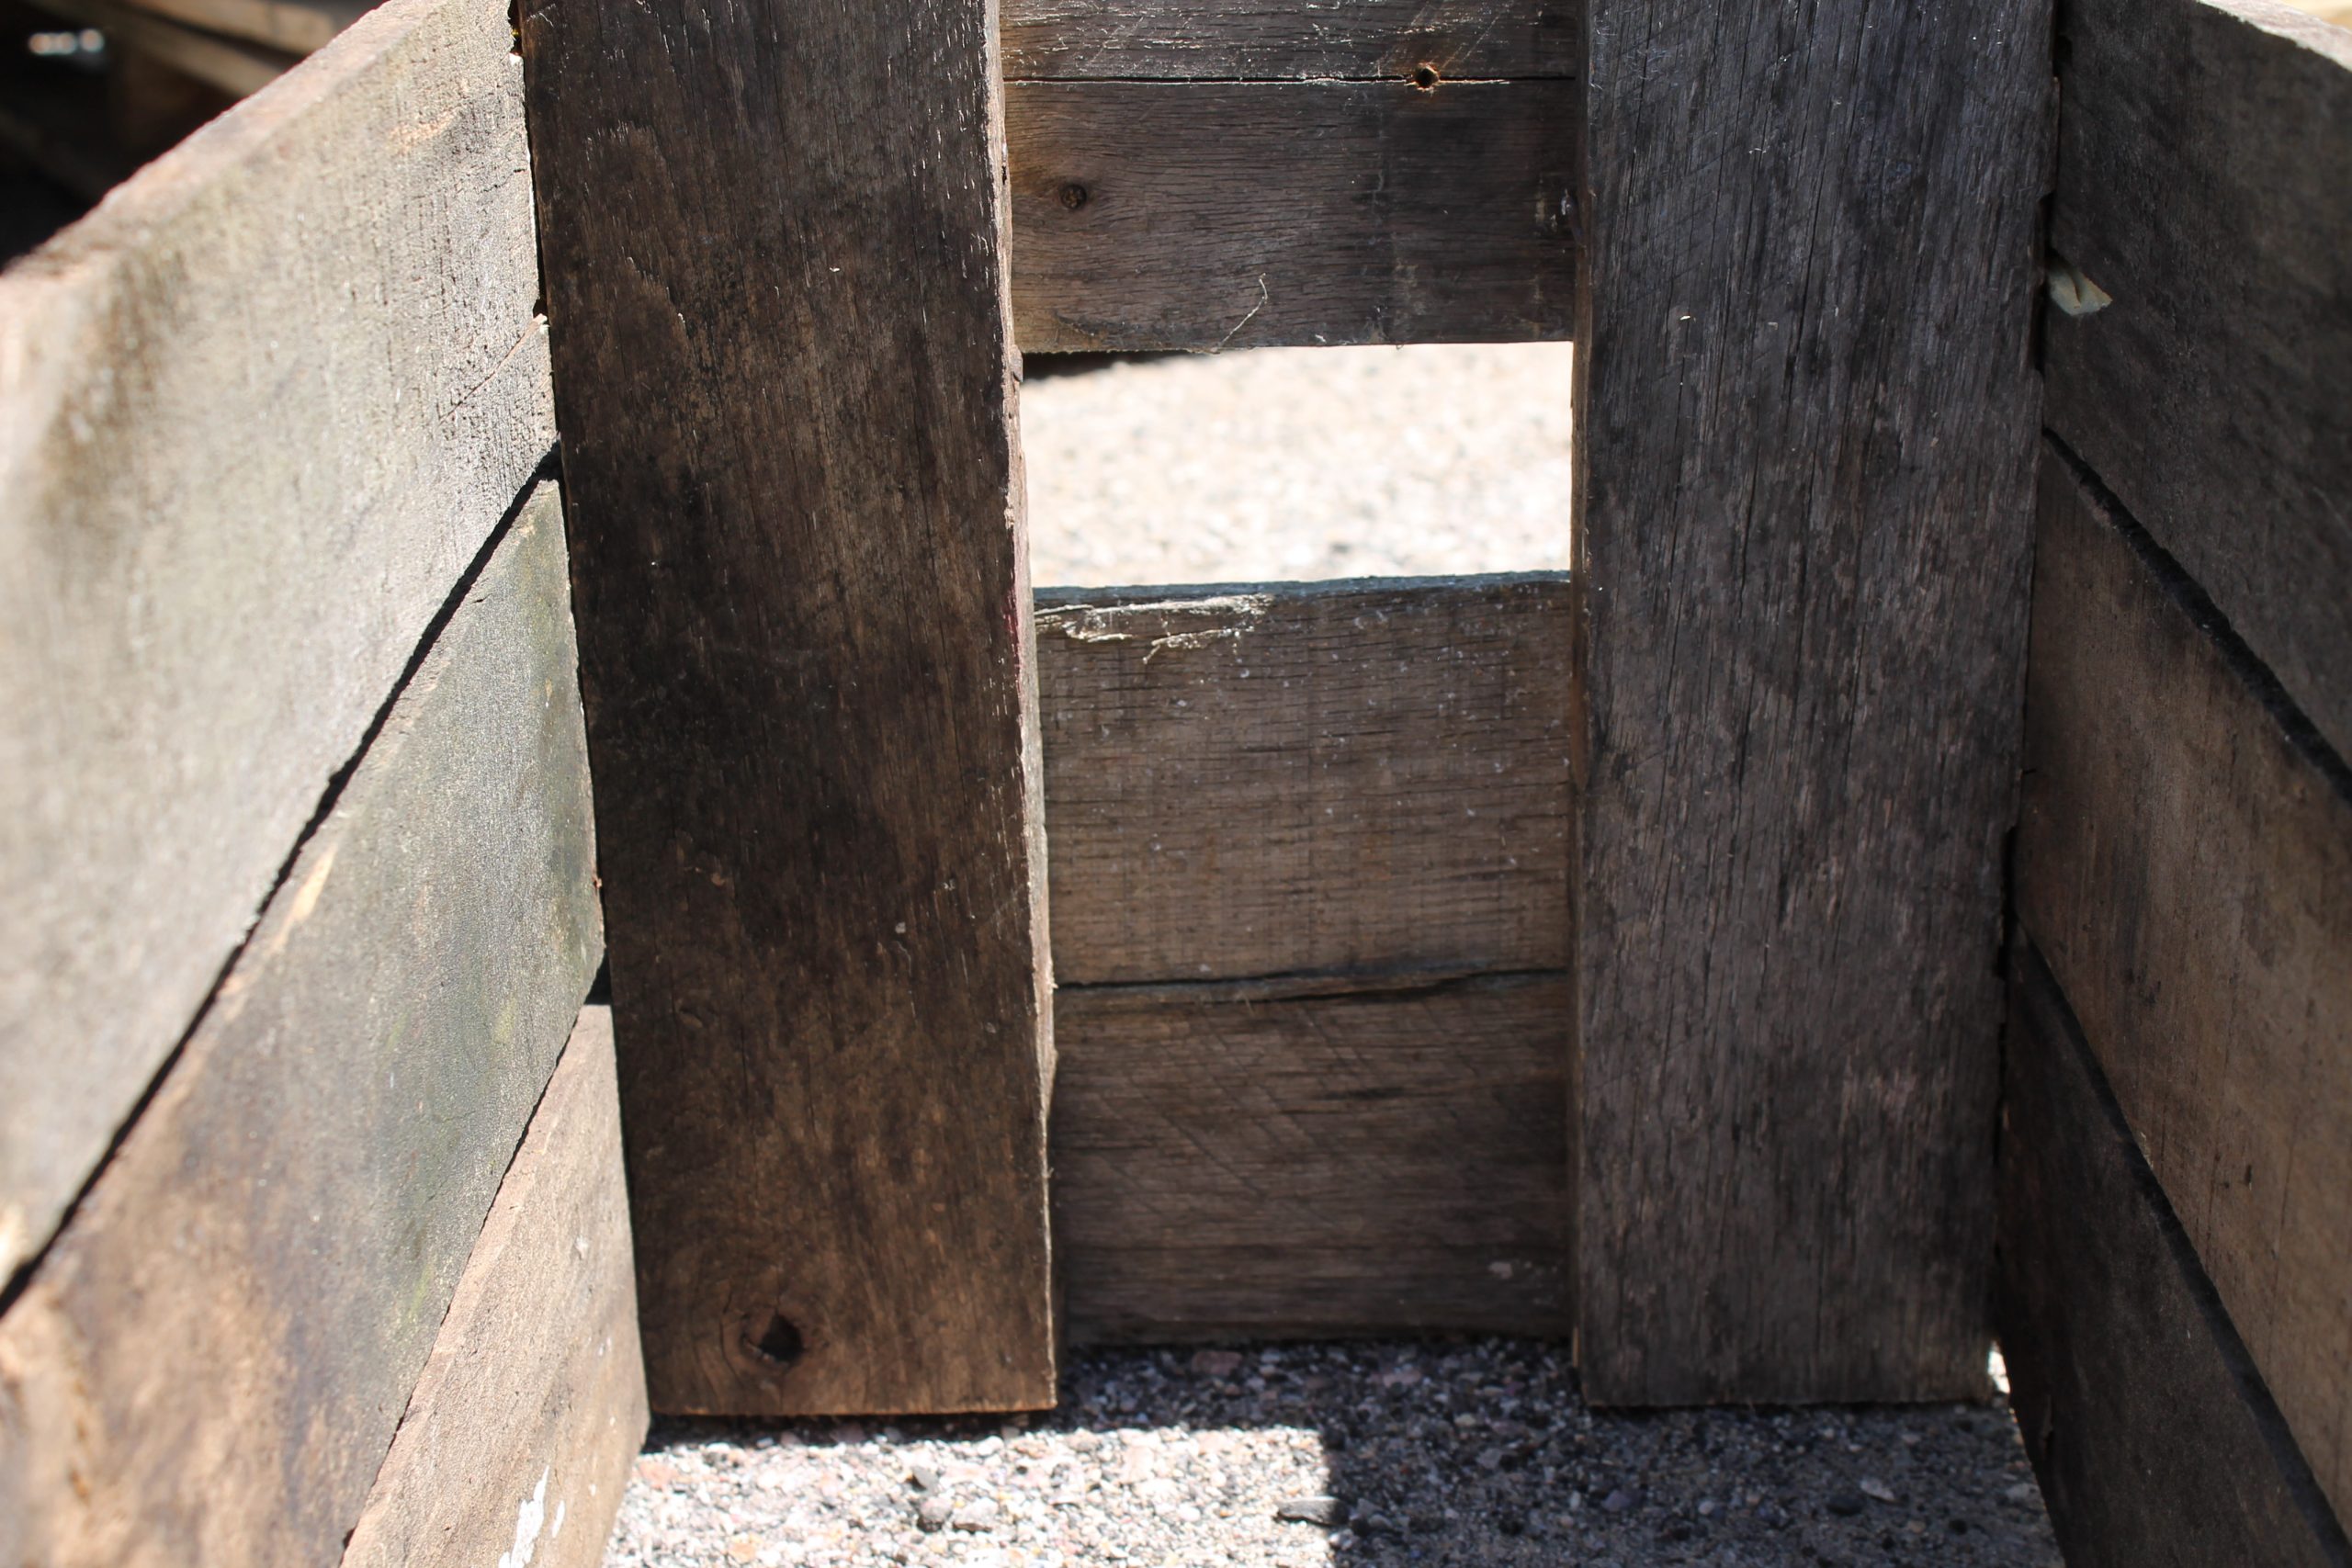
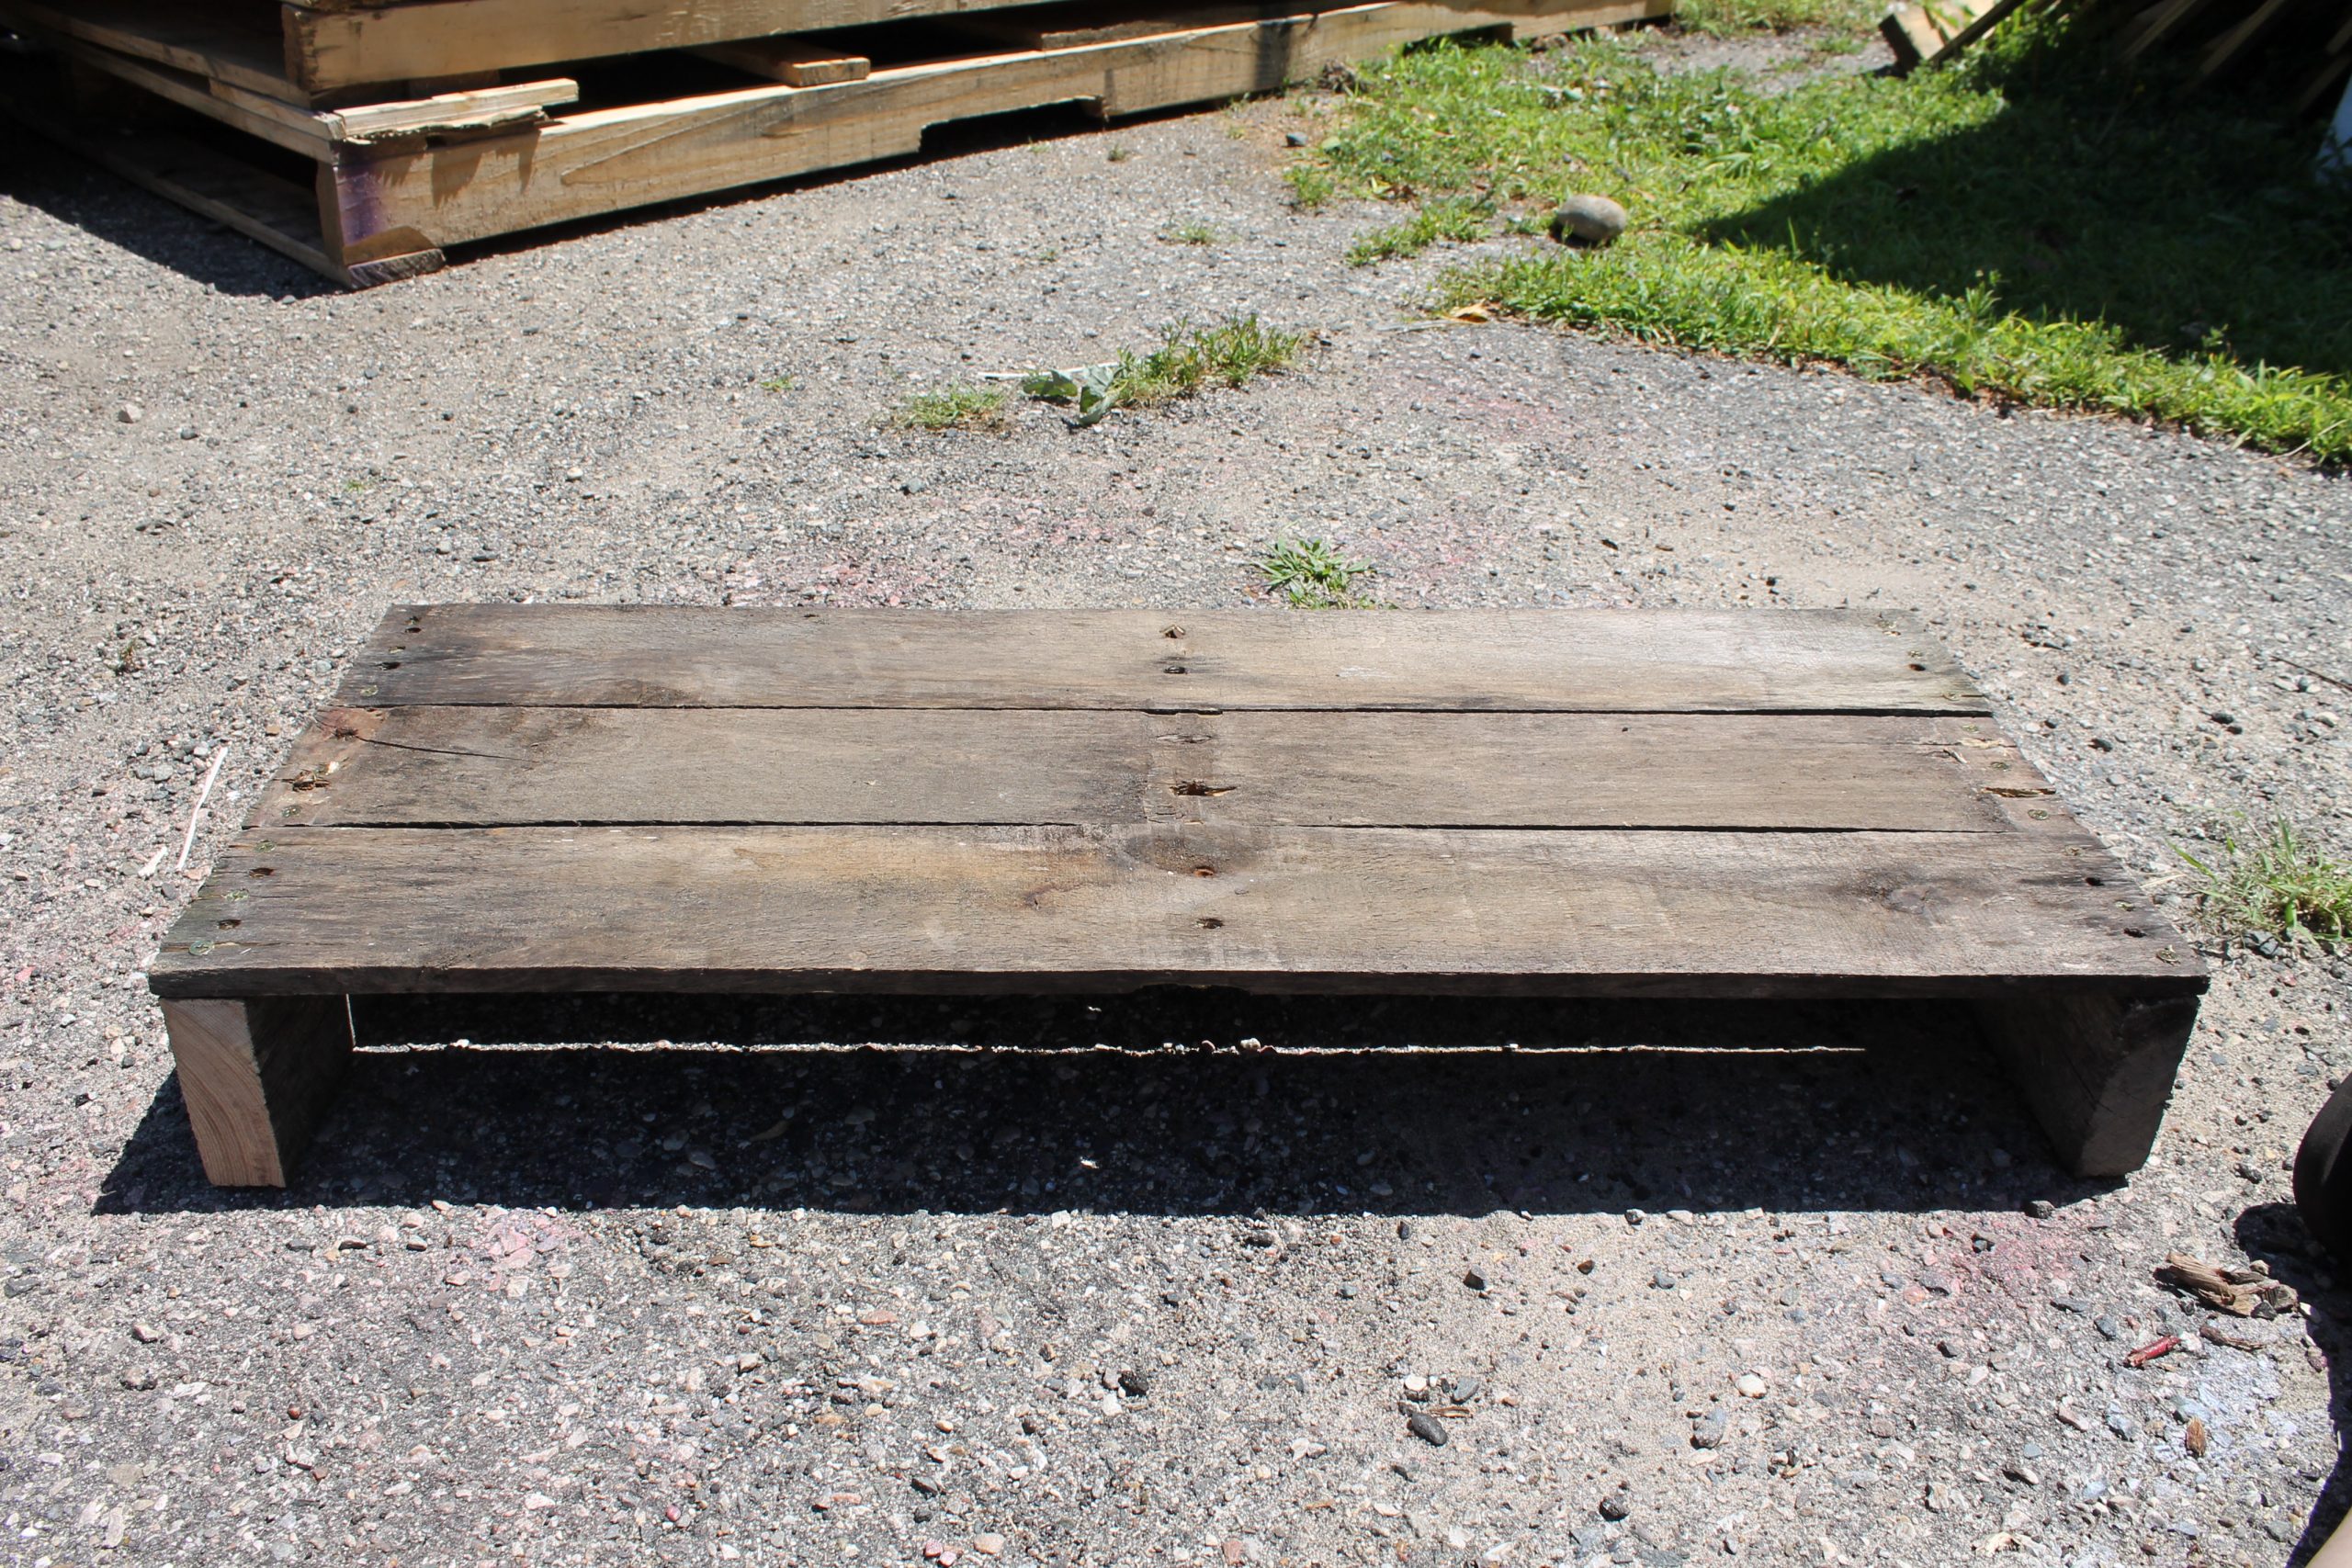
After all sides are on use the required number of boards to make a base. Screw to the bottoms of the corner supports.
Stain, pain, or oil as desired.
I’m thinking of white washing some of these palette crates and staining some even darker! I’ll use the white washed palette crate or two for Christmas displays on the front porch and the darker stained ones for fall/Thanksgiving displays!
I’m SOOOOOOOOOO excited about my new palette crate and all the things I’ll be able to do with it and the others I build!!
Old & distressed wood is my love language. I love, love, love the way this came out. My dad can usually get pallets pretty easy from his job sites…so I will be calling him today! Thanks for the awesome idea. Have you seen the coffee table made out of pallets? I’ve been begging my husband for a year to make me one. He hasn’t caught on just yet. 🙂
I love what you did. Congrats!
I adore these crates . . . can’t wait to see photos of them in use, especially during the holidays!
Literary Sherri
Jennifer, you are the craftiest and handiest lady I know! I love this! You should definitely do your white washed one. I bet it will turn out great! Stacie xo
Oh my goodness, I can’t wait to make one of those. I currently have my hubster on a mission to bring home some awesome pallets so I can start DIY’ing to my heart’s content. Thanks for sharing! :o)
I have a few left over boards that need to be used; thanks for the inspiration!
Very cute…a great outdoor bin. If you do anything with pallets for indoors, there’s some safety issues you might want to consider with pallets, and I thought you might find this interesting: http://www.1001pallets.com/pallet-safety/
So simple, yet useful…my favorite things! It turned out beautifully.
I would worry about splinters but I love the idea of recycling old to make something new!
Love, love, love it! I’ve seen so many awesome things being done with palettes. Someday I may get my butt in gear and make some of them.
love it! I admire people like you who are so crafty!
Love, love, love that crate! How great for the holidays!
I would love for you to stop by on Mondays and share at our Something to Talk About link party!
Karen
Love this crate and the old weathered wood you used. Beautiful!
You are so clever! What a great idea to use those pallets and how wonderful to have a handy source for them. Thanks so much for sharing. Found you at Lou Lou Girls!
Distressed wood is the best, I love this crate, just made a new one today for my art supplies. Excited to stain it later this week. Love what you created.
Wow !! I love this crate ! Thank you for sharing with us @ #HomeMattersParty. WE would love to have you again next week.
I can think of so many great uses for these wonderful crates. Love it. Thank you for sharing at Share It One More Time. Cathy
Now if can get Mr.to brake up couple of these handy pallets I will have him make me couple crates. Love idea of white washed crate best but know will like darker for Fall. Have feeling will be Fall when it cools off finally, before can get Mr. to touch anything outside. Just too darned hot here to be out for any length of time. I’ve even stopped hanging out laundry, too hot.
Love your crate, all rustic and patched together, perfect.
Thanks for sharing your DIY project with us at #overthemoon link party. Have a lovely week.
I just love the dark gray distressed wood you used to make this crate. So nice!