The lovely Chrissy from The Pearl Blog is here today, with a fun and easy tutorial for some DIY Decorative Balls! And believe me when I say these are AWESOME!! Take it away Chrissy!

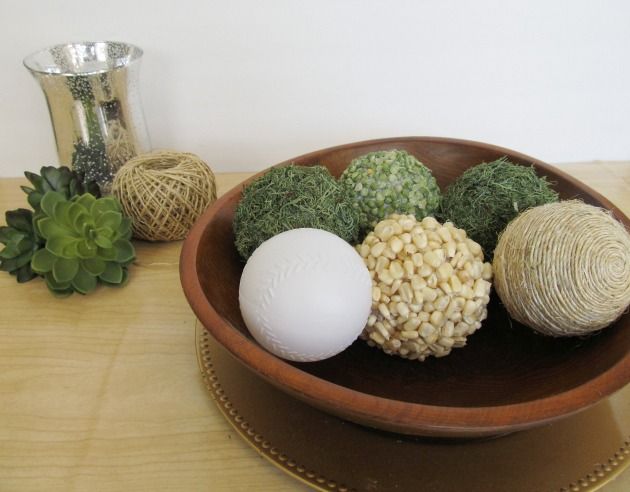
I have been searching high and low for organic looking decorative balls to put in a cute bowl in the living room. Before you say it, yes I know they sell them everywhere but I wasn’t willing to pay an arm and leg for them. And again before you say it, 10.00 is a lot for 4 balls to me. Of course the frugal girl in me insisted I figure out how to make DIY decorative balls instead!
moving on.
I knew there had to be a way to create my own. When I saw the moss at the dollar store it was like a light bulb turned on. I am not talking about a dim soft white bulb, no I am talking about a crisp clean GE Reveal type bulb. Yeah that bright.
I gathered most of my materials from the Dollar Tree. No they are not paying me to say that, they do not even know I am sharing this post.
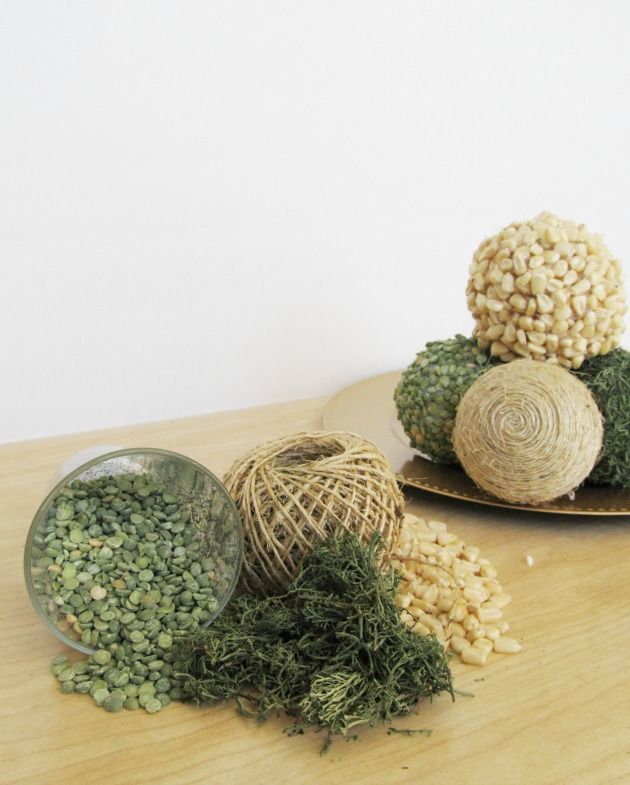
Supplies:
{Dollar Tree} 1 bag of split peas (already being used in a vase at home)
{Dollar tree} 2 packs of three plastic baseballs
{Dollar tree} 1 thing of twine
{Dollar Tree} 1 bag of moss
{my house} corn for feeding animals
{my house} glue gun, glue sticks, scissors
First up, the twine balls! I used Vanessa’s tutorial to figure out the best way to start wrapping the twine. She’s brilliant and it worked out perfect.
I decided to wrap 2 balls with twine.
I poured some of my split peas out of the vase into a plastic container. I smeared smaller square sections of hot glue onto the ball, about 2 x 2 inches, and then smashed it into the container of peas. I repeated the process until most of the ball as covered. Then I added extra dabs of glue here and there as needed to fill in blank spots.
I only covered one ball in peas
Using the same technique I glued the corn to another ball. This time after the first layer was glued on I covered the ball again in another layer of corn.
I covered one ball in corn

I then opened up the moss from the bag and started breaking it apart. I didn’t want big chunks of stems to be on the balls. After the moss was separated I started gluing the moss to the ball patting it down as I went along. Once the entire ball was covered in moss, and there was no white showing I began trimming the crazy moss hair. I wanted to make sure it was all the same length.
I covered 2 balls in moss
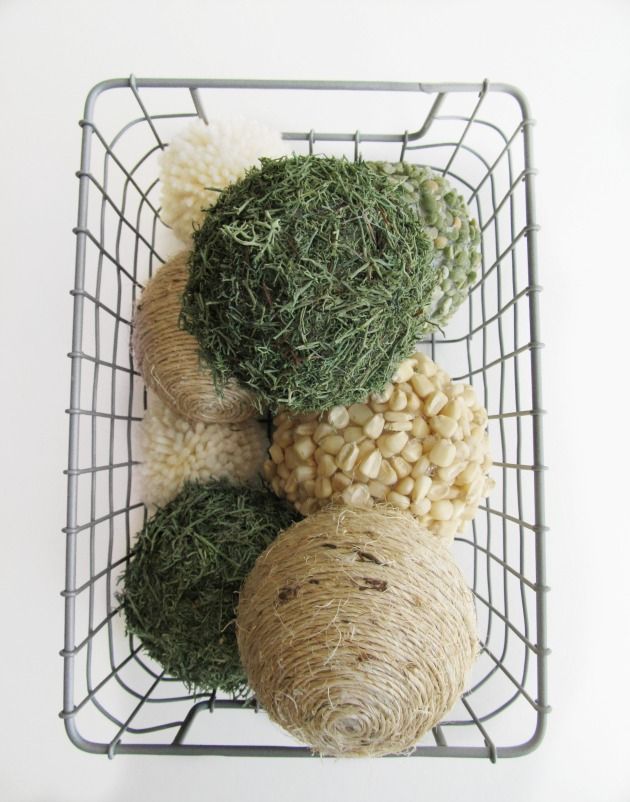
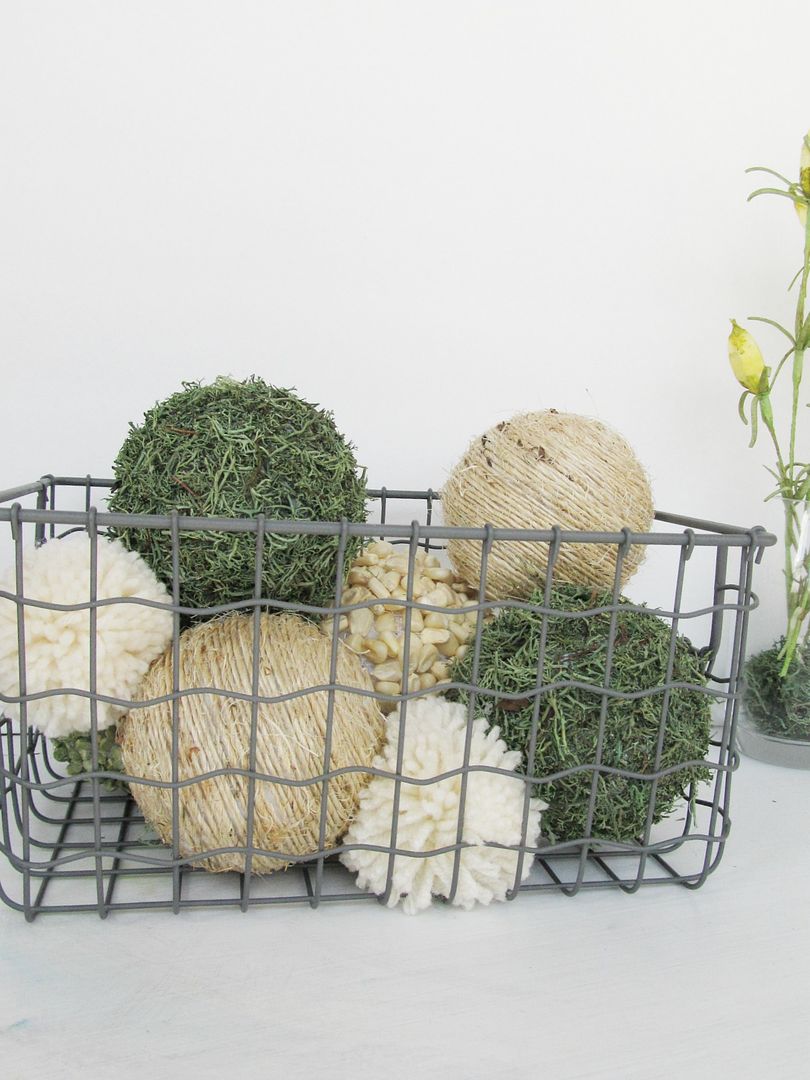
I took the DIY decorative balls and added them to a wire basket I purchased at Hobby Lobby, that now sits on my living room table. I even tossed in a couple of Pom-poms.
(I have twine, moss, peas, and corn left over, I could actually cover about 6 more balls with my left over supplies) I have already used the moss for my DIY succulent planter, and added twine to some flower vases, I even put moss inside a few mini vases for added color and interest.
So, even though I spent 5.00 on supplies, I only used about half, making my 6 DIY decorative balls $2.50. BAM, now that’s what I am talking about!
Alright your turn, make some decorations and then show them off. Leave a link in the comments so I can see what you have been up to…
You can Find Chrissy at The Pearl Blog // Facebook // Twitter
Leave a Reply