Louise from I’m Feeling Crafty is taking over the blog for today’s 101 Handamde Days post 🙂 She is sharing the cutest little vinyl pouch wallet and a tutorial on how to make your own. Take it away Louise!
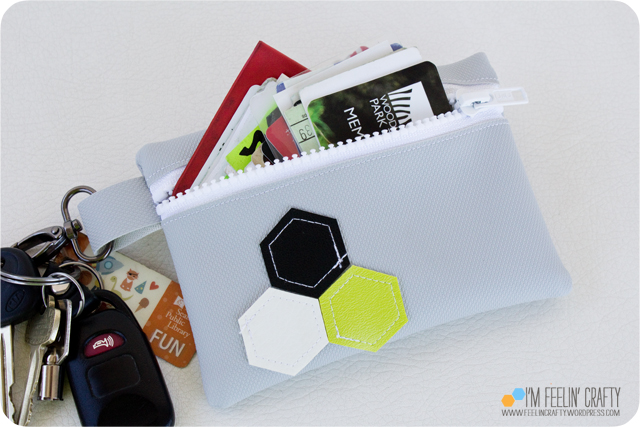
Years ago, I found this little vinyl pouch wallet in a shop for almost 30 bucks! As I was talking to the store clerk, I was turning it over, unzipping it, looking inside…. Basically just figuring out how it was made while at the same time chatting away! I paid for what I did buy and I ran home. Ok, I was pretty pregnant at the time, so it’s more like I waddled home than really ran….
That night I told my husband I was going to sew. About 30 minutes later I came up and told him I had just saved almost 30 bucks! Yep, I had made my own wallet!

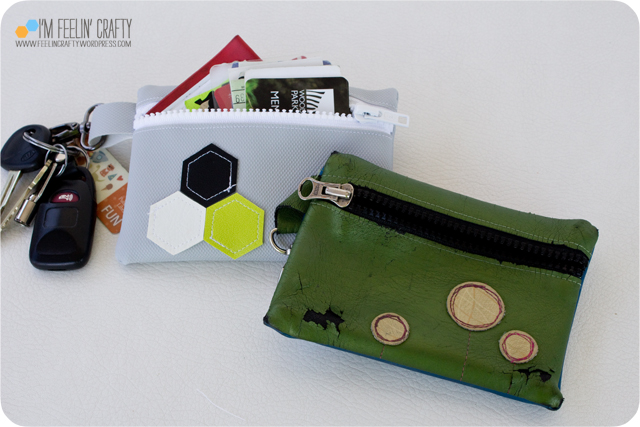
That was about 6 years ago…. I used it everyday for about 6 years…. Then it started to look like this. Sad, very sad. I kept meaning to make another one and when Jennifer asked me to be a part of her series, it was the perfect excuse to finally make myself a new one! And I thought I’d show you how to make yours!
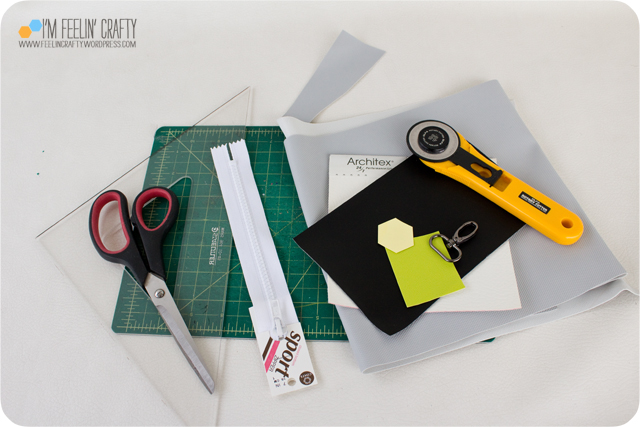
First you need a vinyl, a zipper, thread, scissors and a cutting device. And you can also add a clip. For the zipper, it doesn’t actually matter what the length is because you will trim the end. I think I used a 7″ zipper. For the vinyl, you’ll need four pieces:
(1) 5×7 inch piece for the back
(1) 3.5×7 inch piece for the front bottom
(1) 1.5×7 inch piece for the front top
(1) .75×4 inch piece for the clip holder
and any additional small pieces to use for embellishing the front or back
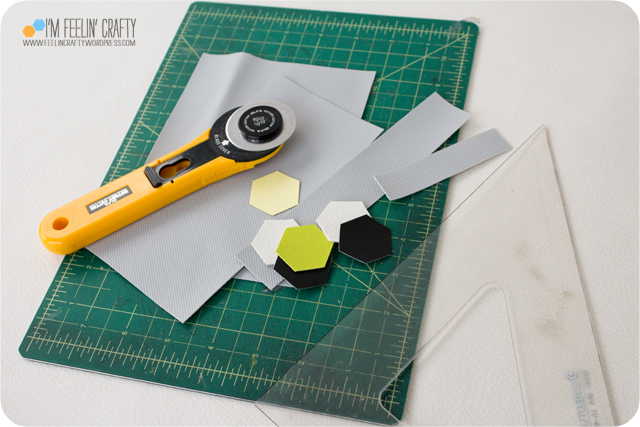
First cut out all your pieces.
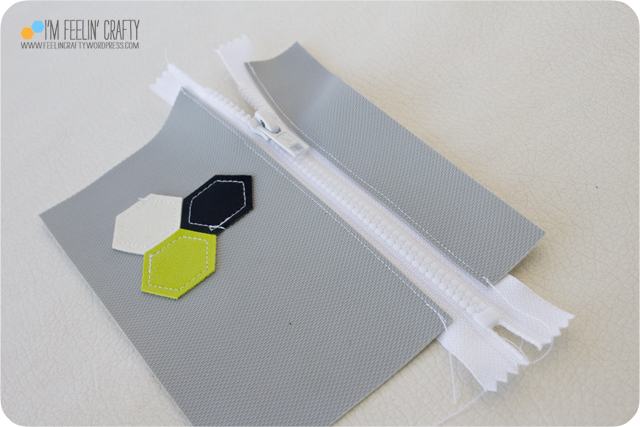
Secondly, prepare the front. First embelish if you’d like. Originally I had made circle flowers. This time I did little hexagons! And then sew in the zipper. Locate the start of the zipper about half an inch from the side of the wallet. Then sew in the zipper!
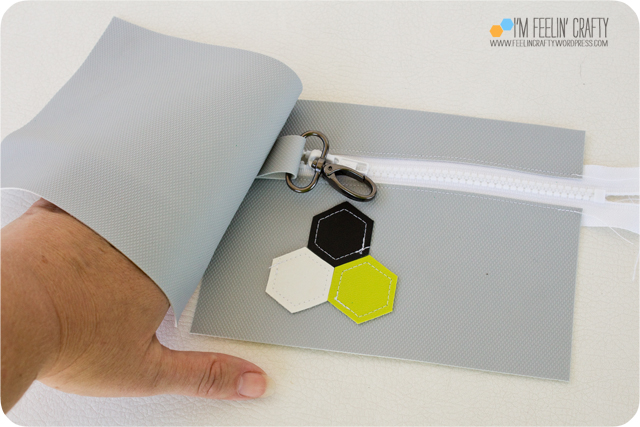
Assemble the pieces. Front with the zipper open a bit right side up. Then lay the clip piece over the zipper. And lastly, cover with the back piece, right side down.


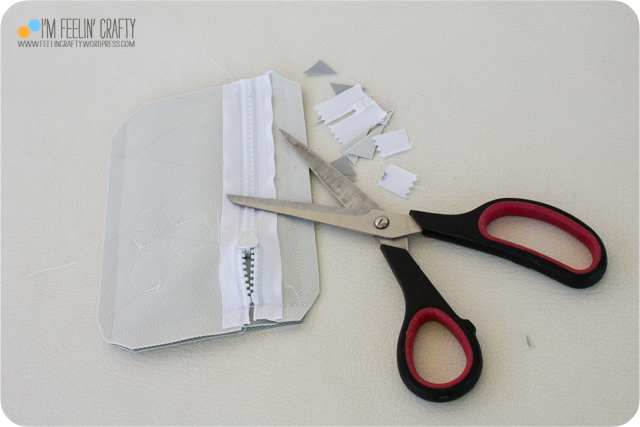
Sew all the pieces together using a 1/2 inch seam. And sew over the zipper. When you get to the zipper, move your needle by hand, nice and slow. I go back over my zipper stitches a few times! And then clip the corners!
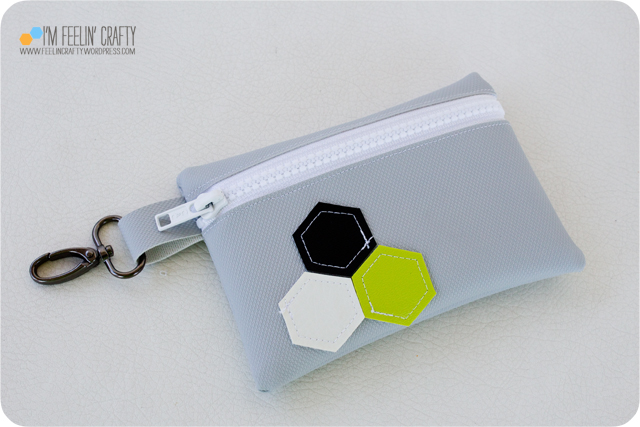
Turn it right side out and you have a perfect little for all those crazy cards you carry around!
What do you think? Throw away the old one? Oh, yes!

I think the old vinyl pouch wallet held up pretty well for the amount of time I used it! But I’m also pretty happy, more then happy, to have a new one!
I’m Louise and I blog over at I’m Feelin’ Crafty. I’m an Architect. Artist. Crafter. Photographer. Sew-er. Quilter. Mother. Wife. I make because it’s what fulfills me (well, second to my adorable family, that is). I have a bit of a problem with self inflicted insomnia because I stay up sewing and crafting. I can’t seem to help myself! Be sure to come over to check out the blog and see what else I’m up to! I’m also on IG! I love IG!
Thanks for having me Jennifer!
Super cute!!
What a great idea! I might make one for the Father’s Day stall at school.