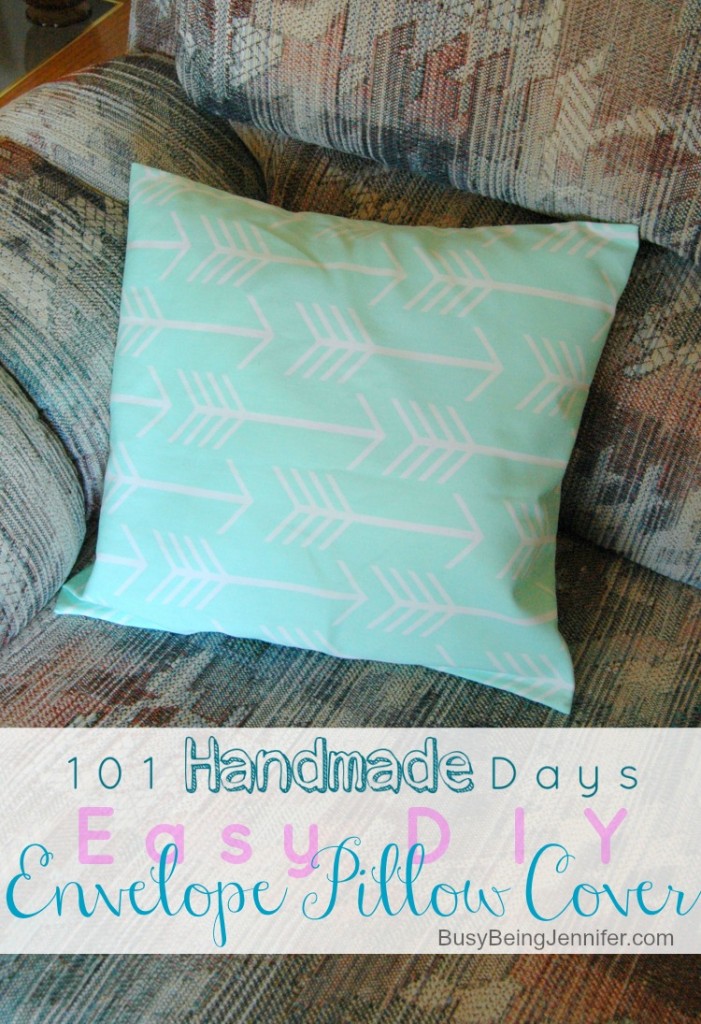
Pillows are great for adding pops of color and fun patterns to your home, without the hassle of renovations or intense DIY projects. In fact creating your own pillow covers is as simple as sewing a few straight seams! Don’t believe me? I’m going to show you how to make your own, easy DIY Envelope Pillow Cover!
What you need:
14 inch stuffed Pillow Form
1/2 yard fabric of your choice
Sewing Machine
Scissors and/or Rotary Cutter
Thread
Cutting mat with measurements
Iron
For this you’ll need one piece of fabric that is 15 inches wide and 36 inches long.
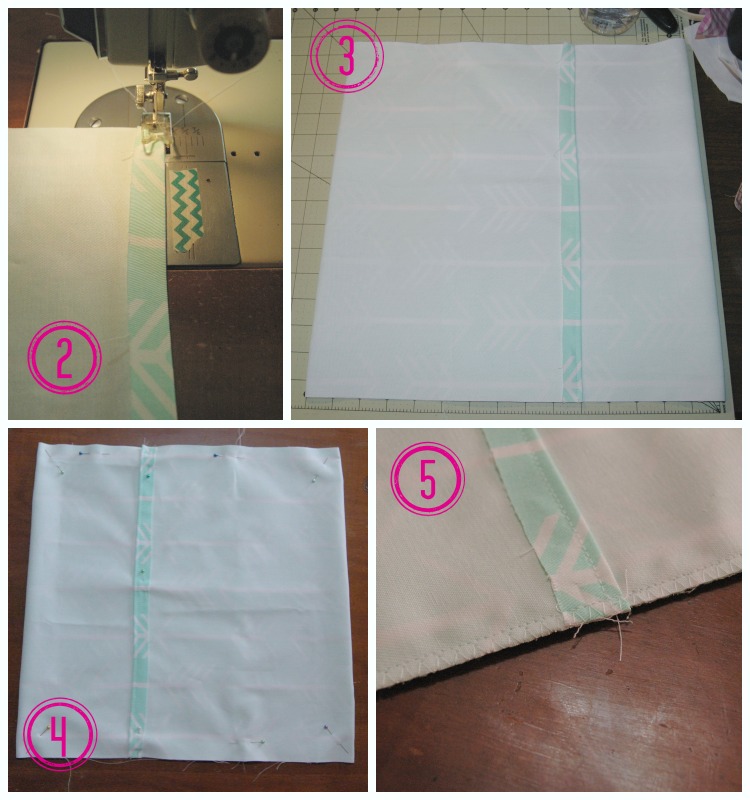
1. Iron the fabric flat. Then fold a half inch of fabric at the end, right side out, to create a seam. Repeat on the other end.
2. Sew the ironed seams, 1/4 inch from the fold.
3. Using the cutting mat with measurements, fold your fabric (as shown) right side in. Fold in one of the side seams* about 8 inches. Line up the edge with the O line on the cutting mat.Fold in the other seam in until the second folded edge reaches the 14.5 inch mark.
4. Pin to hold in place.
*which ever side seam is on the bottom is the one that will be visible once finished. I always pick the one that looks the best 🙂
5. Sew a 1/4 seam along the 2 open edges. For an even neater finish, you can also zig zag stitch along the raw edge. This will help prevent fraying and will increase the longevity of your DIY envelope pillow cover.
6. Turn right side out, poke out the corners a little and you’ve completed your DIY envelope pillow cover! All that is left to do is stuff a pillow in there and add to your favorite chair!
*Hubby is still sick and camped out on our couch… so glad the in-laws are next door and cool with me “borrowing” their house 🙂
Have you ever attempted a DIY envelop pillow cover before? Is there a room in your home that could use a pop of fun color?


Maybe I can do this!
I bet you could! Sewing projects don’t get much easier than this 🙂
I can’t sew to save my soul. You did a nice job on that pillow cover. I like the fabric choice.