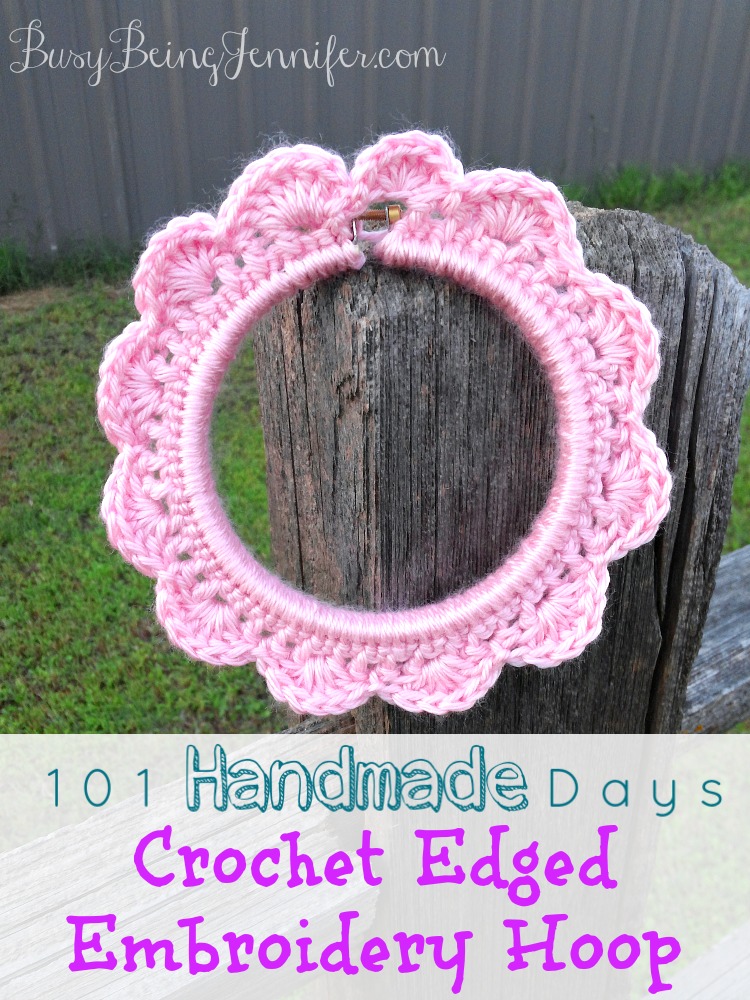
Yesteryear I shared a fun DIY Hoop Art and Free Pattern, and promised to share how to create the crocheted edged embroidery hoop to go with it! So I am back today with the the instructions!
What you need to complete this fun crocheted edged embroidery hoop:
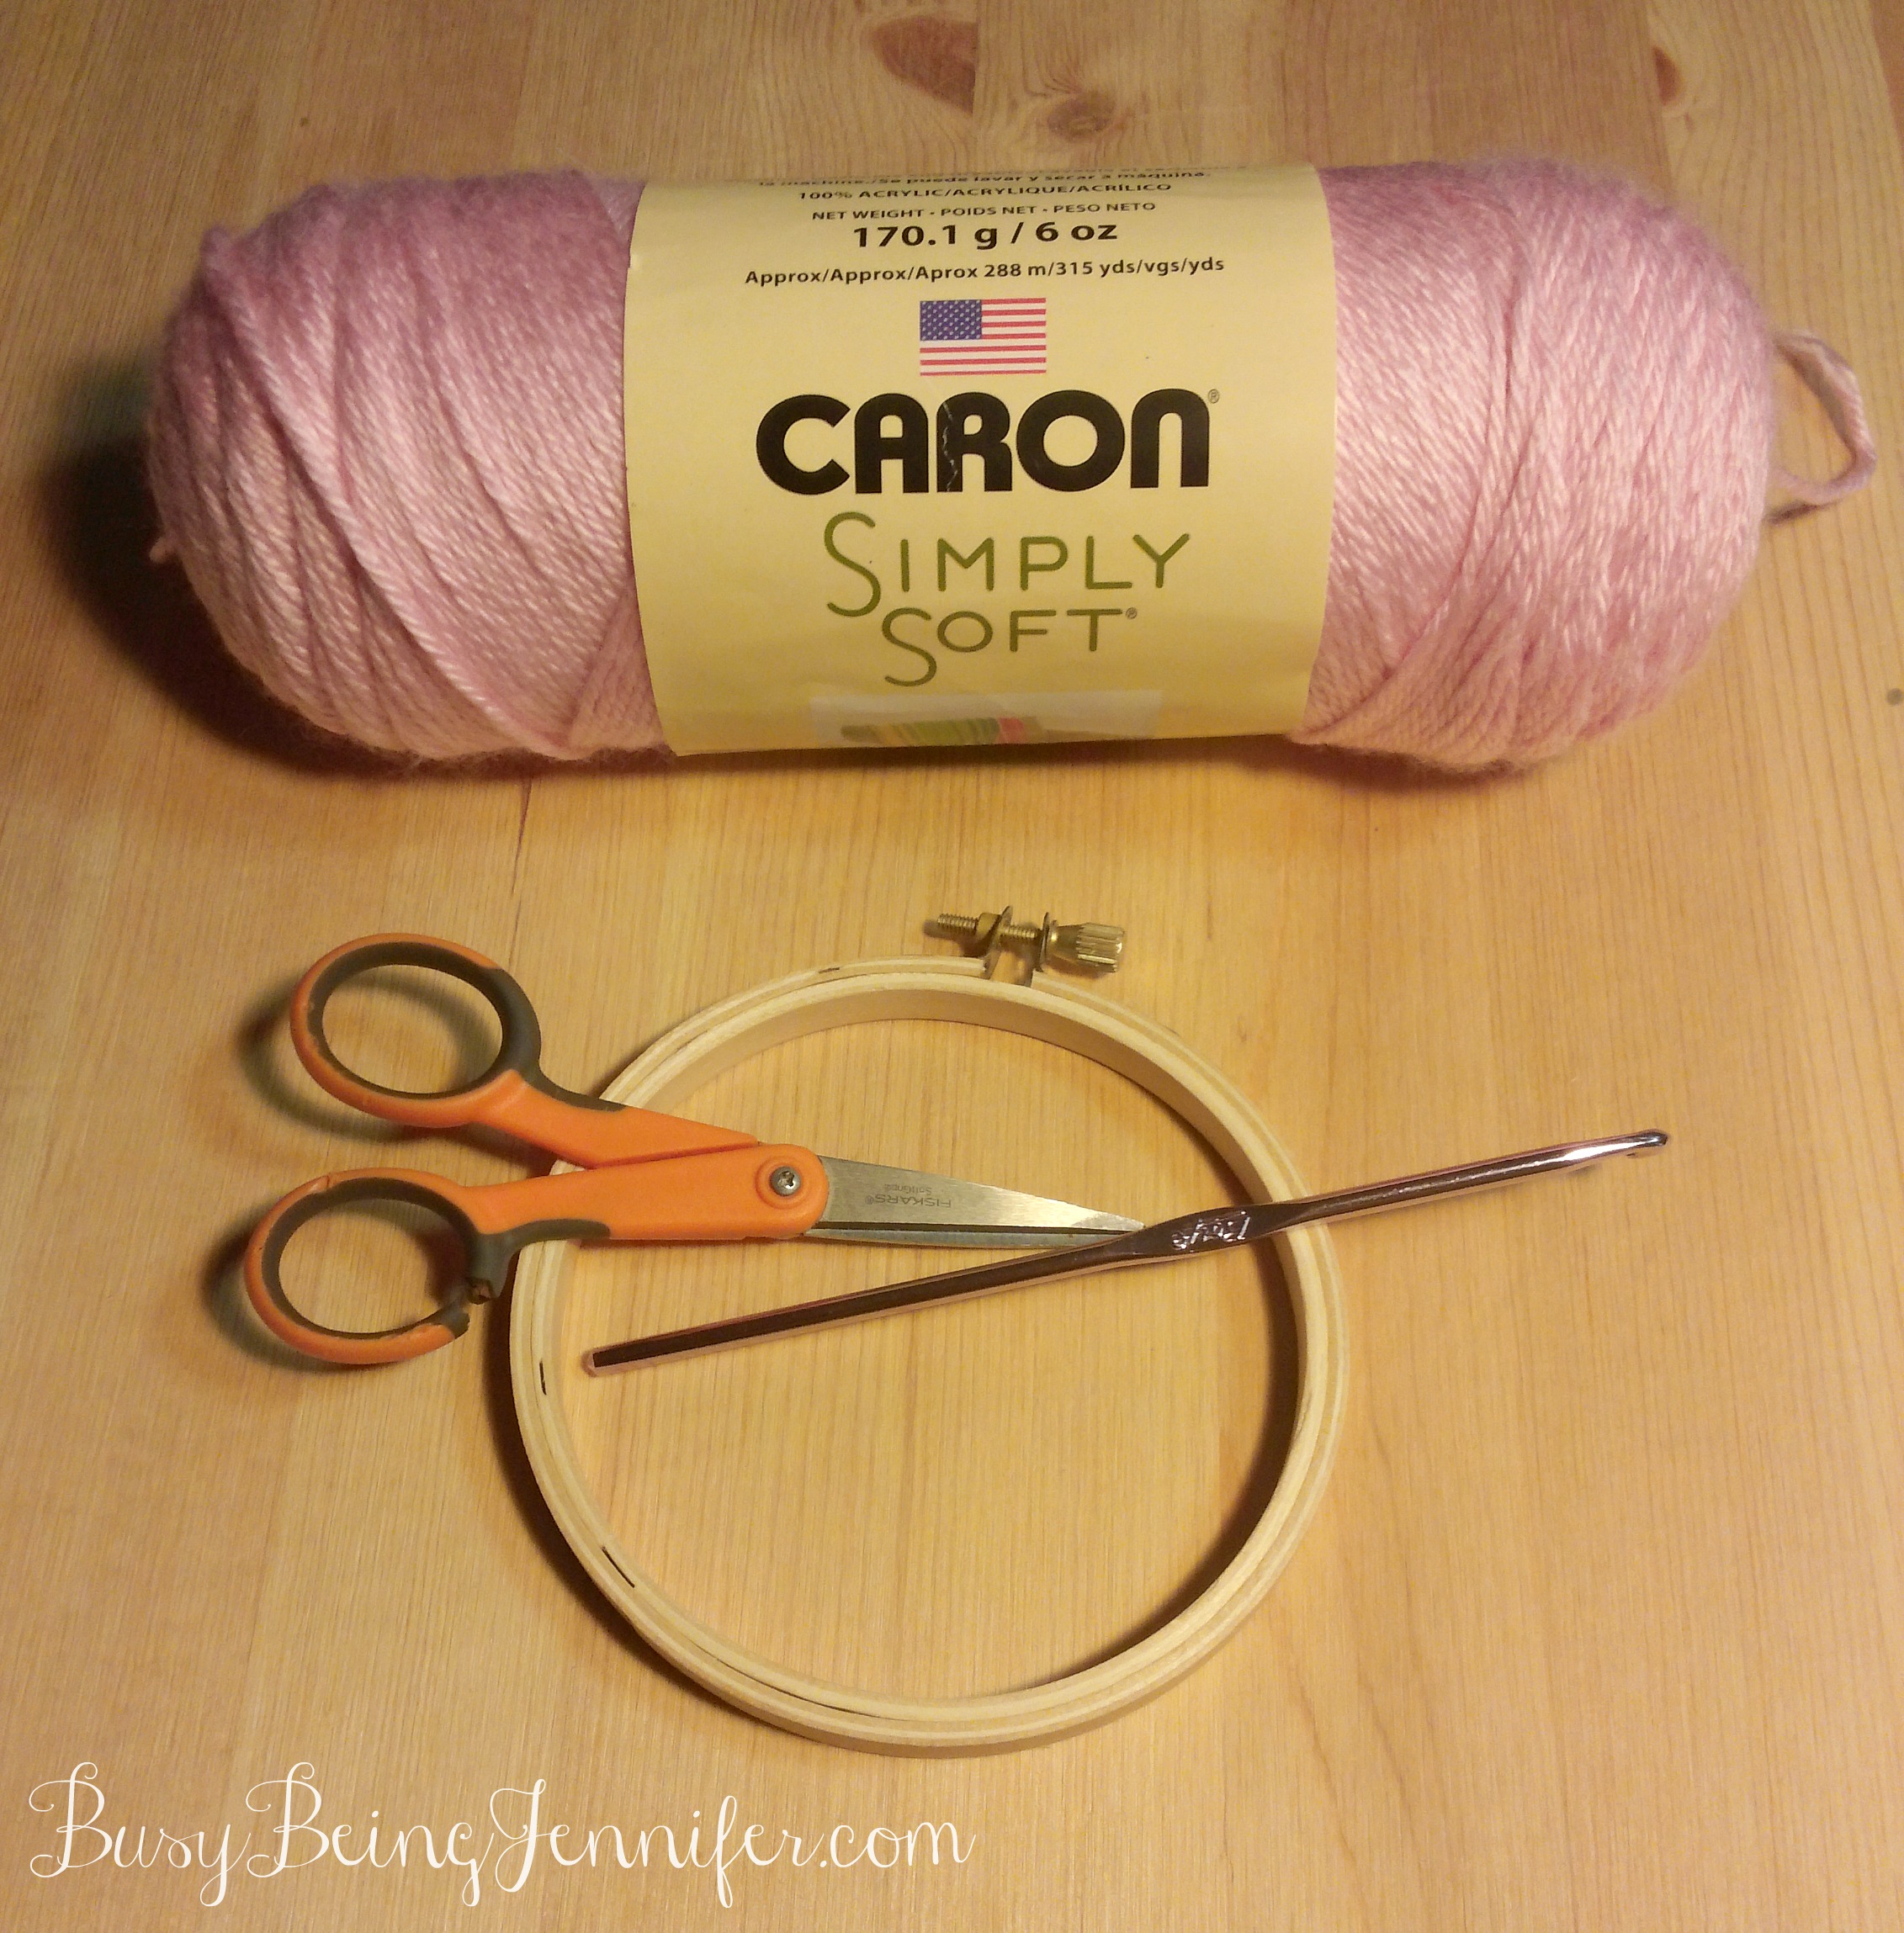
Yarn – I am using Caron Simply Soft in Soft Pink
4.25 mm Crochet Hook
Embroidery Hoop – Can be any size. I am using a 4 inch hoop in these pictures.
Scissors
Embroidery/darning needle
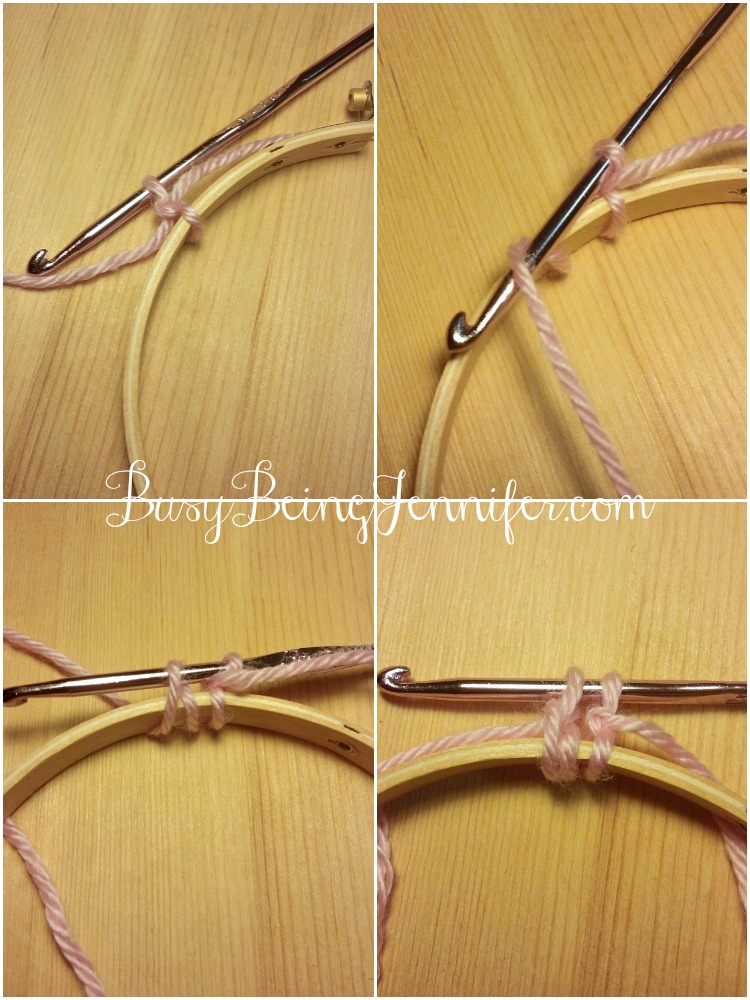 1. Create a slip knot on your crochet hook and slip stitch onto the hoop.
2. Double Crochet (DC) into the hoop. It sounds trickier than it is, but to accomplish this, put your hook into the hoop, hook the yarn through (back to front). You will now have two strands of yarn on your hook. Yarn over the hook and pull through both strands of yarn. You’ve completed your first DC!
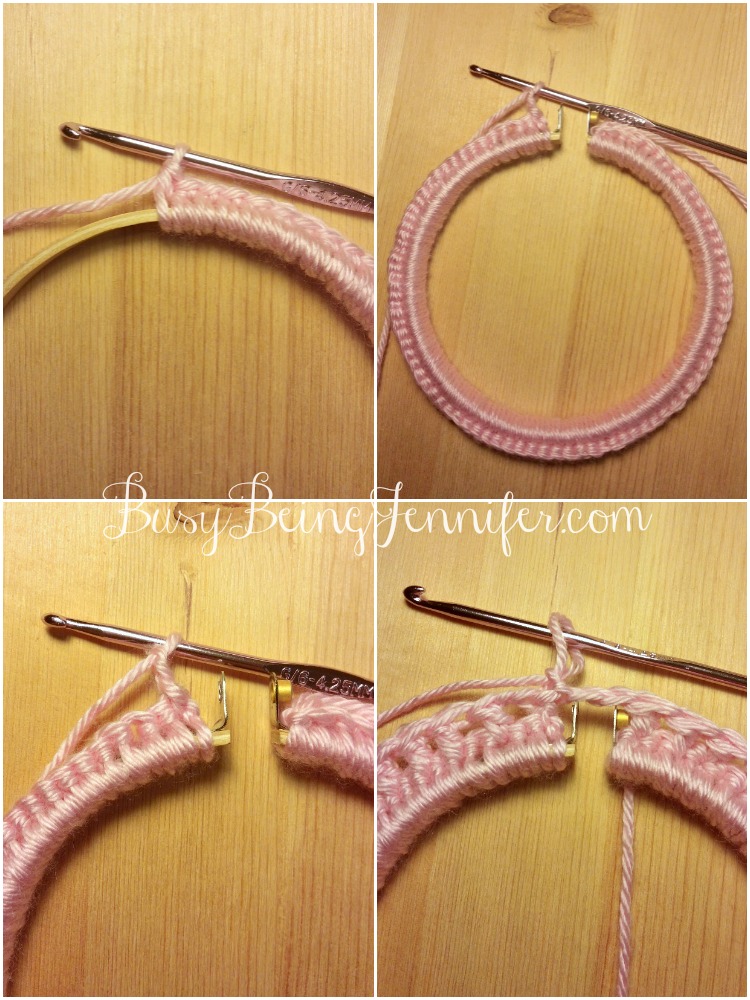
3. DC all around the hoop until the whole thing is covered. Make sure to “smoosh the yarn” together to cover the hoop completely.
4. Once you’ve reached the end of the hoop, turn your hoop around, Chain (CH) 3 and then DC into every other DC in the row below.
5. Once you have DC all around the hoop, CH 3 and join the last DC to the first. CH3 with a slip stitch.
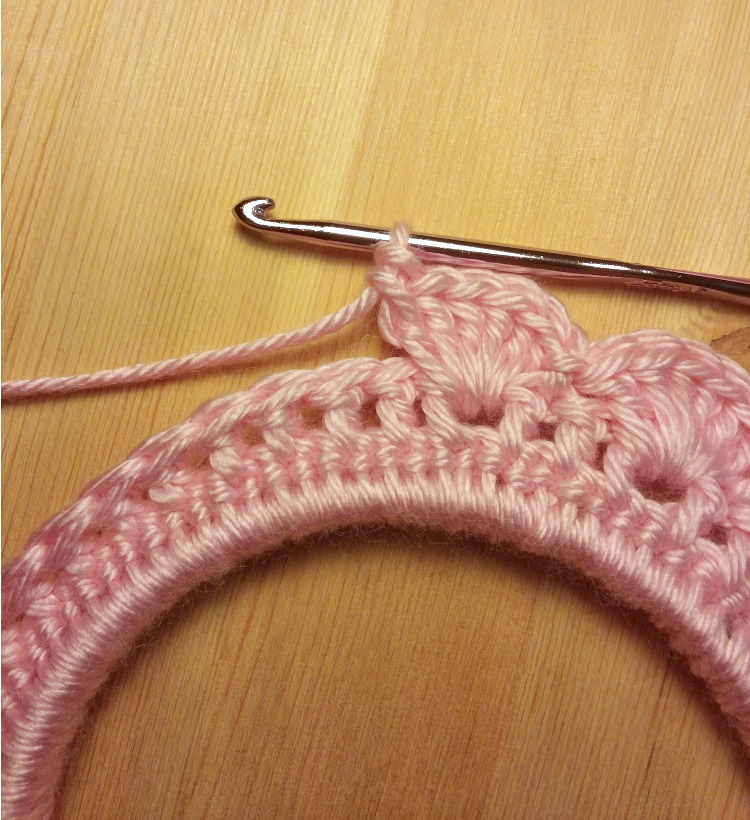
6. To create the scallops skip 1 stitch then DC 6 in same stitch. Then skip 1 stitch, slip stitch, skip 1 stitch and DC 6. Repeat around.

7. When you get to your last couple of scallops, you’ll want to double check the number of stitches left. You might need to “adjust” a little to finish off the scallops evenly. Your last scallop should finish in the 2 chain stitch going across the gap of the embroidery hoops. Use the Embroidery needle to hide the ends. And you’re done!

Add some hand stitched embroidery or a bow and you’ve for some fun and unique wall art!
Whats your favorite way to spruce up your walls?
Crocheting is so beautiful. I really need to get back to it. I never knew you could crochet on a loop though.
This is such a great idea! Thanks for the tutorial.
Thanks for this I’m going to try it out it looks really good
Thanks for joining the Small victories Sunday Linkup. Please join again. Pinned to the group board
SO cute!!!!! PInned
A very clear tutorial and it is so pretty, thanks for bringing it to #HomeMattersParty
Kathleen
Love it, thanks for sharing on craft schooling Sunday!
Cute idea and you are using my favorite yarn! I just did a product review of Caron Simply Soft. 🙂
I have some old, very ugly plastic embroidery hoops that are useable but not pretty, this could be just the solution. Thanks pinning.
I love this!! It’s such a great and simple idea. Would love to see you at my craft party which is new Thursdays at 7pm EST. We pin every instructional post!! Have a great weekend! http://www.diy-crush.com
Adorable! Thanks for sharing on the party this week! #HomeMattersParty
Fun idea! I could see using it as a frame for baby pics or maybe done in satin or an ecru color for old photos…
Thanks for joining us again at Throwback Thursday!!
Mollie
These are so cute! They remind me of wreaths my Nana used to make with old plastic coffee can lids that she’d cut out. Super cute! Love them and can’t wait to make some for our home.
Very nice blog I appreciate 🙂 Embroidery is very nice working 🙂
Embroidery Machine