I love to get creative this time of year and add new DIY holiday decor to the mix… like this Upcycled Pallet Christmas Tree Decor!
Can you believe that we’re already a few days into December? I can’t! 2017 has just flown by! But I am so excited to be in the midst of the holiday season! It is, after all, the most wonderful time of the year! Doing some baking, watching classic movies, and lots of snuggles with the pups and hubby on the couch… these are just some of my favorite things about this time of year. My other favorite thing? Getting ALL kinds of crafty!
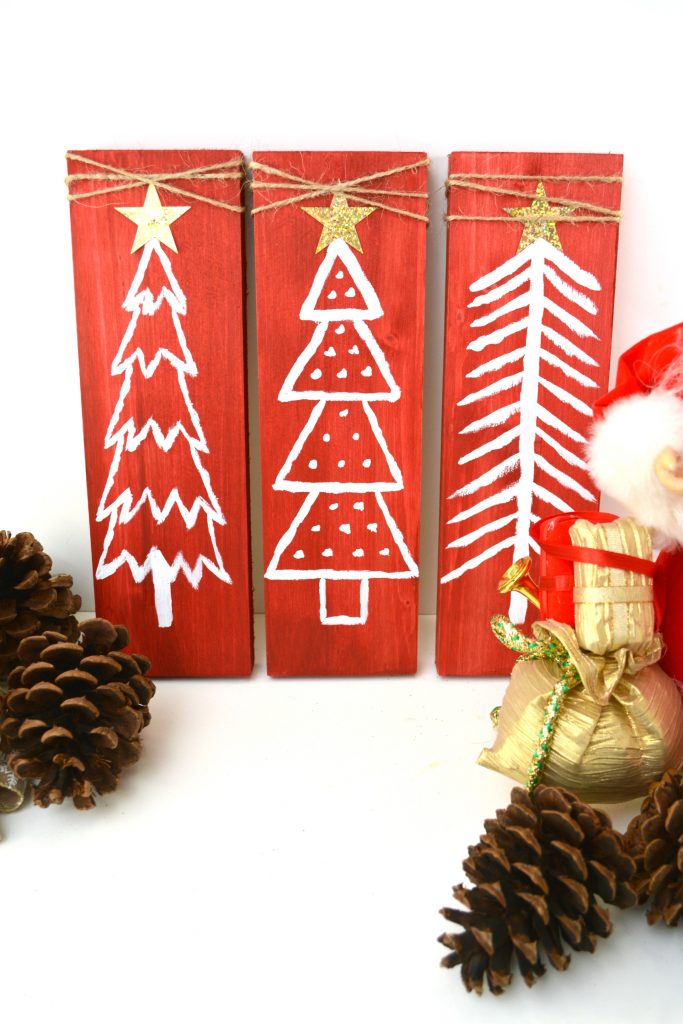
Every year for as long as I can remember, adding to the DIY holiday decor collection has been a tradition. This year I am adding this Upcycled Pallet Christmas Tree Decor to the mix!
this post contains affiliate links. purchasing through them helps support this blog.
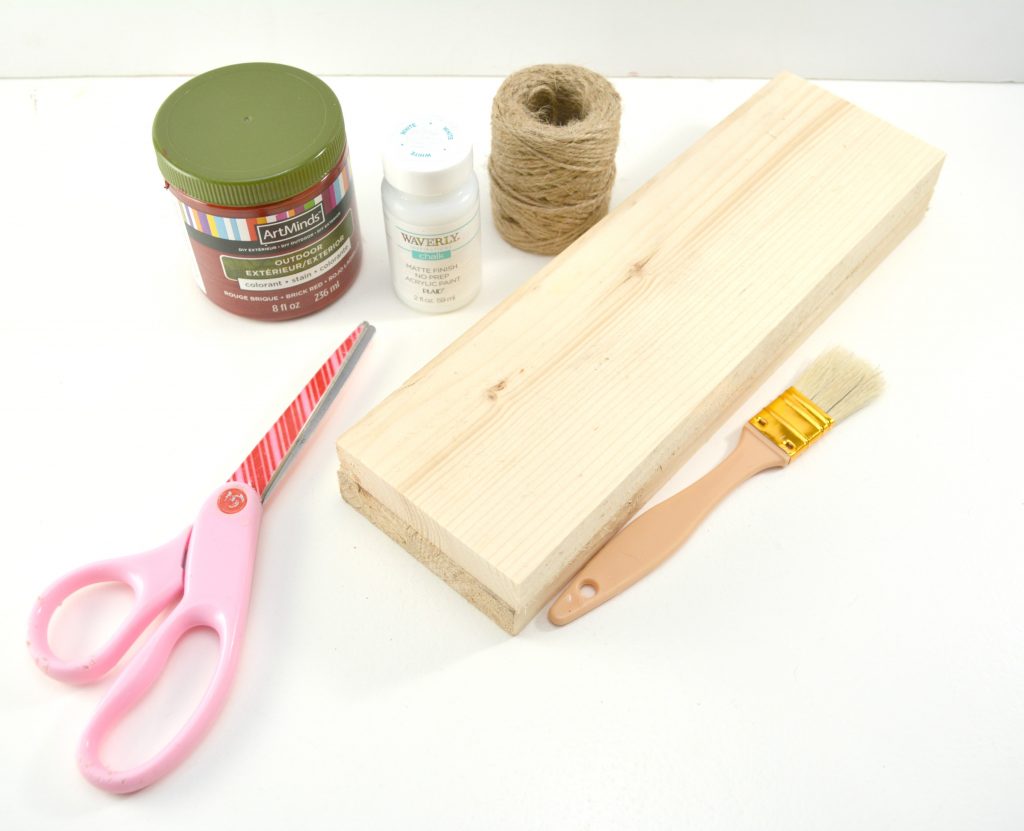
Upcycled Pallet Christmas Tree Decor Materials:
Pallet wood 1×3 or 1×4 works best
A hand or electric saw
Large star confetti or stickers
Hot glue gun
Twine
Scissors
Upcycled Pallet Christmas Tree Decor Instructions:
Begin by cutting three equal pieces of pallet wood. Wood that is 1×3 or 1×4 works best for this project. We used a 1×4 and cut it into 3 pieces that were 11 inches long each. You can mark this with a ruler and use a simple hand saw if you do not have an electric saw.
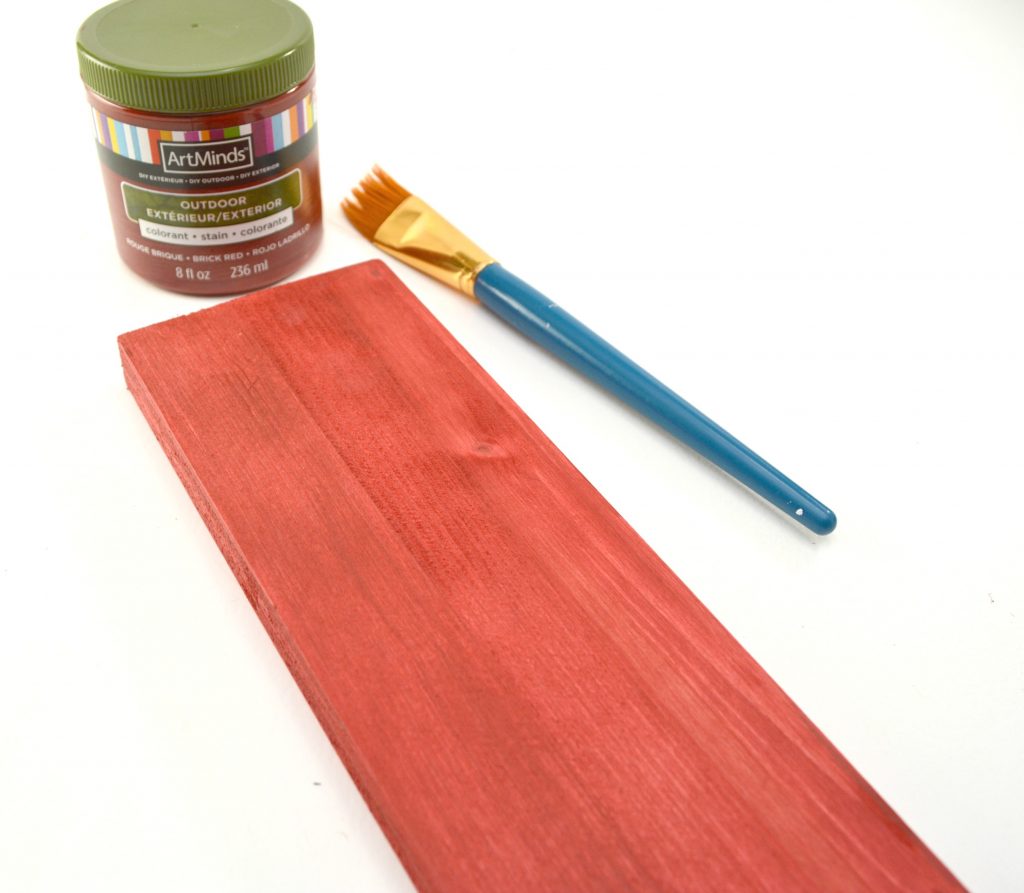
Paint each piece of cut pallet wood with a layer of red wood stain. Let the stain sit on the wood for a minute or two, and then wipe off with a clean rag or paper towel in one smooth motion. You can also leave it to dry as is without wiping any off, but it will look more like a paint then a stain in that case.
Once you have painted the front and sides of each board, let them dry completely.
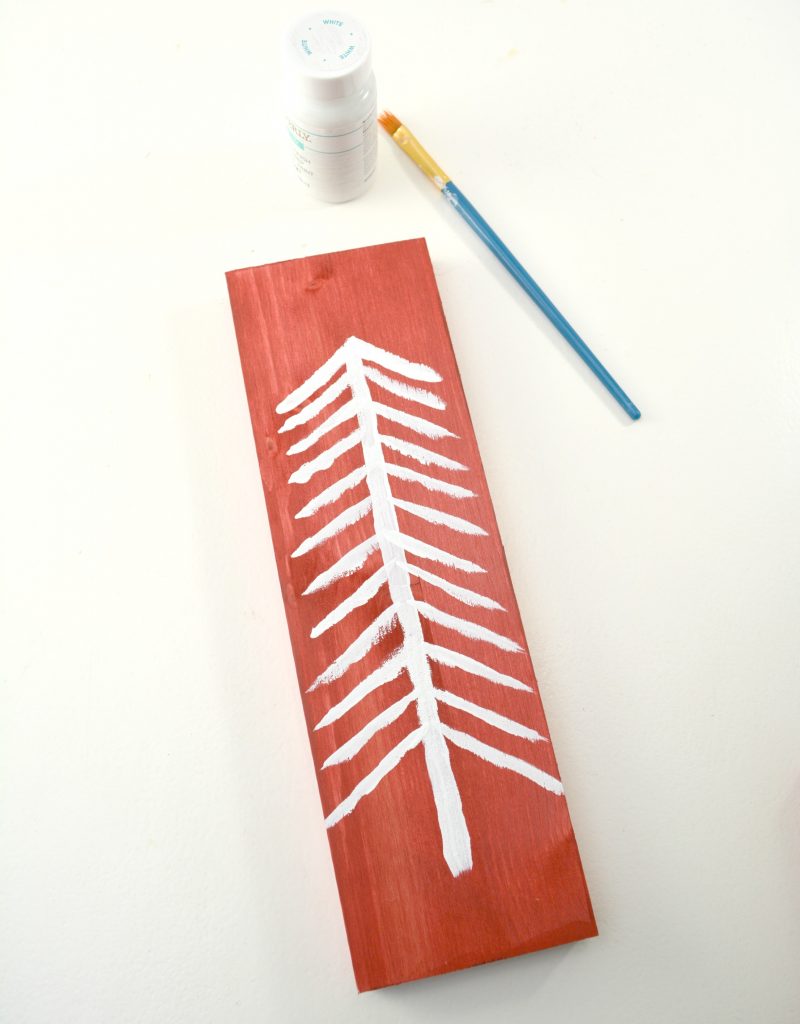
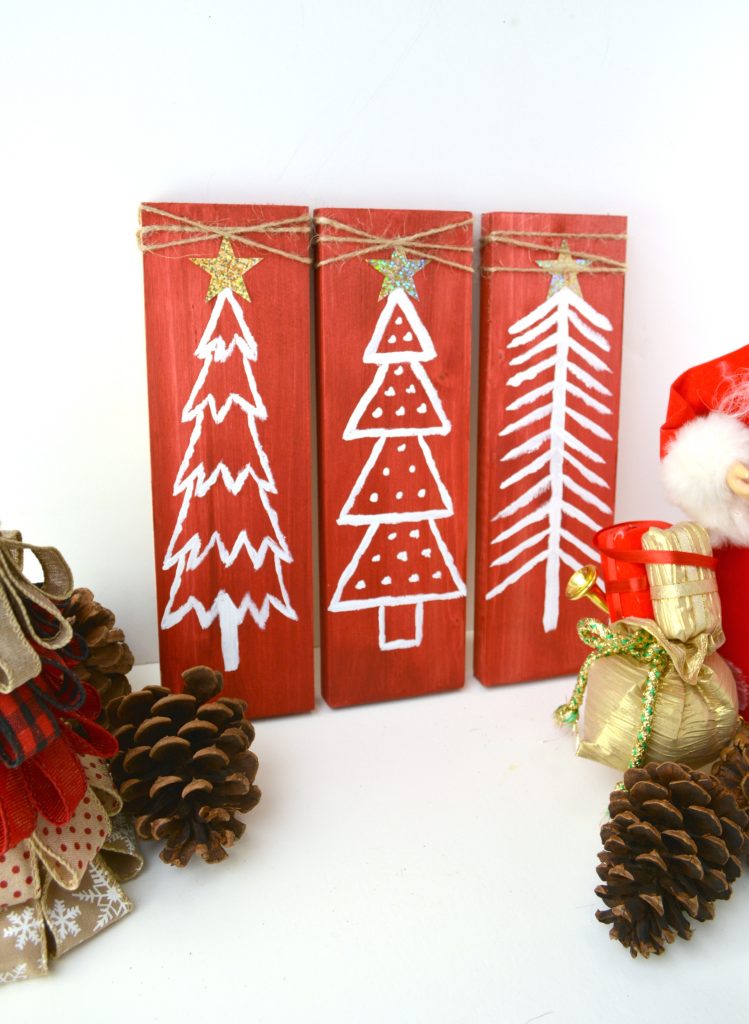
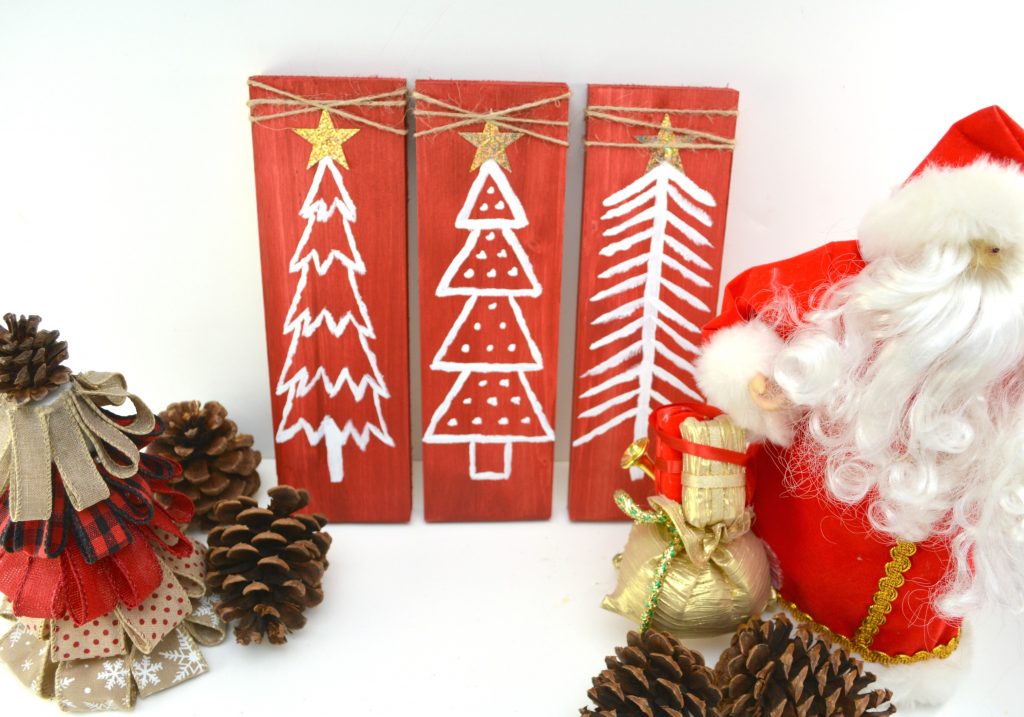
With the pallet boards dry, lay them on a flat surface and begin painting different Christmas tree designs on the front of each one. We used white chalk paint because it dries quickly, but you can use any craft paint you have on hand. View the photo for inspiration on how to make each of your trees. Leave a few inches between the top of each tree and the edge of the piece of wood. This is where your star and twine will go.
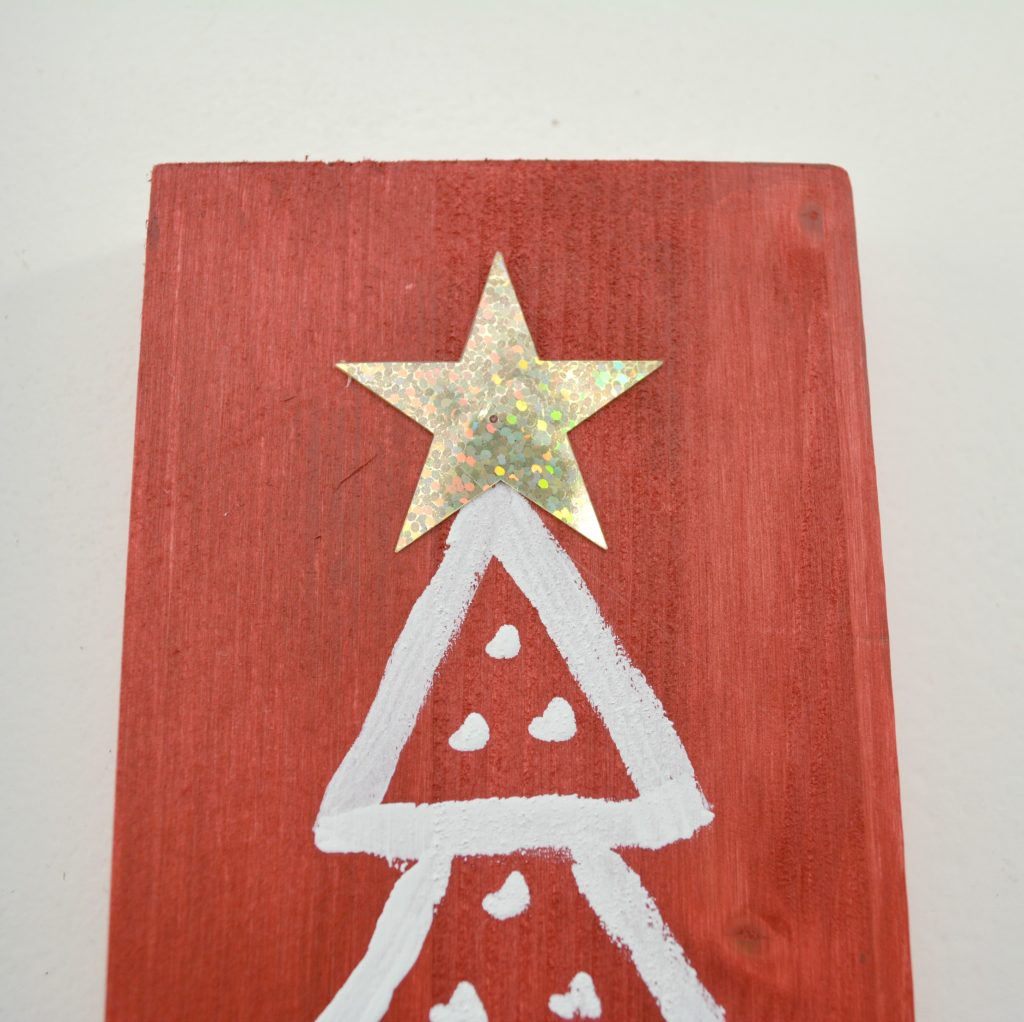
When the chalk paint has dried, hot glue or stick a large confetti star shape or sticker to the top of each tree.
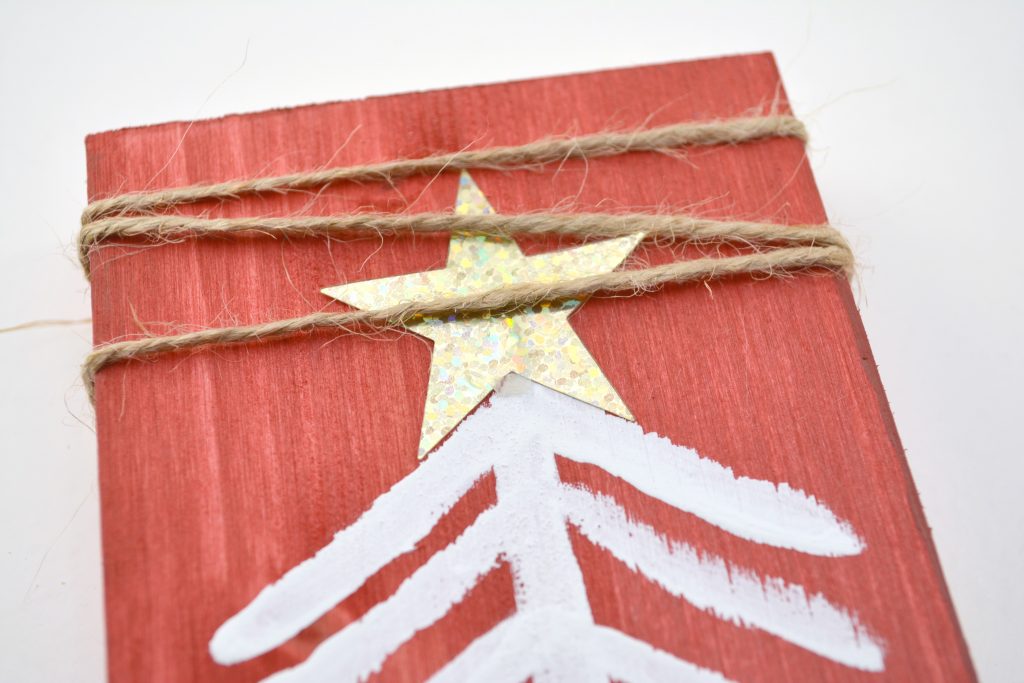
Cut a length of twine and wrap it around the top of each piece of pallet wood. You can do this any way you like. The twine can overlap and even cross over the star shape at the top of your tree. Secure the ends of the twine on the back of each pallet wood piece with hot glue.
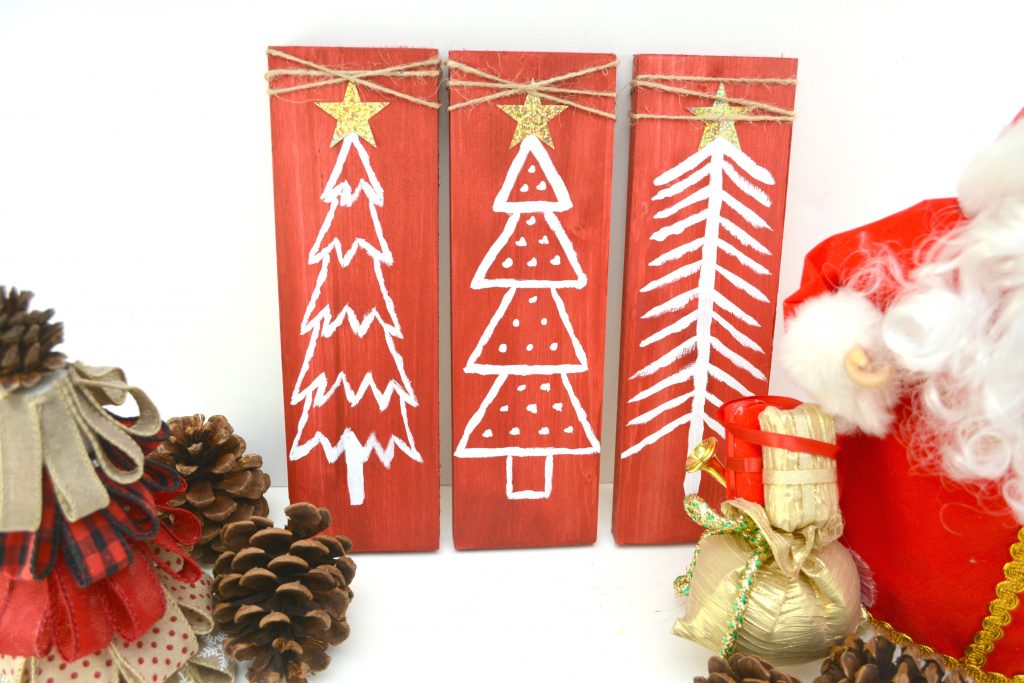
And Voila! You have some seriously fabulous DIY Christmas decor for your home!
Add your new Upcycled Pallet Christmas Tree Decor to your mantle, bookshelf or buffet! It’s the perfect touch for any corner of your home!
Whats your favorite holiday season tradition or activity?
These are so cute. Love the idea.
I love this idea looks great, so much that can be done with pallets and old wood
thanks so much for sharing
Jennifer, These turned out just great! I love the primitive look of them. And the 3 different shaped tree outlines together look so pretty. Merry Christmas! Liz
I love your 3 little Christmas tees. The red is a lovely colour.
This is adorable and is such a great idea. It can be so much fun to DIY!