What you’ll need:
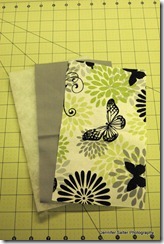
Outer fabric, lining, batting, 2 sew on snaps, scissors, tread & sewing machine
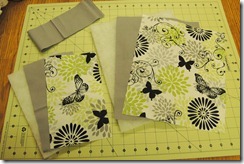
From the outer fabric, lining, and batting – cut one main piece 12.5″ x 14″
From the outer fabric, lining, and batting – cut one flap piece 9.5″ x 5.5″
From the ruffle fabric – cut one piece 3.5” x 22”
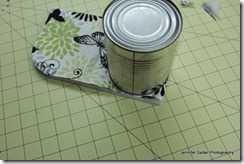
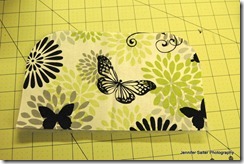
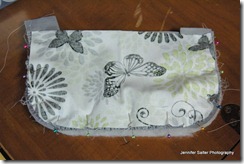
Layer the 9.5″ x 5.5″ fabrics. Using a round object (I used a can) as a template curve the edges of the 9.5″ x 5.5″ fabrics.
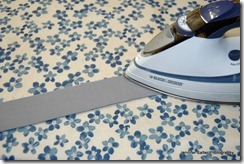
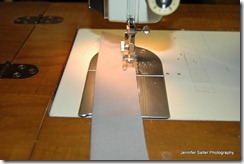
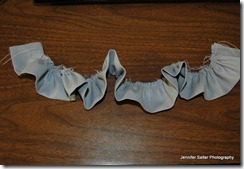
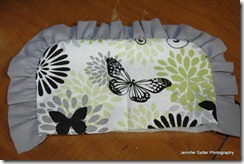
Fold the ruffle fabric in half and iron flat. The on the longest stich on your sewing machine, straight stich with a 1/4 inch seam allowance (or use a ruffle foot if you have it). Pull one of the threads to ruffle the fabric.
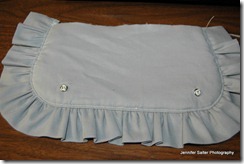
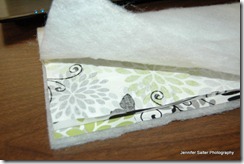
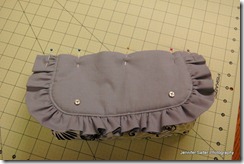
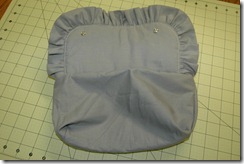
Take the 9.5″ x 5.5″ Outer piece and pin the ruffles on top. Make sure that the ruffles are “facing in”. Layer the outer fabric and lining right sides together and the ruffles together. Add the batting to the bottom. Sew all three layers together with a 1/4″ seam allowance. Clip curves, turn right-side out and press. Topstitch close to the edge.
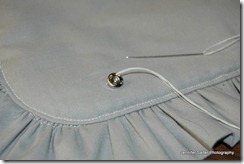
Next add the snaps to the lining side of the flap. You can go through the open side to hid the stitching.
Prepare your main pieces:
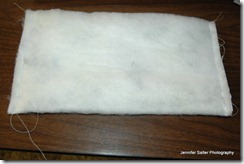
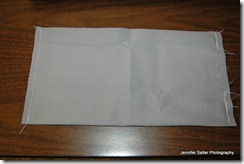
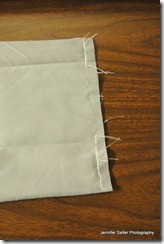
Layer the outer fabric on a piece of batting and fold in half, with outer fabric right-sides together. Stitch on side edges with a 1/4″ seam. Fold lining piece in half and sew side edges with a 1/4″ seam, make sure you leave a 2″ to 3” opening on one of the side edges to turn the clutch right side out later.
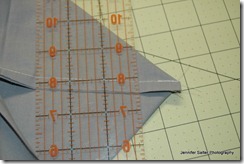
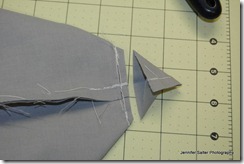
Push out one of the corners and mark a 2.5″ line across and sew on line. Trim the corner off. Clip the corners off both of the outer and lining pieces.
Attach flap to outer piece. Find the center of the flap and the main outer piece and pin together. Sew a scant 1/4″ from edge. Reinforce the edges by back stitching.
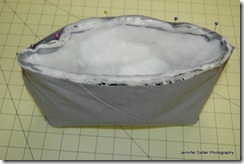
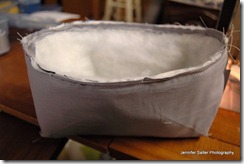
Place the outer main piece inside of lining, right-sides together. Stitch top edge with a 1/2″ seam.
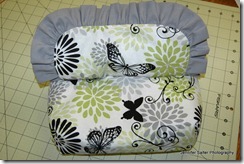
Finish the bag by turning it right-side out through opening in lining. Slip stitch the opening closed (or you can stitch it closed by machine) Put lining into main bag, push out corners, and press top-edge. Topstitch close to top edge. And second part of snaps to the lower front part of the clutch to match the location on the flap.
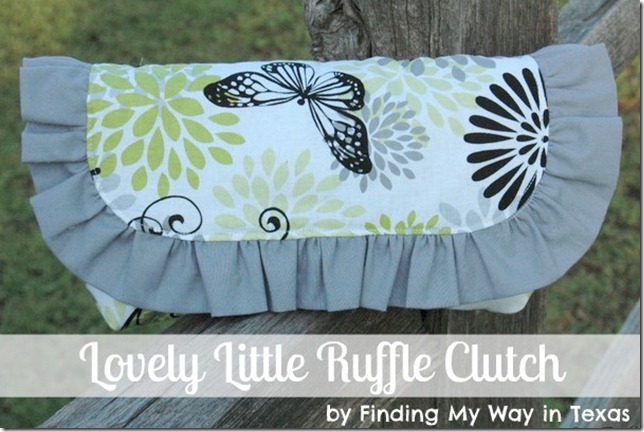
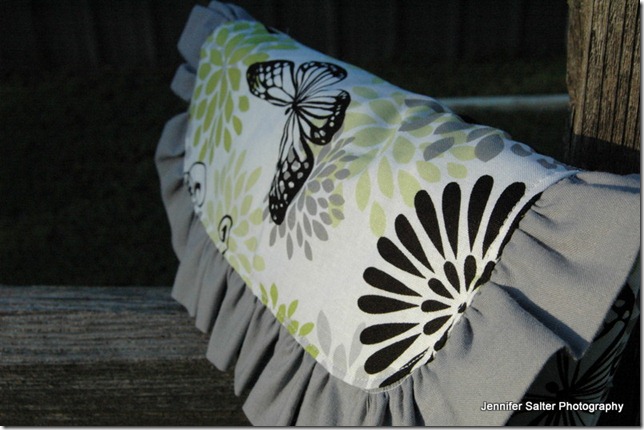
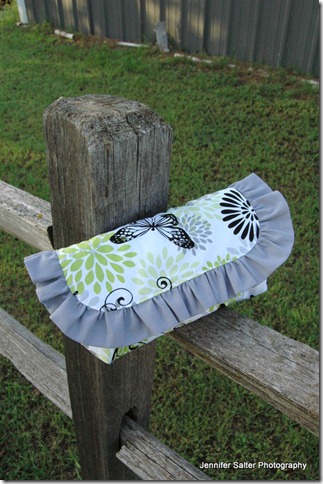
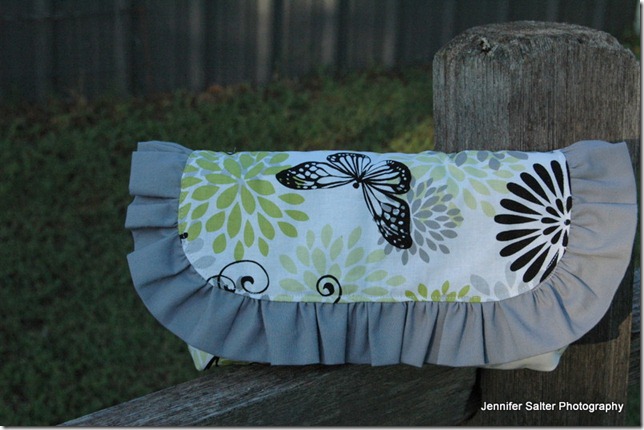
And you’re done! Isn’t it pretty! 🙂





What a great tutorial! I have this fabric too–now I know what I can do with it!Shannon@SewSweetCottage
Hi Jennifer – I'm a Texan and a seam-STRESS too. Ilove finding bloggers who sew, sew we can swap ideas – thanks for linknig up at the Sleepy/Sassy Sunday Party! Nice to meet you!Jen
This is so adorable! I love ruffles, and your fabric! I'd love for you to stop by and share at my party! : ) http://www.cherishedbliss.com/2012/04/craft-and-tell_23.html
This is seriously cute! I love the fabric you choose too!! Adorable 🙂 http://www.imprintalish.blogspot.com
Great fabric choice! I am pinning this one to my "Sew It" board. Thanks for sharing on Cowgirl Up!:) Samantha @ Crafty Texas Girls
Beautiful bag, I love the ruffle! Thanks for sharing
Very ingenious way to recycle old pillowcases!
Very ingenious way to recycle old pillowcases!
This is such a sweet little clutch and what a great tutorial! I also love the fabric you chose! I am a new follower!! Hope you have a great day!Michelle http://www.delicateconstruction.com
What a great idea! I may be making one this weekend. Thanks for the great tutorial!Betsy @ 2nd Story Sewing
Lovely! Thanks for sharing such a great tutorial 🙂 I love if you'd come link it up at my party going on now :)http://www.salttree.net/2012/04/open-call-tuesdays-1.html
SO cute! I love that fabric too! I would love for you to share this (and any other creations) at Pin It and Win It Wednesday @ http://www.cheapcraftymama.com!
Thanks for sharing this! I love ruffles, and I have been thinking about making a clutch. I love it!
I love the fabric you chose. Simply gorgeous! 🙂
Thanks for linkin up girl! SO pretty! Your directions make it look so easy maybe I could even attempt it!? Eek! We shall see 🙂 OR I can just have you make me one lol!
This clutch is fabulous – really love the fabric you chose! Ruffle sets it off! 🙂
I ADORE that fabric. And the ruffle makes it so lovely! Thanks for sharing at oopsey daisy!
So cute! Would love for you to stop by and link up to the Pomp Party!http://jill-createcraftlove.blogspot.com/2012/04/pomp-party-15.htmlJill @ Create.Craft.Love.
Great tutorial and fabulous clutch!! Thank you for sharing. I've made them before out of placemats, but the lining and ruffle on this one are too much!!
How adorable!! I really like this!!
That is so cute!! I love it! I'm featuring you at The Little Giggler today. 🙂 Stop by and grab a feature button! http://www.thelittlegiggler.com/2012/04/some-fabu…
i love this and can't wait to make it! just pinned it so I can soon! thanks for sharing!
Thank you Jennifer for linking up to our Saturday Showcase this past week! We are featuring your very cool project today on Feature Friday! We will be sharing your project on our Pinterest pages, Facebook pages and of course our Twitter sites! Here is your feature: <a href="http://bowdabrablog.com/2012/05/11/feature-friday-top-fashion-saturday-showcase-picks/http://bowdabrablog.com/2012/05/11/feature-friday… />Stop back over and link up more of your projects on the new Saturday Showcase! We are accepting all craft projects! We can't wait to see what you share!Susie at Bowdabra
Fantastic! I actually did a Google search for 'ruffled clutch' and this came up first! I'm your newest follower. Hope you'll follow me back?
What a pretty clutch! Thanks for sharing.
SOOOO Cute! Love it and the tut!
Wonderful tutorial. Great bag. It was fun to make and it turned out adorable!