This nightstand makeover post contains affiliate and brand partner links. Read our policies here.
This post has been a long time coming. In fact, I probably should have shared this project about 6 months ago! But you know how it goes… life gets busy and you sort of forget to share things and then they aren’t “new” any more and the excitement has worn off…
ANYWAYS.
My hubby did a thing! Acutally he’s done a LOT of things since he quit trucking and joined the “family business”. This was just one of the first projects he tackeled, and I helped (a little).
When I first moved in with the hubs, we were given some old furniture. I moved here with just a few bags, and he’d been pretty much living in his big truck, so there wasn’t much in the house. We were grateful for the freebies that came our way, even if they weren’t pretty. Fast forward 6.5 years later and some of those freebies are getting long anticipated makeovers!
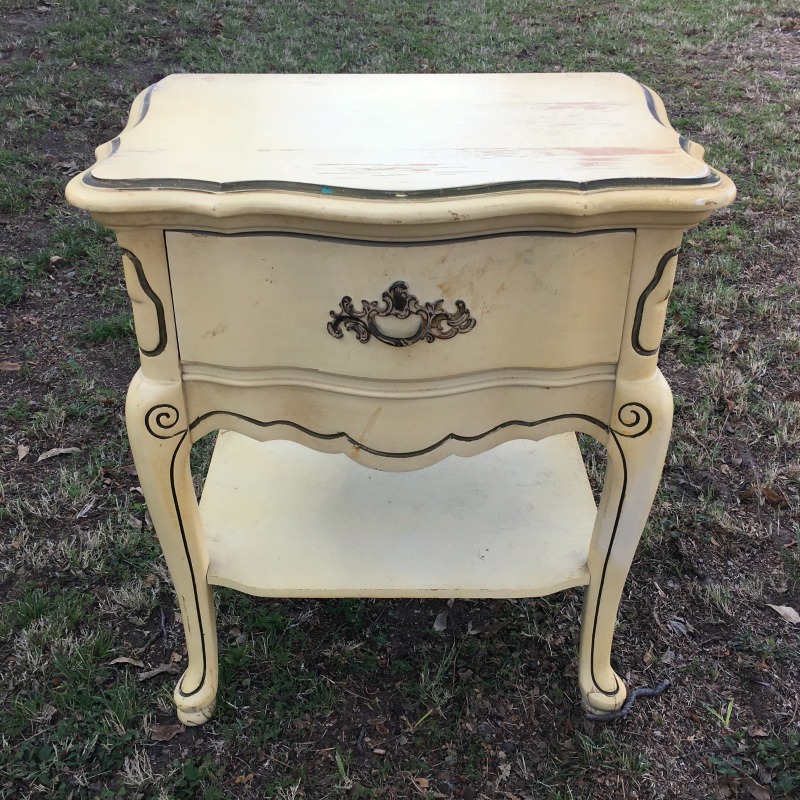
Let me just say, I would never have bought these nightstands in their “before” state, but I am not one to be ungrateful. We gladly accepted them, added them to our room… and neglected them for the next several years.
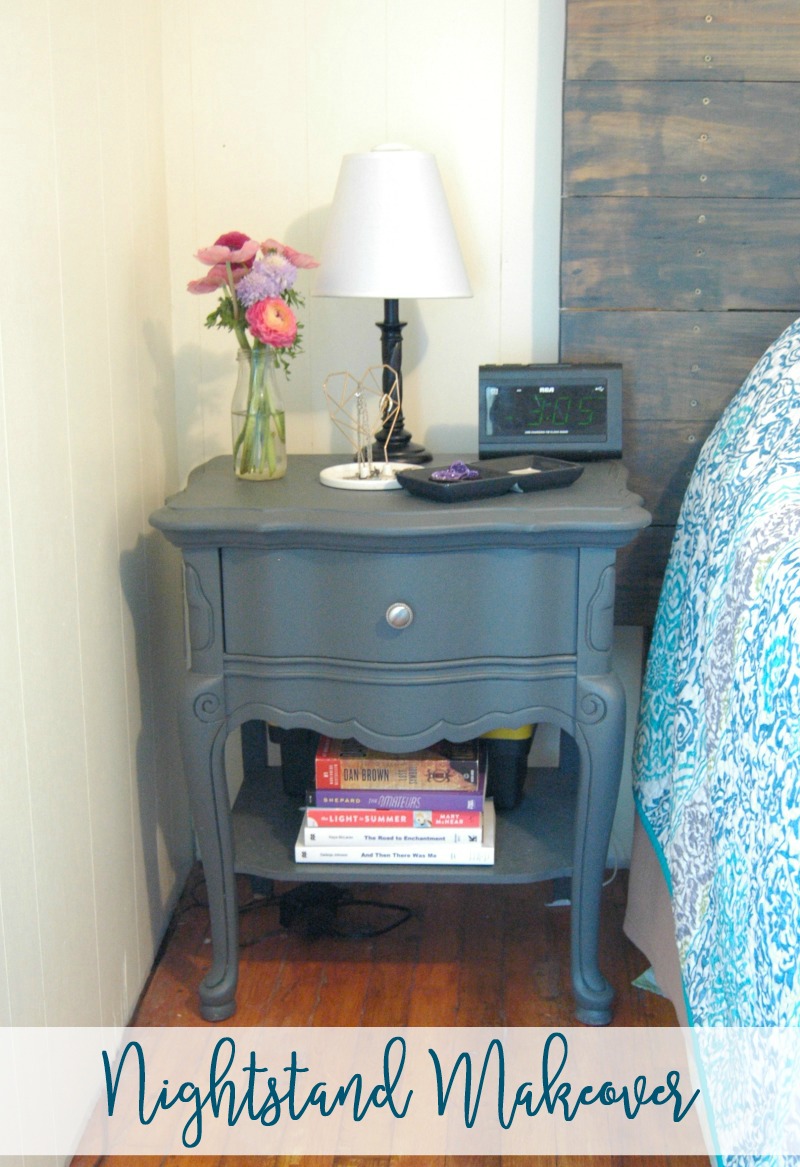
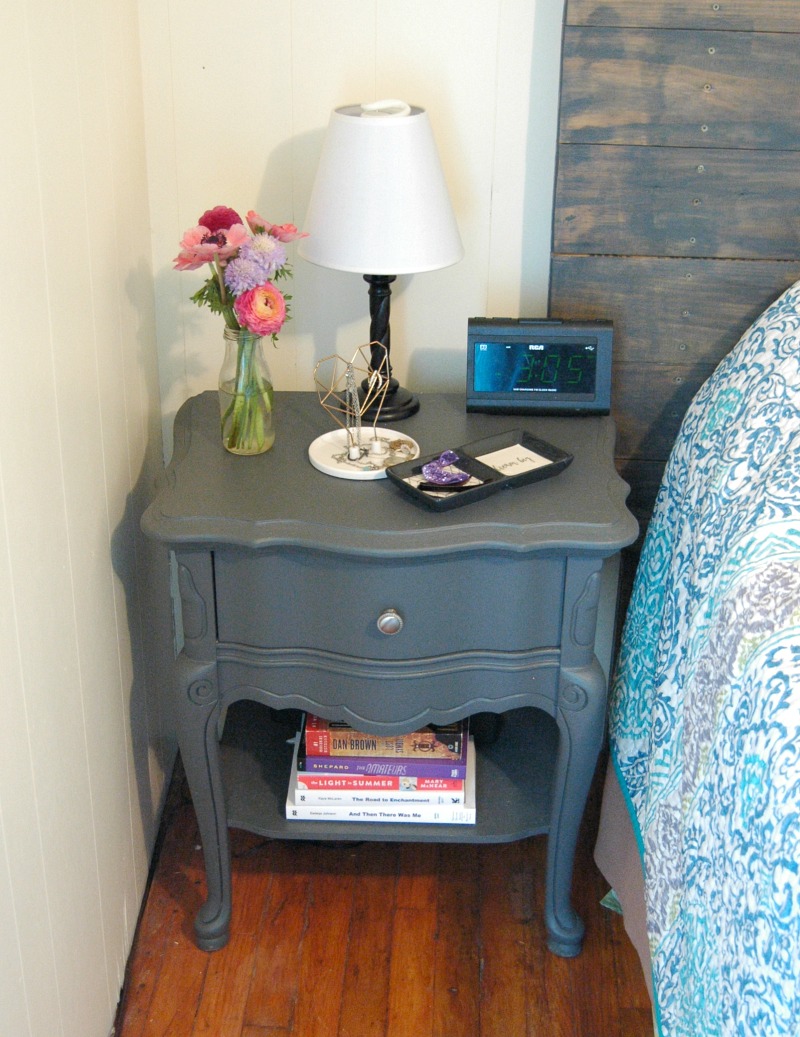
Now though? I’d totally buy these! I am in LOVE with this nightstand makeover AFTER!
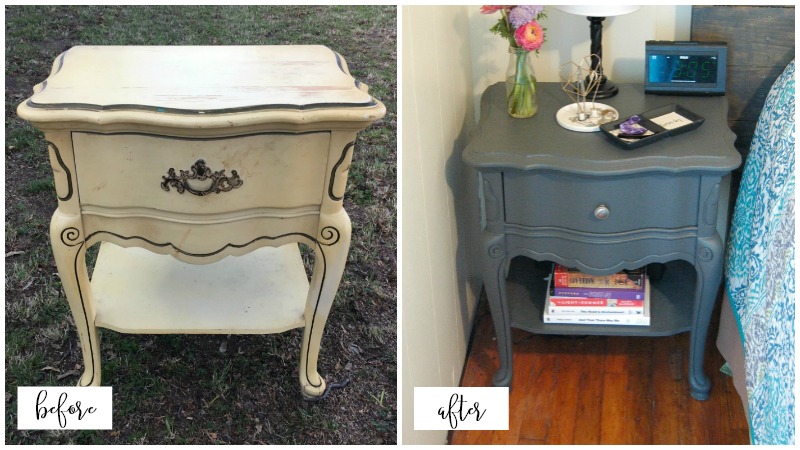
The Nightstand Makeover DIY details:
We (and by “we”, I mean my amazing and handy hubby) started with a thorough, and desperately needed, sanding. Some of the old yellow paint had started peeling away in the last few years (I cleverly disguised this problem with books and bedside junk), and sanding was unavoidable.
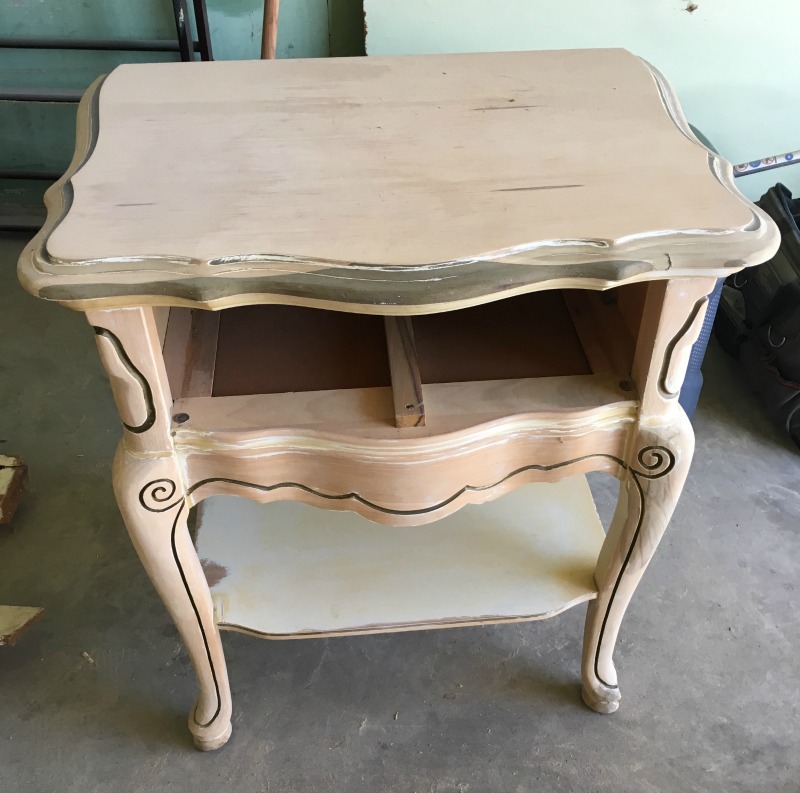
The hubs used a variety of sanding methods from hand sanding to various machines with different grits. It took him a while, but he got through about 4 different paint colors and down to actual wood. I was impressed. He was dirty.
After a good cleaning and wipe down it was time to decide on paint. There was a bit of debate, but since I knew we were going to be building a headboard soon and had something very specific in mind for the finishes on that project, I convinced the him that a dark, flat grey was the way to go.
And I was SO right!

We went with 2 coats of Lowes Olympic Flat in a charcoal grey called “Opera Gown”. I wanted something darker that would hide any imperfections, dirt and dust that happens with regular life.
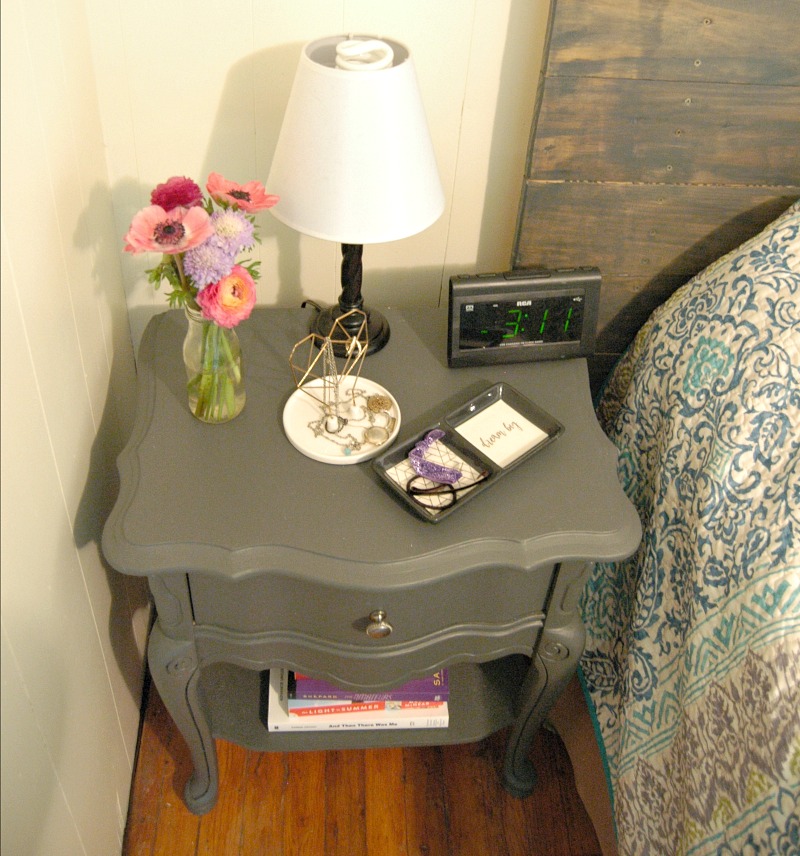
And after over 6 months of living with our new-ish nightstands, I can officially say that I made a good choice! Our upgraded nightstands are pretty awesome!
Have you ever attempted a Nightstand Makeover project? How did it turn out?
PS. I’ll be back soon to share our DIY Headboard project! You get a bit of a sneak peek at a corner of it in some of these photos 😀
This night stand looks fantastic. Charcoal grey is one of my favorite colors to use in my home. Thanks for sharing at Merry Monday. Hope to see you next week!
Looks fantastic, great job! Love that color. Thanks for sharing on To Grandma’s House We Go!
Oh, I love the grey! It’s so classic and timeless! We would love for you to come link up for Wall to Wall DIY Wednesday over at R&R at home!
Love your nightstand! I love passed-on furniture and I would definitely have bought your nightstand in its original state too, what potenti
I’ve always been a firm believer in a lick of paint over just about anything. And it really is just that, no sanding, no undercoat, no waxing – just a lick of paint. The American paint Valspar provides excellent cover with just one coat.
Wishing you many happy upcyclings to come, x.
Great job. Love how it turned out! Thanks for sharing with SYC.
hugs,
Jann
I like the new color, I would have kept the pull and just painted in golden color
I enjoy projects like this. And I love that colour blue.