I am OBSESSED with instagram. Seriously. I LOVE sharing bits of my life with my IG peeps and checking in on some of my favorite bloggers and friends. I think I love it so much because it houses a collection of memories and moments in my life that I wanted to share and never forget. I’m one of those sappy nostalgic people that likes to spend time looking though old photo albums and reliving the”glory days”, but mostly, I love the reliving those moments and the feelings 🙂 Thus my love for Instagram!
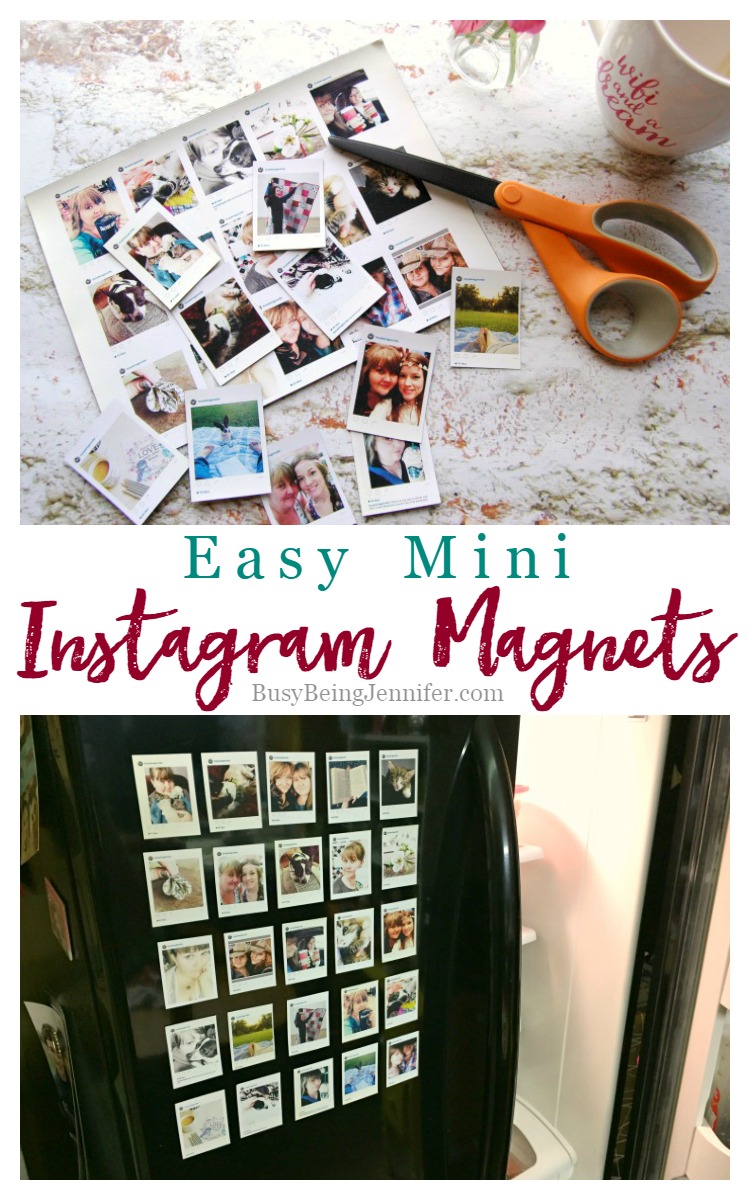
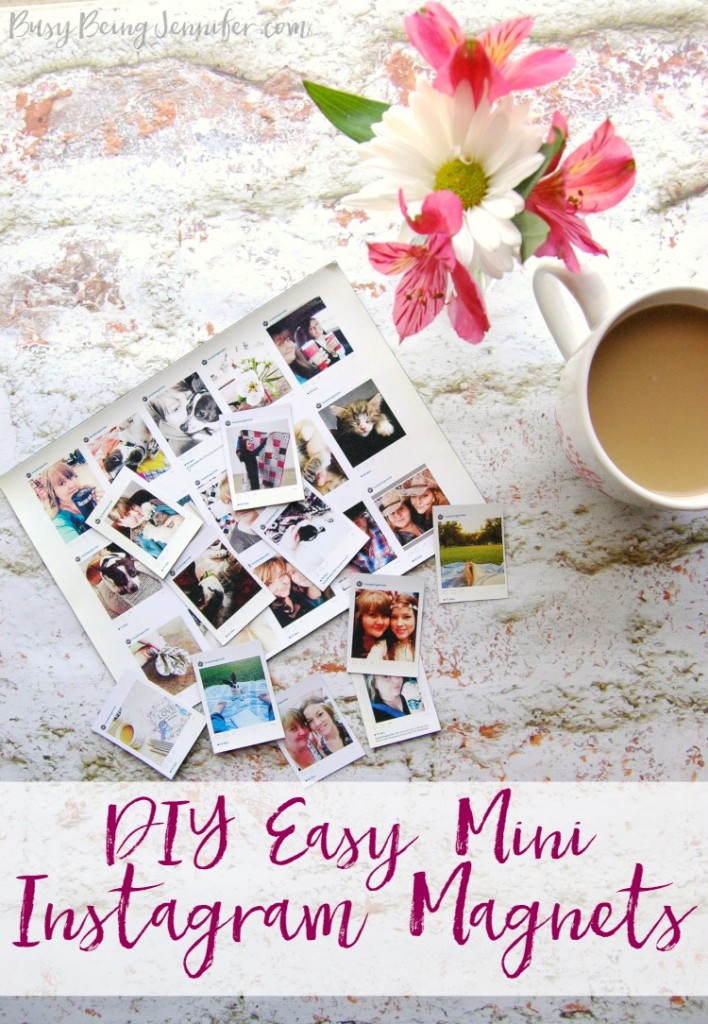
There is only one problem… I have to scroll way back for some of those good moments. I want to be reminded of them always without the hassle of scrolling through months and years worth of instagram snap shots! DIY solution to the rescue! These Easy Mini Instagram Magnets take about 30 to 45 minutes to whip up (depending on your photo editing proficiency).
 *Affilate Link. See bottom of post for full disclosure.
With a little photo editing, some printable magnet sheets, your printer and scissors, you can DIY your own Easy Mini Instagram Magnets too!
Here’s what you need:
Printable Magnet Sheets*
Printer and Ink
Scissors
Ruler & Pencil (Optional)
Computer with internet access
Step #1: Screen shot the instagram photos you want and save them to your dropbox or download them to your computer.
Step#2: Using Pic Monkey, edit your photos – I removed the number of weeks ago each thing was posted and cropped out most of the text. Save each image with a unique name to your computer
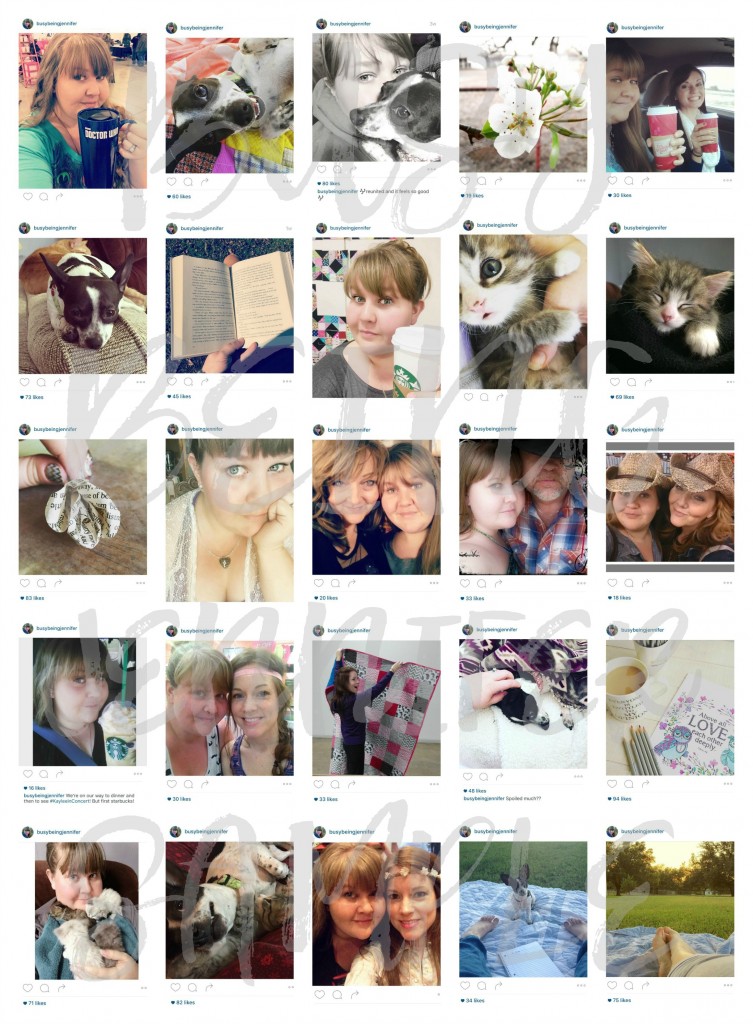
Step # 3: Using Pic Monkey, create a collage with your edited instagram images. To create this collage you’re going to need to change the size of the graphic in Pic Monkey to 2500 px by 3400 with a 5 x 5 grid for your images. Then add in your edited images! Placement doesn’t matter since they’ll be cut apart. Save your finished collage to your computer.
This is the step that seemed to be the most time consuming… but only because I had to figure out the best dimensions in order to fit as many pictures as possible on a page and still get the size right 🙂 With the dimensions already sorted, you should be able to do this step in about 5 to 10 minutes!
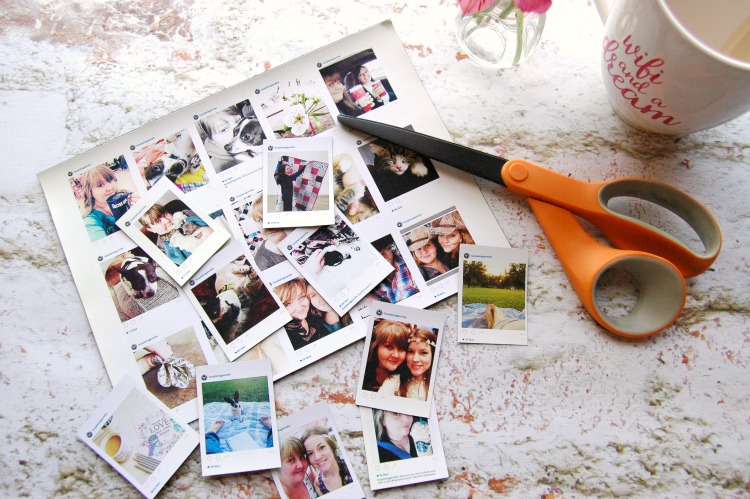
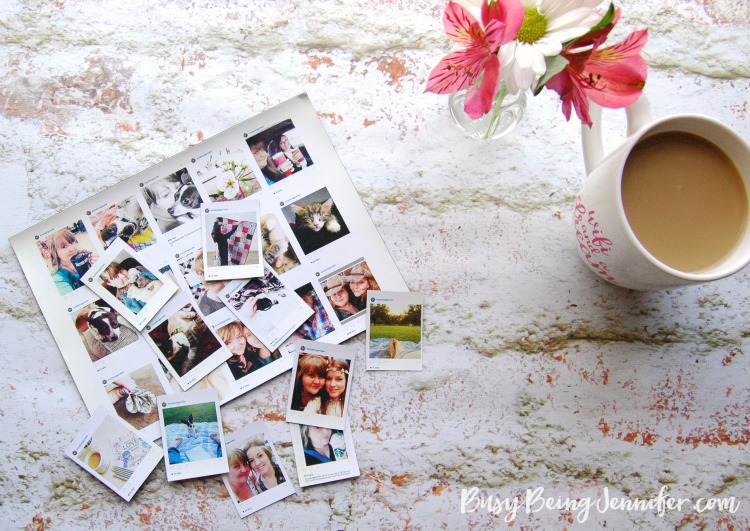
Step #4: Print your collage on the printable Magnet Sheets.
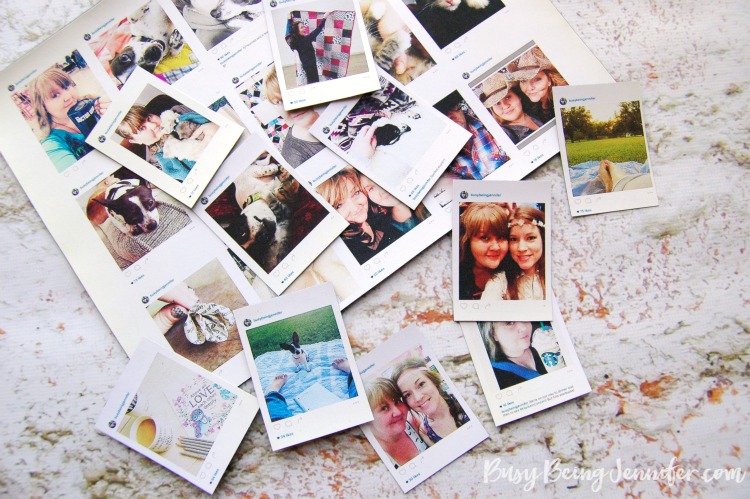
Step #5: Use a ruler and pencil to add straight lines in the margins of your printed collage for a guide. Then cut your instagram images apart.
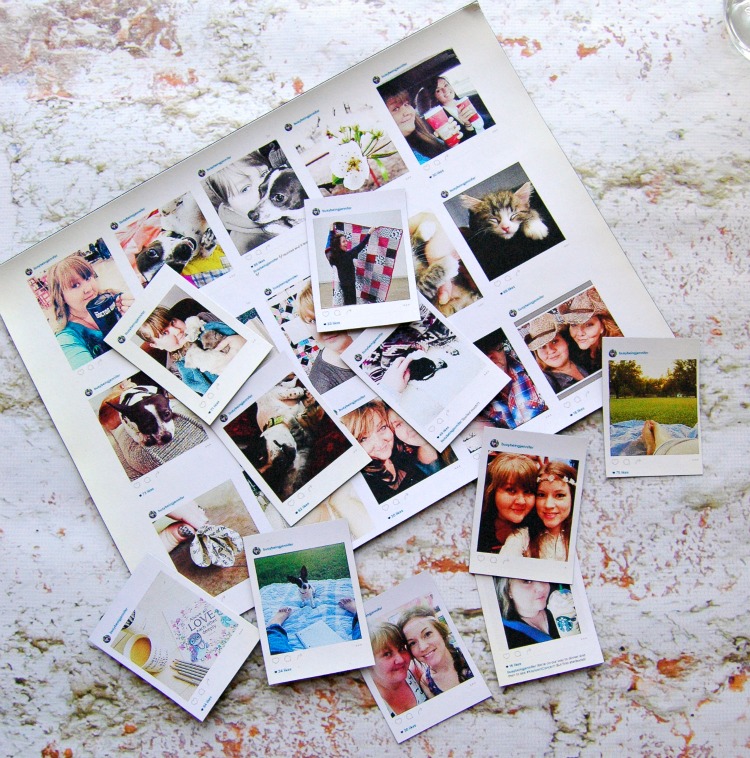
Once your easy mini instagram magnets are cut apart, you can stick them pretty much anywhere! I’ve got mine on one of the doors of the fridge, and every time I go to get something out of the fridge I smile. Seriously! It makes me so happy to see these memories and moments that I can’t help but smile a little and pause to think about that person or moment!
I’m sure I’ll be adding to collection of these easy mini instagram magnets! I’ve got more moments and memories that I’d love to look at on a regular basis… and I’m sure that I have many more to come!
Do you have moments and memories that need to be turned into easy mini instagram magnets too?
love this idea! it is such a great way to use photos we love:)
elle
Southern Elle Style
This is such a great idea! Will have to try this. Thanks!
Hilary | The Beauty Collective
Thanks for sharing on craft schooling Sunday! Our challenge in is this day and age is to get those photos off the phone and computer and onto something where the photos can actually be enjoyed! These magnets remind me of many refrigerators in Israel that are covered in photo magnets of pictures taken by the photographer at a wedding. Guests take them home as a favor and it is all the rage!
This is SO COOL! I can’t wait to make these! Thank you for sharing!
Love this idea! These would make great little gifts to send to grandparents. So easy to mail and what grandparent doesn’t love new pictures of their grandkids!
This is such a cute idea! Thanks for sharing!
Such a great idea! Would make great gifts also 🙂
What a great idea!!! So creative!
These are adorable!!
aaaah…this is a great idea :). I will definitely try it at home
Super idea! I love picmonkey, btw! I didn’t know about the magnetic paper so I appreciate you sharing! Thanks for sharing with us on Throwback Thursday!!
Mollie
These are so fun!!!! Pinning stumbling and tweeting. Happy Thursday!
Printable magnet sheets sound like so much fun. I had no idea it even existed, so thanks.
I love instagram too, it’s just nice when you have 2 minutes to scroll through some loveliness!
This is such a cute idea! I did a similar photo project – but they were coasters instead of magnets. Magnets are way more useful for the refrigerator or my desk at work. Thanks for the instructions : )
My teen would love this project & such a cute idea. Thanks for sharing at the Inspiration Spotlight party. Pinned & Shared.
Super clever. The modern day photo album!
You can never have enough magnets. We use our granddaughters “art” projects for them. Photos are even better! Thanks for sharing at #OverTheMoon!
I love these DIY photo magnets. Totally easy project, too. Thanks for sharing your tutorial at the #HomeMattersParty
Pinned to my Crafts Board!