This DIY needle minder is so simple and such a quick project, you’ll be making TONS in just a few minutes–and you’ll find it so handy, you’ll love ’em!
There are few things I find more relaxing and cathartic at the end of the day, than a new hand stitching project.
I love designing new Hoop Art and creating pretty pieces to hang on my wall or sell in my shop.
When I first started stitching, I’d stick my needle through the fabric along the edge, when I needed a break or had to pause. I didn’t like putting unnecessary holes in the fabric, so I purchased a needle minder.
I loved it so much, I decided I needed to DIY my own!
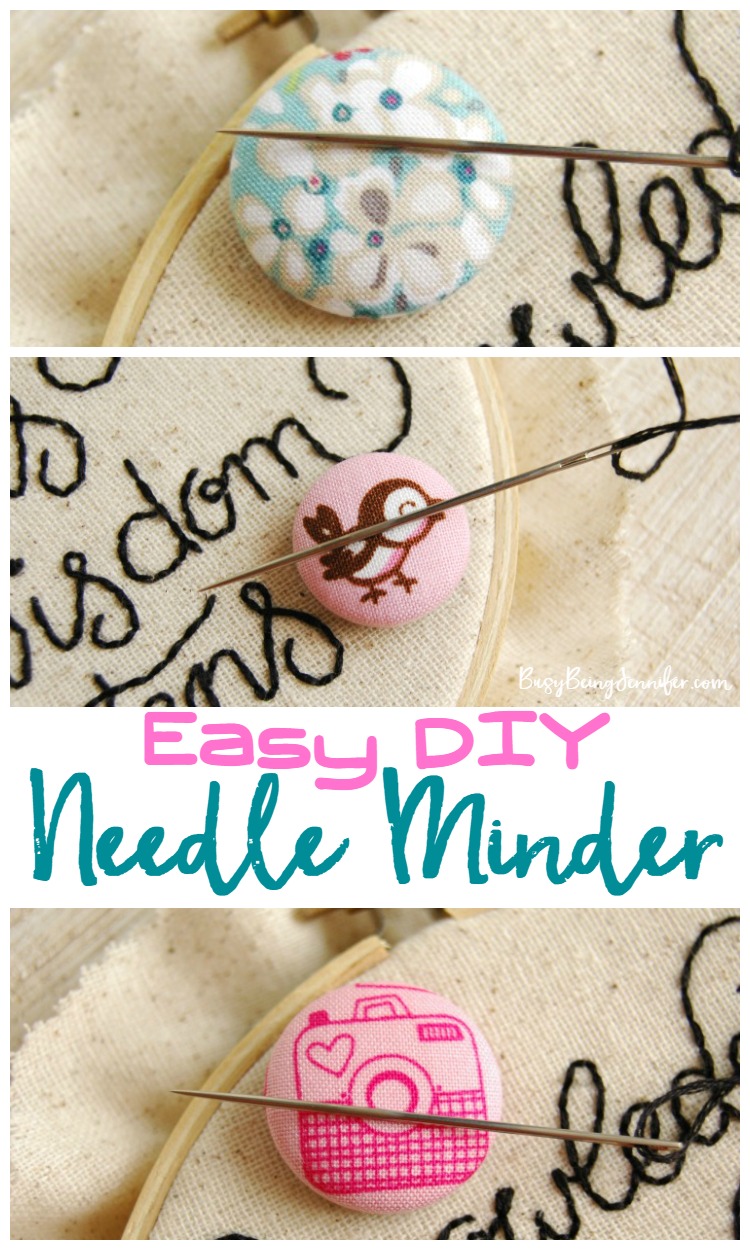
The first DIY needle minder was so easy to make, that I couldn’t stop making them!
The next thing I know, I’ve got 2 dozen of them!
They’re super cute and now I can pick and choose which DIY needle minder I want to use for which project 🙂
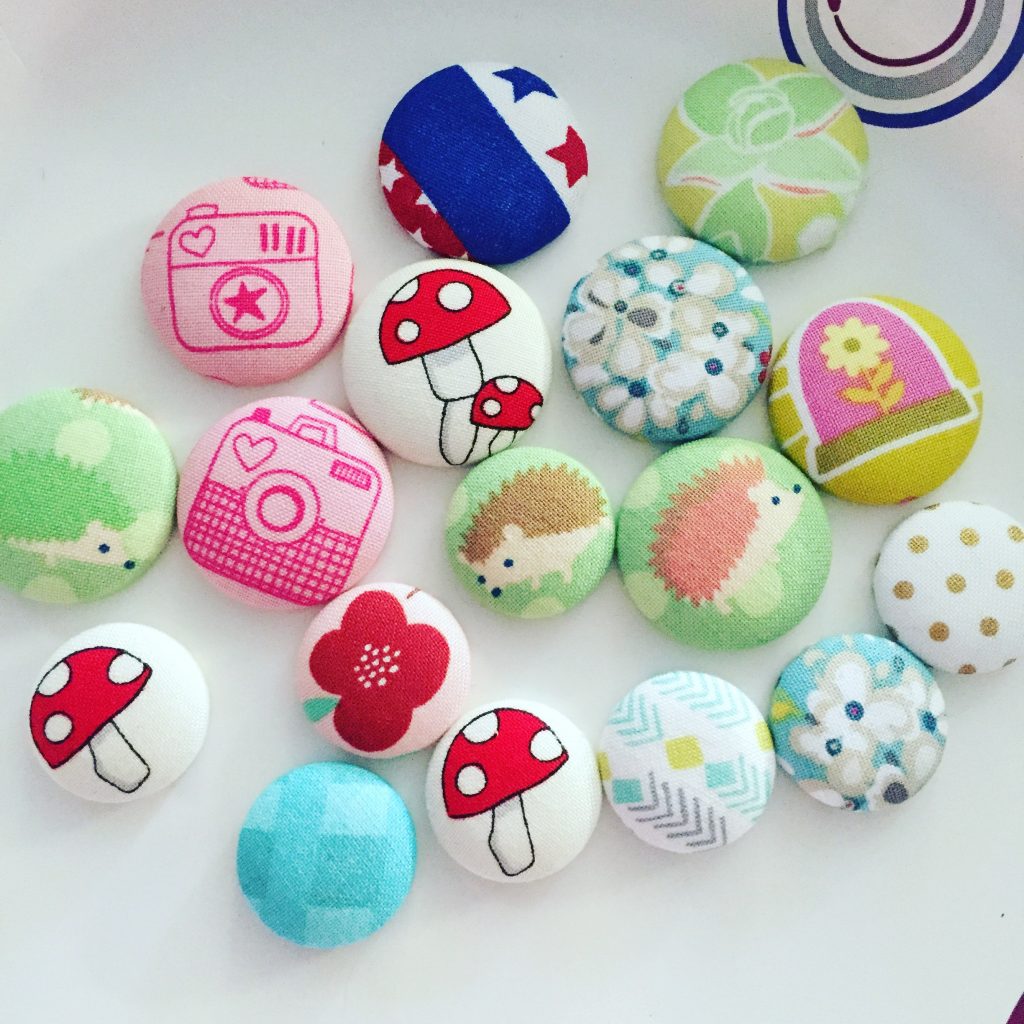
And because I am awesome, I decided to share this magnetic needle minder tutorial so you can make your own!
What do you need to make a Needle Minder DIY:
Fabric Scraps Round 2 1/2 inches square
Fabric Cover Button Kit 1 1/4 inch {with the tool}
Pliers
E6000 glue
Industrial strength magnets (they need to be STRONG magnets like rare earth magnets)
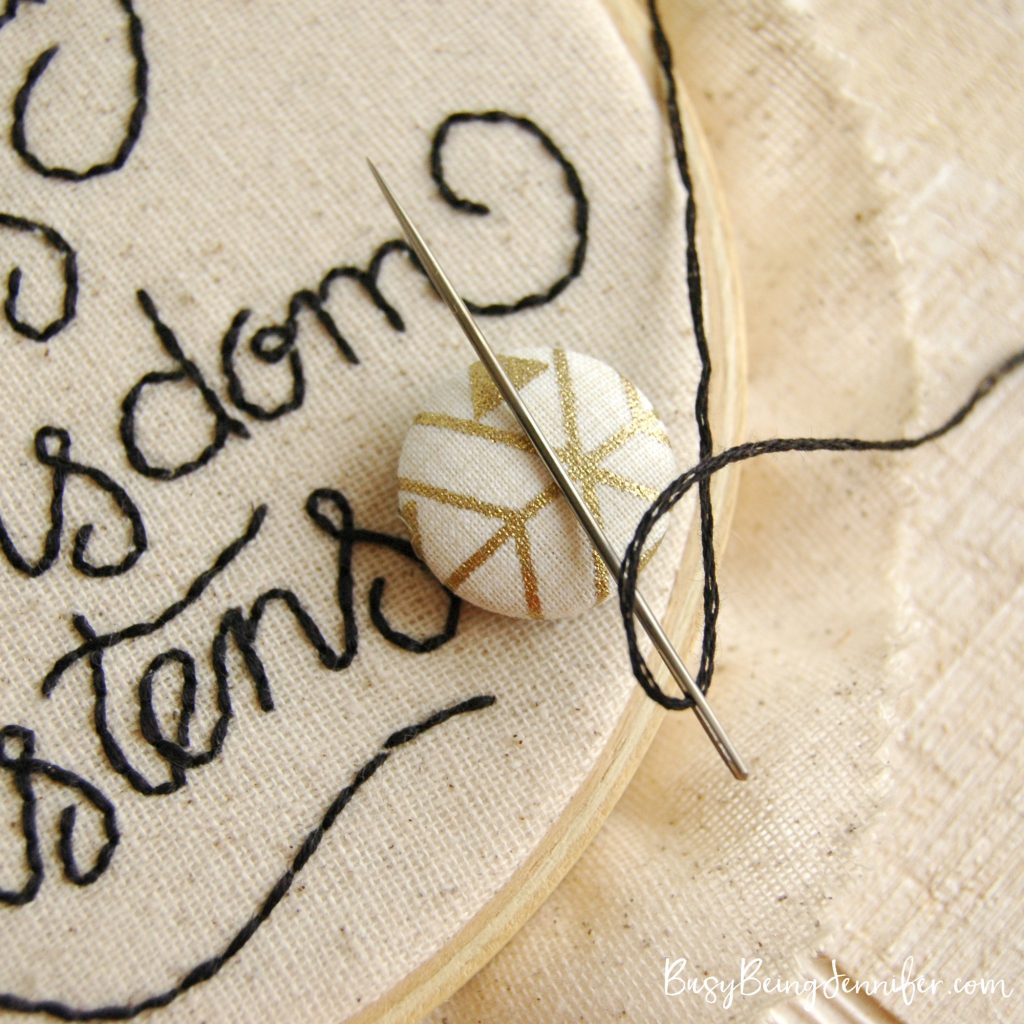
How to Make a DIY Needle Minder:
Step #1 – The back of the button likely has a metal loop on it. Using the pliers, remove the loops. It might take a little wiggling and squeezing, but they will come off 🙂
Step #2 – Use your fabric scraps, and follow the directions on the fabric button kit to create the tops of your DIY needle minders.
Step #3 – Once you’ve covered your buttons, take your magnets and “match” them up… you want to pair them together and have the “wrong sides” out.
Step #4 – Add a dab of glue to the back of your fabric button top. Let it sit for a few seconds to become tacky. Add the “wrong side” of a magnet to the glue dab. Let the magnets and glue set and dry completely for a few hours.
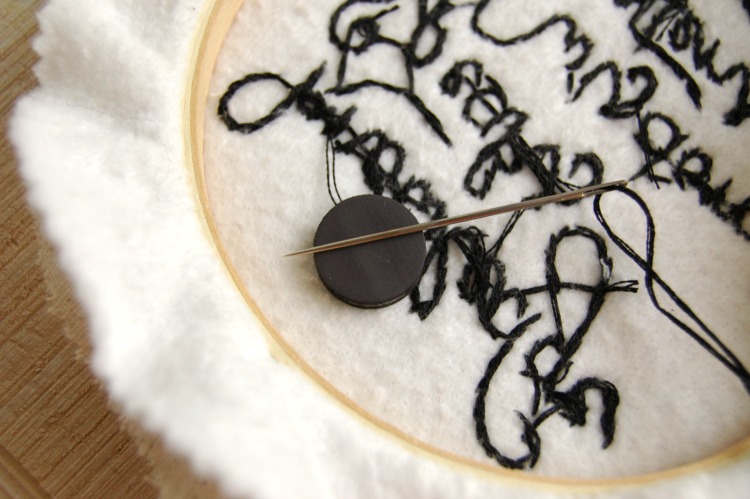
Once the glue is totally dried, you’re good to go! Simply set up your cross stitch project and add it to your embroidery hoop.
Then place the fabric button on top and a second magnet on the back side to hold it in place. Your needle should “stick” (magnetically hold) to the top part of your DIY needle minder!
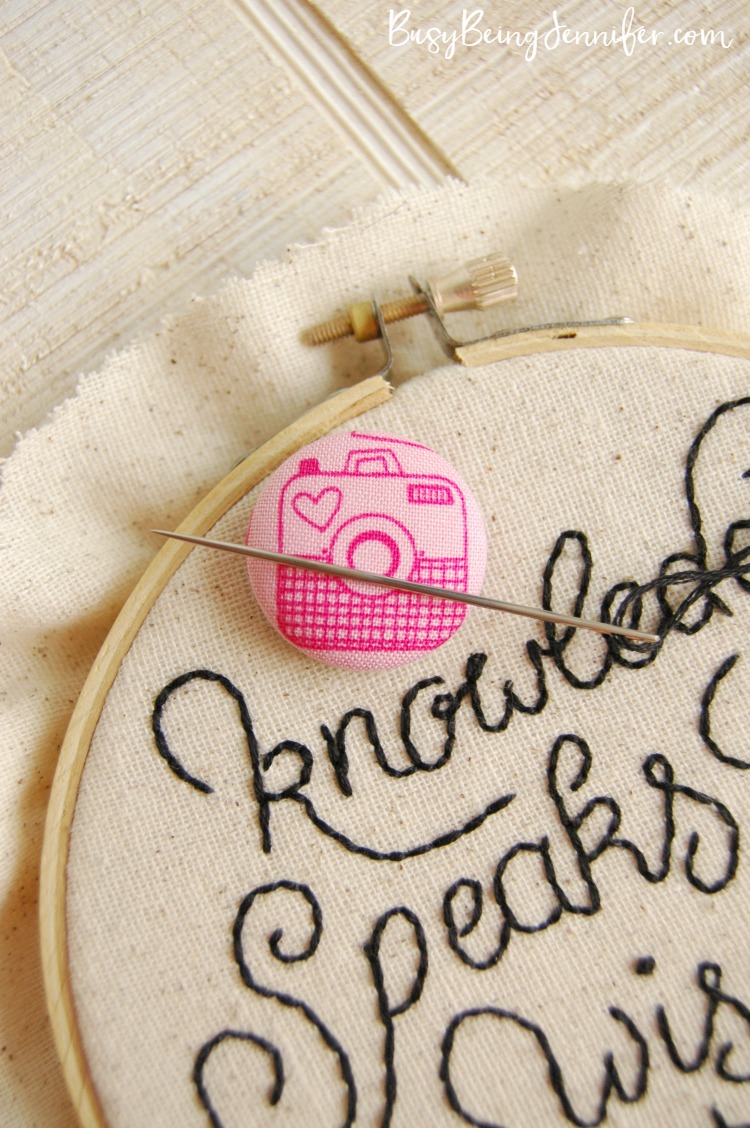
No more random and unnecessary holes in your stitching projects! Not to mention that you’ve got a little bit of cuteness and color to keep you smiling while you’re working on your project!
I told you that making your own DIY Needle Minder was easy! And don’t be surprised if you find it slightly addicting too!
Want a needle minder, but aren’t interested in purchasing the supplies and doing the work yourself? Not a problem! I have some of the dozens I made listed in my Handmade Shop!
If you love this easy DIY, be sure to pin it to your favorite sewing ideas board on Pinterest! I’d be truly grateful for that. It’s how this site grows and helps support my ability to bring you great ideas like this.
DIY Needle Minder
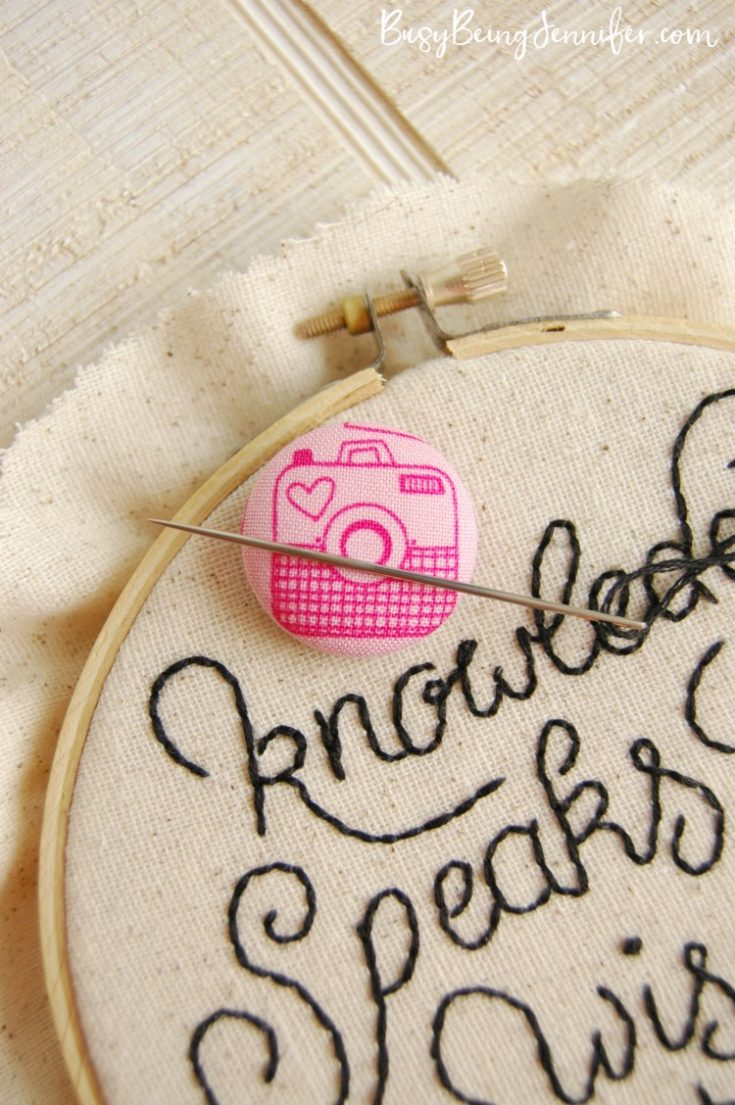
This DIY needle minder is so simple and such a quick project, you'll be making TONS in just a few minutes--and you'll find it so handy, you'll love 'em!
Materials
- Fabric Scraps Round 2 1/2 inches square
- Fabric Cover Button Kit 1 1/4 inch {with the tool}
- Industrial strength magnets (they need to be STRONG magnets!)
Tools
- Pliers
- E6000 glue
Instructions
- The back of the button likely has a metal loop on it. Using the pliers, remove the loops. It might take a little wiggling and squeezing, but they will come off.
- Use your fabric scraps, and follow the directions on the fabric button kit to create the tops of your DIY needle minders.
- Once you’ve covered your buttons, take your magnets and “match” them up… you want to pair them together and have the “wrong sides” out.
- Add a dab of glue to the back of your fabric button top. Let it sit for a few seconds to become tacky. Add the “wrong side” of a magnet to the glue dab. Let the magnets and glue set and dry completely for a few hours.
- Once the glue is totally dried, you’re good to go! Simply set up your stitching project and add it to your embroidery hoop. Then place the fabric button on top and a second magnet on the back side to hold it in place. Your needle should “stick” to the top part of your DIY needle minder!

okay I need that hedgehog pin!!
elle
Southern Elle Style
Isn’t it adorable? It could totally be used as a fridge magnet too!
Fabulous DIY and have to admit I didn’t even know what a needle minder was! thanks for sharing on craft schooling Sunday!
These are adorable! Nice little gifts you could give to the crafty sewers in your life. Thanks for sharing on Family Joy Blog Link-up.
I found you from The DIY Mommy link up. I have never heard of having a Needle Minder. I have only done a bit of embroidery, but plan to do more. I have pinned this because I can see how handy this would be.
I would like to learn more on how to stitch! I need a hobby, I am disabled to work. So this would be so much fun,
What a great idea and so cute too!
This is brilliant! Thanks for sharing it at our weekly link party. I just thought you might like to know that this week’s party is up and running. We’d love to have you visit again. http://www.thelifeofjenniferdawn.com/2016/07/diy-creative-wall-decor-and-little-bird.html
What a great idea!
Cute idea – thanks for sharing at #HomeMattersParty
you might want to change a few hours of letting the glue dry to at least 24 hours. any sooner and you risk the bond not holding up with E6000.
I’ve never heard of needle minder but it makes sense. I’ve just gotten back into doing some cross stitch-y projects after years! I can totally see how it’s relaxing. Visiting from Happiness Is Homemade party.
Hi Jennifer! Love this idea – had never heard of a needle minder– it is very useful and very cute!
Nice!!! I only just discovered these after stitching for 35 years. I tend to hold my cloth by hand, so nowhere there for a needle – but I have a horrible habit of temporarily sticking the needle in my shirt (and occasionally forgetting I did until they come out of the wash) – so I attach the needleminder to my shirt like a magnetic brooch, and it works great!
It looks lovely and a great idea for needlework. Thanks so much for sharing your post with us at #Overthemoon. I have shared on social media. Have a great week and see you at next week’s link up! Sue from Sizzling Towards Sixty & Beyond
http://www.sizzlingtowardssixty.com.au
So handy. smart and so adorable. Will be making some of these as I have lots of embroidery projects planned. Love patterns on every one of yours. Guess had better get myself busy, so glad you shared this project. Have wonderful week.
Digitizing Logo Embroidery
Thank you for a great explanation. I was looking online for a similar idea and really appreciate it
Great idea! Thank you for sharing with us at the To Grandma’s house we go link party!
What a creative idea! I have never heard the term needle minder. I need to make one. I am always sticking my needle in my shirt. 🙂 Thanks for sharing with SYC.
hugs,
Jann
I didn’t know I needed a needle minder until seeing this! I’ve never heard of them before but what a great idea. How adorable too! I would display them on my home office/craft room magnetic board when not in use because they’re so cute. Pinned 🙂