Busy Being Jennifer

What doesn't kill you make you blonder

  • Home
  • Blog
  • Shop
  • Contact
  • Recipes
  • DIY Projects
  • Crafts
  • Essential Oils
  • Every Day Boss

August 3, 2016 by Jennifer

Easy DIY Bandana Rag Garland

This post may contain affiliate or brand partner links. Read our full disclosure here.

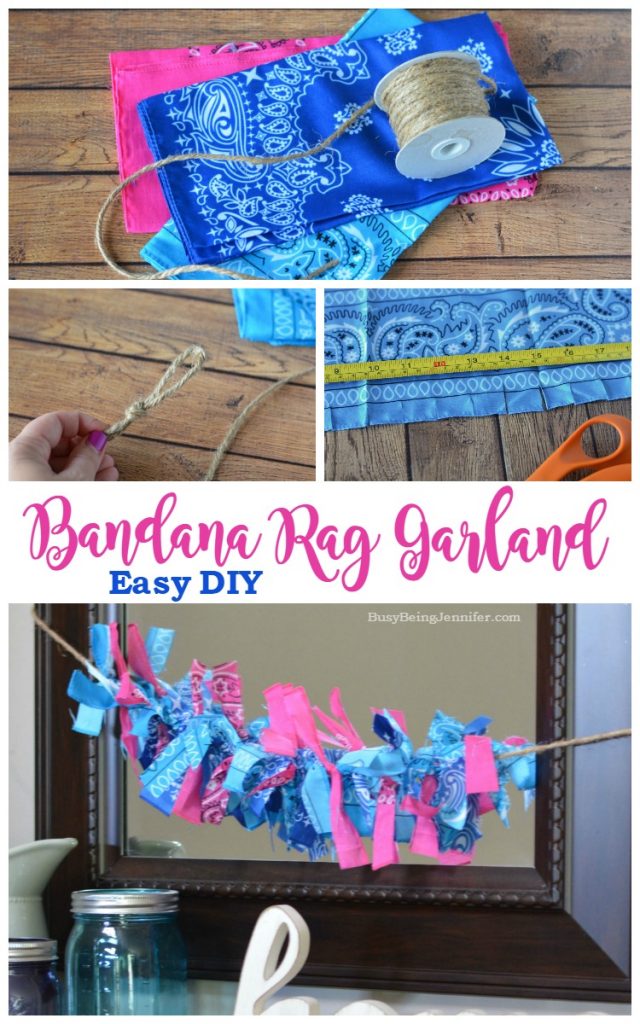
Popping in with a quick and easy DIY! Cause you know thats the kind of DIY I love the most! If I can complete a project in less than an hour start to finish, I’m totally in! And this Easy DIY Bandana Rag Garland is the perfect quick project! Not to mention its a great way to add a pop of fun and color for any occasion or event!

Easy DIY Bandana Rag Garland - BusyBeingJennifer.com

Materials
3 fabric bandannas in 3 different colors
-my bandannas measured 20-22″ square
Twine
Scissors
Tape Measure or Ruler
Command Hooks
Easy DIY Bandana Rag Garland - BusyBeingJennifer.com
Directions:
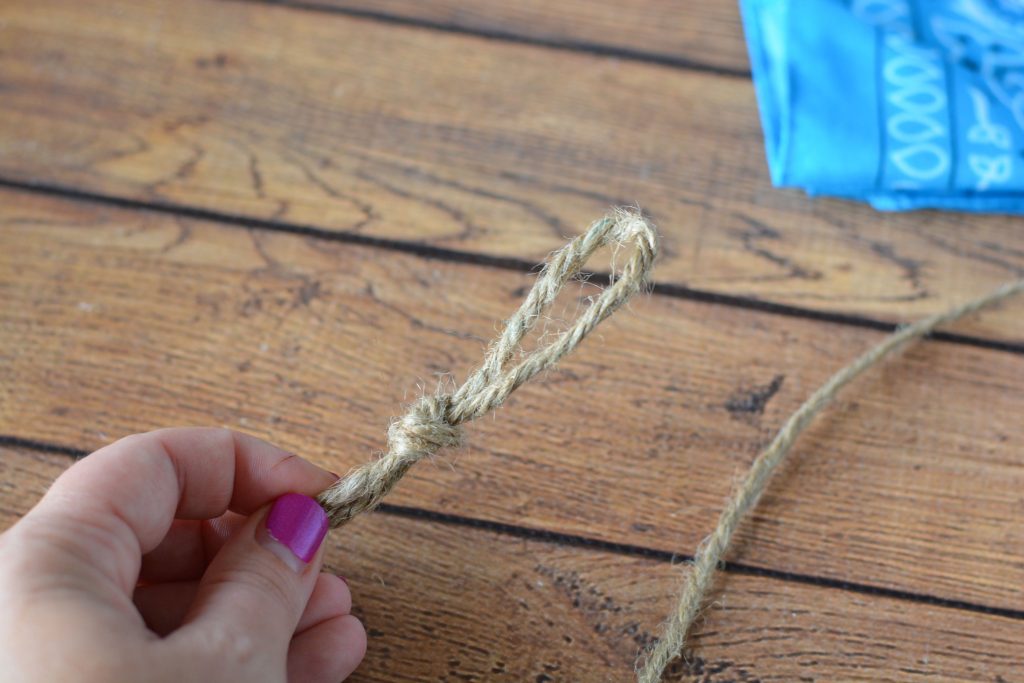
Measure your space you want to hang your banner. Add 8″ onto that measurement and cut a piece of twine that long. Slip knot the ends and use command hooks to hang in your space to make sure it will work. Adjust the knot accordingly if necessary to lengthen or shorten the twine. Remove from your space and return to a table.

Easy DIY Bandana Rag Garland - BusyBeingJennifer.com

On a flat surface, open one bandanna. Lay your measuring tape across the bottom edge and cut small slits 1″ apart into the bandanna. The measurements don’t have to be exact – in fact, the more irregular the better. Remove the tape measure when you have the entire bandanna cut. Now cut the slits all the way through, to the end of the fabric so you have long pieces. Cut each long piece into thirds. Usually it’s about 1″ x 7″.
Easy DIY Bandana Rag Garland - BusyBeingJennifer.com
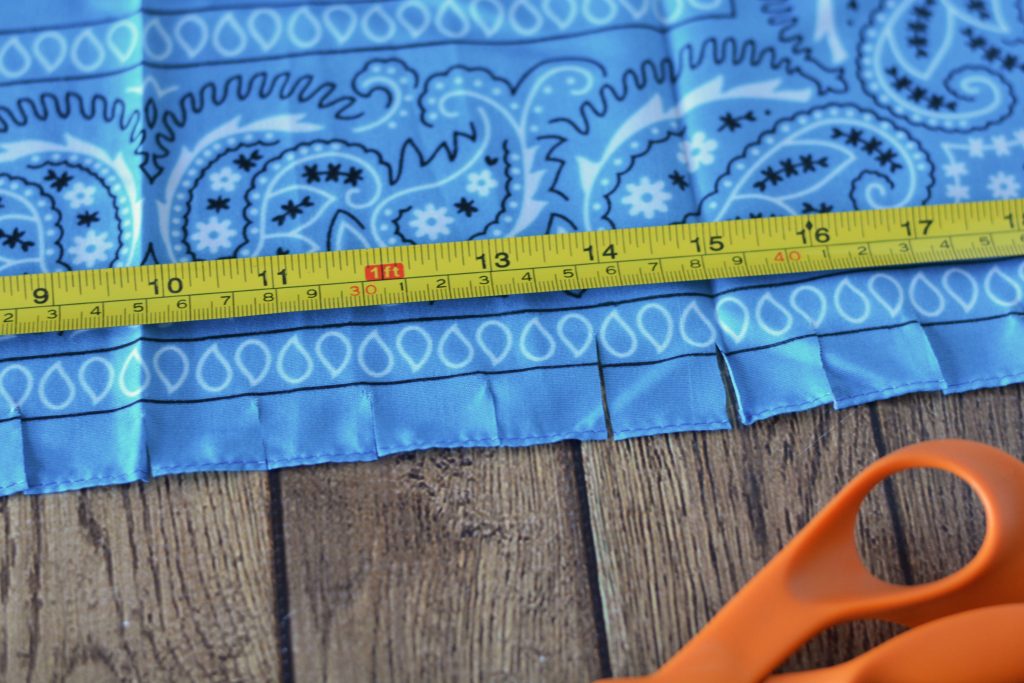
Repeat until all bandanna colors are cut.
Find the center of your twine by folding it in half and tie a piece of fabric onto it by knotting it once tightly. You can add a binder clip or piece of tape to that center piece so that you know where the center is. Now begin to tie the remaining pieces onto the twine. I like to grab a pile of ten pieces and tie it to the right of the center, then 10 pieces to the left, and so on making sure it’s even. You can tie in a pattern or keep it completely random.
Easy DIY Bandana Rag Garland - BusyBeingJennifer.com
The best part of this Easy DIY Bandana Rag Garland is that you can mix and match whatever colors you want and change up the length to suit your needs!
A Fun, Quick and Easy DIY Bandana Rag Garland! Its perfect for any Occasion!

Click To Tweet

Filed Under: Crafts + DIY's Tagged With: Craft, DIY, DIY Projects

❮❮ Previous Post
Next Post ❯ ❯

Comments

  1. Terra Heck says

    August 8, 2016 at 2:52 am

    That is super cute. I recently moved to a new home and have a great spot to hang one of these bandanas. I may just have to make one.

    Reply
  2. Charlotte says

    August 8, 2016 at 4:00 pm

    Thanks for sharing on Family Joy Blog Link-up. Please come back and join us again! This is cute and seems like it would be easy to do. Easy party decoration maybe.

    Reply
  3. Pam says

    August 13, 2016 at 4:24 pm

    How cute is that! I love the colors of the bandanas too. Thanks for sharing at #HomeMattersParty!

    Reply

Leave a Reply Cancel reply

Your email address will not be published. Required fields are marked *

About Me
  • Facebook
  • Instagram
  • Pinterest
  • RSS
  • Twitter

Search

Categories

As an Amazon Associate I earn from qualifying purchases.

Places I Party...

© 2023 · Busy Being Jennifer · Privacy Policy

We are using cookies to give you the best experience on our website.

You can find out more about which cookies we are using or switch them off in settings.

Busy Being Jennifer
Powered by  GDPR Cookie Compliance
Privacy Overview

This website uses cookies so that we can provide you with the best user experience possible. Cookie information is stored in your browser and performs functions such as recognising you when you return to our website and helping our team to understand which sections of the website you find most interesting and useful. Read our complete privacy policy here.

You can adjust all of your cookie settings by navigating the tabs on the left hand side.

Strictly Necessary Cookies

Strictly Necessary Cookie should be enabled at all times so that we can save your preferences for cookie settings.

If you disable this cookie, we will not be able to save your preferences. This means that every time you visit this website you will need to enable or disable cookies again.