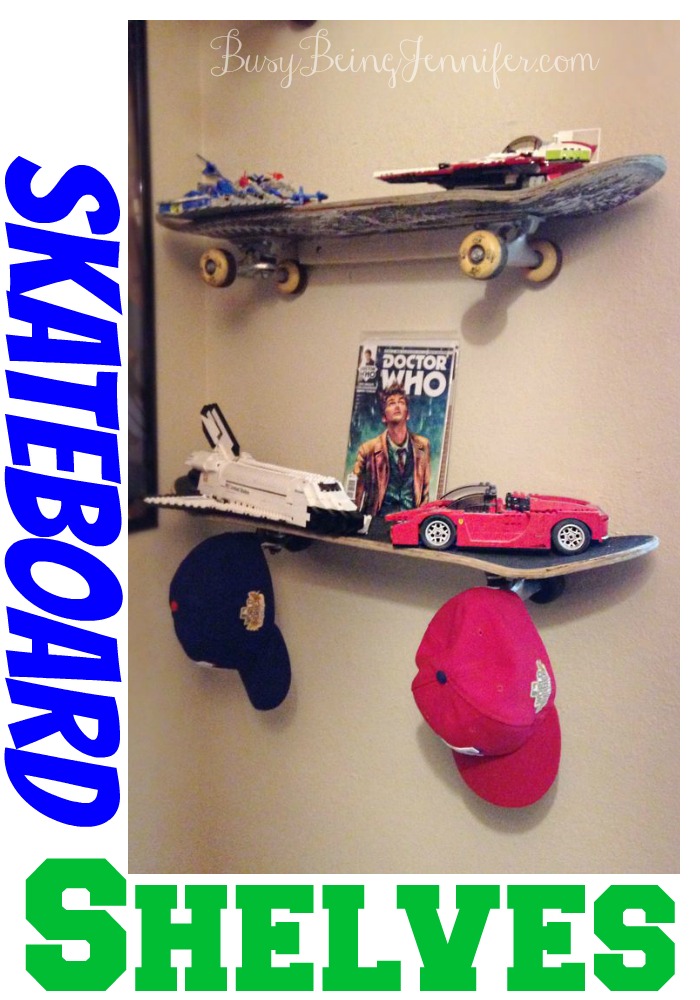
Hey guys and dolls! Ok so today we are gonna talk about the ultimate in cool shelving for your boys room/ mini-man cave – Upcycled Skateboard Shelves! You can pick up used skateboards almost anywhere pretty cheap. We paid less than $4 for each of these. They are not useable anymore for riding on however they make awesome shelving for books, legos or other collectibles. Ready to get started? Ok here we go.
Supply List {makes one shelf}
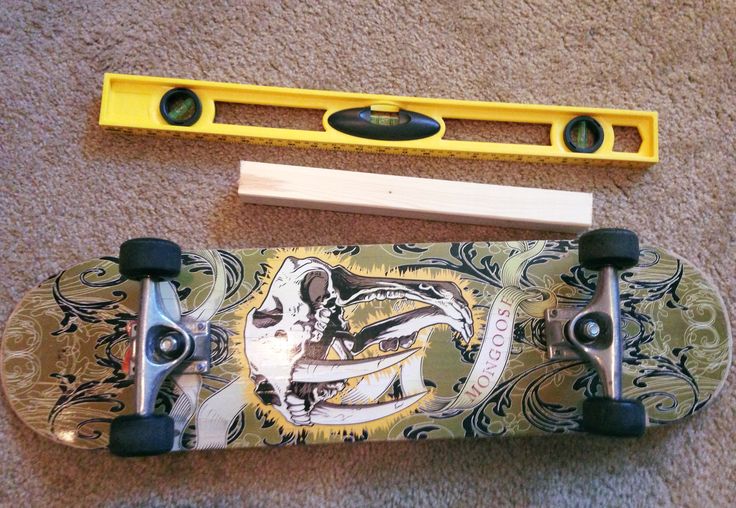
Used Skateboard (or new if you prefer)
2″x 2″ x length of space between the wheels of the skateboard piece of lumber
2 Toggle Bolts 1/8 in x 3in
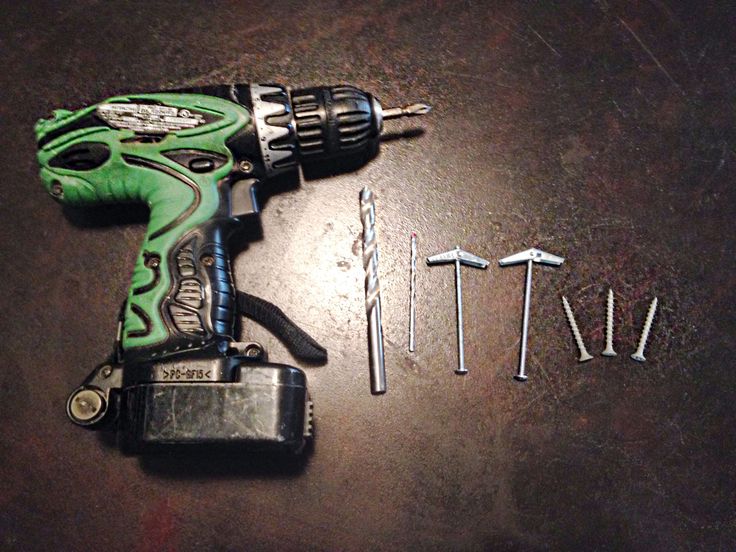
3 Exterior Screws 1 5/8″
Tool List
Power Drill
Level
saw (if you don’t have one you can have your wood cut at your local home improvement place, such as Lowes or Home Depot)
3/64 Drill bit for pilot holes
3/8 Drill bit for toggle bolts
Phillips Driver Bit
Instructions
1. Cut the 2×2 just long enough to fit between the space between the two trucks {the two sets of wheels.} If you had your wood pre-cut please skip to the next step.
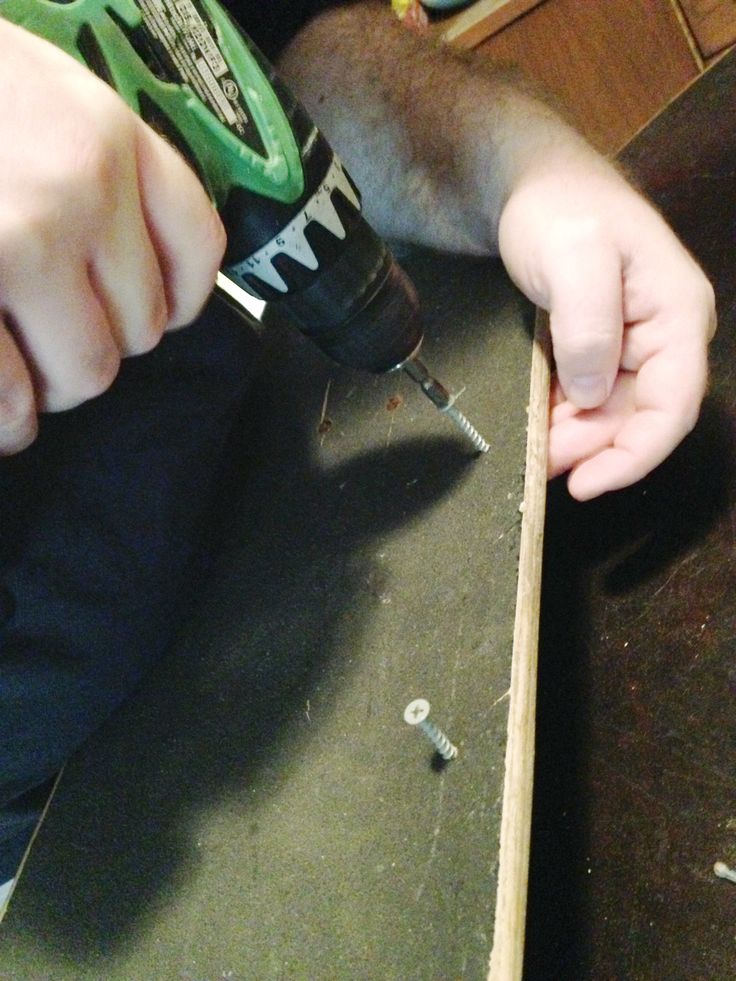
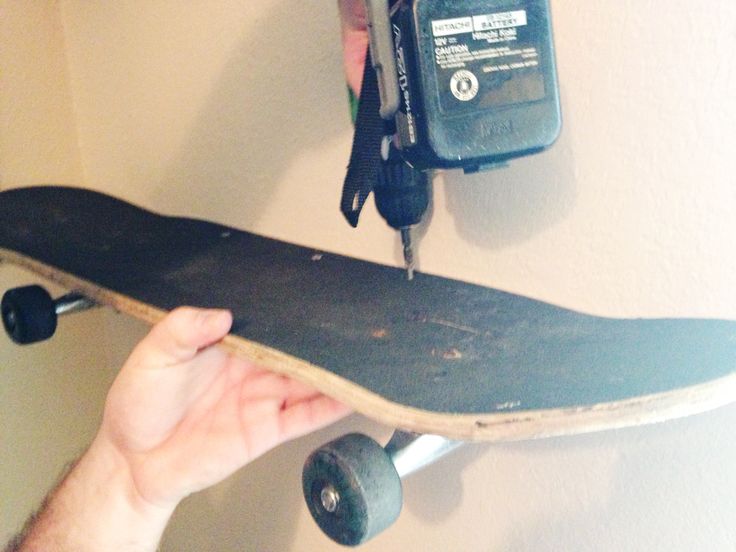
2.Drill two holes straight through one side of the 2×2 (as shown below)

3. Place the 2×2 in the desired location on the wall. Level it. Mark the holes on the wall with a pencil.
4. Drill holes into the wall, where you marked earlier for the toggle bolts.
5. Fasten the 2×2 to the wall using the toggle bolts.
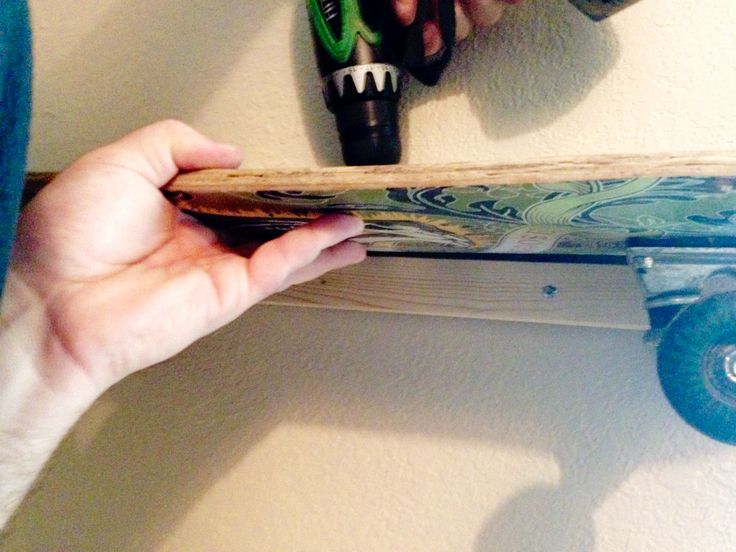
6. Pre-drill your 3 exterior screws partially through the skateboard about 1inch away from the back. (as shown below)
7. Set the skateboard on top of your 2×2 and screw DOWN the rest of the way through the skateboard with your exterior screws into the 2×2 in three places.
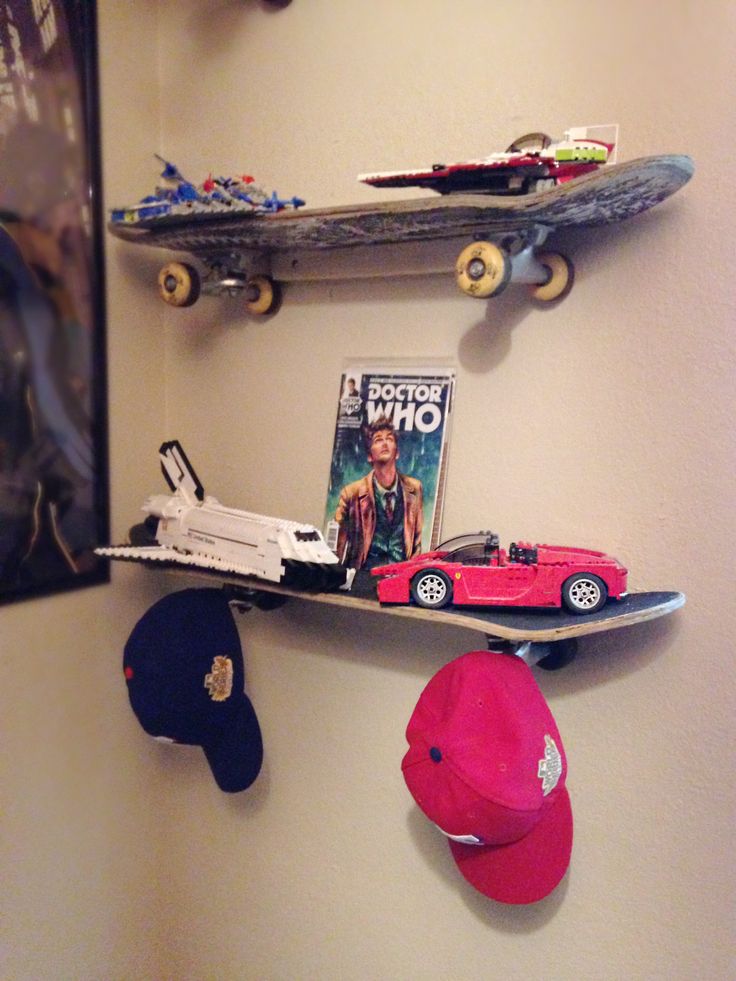
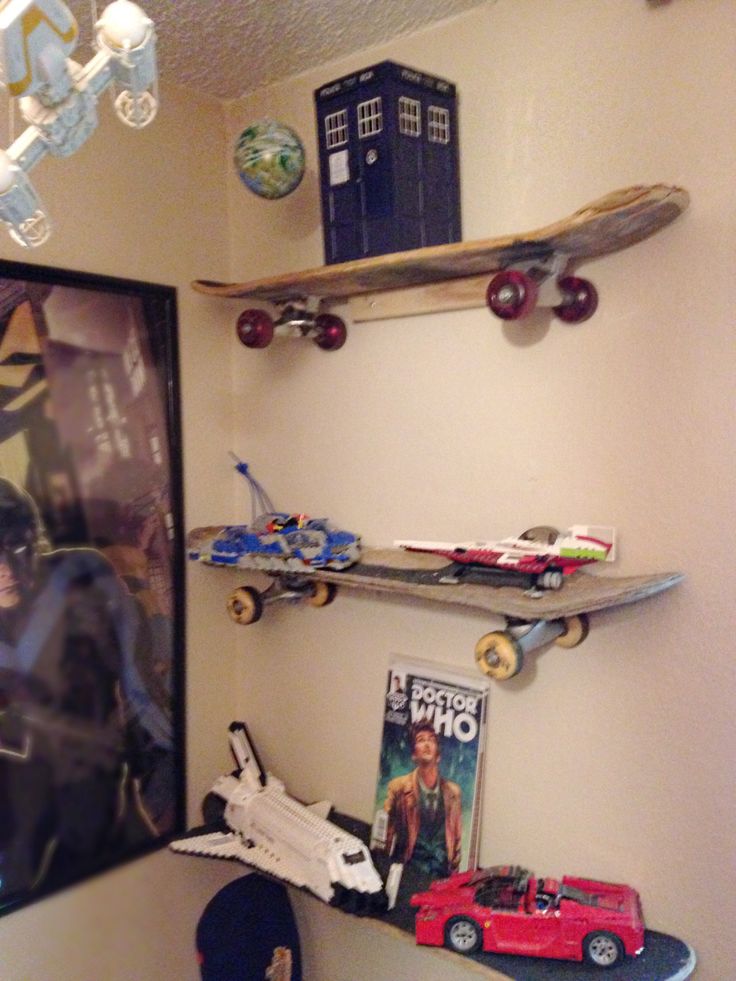
8. Accessorize shelves with awesomeness.
*You can also paint the 2×2 to match your wall color or the color of the skateboard. Do this BEFORE affixing it to the wall.
- We would love to see your finished DIY projects. Upload them to Instagram and hashtag it #BBJDIY . Or you can tag Jennifer ( @busybeingjennifer ) & Myself ( @littlemisswhisk ) in the photo.
♥ Gracie b
That is such a great idea! My son has a couple of old skateboards he just can't get rid of. I'm going to suggest this!
LOVE this! I've always been a fan of skateboarding and actually did a little bit of it myself in high school. This is a good way to get it out of the kids toy box or closet as well! Thanks for sharing this!
What a great idea! So clever!
That's so clever, wish I thought of that!
These are so cool!
Love these!! My son had skateboard shelves from pottery barn about 8 or 10 yrs ago. Yours look so much cooler – theirs didn't have wheels!!
This is so clever! Any boy would love these in his room.
My brother would have LOVED this when he was a teen!
How cool! I would have never thought of that.
My brother would have loved this growing up! My dad made him a bench out of his old snowboards.
Those are so cool! If my little dude was into skateboards, I'd so be trying to get him to get on board with this!
Super cute idea! Thanks for sharing it!
Happy New Year!
Hugs and love from Portugal,
Ana Love Craft http://www.lovecraft2012.blogspot.com
So cool- absolutely perfect for a boy's room!! Thank you (again) for swinging by Snickerdoodle Sunday!! Hope you'll come back later this week with your latest makes & bakes!
Sarah (Sadie Seasongoods)
These are awesome! I'll have to keep this in mind for my little guy! . Thanks for sharing! 🙂
This is awesome for a boys room. Cute idea!
What a clever idea! I'll have to remember this one for when R gets older. Stopping by from Treasure box Tuesday!
This is such a neat idea! Perfect for a boys room.
I would have never thought of this, this would be a good idea for turning my boys’ room into a big boy room! Stopping by from Turn it up Tuesday!
Love this idea!! Hey I would love for you to share your stuff on my new link party that started today! Its called My 2 Favorite Things on Thursday! Here is the link http://www.cookinandcraftin.com/my-2-favorite-thi…
Love this idea. My son isn't into skateboards yet, but this will be great when he is ready for them and a big boy room.
found this on You're Gonna Love It.
What a cute way to recycle skateboards! I'd love it if you shared this at the Saturday creative showcase at bowdabrablog.com
~Crystal
Oh how I love a great upcycle! This is great
I love this idea! Pinned and tweeted. Lou Lou Girls
Jennifer:
Thank you so much for participating along with us at the #PureBlogLove Link Party! It's always a pleasure seeing your work! It looks outstanding!
Besos
Heidy
Great idea! Featuring you at my place this week. Thanks so much for linking up at the Wildly Original linky party!
<3 Christina @ I Gotta Create!
Such a great Idea!
Thepracticalmomblog.blogspot.in
Congratulations! This post is featured over at Diana Rambles today and has been pinned in the Featured at Diana Rambles board at Pinterest, Tweeted, and Recommended on G+. Please grab a featured button off my button page or via the post guidelines graphic. Thanks for sharing this awesome idea!