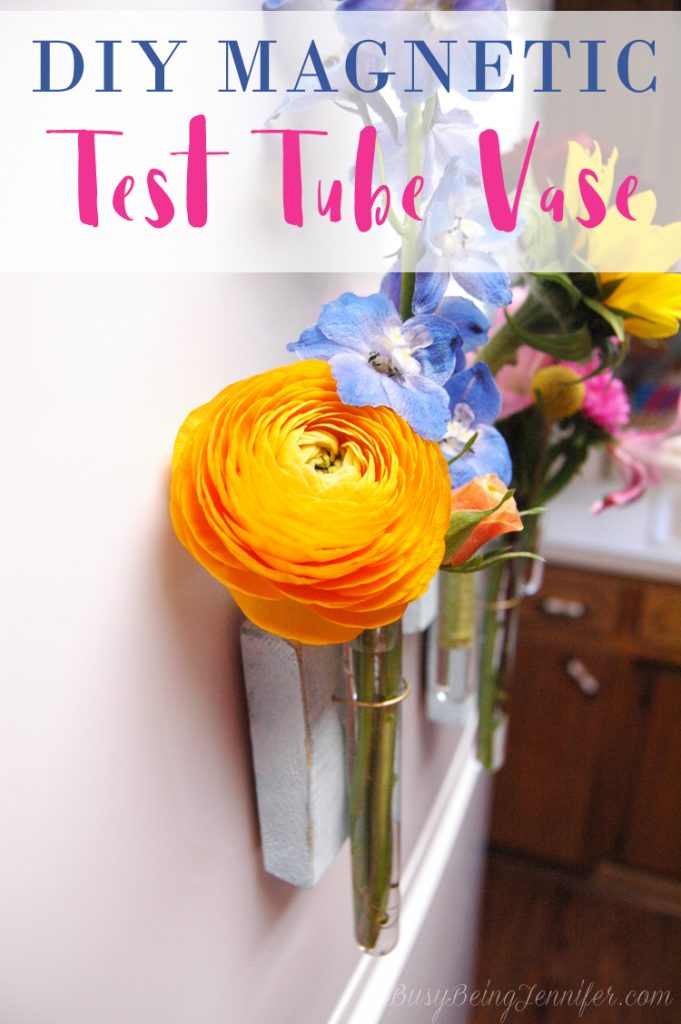
I’ve had this DIY Magnetic Test Tube Vase idea rolling around in the back of my brain for a while! So when fiftyflowers.com wanted to partner with me to create an awesome floral DIY, I jumped at the chance!
And let me tell you, these little guys turned out way better than I could have hoped! And I am proud to say I did these 100% on my own, no help from the Father-in-Law or Husband! I got to play with power tools unsupervised AND I managed to keep all my fingers and toes in tact. 😉 Would a little of help made things go a little smoother and faster?
Probably.
Do I care?
Nope!
And I’d make more of these again on my own in a heartbeat! In fact I probably will because I think these would do well at a handmade market I’m going to this fall! That being said, I wouldn’t say no to better power tools 😀 The saw I used wasn’t ideal, but its what was available, and like any good DIY’er I Made It Work!
On to the DIY Magnetic Test Tube Vase Tutorial!
Supplies to Make the DIY Magnetic Test Tube Vase
Here’s what you’ll need:
- Wood – 1 x 4 (at least 8 inches long)
- test tubes
- pencil
- sand paper
- saw
- drill
- paint
- e6000 glue
- industrial strength ceramic magnets
- gold spray paint
How to Make a DIY Magnetic Test Tube Vase
Step #1. Cut the wire into 8 inch sections and spray paint it gold. Might seem a little odd, but the gold is better than the green of the floral wire. And, I was working with what I had on hand. You could totally just get colored wire.
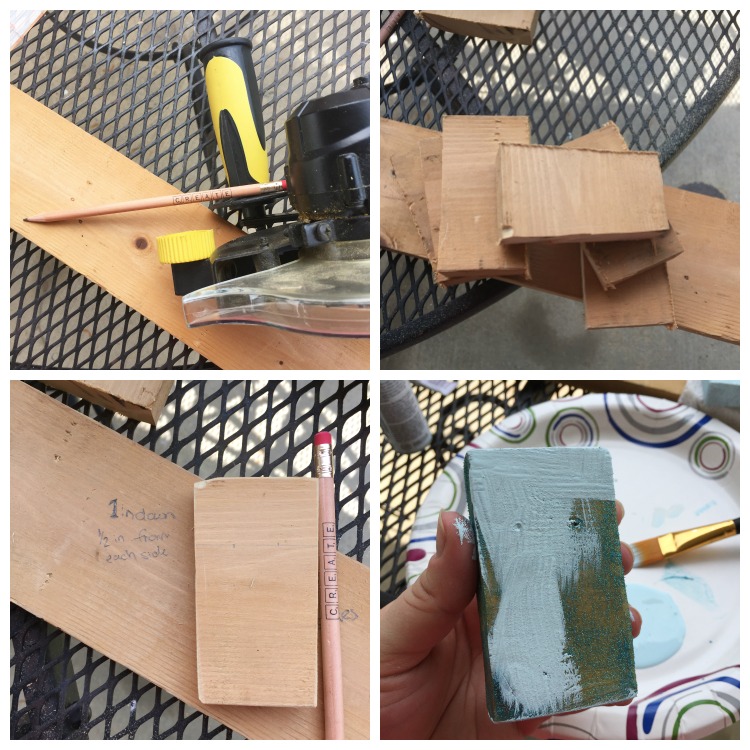
Step #2. Cut your 1 x 4 piece of wood into 2 inch wide sections and sand down all the rough edges. A table saw would probably be best for this.
Step #3. Measure 1 inch down from the top of your wood section and a half inch in from each side.
Step #4. Drill 2 holes, just a little bit bigger than the wire that you’re using, on the spots you marked.
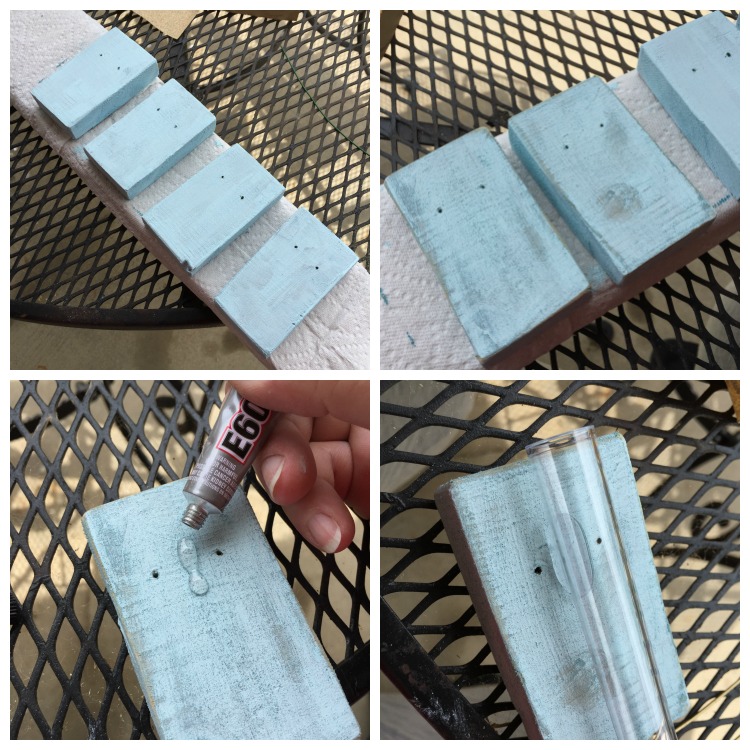
Step #5. Paint! I went with 2 layers of paint. The first one was an acrylic blue glitter, the second a robins egg blue. Allow the paint to dry completely.
Step #6. Use the sand paper to distress the little wood blocks and add character.
Step #7. Add a 1 inch line of glue between the 2 drilled holes. Allow to sit for a few minutes to set. Then add a test tube.
Step #8. Take a piece of the wire and bend it. Then pull it through the holes, over top of the test tube. Set them aside until the glue is totally set and the test tubes are secure. Take an hour or 2.
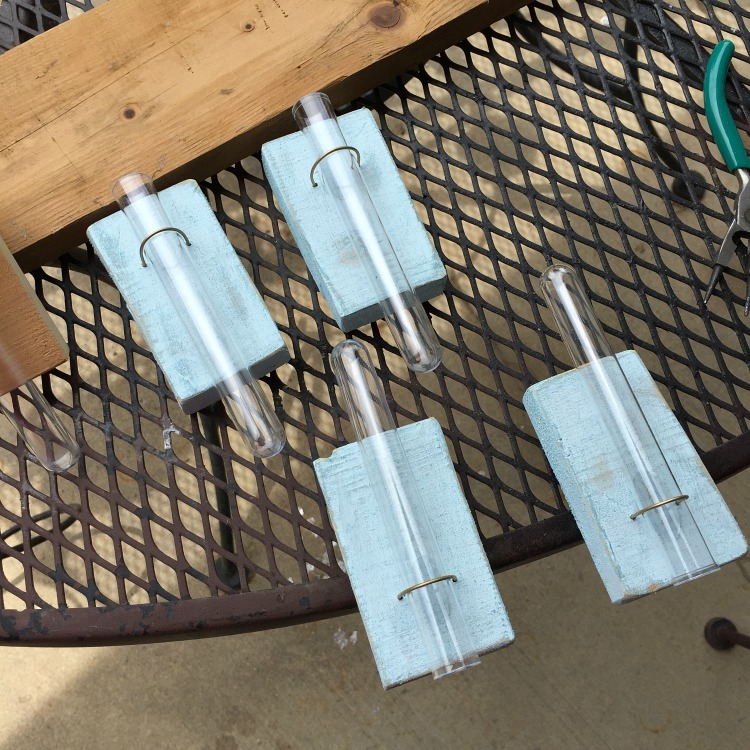
Step #9. Once everything is totally dry and set, trim the wire on the back to an inch-ish long. Bend and press the wire ends against the back of the wood block.
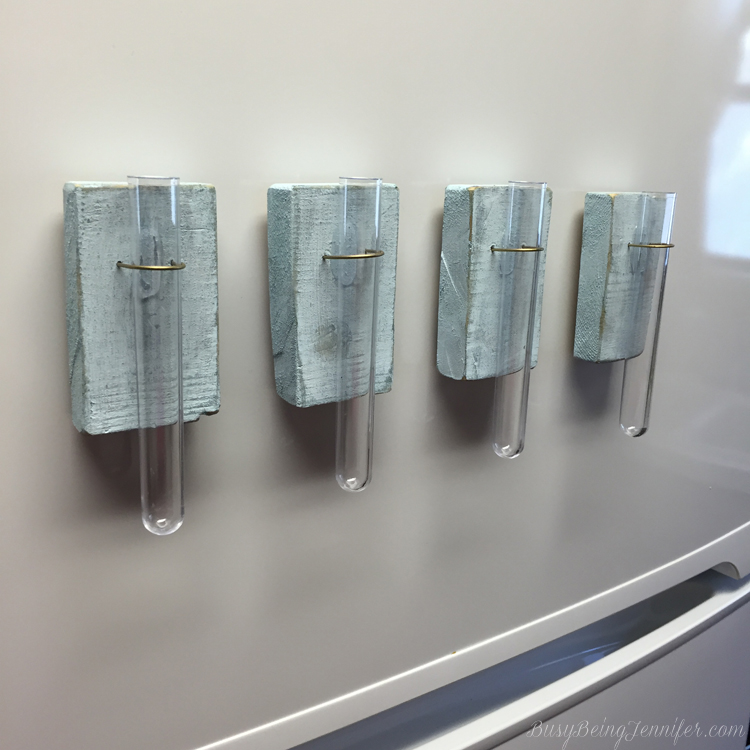
Step #10. Add 2 globs of glue to the back of the blocks of wood. Allow then to set a few minutes to get tacky. Add 2 magnets and allow them to set and dry.
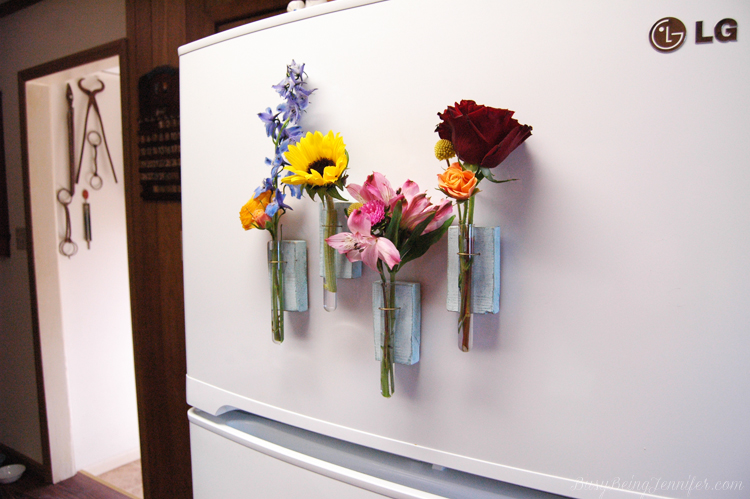
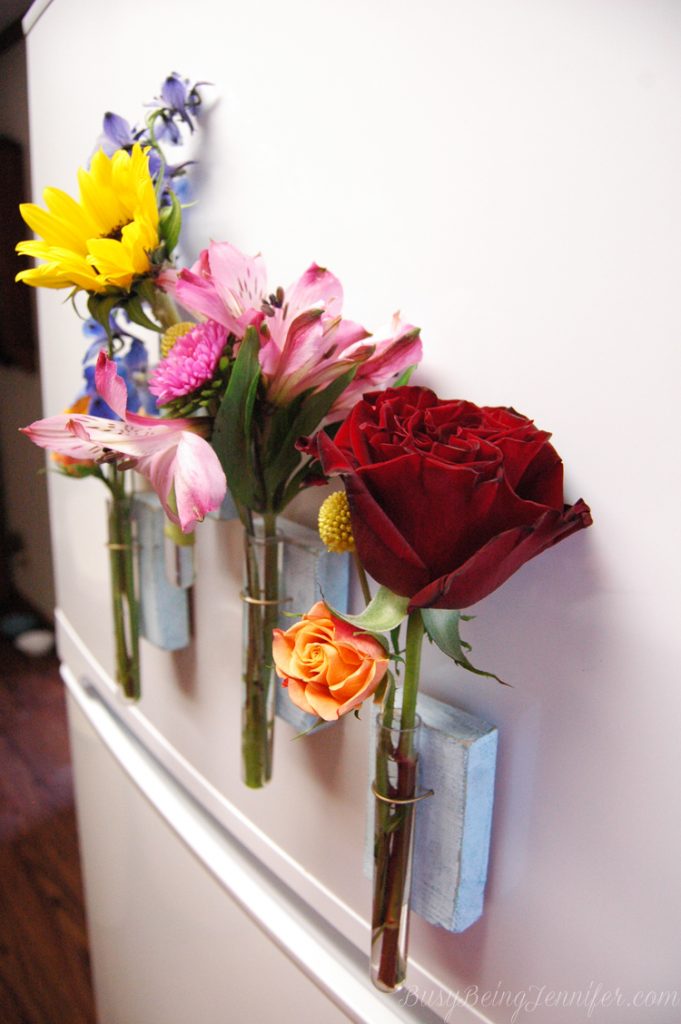
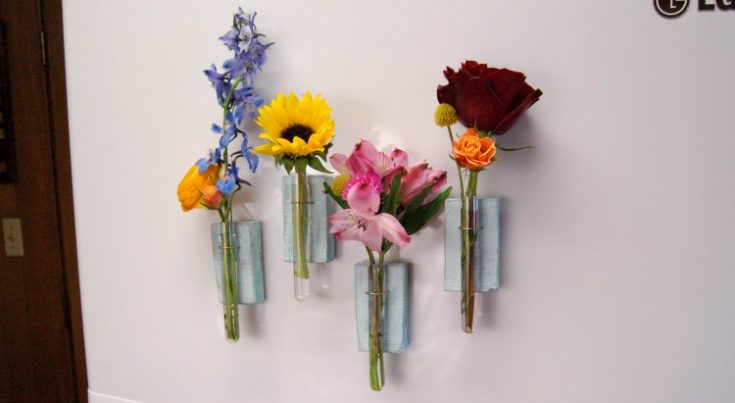
And You’re Done! You’ve got your very own DIY Magnetic Test Tube Vase!
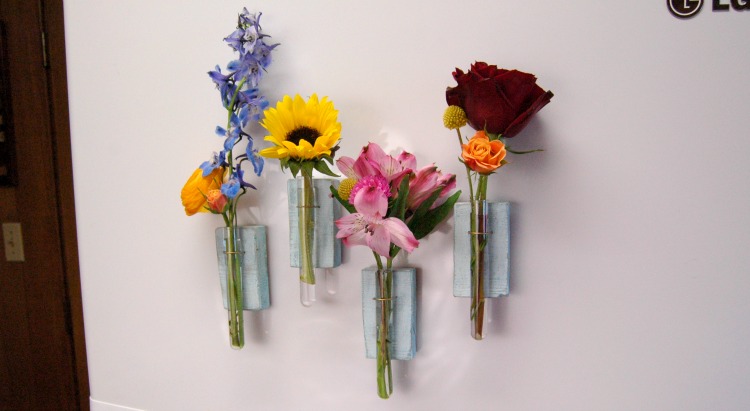
All you have to do now is add some water and some gorgeous wholesale flowers from fiftyflowers.com to your DIY Magnetic Test Tube Vase and then stick them to your fridge! And let me tell you, every time I walk into my kitchen and see these pretty flowers, I smile! And the flower goodness didn’t stop there! I got to put together mason jars full of flowers and drop them off to friends and even a few strangers as a “random act of kindness”. It was so much fun!
FiftyFlowers.com is your online source for wholesale flowers, cut and shipped directly to your doorstep from farms around the globe. The flower specialists at FiftyFlowers will help you plan floral arrangements for your party, event, or crafts. The customer service team is trained to set you up for success so that you can order the right flowers for your project, know how to properly care for them, and be ready to create your arrangements. Then even have a complimentary floral design consultation service available if you need it!
And let me tell you, I was super impressed with the customer service! From beginning to end, I was informed of every step of the process of getting my flowers! I got a text when they were out for delivery and a conformation message when they arrived. Awesome right? Taking care of all the blooms was made easy with the care directions that were sent to me as well. And I got almost 10 days of perfect floral blooms from the flowers I received!
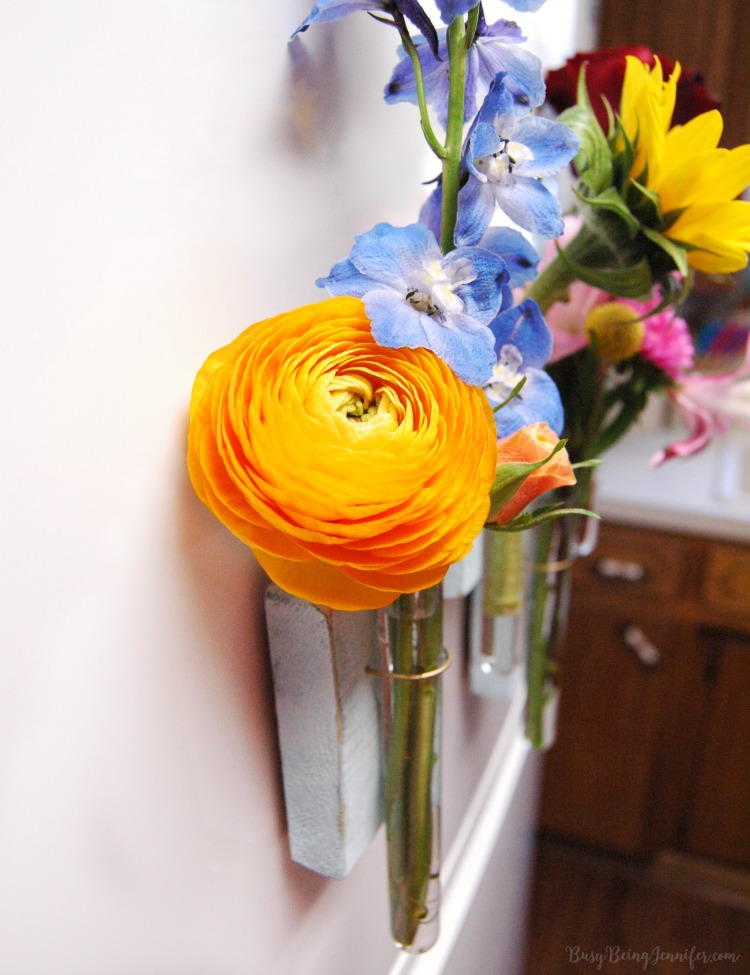
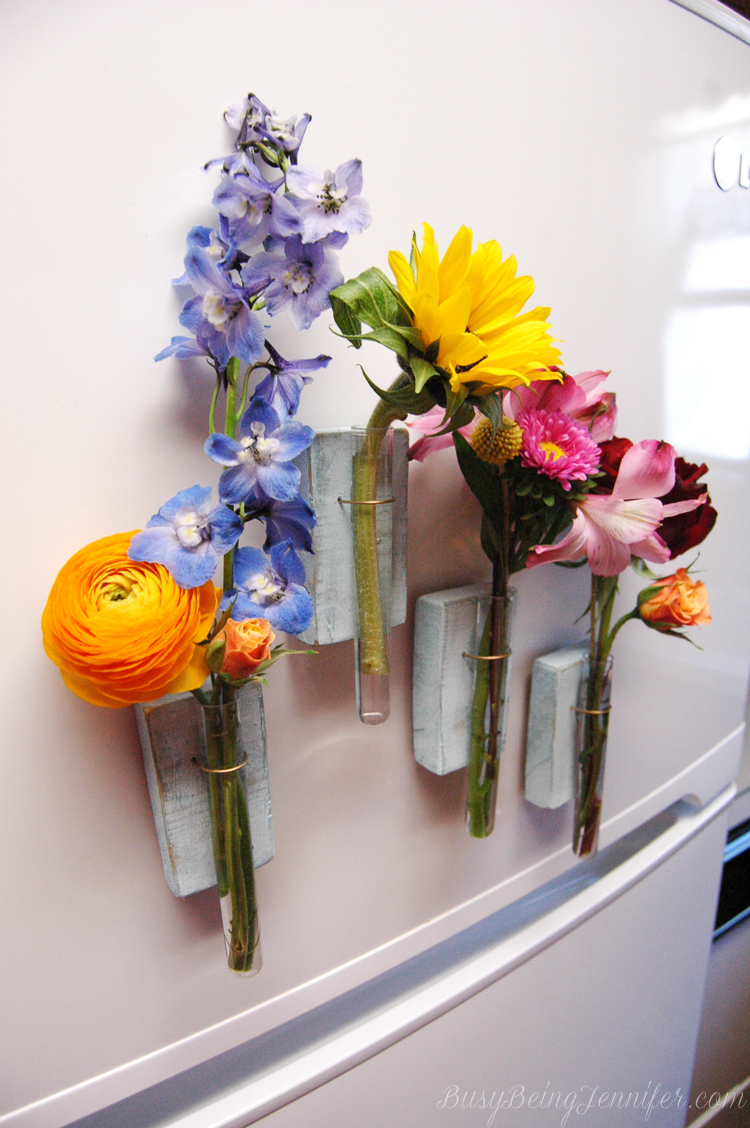
I absolutely loved waking up every morning, seeing my DIY Magnetic Test Tube Vase full of flowers when I went to make my morning coffee!
DIY Magnetic Test Tube Vase
I've had this DIY Magnetic Test Tube Vase idea rolling around in the back of my brain for a while! So when fiftyflowers.com wanted to partner with me to create an awesome floral DIY, I jumped at the chance!
Materials
- Wood - 1 x 4 (at least 8 inches long)
- test tubes
- saw
- paint
- industrial strength ceramic magnets
- gold spray paint
Tools
- pencil
- sand paper
- e6000 glue
- drill
Instructions
- Cut the wire into 8 inch sections and spray paint it gold. Might seem a little odd, but the gold is better than the green of the floral wire. And, I was working with what I had on hand. You could totally just get colored wire.
- Cut your 1 x 4 into 2 inch wide sections and sand down all the rough edges. A table saw would probably be best for this.
- Measure 1 inch down from the top of your wood section and a half inch in from each side.
- Drill 2 holes, just a little bit bigger than the wire that you're using, on the spots you marked.
- Paint! I went with 2 layers of paint. The first one was an acrylic blue glitter, the second a robins egg blue. Allow the paint to dry completely.
- Use the sand paper to distress the little wood blocks and add character.
- Add a 1 inch line of glue between the 2 drilled holes. Allow to sit for a few minutes to set. Then add a test tube.
- Take a piece of the wire and bend it. Then pull it through the holes, over top of the test tube. Set them aside until the glue is totally set and the test tubes are secure. Take an hour or 2.
- Once everything is totally dry and set, trim the wire on the back to an inch-ish long. Bend and press the wire ends against the back of the wood block.
- Add 2 globs of glue to the back of the blocks of wood. Allow then to set a few minutes to get tacky. Add 2 magnets and allow them to set and dry. And You're Done! You've got your very own DIY Magnetic Test Tube Vase!
Need some flowers for an upcoming event or to bring some colorful blooms into your home? Use BUSYBEINGJEN10 to receive 10% off your purchase from now until August 18th.
Be sure to check out FiftyFlowers.com!
Facebook | Pinterest | Twitter | Instagram
These are adorable, and this is such an easy DIY! I love the finished product.
These are cute and different than the usual stuff we put on our fridge. I like that it’s easy to do and you can switch out the flowers especially for the holidays
Oh my goodness this is amazing!
Wow…first off, those flowers are GORGEOUS. They almost don’t look real…that spiral-y orange one is my fave for sure. And second, what a super cool project. These would be so fun in an office break room on the fridge or other “sterile” areas…they bring such life to an ordinary surface. Awesome job, Jennifer!
Thinking of doing this in our hallway. it woudl be a fun addition to our dark hallway. Love this idea. And for the winter months we could do “fake flowers”.
L-O-V-E These!
These are just adorable! What a super cute project. You did a really great job!
It is amazing what fresh flowers can do to my mood. I love these flower holders! They’re such a great idea to spruce up a small space, without taking away tabletop space. And they’re so easy to make!
What a cute idea! Looks super easy and the outcome is fabulous! I would love one as an accent in my home!
This looks like such a cute craft! My daughter loves to do DIY and we both adore flowers and have them around in the house. We’ll definitely have to try this together. Thanks for sharing.
Such a fun idea, especially for a party! thanks for sharing on craft schooling Sunday!
Such a cute idea. The flowers are so pretty.
How cute! It makes your fridge look so bright and pretty. Thanks for joining the Family Joy Link Party!
So pretty! Visiting from Bewitch’ Project Block Party and pinning to Pinterest!
These are adorable. I’ve seen variations of the test tube vase here and there, but I love that these are magnetic and can be stuck on the fridge! Thanks so much for sharing such a neat idea with us on #shinebloghop!
These are very cute and I love the use of the test tubes. Visiting from Inspiration Spotlight party.
That is so creative and I can see how much it brightens your kitchen! Very pretty! Thanks for sharing with us at Share The Wealth Sunday. I hope we see you again tonight!
My scientist friend will love this diy test tube vase. I’ll pass it along to her.
Great tutorial! These little test tube vases are adorable — perfect for displaying a few small flowers from the yard. So often, I have a few marigolds or irises that I want to bring in, but not enough for a big bouquet. These test tubes would be perfect.
It’s pretty awesome idea!
Everybody loved the first day of School too.
Thanks for sharing, it’s very informative for me.
I’m going to steal this awesome idea and tuck it away
Cheers