This DIY Concrete Card Holder post contains affiliate or brand partner links. Read our full disclosure here.
I love picking a mantra for each new day. Having a phrase I can hold on to, repeat to myself and focus on in moments of tension or anxiety has made a world of difference! Choosing a phrase is the easy part, knowing where to stick it as a constant reminder, isn’t so simple! For a while I was taping it to the wall above my laptop or my desk. Then I switched things around and now I face away from the wall… so my old “usual spot” wasn’t working any more. I needed something directly beside my laptop!
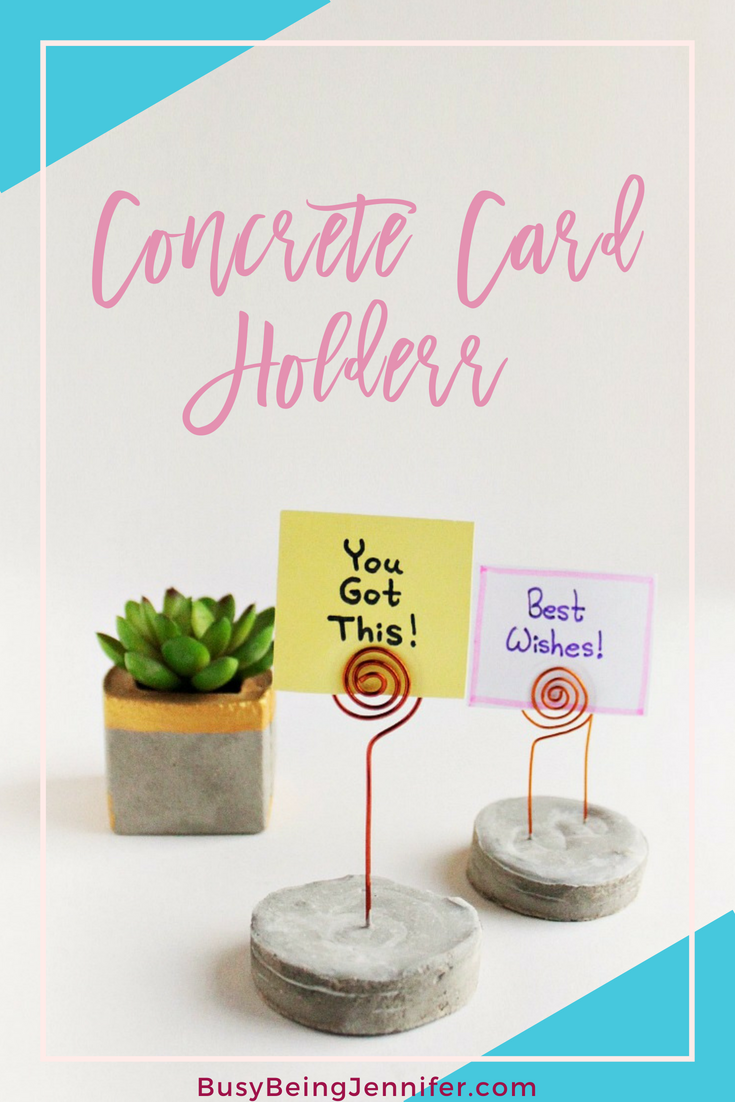
Sooooooo… whats a girl to do but get crafty! This DIY Concrete Card Holder is perfect for holding my daily mantra, displaying notes or cards that have been gifted to me, or showing off a photo! I’ve used these little guys for ALL of the above over the last few weeks and I LOVE how easy they are to make!

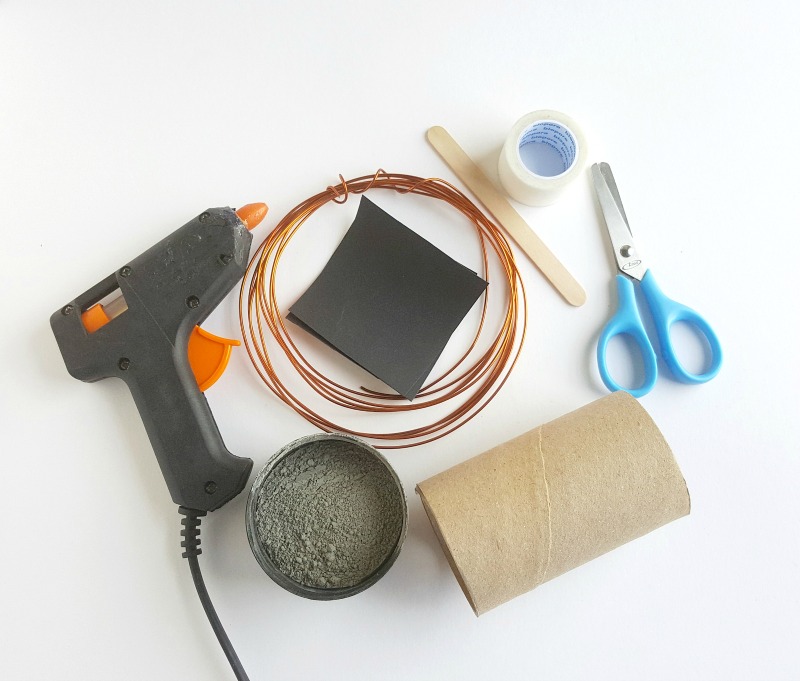
DIY Concrete Card Holder Supplies:
- Cement and sand mixture (50:50)
- Toilet tissue roll
- Cardstock paper
- Plastic bucket or pot to mix cement
- A stick to mix the cement
- Scissors
- Adhesive tape
- Craft wire – 16 gauge
- Craft pliers – cutting, looping, flat nose
- Hot glue gun
DIY Concrete Card Holder Instructions:
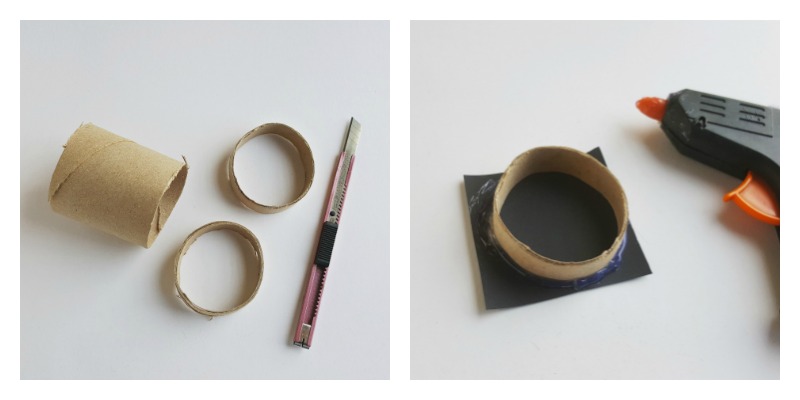
Take an empty tissue paper roll and cut it into small pieces lengthwise, about 1 inch.
Cut a square of cardstock larger than the diameter of the toilet paper roll. Place the cut out toilet paper roll piece on the cardstock square and use hot glue to attach both pieces together. You want to seal the toilet paper roll cut out all around its sides, to the cardstock, with the glue… we don’t want concrete leaking out! This will be our primary container.
Now take the craft wire and without cutting it from the bundle bend it 4 times towards the same direction to create a square pattern. Bend the current wire (last bent part) diagonally inside the square pattern. This is the part of the wire that wll be buried inside the concrete so it doesn’t have to be perfect or even.
Keep the square pattern intact and bend the remaining wire to 90 degrees towards the opposite direction of the square pattern..
Decide the length for the note stand. Keep the decided length and about 2 inches extra; and then cut off the wire from the bundle. Create a twirl pattern using the 2 inches of extra wire.

In a plastic bucket or pot add the cement and sand mixture. The proportion of cement and sand should be 50:50.
Add water to the cement and sand mixture. The water cement ratio should also be about 50:50 but in case you cannot measure the ratio add a small amount of water at a time and mix. Do not add too much water at once and try keeping the mixture thick. Less water means more strength and less time to dry. Mix them really well using a stick.
Fill the primary container with the cement mixture.
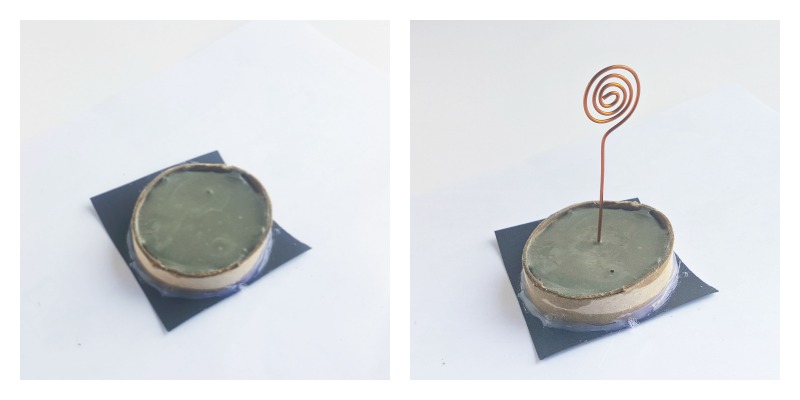
Take the wire stand prepared earlier and place the square part inside the cement of the primary container. Gently push the wire stand inside the cement mixture until it reaches the bottom. Gently tap along the sides and bottom to wiggle out any bubbles and allow the cement to settle fully.
Dry overnight or a minimum of 24 hours.
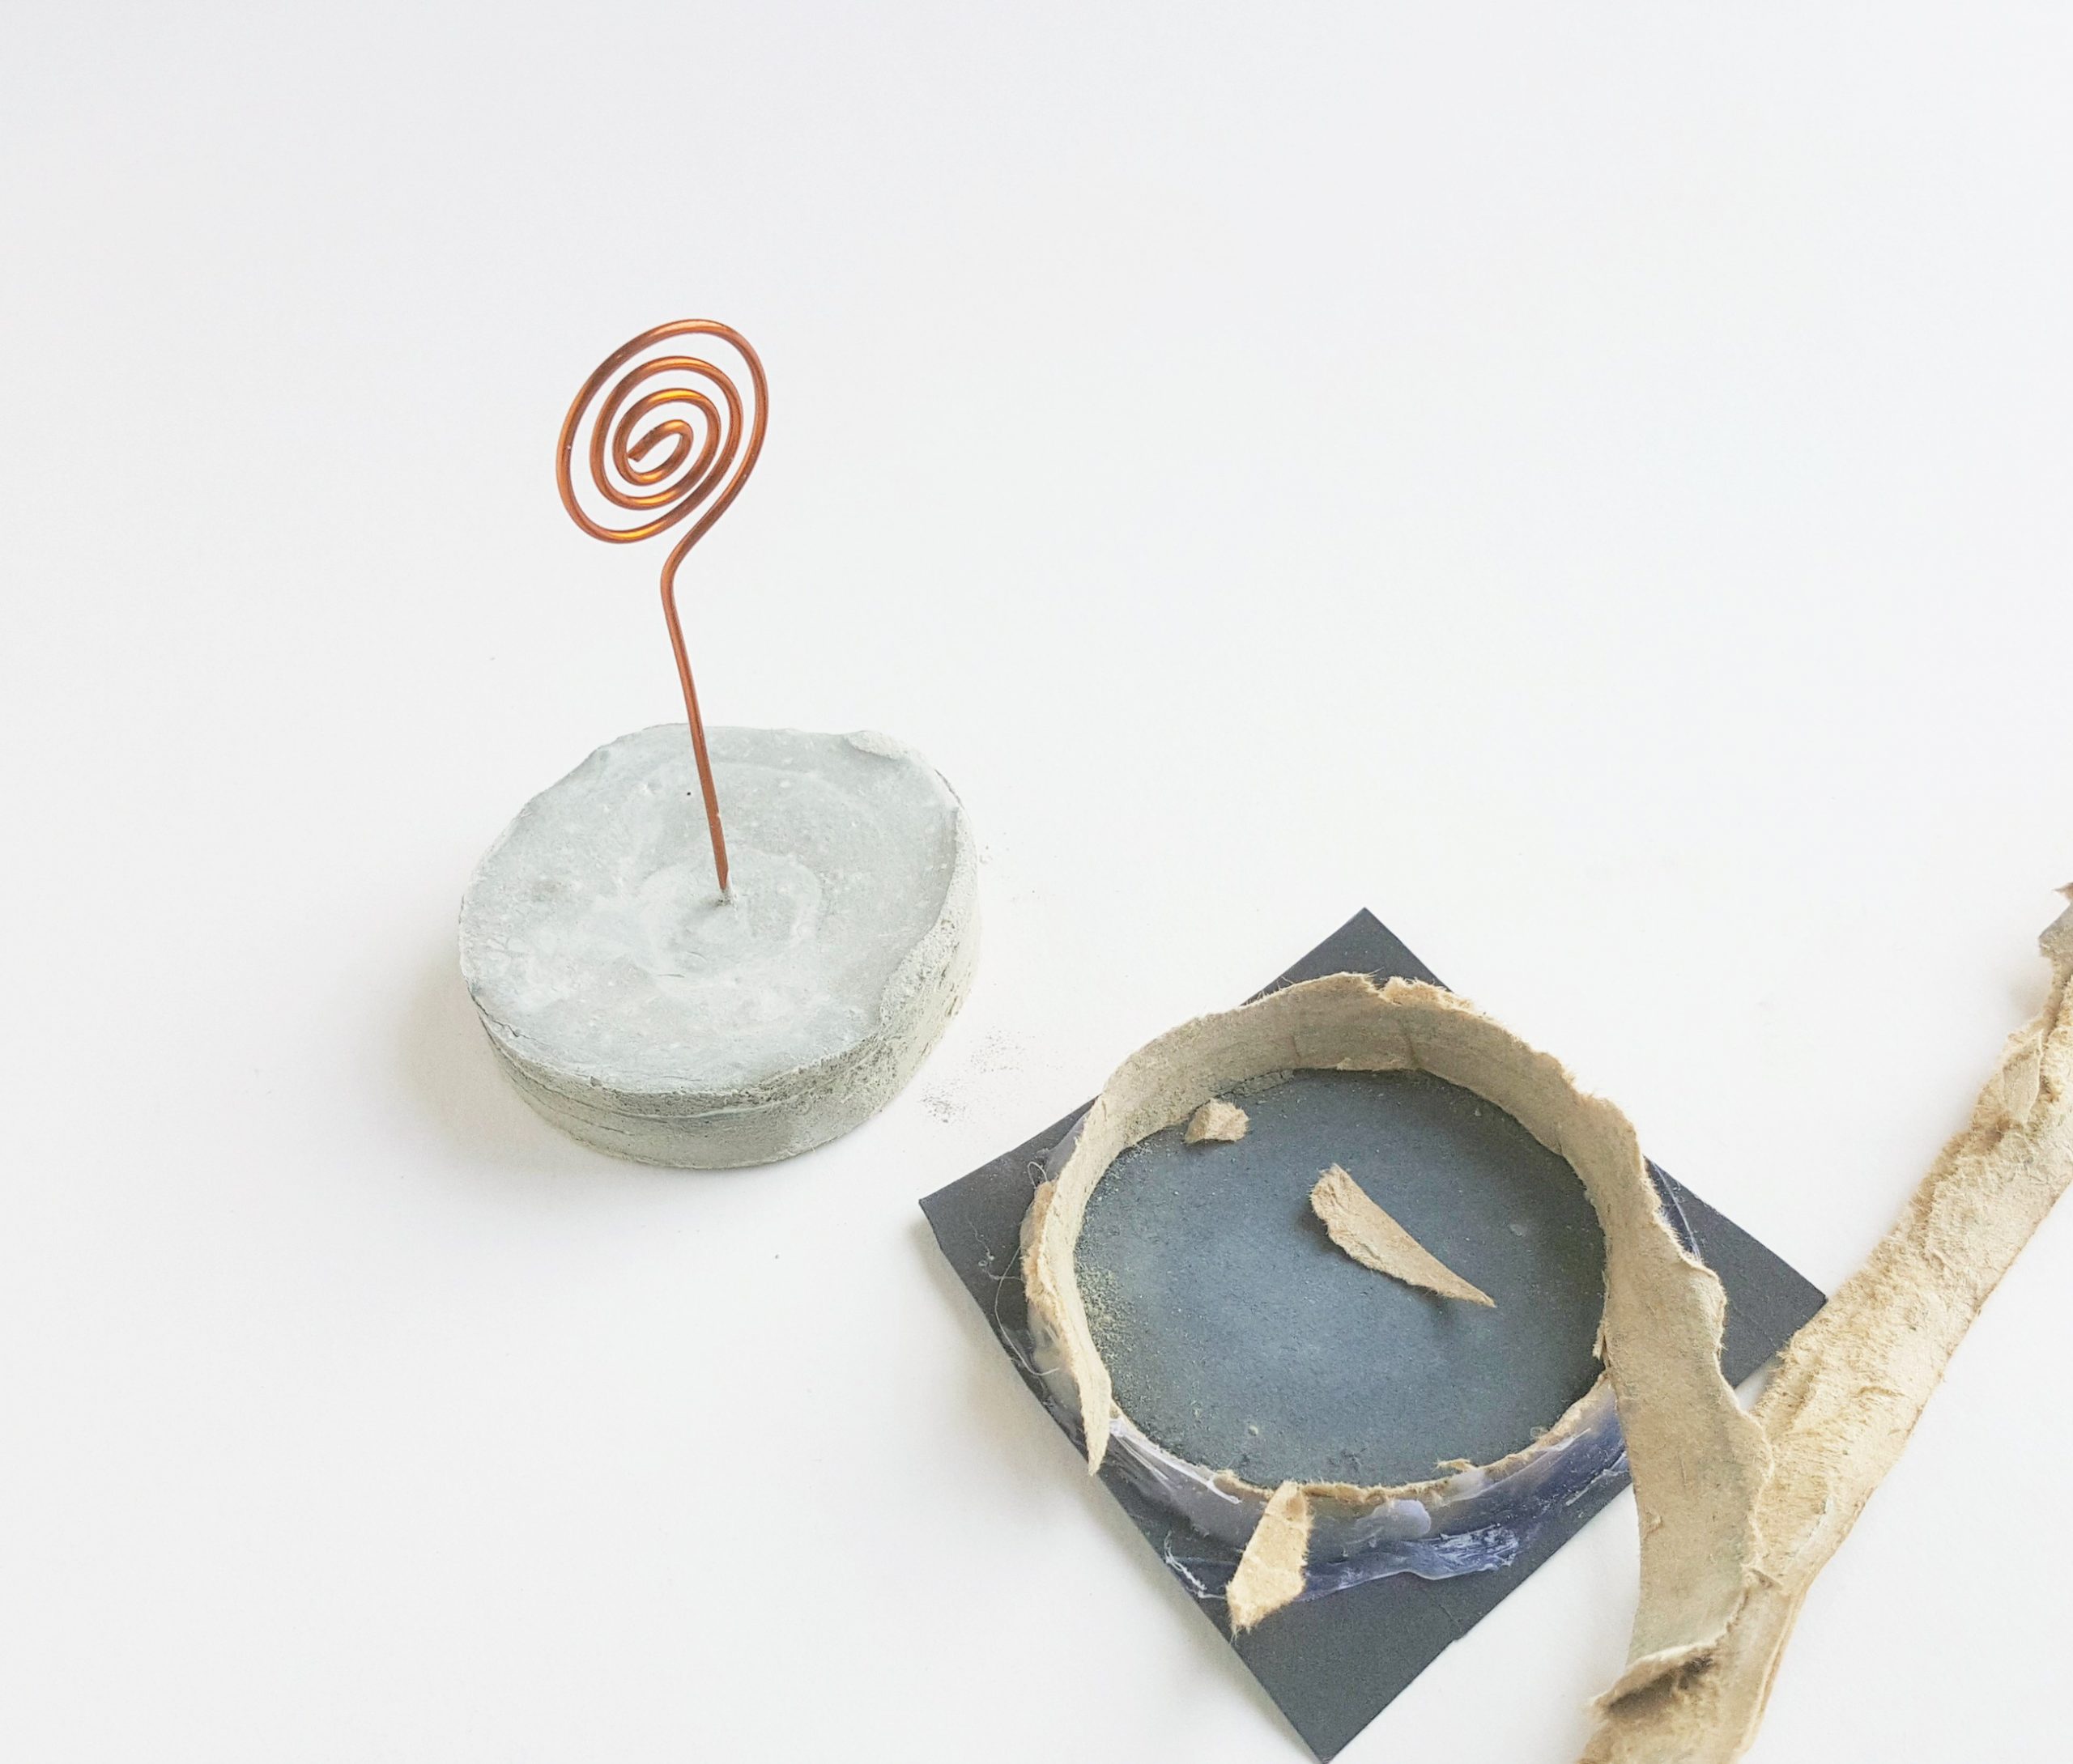
Once your concrete has dried, take off the cardstock and toilet roll container carefully. First rip off the toilet paper roll piece and then the bottom cardstock. If desired, gently sand the rough edges with a high grit sand paper.

And you’re done! All that is left to do is pick a daily mantra to display, or your favorite card, or a photo! You can display almost any type of paper product in this wonderful DIY Concrete Card Holder!
Need some daily mantra inspiration? Check out my free printable daily mantra cards!
What a fun craft! I love that it’s a manageable cement craft. Pinned and thanks for sharing this on Merry Monday.
Love this! Thanks for sharing at To Grandma’s House We Go DIY, Crafts, Recipes and More Wednesday Link Party! Pinned it to Pinterest! Hope to have you join the party next week!
So cute! I think they would make great gifts. Thanks for sharing with SYC.
hugs,Jann
Easy and fun! I want some of these for my business and home!
What a great little project Jennifer… perfect for a gift for that person who has everything.
Thank you for sharing at Create, Bake, Grow & Gather this week. I’m delighted to be sharing this project at tonight’s party and pinning too.
Hugs,
Kerryanne