There have been a lot of babies making appearances around here lately and that means lots of baby showers! I love baby showers. Really! Its so much fun watching the Mom’s / Mom’s to be open their gifts and giggle and squeal over each tiny, precious thing 🙂 What I like even more is the chance to create something special and unique for each adorable little one 🙂

Of course, there are times when I’m swamped and totally forget about the baby shower until the day of! Opps! I might-a-sort-a-maybe did that yesterday 😉 A friend of mine is due in about a month with her third, and we threw her a surprise shower last night! At about 4 o’clock yesterday I was whipping up this adorable baby blanket and it took me less than 30 minutes!
Need a last minute baby gift? Can you sew a *mostly* straight line (I swear I will never master a truly straight seam!)? Got about 30 minutes? Then you can totally make this too!! This is an easy, basic beginners tutorial!
What you need – A sewing machine, thread, scissors, rotary cutter, ruler, cutting mat, iron, cute fabric and coordinating fleece.
Step 1 – Iron both fabrics, then cut a 24.5″ by 36.5″ rectangle out of each fabric.
Step 2 – Put the right sides of your fabric together and smooth out any wrinkles. Feel free to pin to keep the fabric in place. I choose to skip that part.
Step 3 – Starting in the middle of one of the long sides, start sewing using a 1/4 inch seam allowance. Sew all the way around, stopping 4-5 inches from where you started (very important!!).
Step 4 – Trip off any extra fabric and clip the corners. Then, using the space you left, turn your fabric right sides out. Push out your corners and iron flat.
Step 5 – Pin the opening closed. The start sewing your top stitch just above the opening. Sew all the way around using a 1/4 inch seam allowance. Be sure to stitch an inch or 2 past where you started to ensure durability.
Step 6 – Finish off by tucking your threads and giving the whole thing s quick once over with the iron.
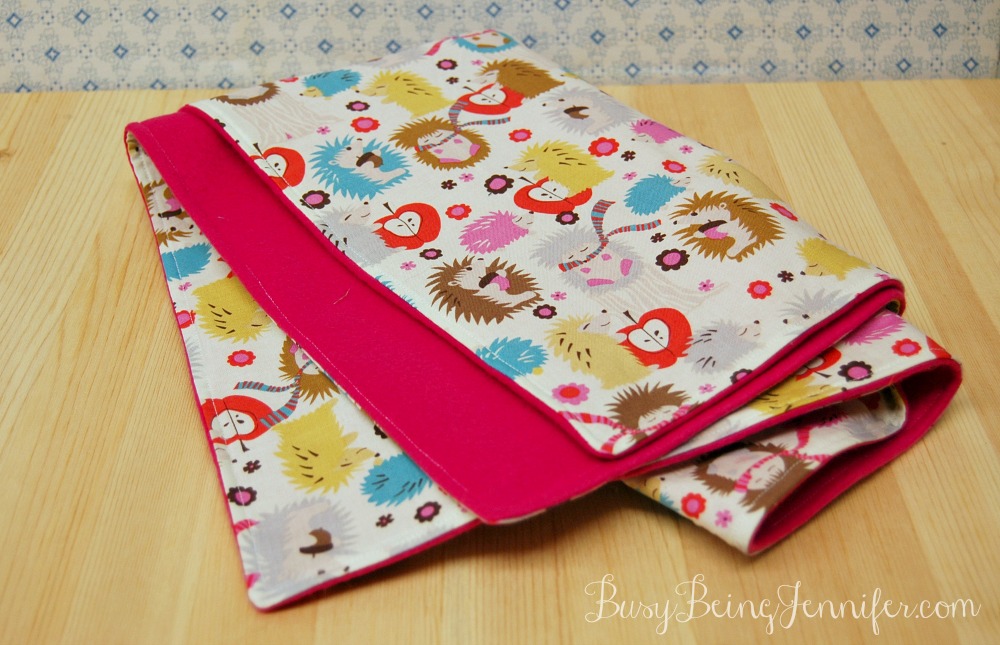
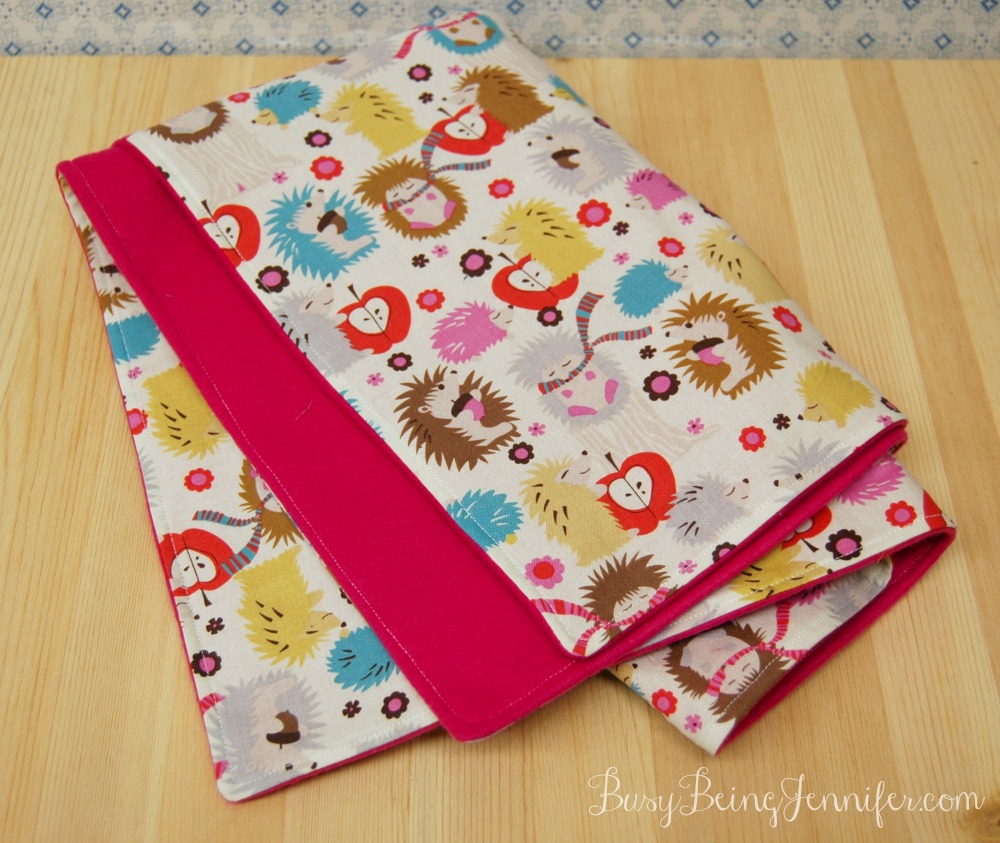
TA DA!! You’ve made an adorable baby blanket!!
Told ya it was easy!
And isn’t that hedgehog fabric beyond adorable?? I can’t stop making things with it! I’ll have a couple zippies available in this print in Thursdays instagram sale! And *possibly* added to the shop soon!
If you’re brand new to sewing or just a beginner and need clarification on anything, feel free to send me an email and I’ll be happy to help!
PS. Have you ever heard of “lotus birth”? Check out this article about it!
So neat! I love baby blankets…
Got this idea onto some pinterest group boards!
I love this!! And your blanket was absolutely adorable.
Very cute! I'm always looking for easy sewing projects.
love quick and easy! awesome blanket, thanks for sharing!
How lovely! The fabrics are gorgeous!
Have a great day!
Hugs and love from Portugal,
Ana Love Craft http://www.lovecraft2012.blogspot.com
Wow…that was quick and easy!! Thanks for sharing!!
I would love it if you hop over and share your stuff on My 2 Favorite Things on Thursday! http://www.cookinandcraftin.com/my-2-favorite-thi…
How cute! I made my first for my niece but it didn't come out as cute as this! I'll have to try this on the next niece or nephew! Thanks for linking up at OMHG WW this week!
Love this fabric! Such a good idea for a last minute gift.
So cute! I really love the Hedgehog fabric. Thank you for sharing this great tutorial. I shared it on my Pinterest board DIY sewing projects.
Cute fabric! Thanks for sharing at My Favorite Things Party! Pinned! Hope to see you again soon.
Hi Jennifer! I loved this project and am pinning it to my SEWING PINTEREST GROUP BOARD:
https://www.pinterest.com/mennonitemom/sewing-stuff/
If you want to join my board, you know how to get a hold of me 🙂
Merry Christmas to you too!!!