I love all things button. My first post here on Busy Being Jennifer had a significant amount of buttons, but just a few projects is not enough to satisfy my button cravings. If I had more buttons, I would probably have covered every square decorate-able inch of my house in them.
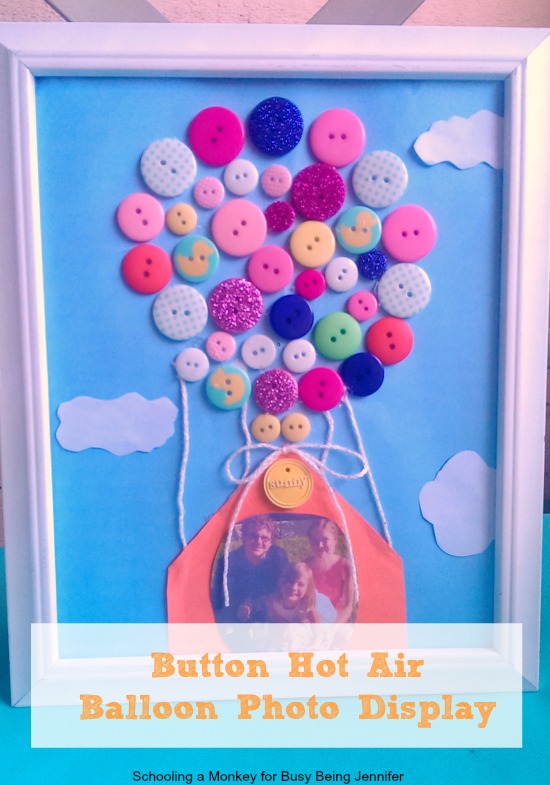
I saw this image on Pinterest several months ago, and it happens to combine my love of buttons, hot air balloons, and easy DIY projects. So, naturally, I had to create my own version of this adorable button hot air balloon photo display!

The Internet is not saying who the original source for this image is, which is really too bad, because it is awesome and they should be getting credit for it.
Button Hot Air Balloon Photo Display
The original image is a scrapbook page. I wanted mine to go on the wall, so I made a few design modifications.
Supplies:

- Photo frame with the glass removed
- A photo you love
- Hot glue gun and glue
- Scissors
- Colored paper (I used light blue, orange, and white)
- String
- Buttons
Step 1:
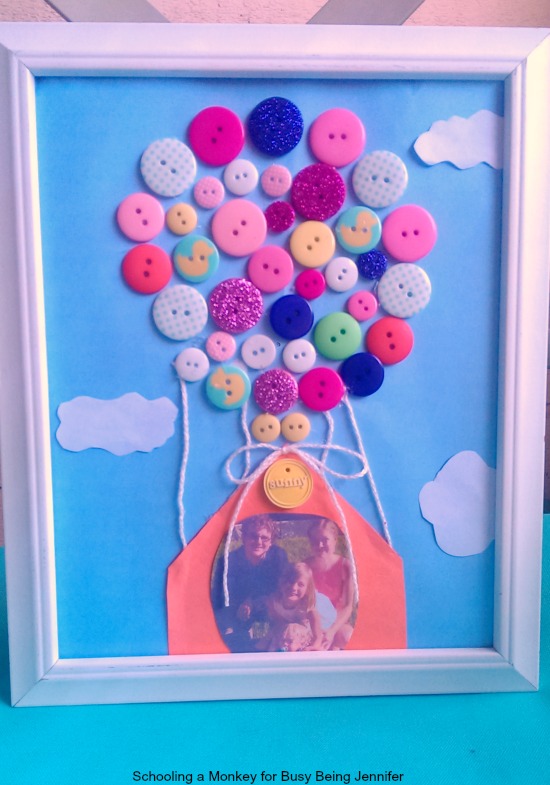
Cut your photo to size. I made a house-style frame from orange paper like in the original image because I thought the photo looked too strange on its own. After the house was complete, I cut the photo to fit in the center.
Step 2
Place your photo on the bottom of the paper. Arrange buttons over the house to create a hot air balloon shape. If you have a lot of buttons, you can overlap them, but I didn’t have quite enough for that so I did a single layer.
Step 3:
Cut strings long enough to reach from your photo to the base of the balloon. The photo becomes the balloon’s basket. Glue the strings to the back of the photo (this is important to do early on- I know because I did it out of order and found it quite frustrating).
Step 4:
Start gluing the buttons in place to make the balloon. When you glue the bottom buttons on, attach the other end of the string before gluing them down to the paper. This saves time and prevents paper tearing/crinkling.
Step 5:
Cut some clouds from white paper and glue them in the sky surrounding the balloon and basket. I almost skipped this step, but I’m glad I didn’t because it really added something to the design.
Step 6:
Optional: Add a string bow somewhere to your photo frame. I thought it added a fun touch. I also added a button to the roof of my house just for fun and a bit of extra flair.
Step 7:
Place the balloon picture inside your frame and display wherever you like!
If you also make this project, share it with us!
That is so cute! I love it! my grandma had a huge collection of buttons I would love to try this thanks for sharing 🙂
How cute is this? I love this idea! So creative!!!
Gorgeous and easy!
I can’t think of a better way to use up all those old buttons! It’s a colorful piece that would look great on display. 🙂
Another thing about buttons: they make or break an outfit! With you having so many of them you could not only use them for crafting, but also to customize all kinds of clothes ;D
This is adorable! I would have never thought to do that. And ya know what? I saw so many jars of buttons for sale this past weekend at Canton. I should have grabbed one (or two, or three!). I’m sure there are many other cute projects do with with buttons including this one. Very cute, friend!
OMG Jennifer this is too cute. I am going to have to add it to my list.
what fun! going to have to try this project with my girls- looks adorable!
That is a fantastic project! It would be great for an “UP!” themed birthday party as well.
This would be such a great craft for my nieces to do! Thanks for sharing 😀
This is so cute! My mom went on a hot air balloon ride last summer (it was on her bucket list) I’ll have to make her one of these for her picture!