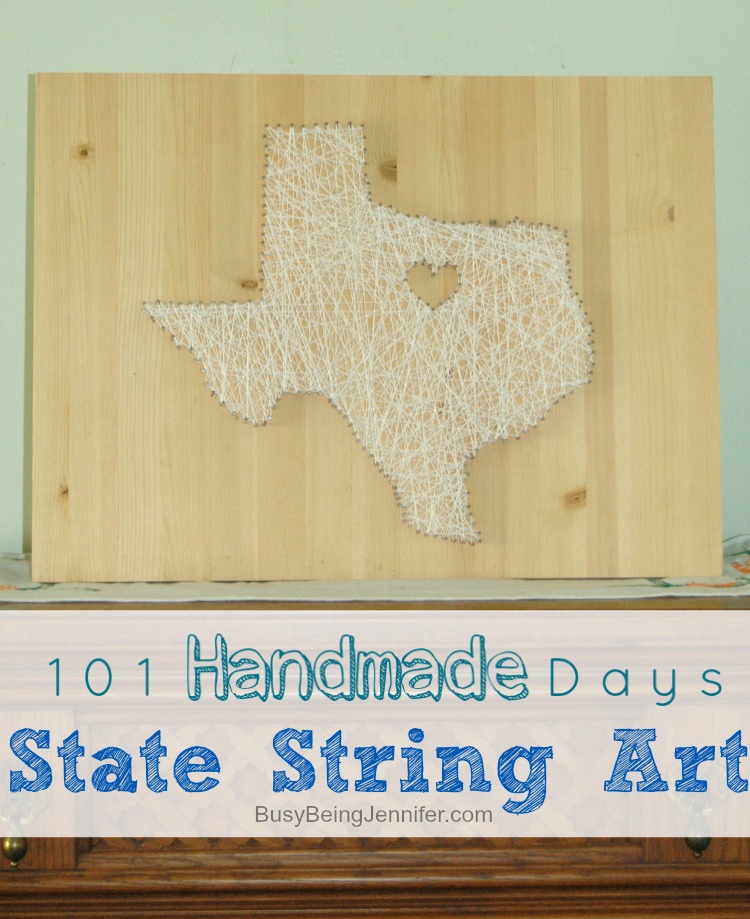
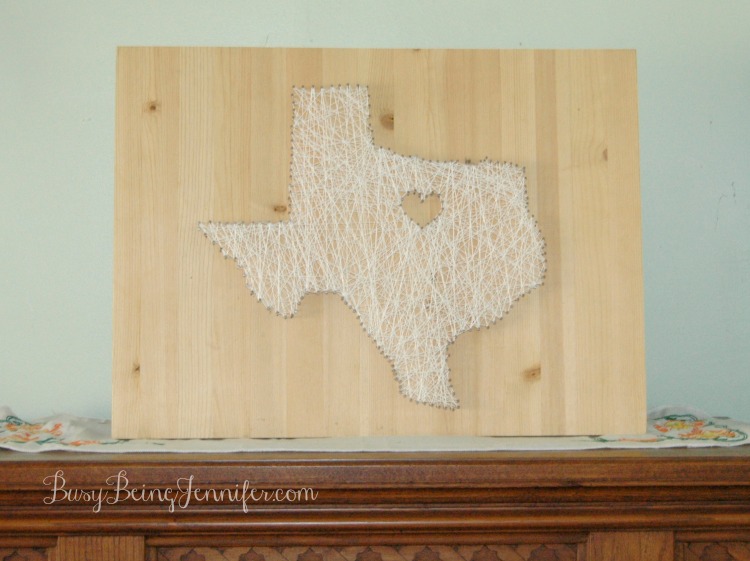
Have you ever had a project on your to do list for far too long? Some DIY State String Art has been on my DIY list for AGES! I even had all the supplies that I would need… I just hadn’t ever gotten around to figuring in out and making it happen! Well… thanks to this here 101 Handmade Days project I’m working on, I finally busted out the wood, nails and string to create my very own state string art!!
If you’ve ever seen string art before, than you probably know it looks sort of complicated. Its really not! I completed this project in about an hour… and 85% of that time was spent hammering in nails, yelling at nails and being annoyed by my “backseat hammering” husband. He’s now convinced that I don’t know how to do any sort of wood working/hammering/construction… and I kept telling him I never claimed to be an expert! 😉
For this project your need a large piece of wood, hammer, nails, string and a template for the shape you want. Clean, paint, or stain your wood first, if you’re so inclined. My hubby convinced me to keep the natural look of the wood, and I love how it turned out!
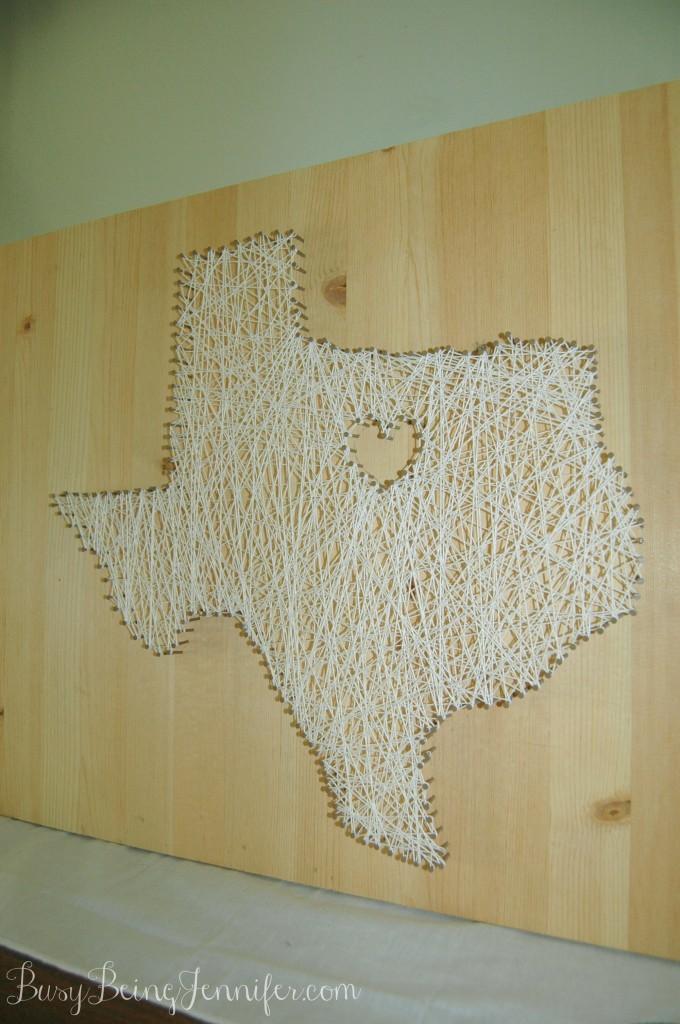
Trace your design onto the wood, making sure its centered. If you’re going for a state string art project, I’d recommend adding a heart “over” your town, especially if you’re doing a large version like this one. It gives you an extra spot to anchor string and adds a fun, personalized touch.
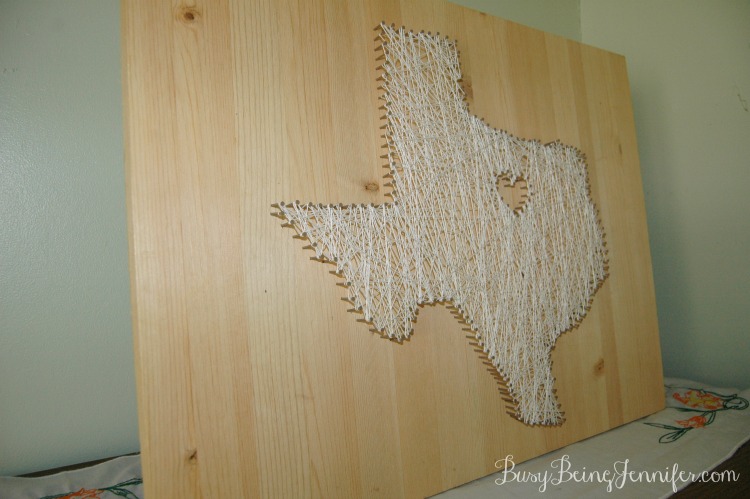
Now, start nailing! You want a nail every 1/2 inch or so. Try to keep the spacing even. Some of my nails are a little closer than I’d like, but it worked out ok.
Once all the nails are in, tie your string to a nail – pick one that will hide the knot. Looking back on this, I probably should have chosen a nail in the center heart, but I went with one on the bottom. When the art is upright, you can’t see it though.
Go nuts with the string! Wind and weave through the nails, covering as much empty space as you can and utilizing every nail. This is definitely the fun part of this project 🙂
Once you’ve strung all the string you want, tie off the string and tuck in the end.
Now you have your very own State String Art! All I have left to do to this fun piece is add a couple of hooks to the back so I can hang it on the wall! In the mean time its hanging out on a dresser and I kinda love waking up and looking at it in the mornings 🙂
Have you ever tried a string art project?


I love this! Sharing & definitely pinning, of course!
So much LOVING IT here!
I’m in love with this! It came out so great.