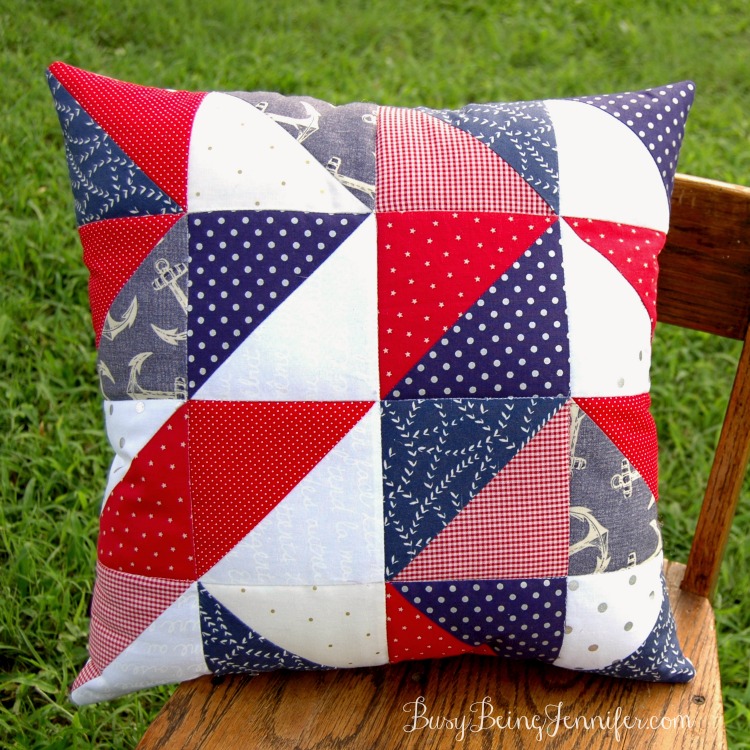
You might have noticed that I’m slightly obsessed with pillows and pillow covers. There is a chance that it *might* be getting out of control… but I think that as long as I give them away, its a safe obsession right?? Please tell me I’m right 😉 Anyways… I made another pillow for my in-laws patio set! I shared this Red, White and Blue Pillow Cover that I made for them last week. Well, I’m adding to their pillow collection only this time, its not a pillow cover, its just a fun quilted pillow!

While its is Red, White and Blue, its not really limited to a particular holiday. The fun mix of different patterned fabric and a random pattern make it a fun quilted pillow suitable for everyday!
Want to make your own? Here’s what you need:
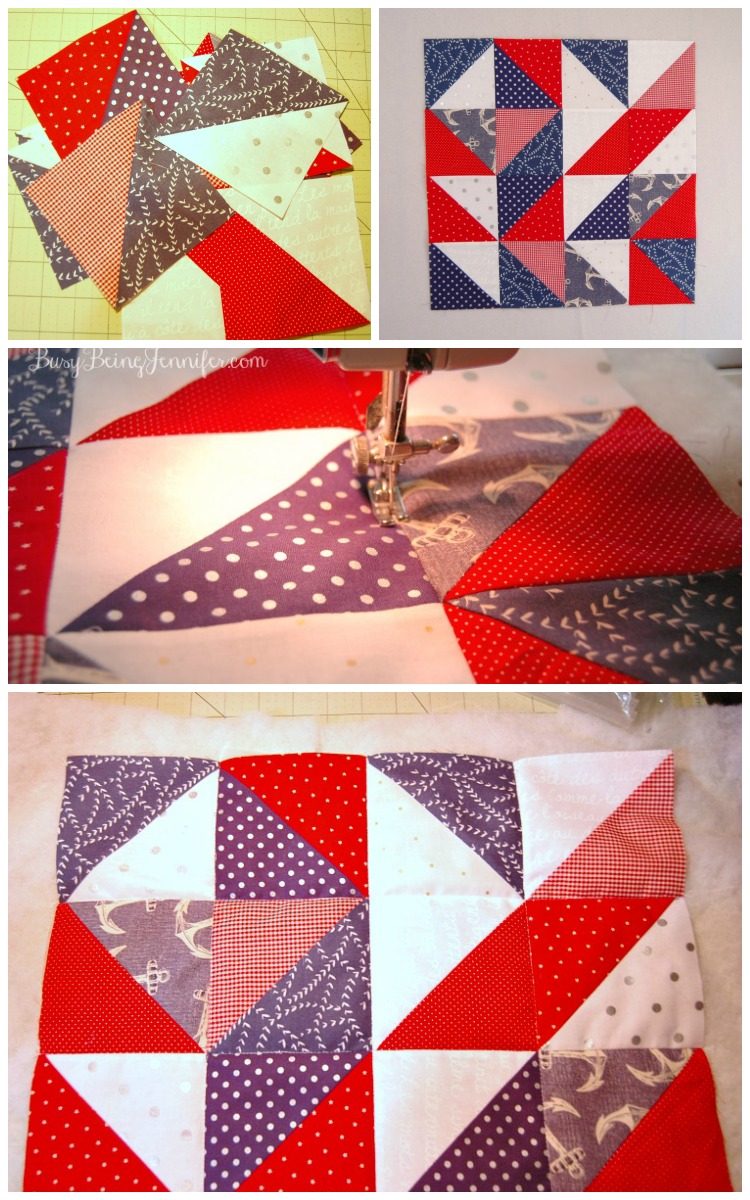
16 Half Square Triangle {HST} blocks, finished at 4.5 inches (HST block tutorial) in a mix of different colors and fabric patterns.
Sewing Machine
Batting
Polyfil
Thread
Quilting Ruler
Rotary Cutter
Instructions:
Start by making your HST blocks. You need at least 16, but I always make a few extra so that I have options when I’m doing my lay out.
Lay your finished HST’s in 4 rows of 4 to make a square. You might want to play around with the placement. I intentionally avoided a specific pattern (trying to force myself a little out of my quilting comfort zone). The only thing I tried to ensure what that the same fabric wasn’t directly next to itself.
Once you’ve settled on your layout, sew your HST’s together in strips of 4, followed by sewing your strips together to create the top of your quilted pillow.
Next, we quilt! Grab a piece of batting bigger than your top piece – Approximately 17 inches square should work just fine. I didn’t want to detract from the fabric on the front, so to quilt this piece I decided to “stitch the ditch”, that just means sewing straight lines down the seams where you joined the squares together.
Once you’ve quilted the top section, set it aside.

For the back piece, I grabbed a large square (roughly 17 inches square) of the red, white and blue herringbone fabric I’m in love with and another large piece of batting.
For this piece I did a little free motion stipple quilting. Basically a one lonnnnngggggg squiggley line all around the fabric piece.
Trim off the access batting from both pieces. The back piece will be a little bit larger than the front piece, but thats ok.
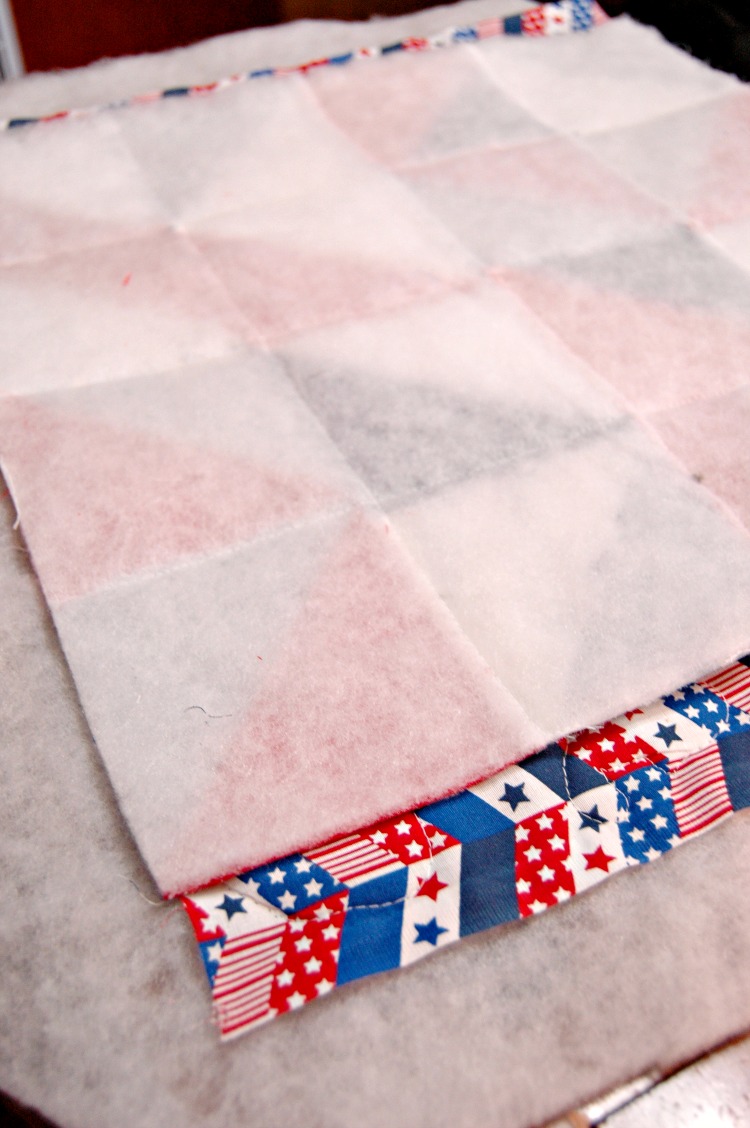
Now, we sew the two quilted pieces together to form the pillow! Line up at least one edge of the front piece with the back, batting side out so that the right sides of the fabric are together.
Sew a 1/2 inche seam all around the top square, leaving a 3-4 inch gap so that you can turn it right side out.
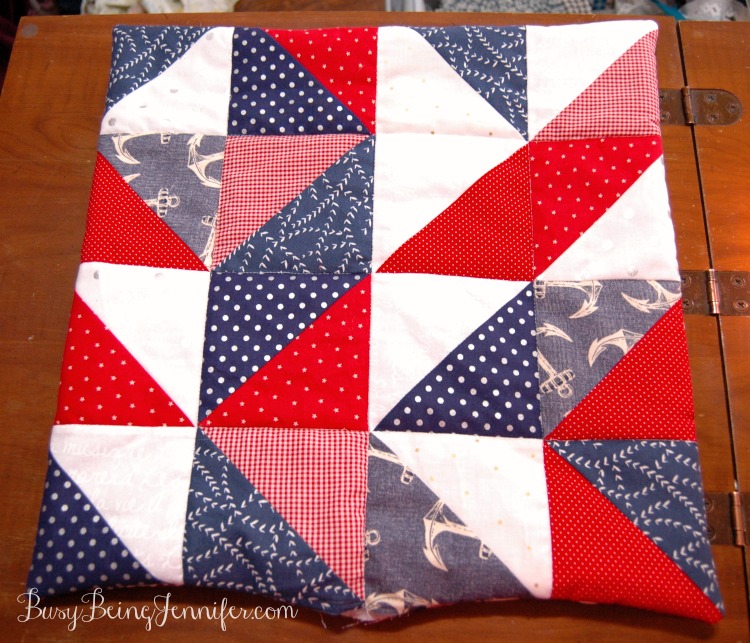
Trim the access fabric and clip your corners. Turn right side out.
Now comes the fun part! Well at least its the fun part for me 🙂 Stuff your pillow full of polyfil!
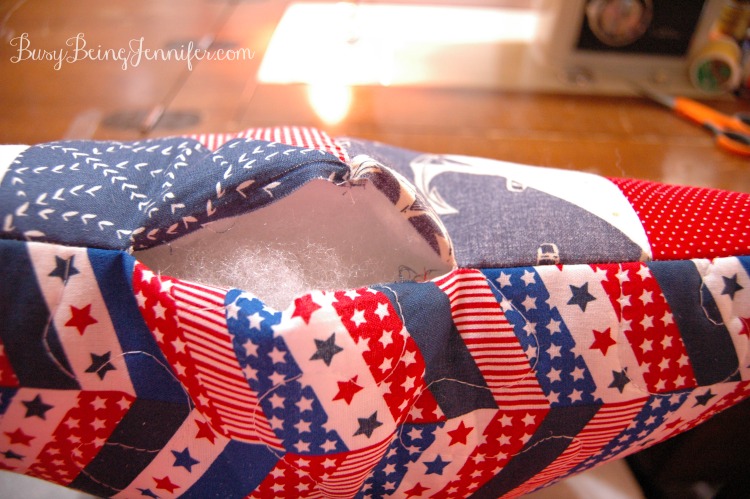
Once you’ve got your quilted pillow as stuffed with polyfil as you’d like, its time to stitch the hole closed. This is my preferred method to close these kinds of gaps. It’s practically invisible, not at all complicated and is the prefect way to finished off your project.
Once your quilted pillow is stuffed and closed, you’ll probably want to stack a large, heavy book on top of it for a while. This helps even out any lumps and bumps.
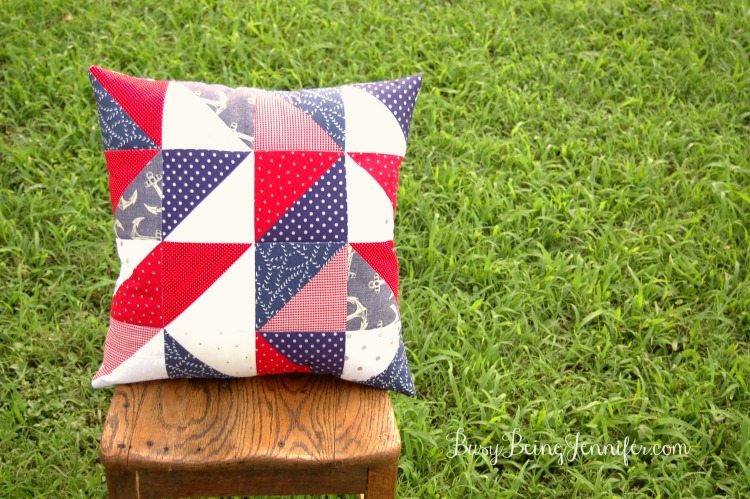
I’m really loving the way this quilted pillow turned out…. maybe I’ll keep it for myself after all!?!?!
Seriously, your mad skilz never cease to amaze me. It’s lovely.
This is amazing. I haven’t made a pillow since home ec in 8th grade. Looks really easy to do.
Hey, feel free to make me cute pillows anytime!! I love the pattern and the fabrics you used for this, perfection! Thanks for the tutorial, maybe someday I’ll be able to get around to making it, lol. 🙂 You know, like when my kids are all grown and gone.
LOVE! Who doesn’t love a festive throw pillow? I’m just learning to sew, so this is slightly advanced for me, but saving it for future reference!
I just love the red, white, & blue theme throughout your blog!! Beautiful pillow. I would love to learn to quilt one day. You make it look so easy! 🙂
Beautiful pillow. I would love to try to make one some day. Thanks for sharing.
xoxo, Danielle
http://www.glamrme.com
Great pillow! I love the patterns. It would make a great addition to any space for the holidays!
This is lovely. Sharing it right now on my sewing page!
Thank You so much for partying at Snickerdoodle Sunday! Your project is just awesome 🙂
http://creativecrochettoys.blogspot.com/2015/07/snickerdoodle-sunday-link-party-89.html
Great looking pillow! I’m pinning it. I need pillow making inspiration!
Navy Wifey Peters @ The Submarine Sunday Link Party
Beautiful pillow!! Will pin now!
love it and love the red white and blue! Great for year round use for sure 🙂 great tute so easy to duplicate and personalize if you want other colors. When I was reading I was thinking I wander if Navy Wifey Peters has seen this – and I see she has lol. Thanks for sharing with us at Snickerdoodle!
Hi there
Just stopped by to let you know that I featured this on my Round Tuit post this week!
A Round Tuit 267
Thanks again for linking up! Hope you have a great week!
Jill @ Creating my way to Success
I love that herringbone. It’s so festive. Thanks for posting. Hello from Treasure Box Tuesday.
Great colors to celebrate with this summer!
I love this! I pinned it, and will definitely be making it soon!
Lovely! So festive!
Wow! Talk about beautiful! This is so fun and festive! I couldn’t love it more! Thanks for sharing your ideas with us, Jennifer! <3
Great looking pillow. I just may try making it. Thanks for sharing.
Super cute pillow just in time for the 4th.
Pinned!
Happy sewing,
Kippi
Ps. Please share this post on my site Monday at the You’re the Star blog hop
https://kippiathome.com/
Hello, I’m visiting from Inspire Me Monday. Lovely job incorporating American pride into your home decor! I’d love to make one of these. 🙂