Finally its Finished!
If you’re just tuning in I’ve been working on a Rag Quilt for the past 2+ weeks. I think in total I’ve put in almost 15 hours getting this little beauty put together. But its been worth all the blood, sweat and tears!
How did I do it? Well here is how to make your very own rag quilt…
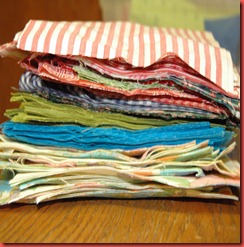
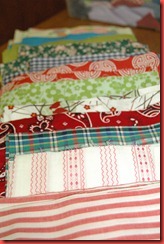
Start by selecting your fabrics. For this one I used up a lot of odds and ends and left over fabric from other projects. There was no pattern to the placement of squares. The only “rule” is that the same color/pattern couldn’t be touching. Its completely eclectic and I LOVE it !
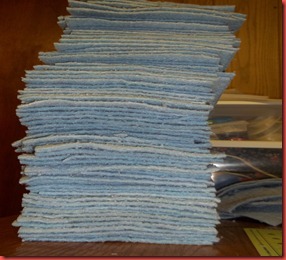
Next you need you fill layer. I upcycled an older fleece blanket.
The fabric squares are 7×7 inches and the filler squares are 6×6 inches, allowing for a half inch “rag seam” once sewn together.
Now its time to layer your squares together. I uses the same fabric front and back, so all I had to do was insert the filler square. To keep the squares together sew and “X” across each fabric “sandwich”I forgot to take a pic of this step. Sorry!
Time to figure out how I want the squares to fit together 🙂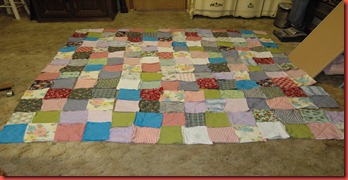
Sorry about the mess on the floor.
Now comes the fun part!
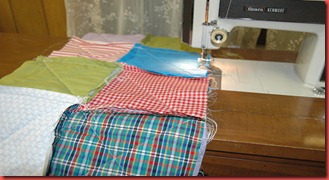
Following the pattern you’ve chosen, sew your squares together. Make sure the seams are reinforced where the squares join. We don’t want it to fall apart!
To finish the edges of the quilt you can either sew all around the outside or use coordinating fabric to put a band around the edge to completely close the outer edges.
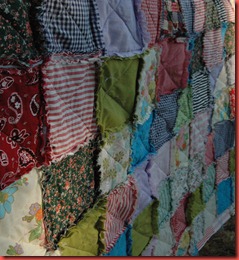
I didn’t take a picture of the most boring and time consuming part of making a rag quilt :s Once the whole thing is together you have to snip EVERY SEAM! This is an important step because this is what give it the ragged, worn and comfy look/feel. This quilt took 5 LONG hours to snip. Thank goodness Jeff Dunham was on the comedy network!
Once snipped wash and dry, this rags up the edges nicely. BE forewarned – there will be little threads everywhere. I recommend taking the finished quilt to a laundry mat and wash and dry there. Don’t wash it with other bedding or clothing. You can use a clothing roller to pick up the threads off the quilt if desired.
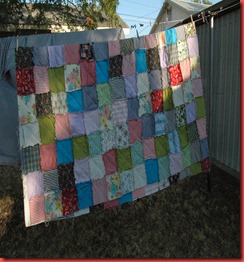
The Finished Product = Fits the Queen bed perfectly. Measures 92 x92 inches
I’m linked up here…

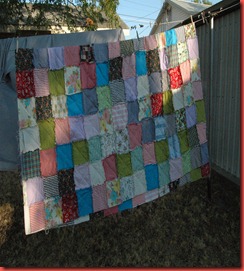
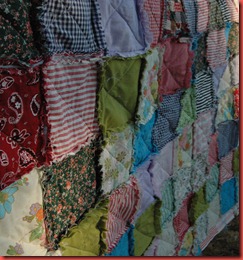
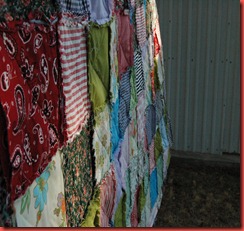



What a neat looking rag quilt, and a lot of work!
This turned out fantastic!! Nice job! 🙂
Hey fellow Texan! I found you at Polka Dots on Parade. I love your rag quilt! I so want to make one. I may have to bump this ahead of all the other projects I have planned.
Awesome! Looks cozy!
Oh my gosh! Love this! Thanks for the comment over at Aley Creations! I just found a new blog to follow 😉 Keep up the great work fellow Texan!
I'm totally doing this! You've made a follower out of me!Best,Rikka J.Ricochet and Away!
Turned out so great! I love it! Thanks for linking up at my weekend wow me party. Hope to see you next weekend!
Congrats on your quitled Euphoria feature! You deserve it, that is one honey of a quilt!Thanks for stopping by my blog the other day!Your newest follower,Rikka J.Ricochet and Away!
Beautifully done! :o)Sincerely, Trish
Arghhh!! Love it!! 😀 Found you via Upcycled Awesomness! 🙂 Newest follower, come visit Justfordaisy! 🙂 x
Love it! I toasted you tonight!http://polkadotsonparade.blogspot.com/2011/08/toast-of-tuesday_30.html
What a lovely idea: simple and beautiful.