I’d Like to welcome Michelle from The Momma Bird! We met at the end of last year during the Pre-Holiday Swap. She offered to do a guest post for me and I’ve been saving it for while I’m gone during my wedding, so without any further ado… Here’s Michelle!
Hello there! I’m Michelle and I am the author behind The Momma Bird.
I’m so excited to be here sharing a little craft tutorial for you all.
I’m not a “crafty” type, so I’m hoping this “makes the cut!”
I’m so excited to be here sharing a little craft tutorial for you all.
I’m not a “crafty” type, so I’m hoping this “makes the cut!”
Felt Ball Garland
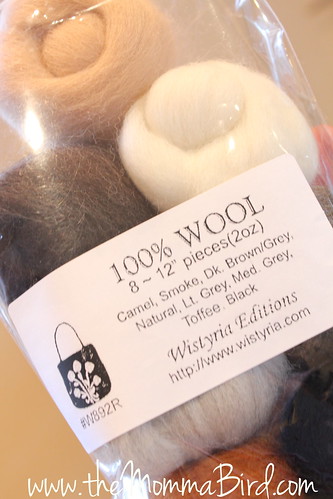
I purchased my wool on Amazon.
I got neutral colors to play it safe, plus it goes better with my home decor.
I got neutral colors to play it safe, plus it goes better with my home decor.
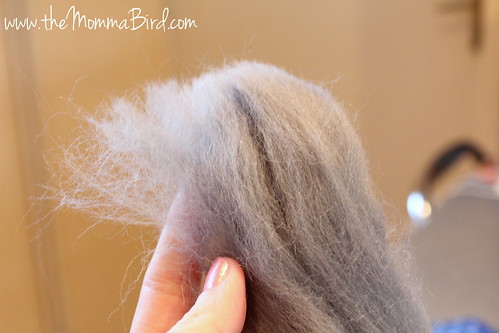
Rip some of the wool off from each color.
You won’t get exact sizes, but I think that makes it all the more fun!
You won’t get exact sizes, but I think that makes it all the more fun!
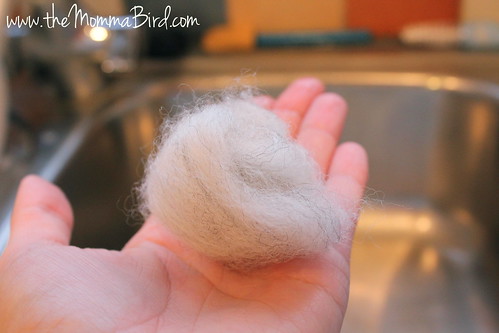
Place it in a ball shape in your palm.
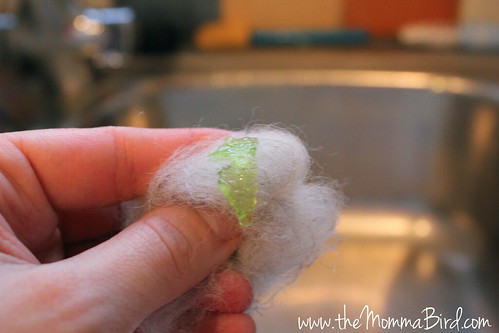
Put a dab of dish soap on the wool.
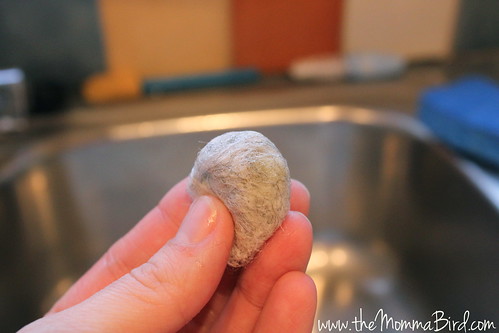
Lather the soap around the wool and form it into a ball.
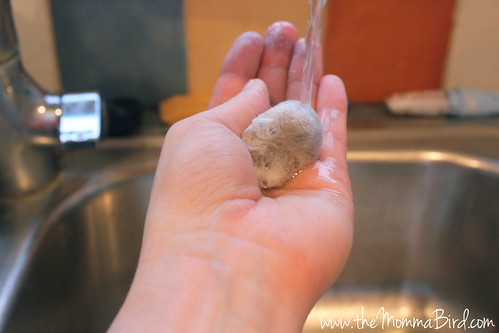
Run water over your wool & soap.
Take both hands and keep rolling the wool between your palms, like trying to make a ball of playdough, but with wool!
I obviously couldn’t take a picture of that step since I only have two hands. 🙂
Keep rolling the wool in your hands until the soap has dissolved and the wool becomes hard and “felt like.”
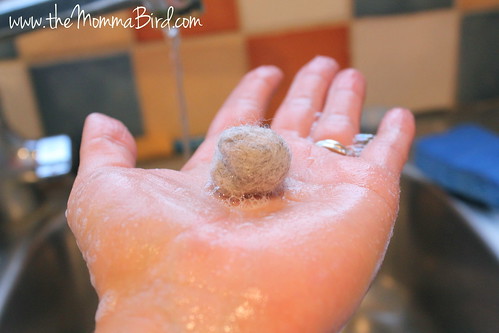
Taking a quick stop to check and see if it’s ready.
Nope, still some more soap and still a bit ‘loose.’
Nope, still some more soap and still a bit ‘loose.’

All done!
Set aside and get to work on the other pieces.
Set aside and get to work on the other pieces.
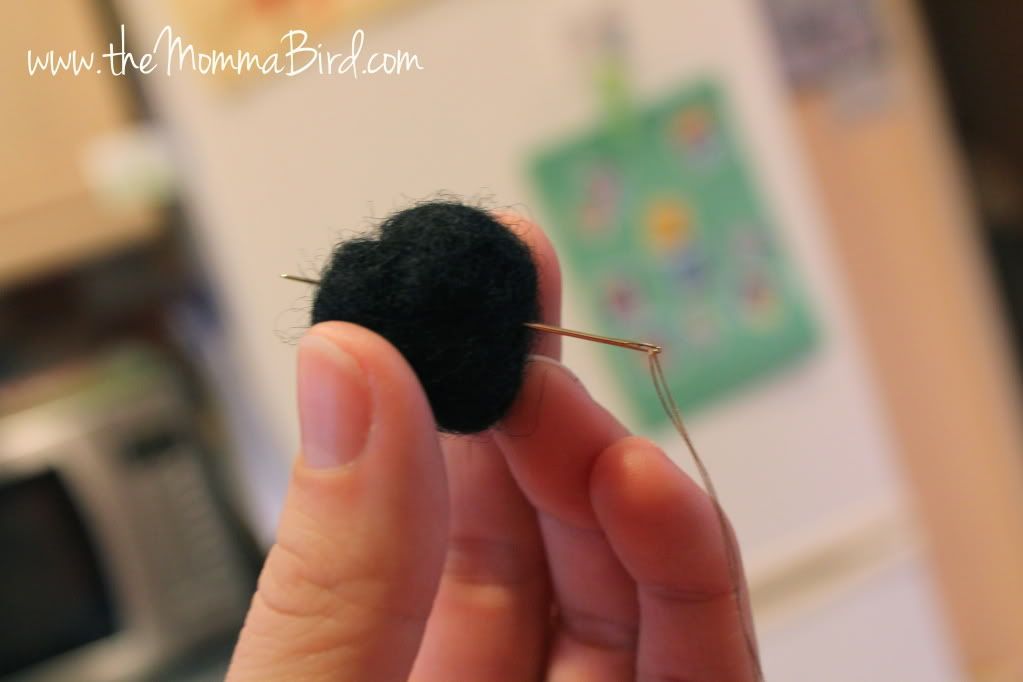
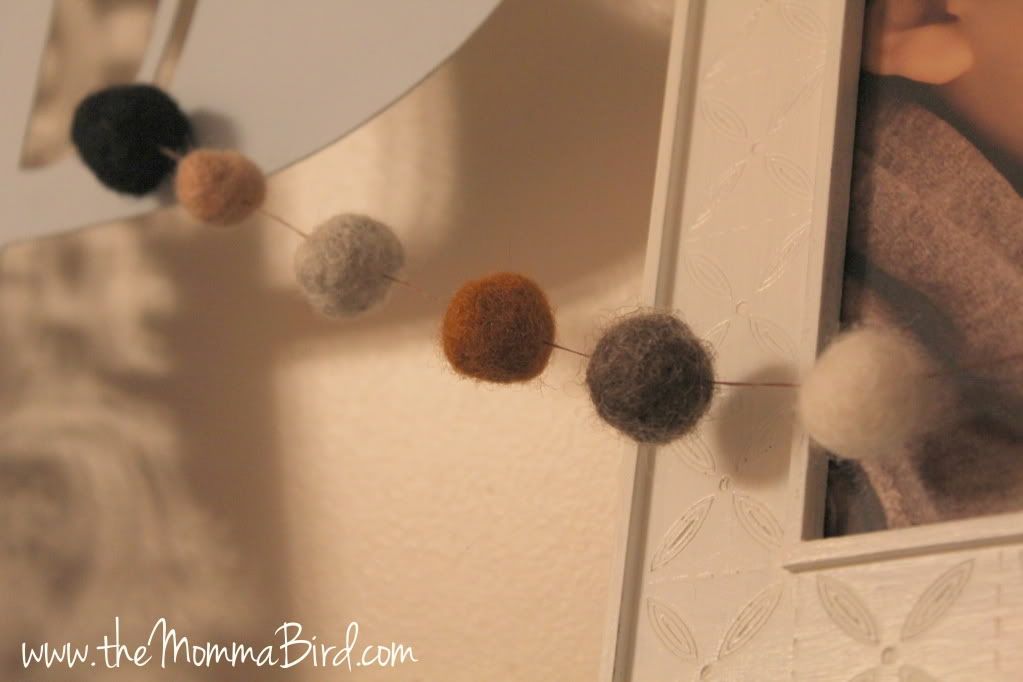
Once you have all your pieces done, you can begin threading it.
I used regular needle and thread because it’s what I had in the house.
I’m sure you could use a thicker thread to be more decorative but it would also provide a bit more stability.
{If you used a thicker thread & needle, I suggest tying a knot on either side of the felt ball to keep it in place.}
I used regular needle and thread because it’s what I had in the house.
I’m sure you could use a thicker thread to be more decorative but it would also provide a bit more stability.
{If you used a thicker thread & needle, I suggest tying a knot on either side of the felt ball to keep it in place.}
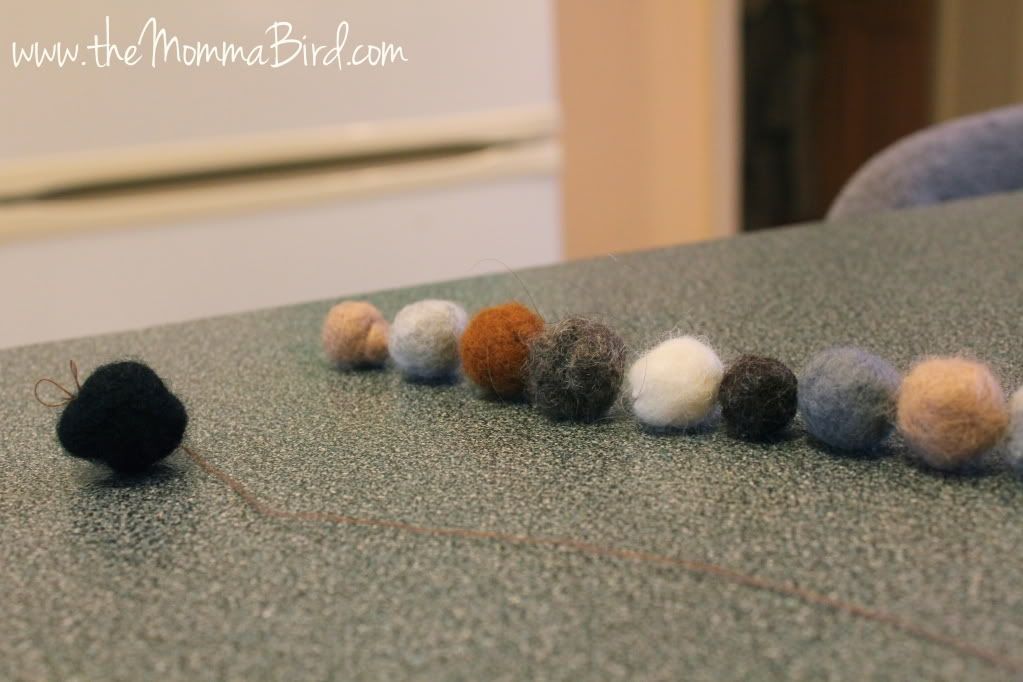
I had mine lined up in the order I wanted them to be in.
You can see the various sizes.
You can see the various sizes.
Ta-Dah!
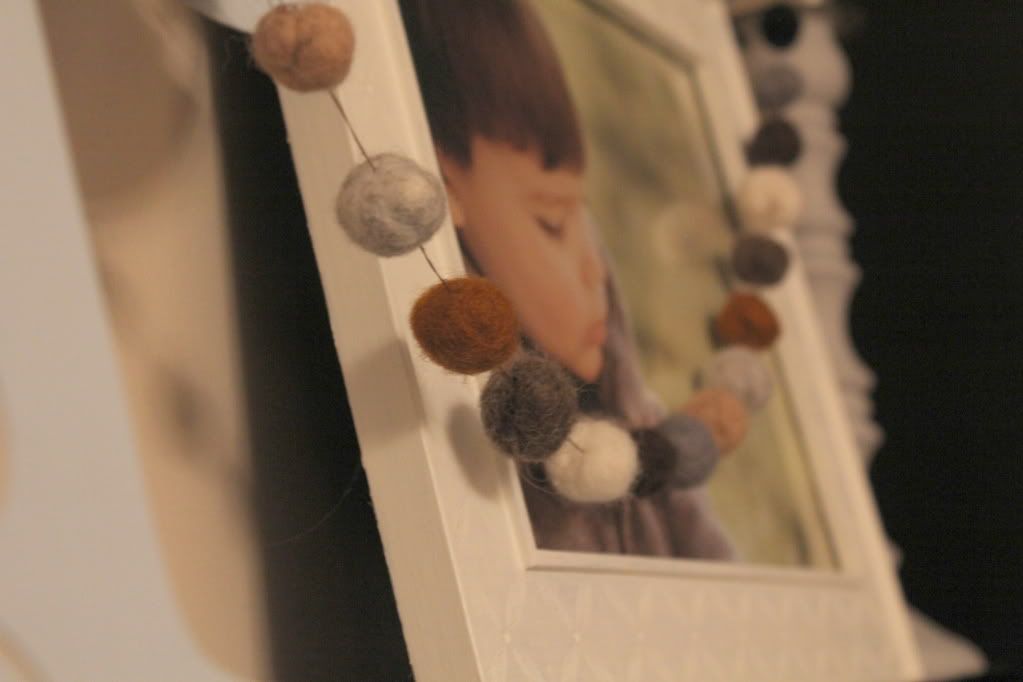
Such a simple little craft that brings a little “oomph” to something that was plain before.
I can also see adding these to scarves, gloves, shirts, hats – the list is endless!!
I can also see adding these to scarves, gloves, shirts, hats – the list is endless!!
I really hope you enjoyed this little tutorial! I’d love to see if pictures if you end up making one!
Just email me the link to your post! Have a blessed day!!
Just email me the link to your post! Have a blessed day!!

Thanks a million Michelle! This is such a gret idea and depending on the color can work for any Holiday Season and any Decor… I think I need to do some shopping for some wool!
Beautiful job Michelle! Thanks for the tutorial, I've always wanted to make my own felt balls! 🙂
this is so nice, i like wool I use it to make felt animals 🙂