I’ve been on a bit of a fabric scrap kick as of late! I have buckets and buckets of bits and pieces of my favorite fabrics… But I can’t just hoard them for ever! Its time to put these little pretties to good use. My first scrappy project is some easy Quilt-As-You-Go Coasters!
If you’ve got some basic sewing skills, these quilt-as-you-go coasters will be pretty easy! But these are also great for beginner sewists to practice the basics on! And the end result is some cute coasters that are practical and make great gifts!
Here’s what you need for this project:
Sewing Machine
Thread
Scissors
Fabric Scraps
Batting scraps
Needle
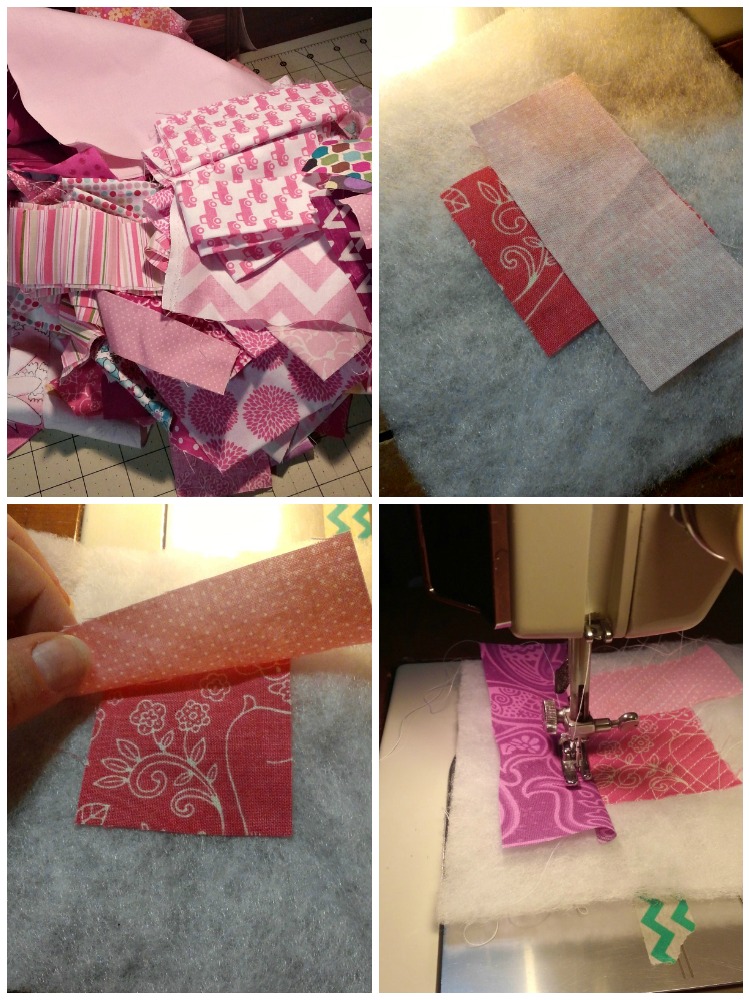
Step 1: Gather your scraps. Size and shape doesn’t matter… yet 🙂
Step 2: Cut your batting scraps into 5 inch-ish squares. They don’t have to be perfect, just larger than 5 inches.
Step 3: Pick out 2 pieces of scrap fabric. They need to have at least one straight edge.
Step 4: Place the smaller piece on the bottom and line the larger piece up to match the straight edge, right sides of the fabric together (as pictured above) on the batting square.
Step 5: Sew a 1/4 inch seam through the 2 fabrics and the batting.
Step 6: Open the fabric up, and iron flat.
Step 7: Quilt over top of the 2 pieces of fabric. This is a great opportunity to practice “free Motion quilting”.
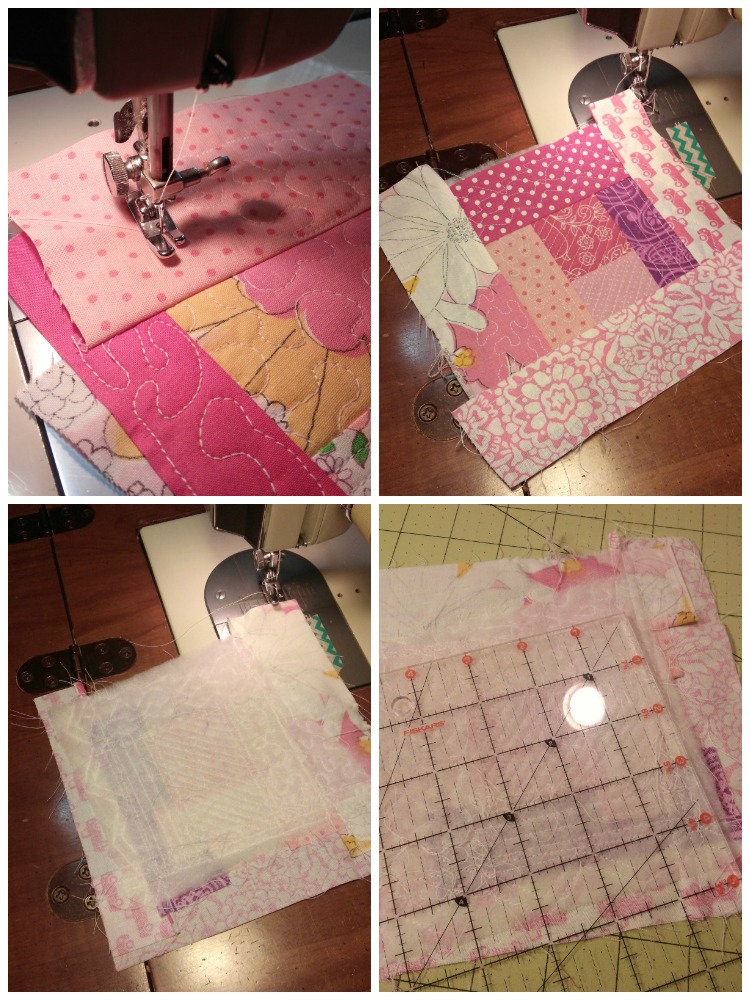
Step 8: Take another piece of fabric, make sure there is a straight edge. Place right side down on top of the quilted pieces. Make sure that it is on top of the fabric and repeat steps 5 – 7 until the whole square of batting is covered and quilted.
Step 9: Trim the quilted batting square to 4.5 inches. I like to trim on a bit of an angle to make it a little more visually interesting.
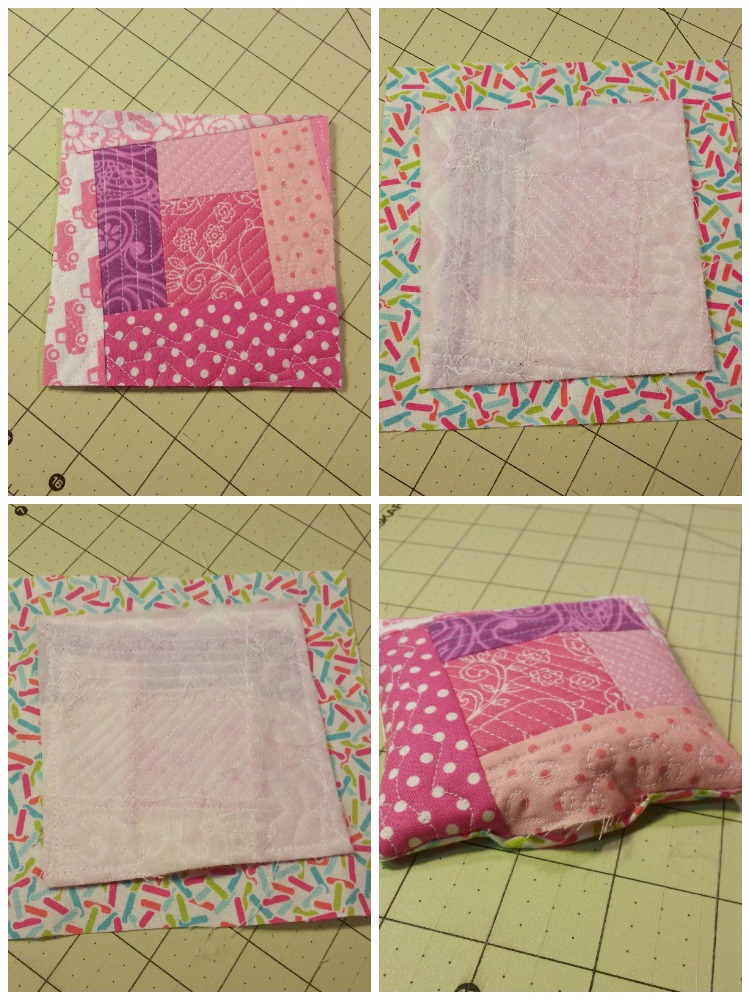
Step 10: Select a piece of scrap fabric that is larger than the quilted piece.
Step 11: Place pieces right sides together and sew 1/4 inch around the quilted piece leaving a 2 inch space so that you can turn the coaster right side out.
Step 12: Trim the edges and corners. Turn right side out and push out the corners.
Step 13: Iron flat, making sure that the space where you turned is tucked in. Top stitch around the coaster. Tuck your threads and you’re done!
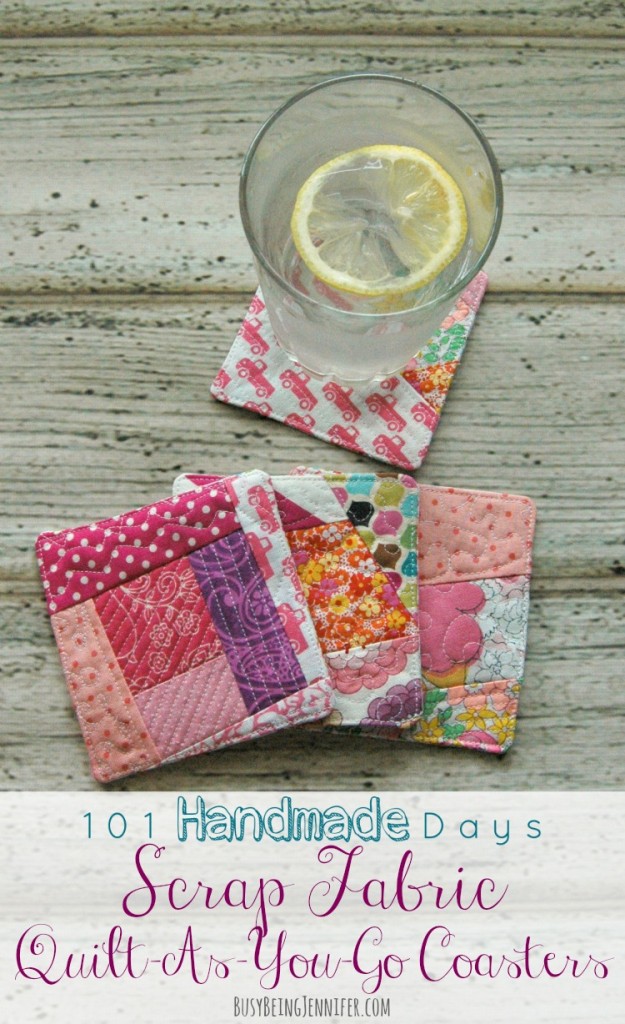
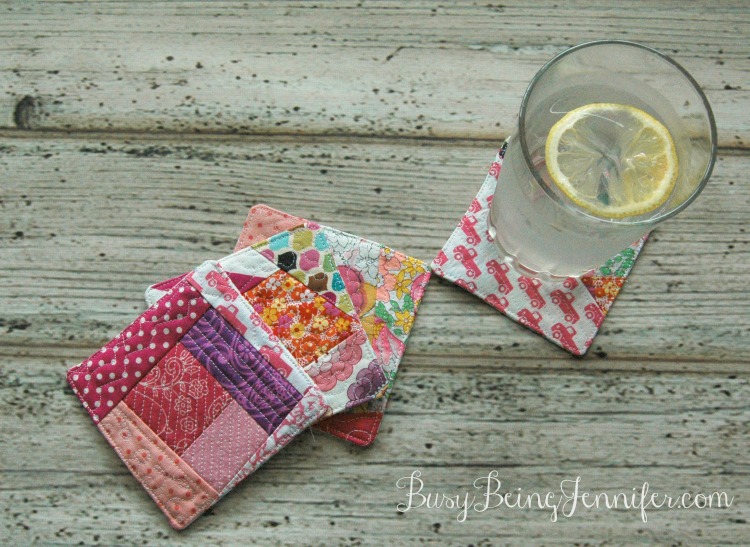
Aren’t they cute?!?! I’m obsessed with these little scrappy quilt-as-you-go coasters and I’m thinking I might just have to make a set of 4 in a whole rainbow of colors! I might even add some to the shop 🙂 You know… when I’ve got some extra time to make a few batches :S
Are you a fabric scrap hoarder? What projects do you use them one?

Going to have To get Bailey to make these for me 😉
These are so cute and a great way to use up my scraps! Thanks for sharing this idea.
I love these! I’m always looking for ways to use my scraps. I would love for you to link up to the Stitch It, Blog It, Share It Link Party going on now at BehindtheSeamsSewing.com.
~Bonnie
What a great way to use up scrap fabric. Love these! Thanks for linking up to The Creative Exchange. We will be featuring your project this week!
xo,
Laura
I love these! They’re so cute and I really like the way you’ve quilted the different fabrics in different ways! Pinning! 🙂 Lisa
I love a good scrap busting idea like this , thanks.
Love, love this idea of using the smallest scraps possible which I really enJOY doing. Thanks for sharing this! I like to take the leftover scraps after I’ve made a quilt and try to make a pillowcase or bag to present the quilt in. https://joysjotsshots.blogspot.com/2017/05/scrappy-pillow-for-aunt-billie-sues.html